
Infrared heaters warm damp surfaces directly, not the air, so you dry walls, basements, and corners faster while reducing cold spots that feed condensation. By elevating surface temperatures, radiant heat speeds drying along walls, seams, and corners and helps keep surfaces above dew point. Choose a system matched to your humidity profile and install with moisture-resistant features and zone controls. Place units to evenly cover damp areas, monitor with humidity gauges, and note that more techniques await further guidance.
How Infrared Heat Interacts With Damp Spaces
Infrared heating interacts with damp spaces by transferring radiant energy directly to surfaces, rather than heating the air first. You’ll notice surface warming occurs where moisture is present, creating an even temperature gradient without relying on convection.
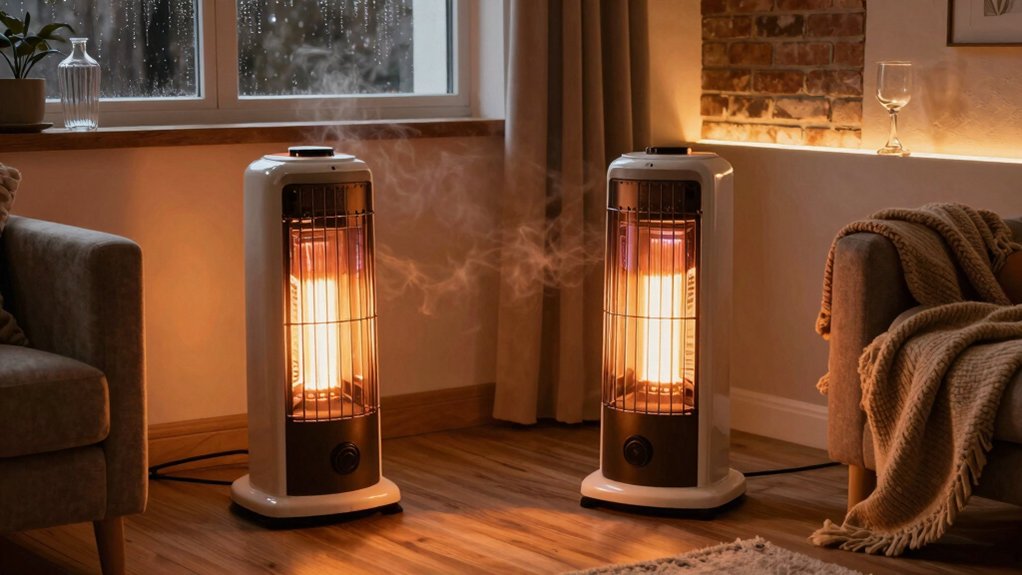
Because infrared targets solids, you gain faster comfort at lower air changes, which helps when humidity stays elevated. You’ll want to position panels to cover damp hotspots, especially walls and basements, to limit cold spots that encourage condensation.
When moisture sits on drywall or plaster, radiant heat can reduce surface coolness, slowing condensation cycles during cool nights. Be mindful of insulation; gaps and thin walls can divert heat away from damp zones.
Use controlled, evenly spaced placements and monitor humidity to optimize performance.
Benefits of Radiant Warmth for Moisture Control
Radiant warmth directly targets moist surfaces, delivering heat where it’s needed most and reducing surface temperatures that drive condensation. You’ll notice quicker drying along walls, seams, and corners where damp typically persists.
By elevating surface temperatures without overheating room air, radiant heat minimizes cold spots that invite moisture accumulation, helping you maintain consistent surface conditions. This improves the accuracy of moisture readings and reduces mold-prone zones, since fungi struggle when surfaces stay above the dew point of surrounding air.
You gain more predictable humidity management because radiant systems transfer energy directly to interiors, limiting wasted heating of empty space. In practice, locating emitters to cover high-risk areas yields uniform drying potential without creating drafty or uncomfortable zones.
Choosing Infrared Systems for Damp Environments
As you move from leveraging radiant warmth for surface drying to selecting infrared systems for damp environments, you’ll focus on how different IR setups address persistent moisture without overheating spaces.
Start by matching heater type to humidity profile: medium-wave panels for steady, even heat in high-moisture rooms, ceramic emitters for quick surface drying without deep heat penetration, and short-wave elements for rapid control in smaller enclosures.
Consider insulation, air exchange, and target zones to optimize drying without creating hot spots. Opt for systems with built-in moisture resistance and sealed electrical components to withstand damp conditions.
Control options matter: adjustable timers, thermostats, and zone controls help maintain stable temperatures while freeing you from overshoot.
Finally, prioritize safety features and documented performance data relevant to sustained humidity scenarios.
Installing and Using Infrared Heaters Effectively in Humidity
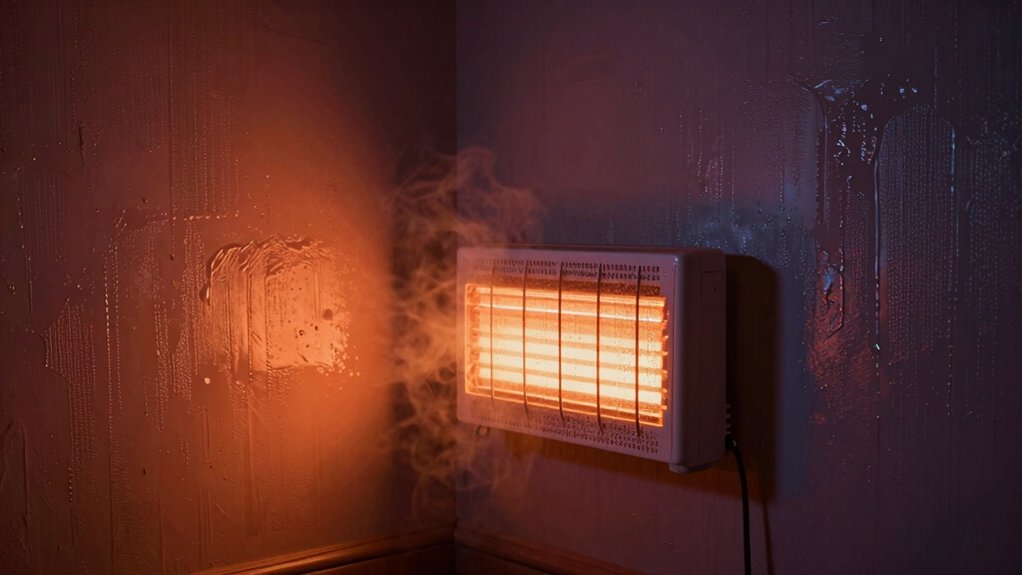
When humidity is high, install infrared heaters so heat reaches the target zone without creating condensation elsewhere. Place units to cover the damp area evenly and avoid overlapping hot spots.
You should profile room layout to minimize cold spots and ensure consistent radiant exposure across walls and floors. Mount units at heights that balance safe clearance with effective surface heating, and use shields to protect from direct splashes or steam.
Opt for shortwave or medium-wave emitters with appropriate wattage to avoid overshoot, and size circuits to handle peak load without nuisance tripping. Maintain clean reflectors and lenses to prevent efficiency loss.
Schedule operation during humidity peaks when occupants are present, and monitor humidity sensors to prevent moisture-driven corrosion. Regularly inspect wiring, seals, and mounting hardware for reliability.
Troubleshooting Common Damp-Related Issues With Radiant Heat
Common damp-related issues with radiant heat can degrade performance and shorten equipment life, so start by validating the root cause before adjusting the system. You’ll systematically verify humidity sources, moisture ingress, and airflow patterns around the heater.
Check for evaporative cooling on wall surfaces, condensed air ducts, and damp insulation, then measure surface temperatures and ambient humidity with calibrated gauges.
If you notice uneven heating or cold spots, inspect reflective panels, mounting angles, and clearance from walls to ensure proper IR distribution.
Address moisture first: seal leaks, improve drainage, and boost ventilation without over-drying spaces.
After moisture controls, recalibrate thermostat setpoints and loop gains for stable comfort.
Document findings, test post-adjustment performance, and schedule follow-ups to prevent recurring damp-related degradation.
Conclusion
In damp spaces, infrared heat acts like a steady south-facing sunbeam, warming what others overlook. You’ve seen mold retreat when a panel starts glow, and data from homes shows moisture drops of 10–20% after consistent use. Think of your walls as beads on a string: radiant warmth tightens the knot, reducing condensation before it forms. Use the right system, install per specs, and run it with sensible humidity checks. Simple, effective warmth keeps moisture at bay.