
To match paint already on a wall, start by inspecting under natural light at eye level to identify hue, undertone, and finish. Gather swatches, a color meter, and clean tools, then apply test patches in a small area. Compare every angle and lighting condition, feather edges, and adjust with a near-match tint if needed. Verify texture and sheen align with surrounding walls. If you keep going, you’ll learn how to refine the match precisely.
Pinpoint the Exact Color and Finish on Your Wall
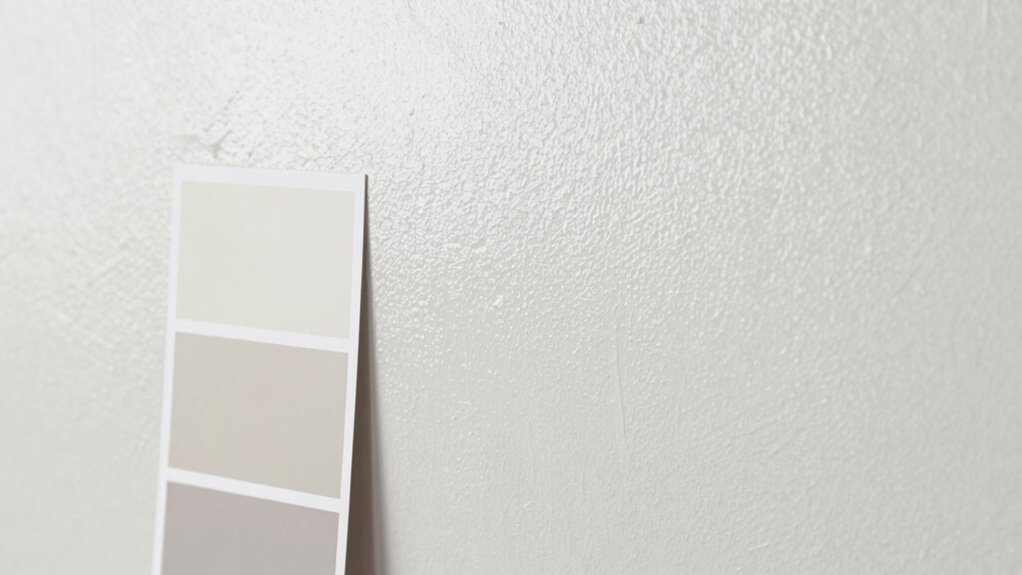
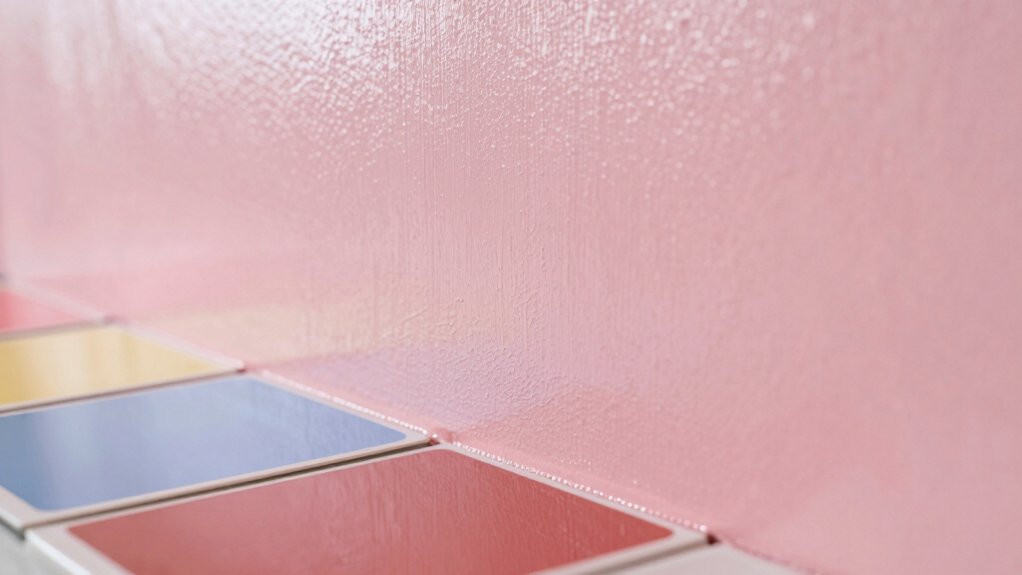
To pinpoint the exact color and finish, start by evaluating the wall under natural light and at eye level. You’ll notice subtle shifts in hue as daylight changes, so compare swatches directly beside the surface to confirm color perception.
Hold a neutral gray card nearby to calibrate your eyes and minimize bias. Observe finish under the same light; determine whether it reads as flat, satin, or glossy, then assess how the sheen interacts with wall texture.
Document the observed color and corresponding paint sheen, noting any undertones exposed by the light. Use precise terminology when labeling, and avoid assumptions.
This disciplined check guarantees you select a match with confidence, reducing guesswork and aligning the final result with your expectations.
Define What a Perfect Color Match Looks Like
A perfect color match means your wall reads as a seamless extension of nearby surfaces, with no noticeable hue, undertone, or sheen deviation. You judge match by shade consistency across lighting at multiple angles, not just under one bulb.
Aim for hue accuracy where the chosen tone aligns with adjacent colors, avoiding any color drift as you compare swatches to the actual surface. In practice, you’ll notice a flawless match when edges blend, texture differences fade, and reflectivity remains uniform with the surrounding planes.
Resist chasing a perceptual difference that only appears in specific light. Document your target shade, then test under ambient, task, and daylight conditions. When these criteria hold, you’ve achieved a robust, dependable color match.
Gather Tools and Color-Matching Options
To start, gather the essential tools and color-matching options you’ll rely on—brush or roller, a clean sampling chip, and a reliable color reader or swatch book.
Compare options like digital color meters, store swatches, and test pots to see which method fits your project timeline and accuracy needs.
Test and validate your match on a small area, then adjust as necessary before committing to the full wall.
Gather Matching Tools
Gathering the right tools is essential for color matching on a wall. You’ll assemble a focused kit that supports accurate assessment and consistent results. Start with a high-quality mise-en-place: a clean sample tin or swatch book, a moisture- and dust-free workspace, and a reliable light source that reveals true tone.
Include a color-matching device or color deck for reference, plus labeled containers for test mixes. Have a good spectrum of brushes, rollers, and a small spatula for precise sampling. Bring painter’s tape, a utility knife, and a client-safe marker to note areas you’ll test.
Don’t overlook a clean cloth for wipe-downs and a compatible primer if textures vary. Check paint texture and wall imperfections before testing to guarantee reliable, repeatable results.
Color-Matching Options
Color-mapping options give you practical ways to reproduce a wall’s color with confidence. You’ll choose between digital, swatch-based, and match-a-tinish approaches, aligning method to what you have on hand.
Digital color tools provide a close starting point, but expect slight shifts under different lighting.
Swatch matching offers a hands-on path: compare chips under the room’s light and adjust for shade consistency as you proceed.
If you’re color-mixing from base tints, record precise pigment ratios to minimize drift across coats.
Keep sheen matching in mind: finish differences alter perception, so select a test panel with the same gloss level.
When in doubt, test a small area before full application to confirm color accuracy and consistency.
Test and Validate Match
Before you commit to a full repaint, assemble the right tools and compare color options directly on the wall. Gather a clean workspace, a good light source, a color-matching booklet, and several paint chips. Use a color-matching device or script, then confirm with physical paint chips that mirror the exact sheen and finish you intend.
Perform a paint chip comparison at close range, checking for hue drift, saturation, and brightness under the room’s lighting. Conduct a wall texture assessment by testing on a representative patch to see how grain, plaster, or drywall texture affects appearance. Record each result and compare against the target color, ensuring consistency across sections.
Validate under multiple lighting conditions before finalizing selected paint.
Test the Match Under Controlled Lighting
To test the match under controlled lighting, set up a neutral, reproducible environment: use consistent daylight or a daylight-balanced lamp, and avoid ambient light sources that can shift color.
You should verify the result under the lighting conditions you’ll use in the room, since perception changes with intensity and angle.
Focus on paint sheen and color consistency across surfaces.
- Compare a swatch to the wall under the same lighting.
- Move your eye vertically and horizontally to confirm even appearance.
- Note any subtle hue shifts and adjust if needed.
Keep notes to guide adjustments, and recheck after any repaint.
Controlled lighting minimizes color drift, delivering a true, durable match that respects texture and finish.
Plan Edge Work and Feathering for Blending
You’ll start by outlining clean edge preparation techniques to prevent bleed-through. Then you’ll feather for blending, matching color, and ensuring seamless shifts at the edges.
Finally, you’ll apply precise color matching tips to lock in a natural finish.
Edge Preparation Techniques
Edge preparation is all about clean, deliberate shifts between paint and surface. You set the scene for a seamless match by controlling the boundary with precision and purposeful motion. Follow these steps:
- Use steady brush techniques to create a crisp edge, then feather as you approach the adjacent area to minimize hard lines.
- Select a suitable primer and apply a uniform base coat, ensuring the finish beneath matches the new shade for consistent color uptake.
- Align tools to the edge, wipe excess, and test the seam under lighting to verify it reads as a natural progression.
Remember: brush techniques and primer selection determine edge quality, so refine stroke, dampen where needed, and maintain consistent pressure.
Feathering For Blending
Feathering for blending is a deliberate technique that guarantees a seamless shift between colors at the edge. You apply light, controlled strokes to thin the paint where edges meet, creating a soft transition rather than a hard line.
Plan your edge work by treating the boundary as a gradient, not a cut. Use consistent brush techniques: short, feathery passes, feathered ridges, and occasional lift to reduce excess paint.
Work from the center outward, staying within the target zone to prevent overreach. Maintain a damp, not dripping, brush and a steady hand to avoid abrupt changes.
Integrate shadow blending where needed by guiding darker tones into lighter ones subtly. This approach yields a natural, unified finish without visible seams.
Color Matching Tips
Color matching starts with a planned edge, so you can blend without visible seams. You’ll establish a reference line, apply a thin gradation, and verify under lighting. Follow these tips to nail color matching:
- Assess paint sheen and color temperature to align with adjacent areas, ensuring consistent reflectivity and warmth or coolness.
- Mix a small test batch, then compare on the wall at multiple angles; adjust with precise pigment additions until the color reads true.
- Feather edges progressively, keeping the brush barely loaded; blend into surrounding paint to fade lines and minimize contrast.
Focus on clean edges, even coverage, and consistent drying times to maintain a seamless, professional finish.
Apply the Match While Controlling for Mismatches
When you apply the match, you must also control for mismatches to guarantee a seamless result. Begin by comparing the wall to your chosen color using the color wheel as a guide—look for undertones and shifts under current lighting.
Hold paint swatches at the same distance from the wall surface to judge true color; don’t rely on card color alone. Apply a test area, then observe after a 15–20 minute dry time in the room’s lighting.
Note any hue drift, sheen differences, or edge halos where the finish meets adjacent walls. If mismatches appear, adjust by tinting the base color in small increments or selecting a warmer or cooler undertone.
Repeat the process until you achieve a cohesive, balanced appearance.
Re-Evaluate Under Different Lighting and in Context
Reevaluate the color under different lighting and in context to confirm cohesion. When you test, focus on lighting conditions and room context to guarantee the match holds across spaces and times of day. This step confirms that the color reads correctly in real use, not just in a single snapshot.
- Observe how the hue shifts from warm to cool lights and note any undertone changes.
- Compare the painted area with adjacent walls and furnishings to verify contextual alignment.
- Assess in multiple daily moments (morning, afternoon, evening) to capture consistency.
Troubleshoot, Touch Up, and Maintain Color Longevity
To troubleshoot, touch up, and maintain color longevity, start by inspecting the finish for any inconsistencies, chips, or fade along edges, corners, and high-traffic zones.
Next, match the paint texture to the existing wall surface—a subtle difference can reveal flaws. Use a high-quality brush or small roller to apply precise, thin coats, feathering edges to blend seamlessly.
Allow each coat to dry fully before evaluating color saturation under consistent lighting. If touch-ups appear brighter or darker, apply a second, very light coat after proper curing.
Maintain color longevity by controlling humidity, avoiding direct sun, and cleaning with mild cleaners that won’t strip finish.
Document formula details and touch-up locations for future projects, ensuring the wall surface remains cohesive and durable over time.
Conclusion
You’ve got the right approach: identify the exact color and finish, test in controlled lighting, and blend edges for a seamless match. Trust a swatch, not a guess, and re-check under other lighting to confirm longevity and context. If mismatches pop up, re-tint and feather, then re-test. Keep notes and maintain your tools for consistent results. Finish with confident, even coats—like a well-tuned piano. The future, though, is a fresh shade—tech-tonic, yet timeless.