
Here’s a practical, afternoon-friendly plan to quiet common home squeaks, sticks, and rattles. Start by pinpointing the source—doors, floorboards, pipes—using simple tests like tapping, tapping, and opening/closing. Lubricate hinges and moving parts with silicone spray or graphite, tighten loose screws, and drive any creaky floor nails or add felt pads. Seal gaps with foam weatherstrips and add fabric panels for dampening. With a few quick tweaks, you’ll cut most noises fast, and you’ll uncover more fixes soon.
Identify the Source of Noises Quickly
To identify the source of noises quickly, start with a quick scan of what’s happening when you hear them. You’ll notice patterns: location, volume, and when the sound triggers. Narrow your focus to likely zones—doors, pipes, floors, or walls—then test with targeted actions: open, close, touch, or gently tap suspected areas.
Document what changes; a simple checklist helps you stay precise. Prioritize method over guesswork: isolate one variable at a time, note its effect, and proceed. Use soundproofing measures where you detect persistent reverberations or rattles, and consider entry points like gaps or joints.
Pair your findings with acoustic treatments when appropriate to minimize transfer, improve clarity, and reduce disruption without overhauling the space. You’ll fix faster and with confidence.
Quick Fixes to Silence Common Squeaks
If a squeak shows up, start by lubricating the moving parts to reduce friction and quiet the noise quickly.
Then check for loose screws and tighten any you find to restore stability and prevent future squeaks.
Keep these steps simple and you’ll silence most common noises without a full teardown.
Lubricate Moving Parts
Lubricating moving parts is a quick, effective fix for many common household squeaks. You’ll start by locating the creak, then choose a light lubricant suitable for the surface. Use a spray-on silicone or lightweight graphite for metal and plastic parts, avoiding heavy oils that attract dust.
Apply a small amount along hinges, sliding tracks, and pivot points, then operate the mechanism to spread the product evenly. Wipe excess to prevent dirt buildup and repeat as needed.
For doorbell chimes, a quick dab on moving contacts can quiet intermittent pinging without affecting operation. If you hear window squeaks, lubricate the sash pins and weatherstripping, testing after each pass.
Maintain regularly, especially in dry or dusty environments, to preserve quiet, smooth motion.
Tighten Loose Screws
Loose screws are a quick, low-effort fix that can stop many squeaks in their tracks. You’ll start by locating the culprits—hinges, cabinet doors, drawer slides, and fasteners along rails. Use a screwdriver that fits snugly to avoid stripping.
If a screw is loose in wood, snug it gently, then add a touch of thread locker or a dab of wood glue on the threads for long-term hold. Don’t overtighten, which can strip or warp.
For metal-to-metal joints, apply the appropriate lubricant after tightening; if squeaks persist, switch to longer screws or add a washer for even load distribution.
Pair tightening with soundproofing techniques or noise dampening materials where gaps create resonance, ensuring quieter, steadier operation.
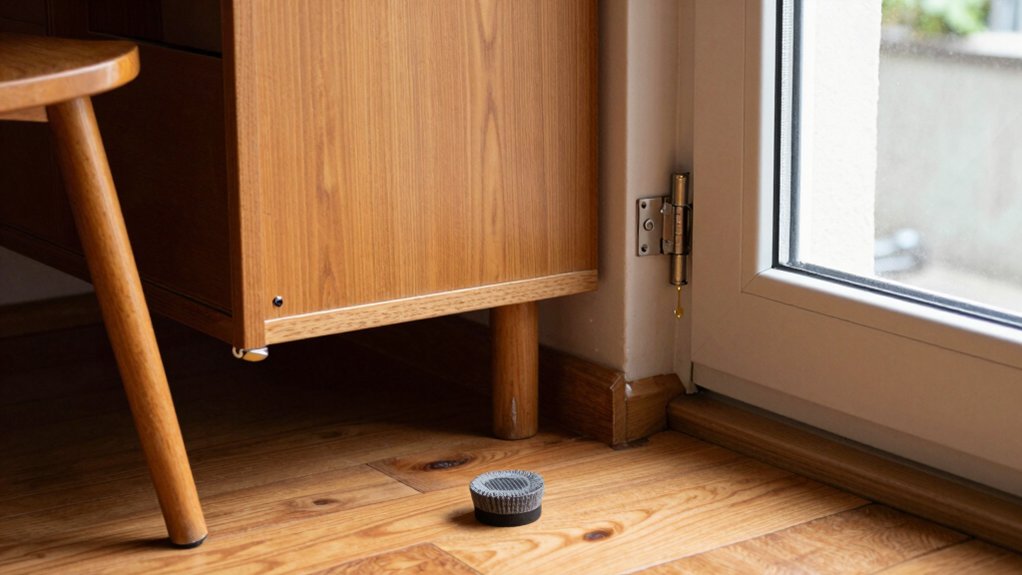
Fix Squeaks in Doors and Hinges
Squeaky doors are almost always a quick fix. You’ll start by locating the source of the squeak at the hinge or latch, then test the door’s operation.
If a hinge is dry, apply a lubricating solution—prefer silicone-based spray or lightweight oil—directly to the hinge pins and pivot points, then open and close several times to work it in. Wipe away excess to prevent drips onto squeaky floors or trim.
For stubborn creaks, remove the hinge pins, clean them, lightly lubricate, and reinsert, ensuring the door settles evenly.
Check for misalignment: tighten screws on hinges or adjust the strike plate.
If the door still sticks, consider relieving minor friction with a quick sand at contact areas, not the frame.
Prioritize door hinges and avoid influencing squeaky floors.
Resolve Floorboard and Stair Creaks
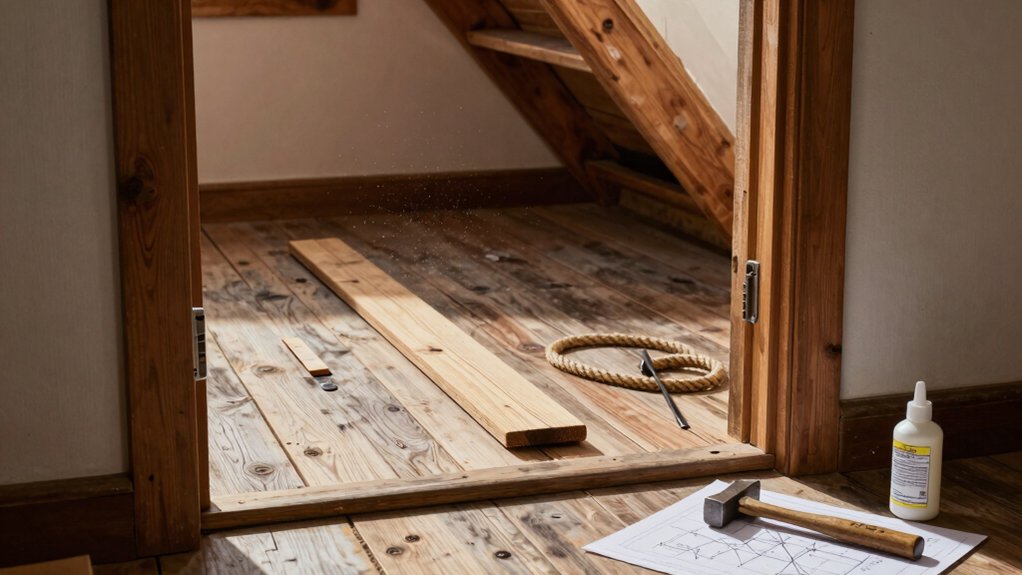
Floorboard and stair creaks usually baffle because they’re often caused by movement at joints or wood-on-wood contact. You’ll fix them by pinpointing squeaks with foot taps and a flashlight, then choosing practical fixes you can trust.
For floor squeak remedies, drive undersized finish nails at an angle through the board into the joist, or use adhesive felt pads under problem planks to dampen motion. If staples or nails sit proud, countersink and set them flush.
On stairs, apply powdered graphite or graphited lubricant along risers where tread meets stringer, and consider shimming loose boards from below with thin hardwood wedges. Tighten loose balusters and newel posts to reduce motion transfer.
These stair noise solutions keep you focused, efficient, and out of future friction.
Stop Rattles: Pipes, Vents, and Hardware
Pipes, vents, and hardware keep rattling when water hammer, air pockets, or loose fittings dupe your attention; you’ll stop the noise by tracking the source and applying targeted fixes. Start by listening near the fixtures—shops of drip and ping reveal the culprit.
For plumbing vibrations, secure pipes with foam spacers and stainless clamps, focusing on long, unsupported runs. Check washer-tightened joints and replace worn gaskets to quiet vent rattles.
If hammering persists, install or adjust a water hammer arrestor or air chamber to absorb shocks. Inspect mounting hardware for looseness; tighten or replace as needed.
Run a final pressure test, then monitor for residual sounds. With careful tightening and isolation, you’ll restore calm without unnecessary disassembly.
Quick Fixes for Stair Nosing and Toe-Kick Squeaks
If you’re hearing creaks from stair nosing or the toe-kicks beneath, you can fix most issues with a few quick, targeted steps. Start by tightening visible fasteners on the stair tread and riser where you feel movement.
If gaps exist, apply a thin bead of wood glue and clamp until set, focusing on joints behind the nosing.
For persistent squeaks, insert color-matched shims or toothpicks into small gaps behind the stair nosing and toe kick, then reseat with screws.
Check for loose skirt boards or nail pops along the edge, driving screws instead of nails to secure.
Finish by testing every step; the goal is rigidness without rattling. When done, the stair tread and toe kick stay quiet and secure.
Sticky Drawers and Cabinet Doors: Latches and Guides
Sticky drawers and cabinet doors can be a quick fix with the right luses: start by inspecting latches and guides for wear, misalignment, or debris. You’ll often resolve sticking by cleaning tracks, realigning panels, and tightening mounting screws.
Check drawer guides for smooth glide; wipe dust and residue, then lubricate sparingly with silicone-based spray.
For cabinet doors, test latch mechanisms—the strike plate alignment matters more than you think. If it won’t latch, adjust hinges slightly or loosen, then re-tighten once the door closes squarely.
Ensure gaps are even and stop pins aren’t binding. Use a soft file or sandpaper to address high spots on rough edges.
With precise adjustments, you’ll restore alignment and quiet operation without invasive fixes.
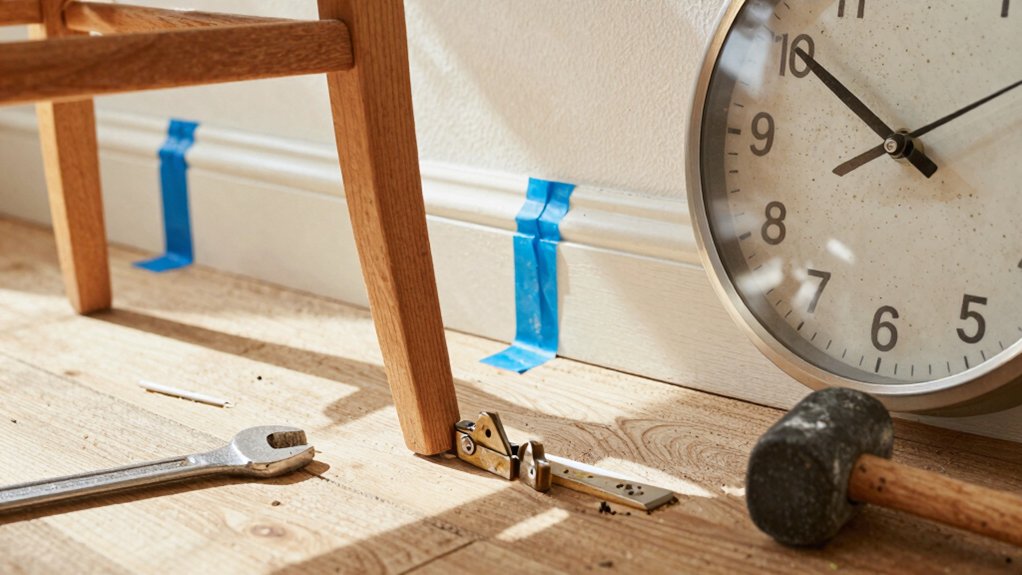
Tools, Products, and Preventive Tweaks
You’ll see how the right tools and products make quick work of common squeaks, sticks, and rattles. Start with basics like adjustable latches, silicone lubricants, and door guides to prevent trouble before it starts.
I’ll show simple tweaks you can apply now to keep things smooth and quiet.
Tools Overview
Tools are the backbone of tackling common household squeaks, sticks, and rattles; understanding what to have on hand and how to use it makes fixes quick and durable. You’ll fix faster when you match the tool to the task, keeping movement steady and deliberate. Choose versatile, affordable items that cover most projects, from hinges to casters.
In addition to basics, consider noise dampening mats and soundproof curtains to reduce transmitted noise during demonstrations of fixes. These aren’t a substitute for solid parts, but they cut disruption while you work and improve results in shared spaces.
- Precision screwdriver set
- Lubricant and small brush
- Gasket sealer or mounting hardware as needed
Preventive Tweaks
Preventive tweaks keep squeaks, sticks, and rattles from returning. Start with the right tools: a compact spirit level, a stud finder, and a quality screwdriver set.
Maintain fasteners and brackets with a lithium grease for hinges and sliding doors; wipe away dust to prevent wear.
Choose soundproofing techniques that fit your space, like foam seal strips around doors and weatherstripping at windows, to block movement before it starts.
Use simple acoustic treatments, such as fabric door panels or dense mats, to dampen impacts where they occur.
Schedule regular checks for loose joints, loose trim, and sagging shelves, tightening or adjusting before noises compound.
Keep a small lubrication kit handy and recheck monthly to sustain quiet performance.
When Noise Signals a Bigger Issue: Signs to Watch For
Noise isn’t just a nuisance; it’s your first alert that something bigger could be wrong. When noise persists or changes tone, you’re seeing maintenance signals, not a random creak. Pay attention to patterns, frequency, and accompanying symptoms like vibration or heat. Quick judgment now can prevent costly fixes later.
- Look for ongoing rattle that worsens with use; it can indicate loose components or misalignment.
- Notice sharp, metallic squeals paired with overheating or odd smells; these point to stressed bearings or electrical issues.
- Wobble, wobble, or pulp-free vibrations during normal operation suggest mounting faults or worn parts needing inspection.
Conclusion
In your home, quiet returns like a settled night after a storm. Picture the hinges easing open with a sigh, floorboards settling into a steady heartbeat, and drawers gliding shut as if on velvet rails. You spot the creak, you grab the lube or shim, you smooth the path. Each fix is a small victory, a doorway to calmer spaces. You’ve got the tools, you’ve got the method, and you’ve earned the silence you set out to reclaim.