
To install a floating shelf the right way, start on a clean, level surface and locate studs or appropriate anchors. Choose hardware rated for your wall, predrill, and tighten fasteners evenly. Align brackets with studs or use concealed mounting plates for a seamless look, then double-check level and centerlines before mounting. Distribute weight with heavier items centered and lighter ones outward, and seal gaps to finish neatly. If you keep going, you’ll master every essential step for a flawless install.
How to Secure a Floating Shelf: Key Principles
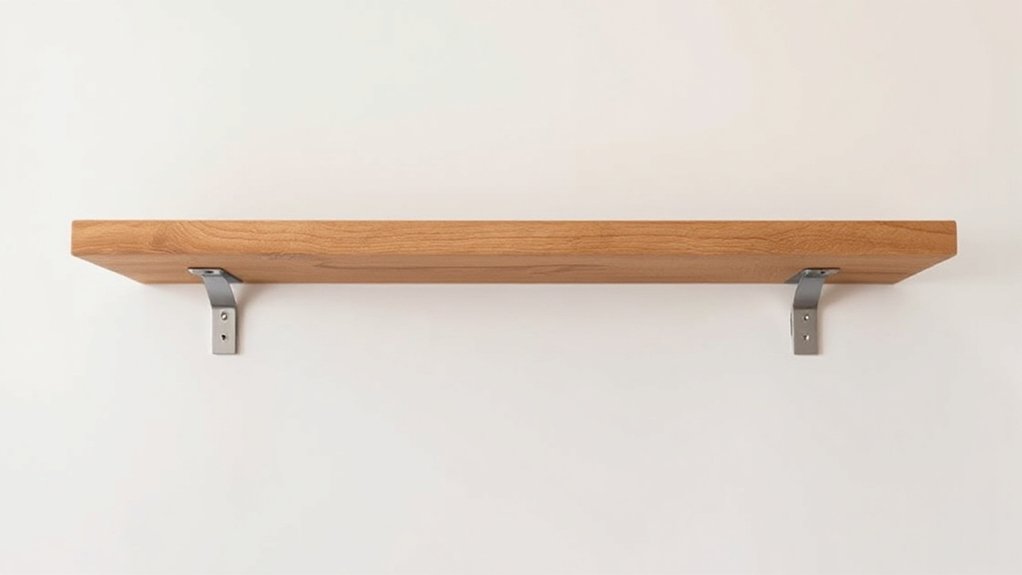
Secure mounting is the foundation of a stable floating shelf. You choose sturdy anchors and studs, aligning the bracket pattern with wall anchors for uniform load distribution. You verify weight limits, then mark precise screw locations, avoiding drywall alone for support.
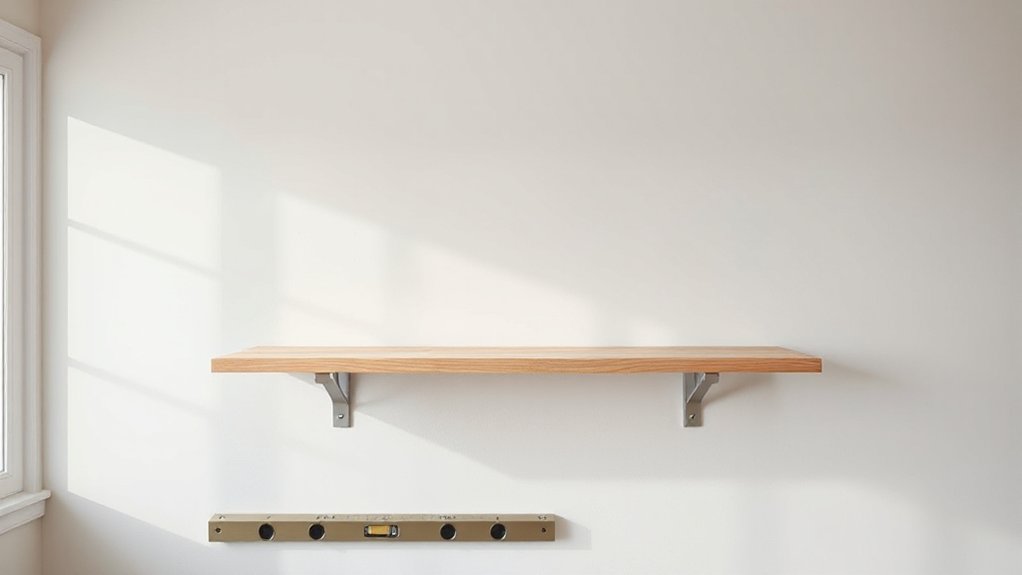
You drill pilot holes, drive fasteners straight, and test bracket rigidity before mounting the shelf. You confirm the rail sits perfectly level, using a spirit level and shim adjustments if needed, because misalignment compromises safety and aesthetics.
You balance function with form, considering decorative accents that enhance the whole display without overpowering it. You plan shelf styling that complements your space while keeping essentials accessible.
You avoid overloading the shelf, maintain even spacing, and regularly check fasteners to preserve long-term stability.
The Tools and Materials You Truly Need
With the right toolkit and materials in hand, you’ll set a solid foundation for a clean, secure install. You’ll need a level, a stud finder, a drill, and appropriate bits for your wall type.
Choose a sturdy shelf and compatible brackets or a recessed, floating system that supports the weight you plan to display. Have a pencil, square, tape measure, and clamps for precise placement.
Use corrosion-resistant screws and wall anchors sized to your wall material. Include a small level handy during mounting and a silicone sealant for gap protection.
For finish and style, gather decorative accents and consider Shelf styling to create a cohesive display.
Keep extra screws, spacers, and a cleaning cloth within reach to finish neatly. Your setup will feel intentional and secure.
Choosing the Best Mounting Method for Your Wall
First, consider your wall type to choose the right mounting method and anchors.
Then, weigh the shelf’s load against the wall’s capacity to guarantee stability.
Finally, match hardware to both wall type and weight guidelines to keep the shelf secure.
Wall Type Considerations
When choosing a mounting method, start by identifying your wall type and its structure, since the material directly influences hardware selection and load capacity. Your choice depends on whether you’re mounting into studs, masonry, or drywall alone.
If you’ve got stud-supported walls, select brackets rated for concealed mounting and use lag screws for solid bite.
For masonry, use sleeve anchors or powder-actuated fasteners with appropriate plugs.
If you’re drywall-only, consider a cleat system or hollow-wall anchors paired with studs when possible.
Pay attention to wall texture—textured surfaces may require longer screws and pre-drilling, or adhesive-assisted options for light loads.
Check paint compatibility to prevent chipping near mounting points.
Align with your comfort level and home’s finish to ensure a secure, polished result that feels like you belong.
Weight Capacity Guidelines
Determining weight capacity starts with your wall type, hardware, and mounting method, then confirming the load you plan to place on the shelf. Your choice should correspond with wall structure and bracket style to prevent sagging or failure.
For drywall, use toggles or studs with long screws; for masonry, anchor sleeves plus appropriate screws ensure solid hold. Distribute weight evenly and don’t exceed rated limits, especially with decorative accents.
Calculate the combined weight of items and shelf board, then select mountings that surpass that total by a safe margin. Consider shelf styles and decorative accents you intend, as heavier displays benefit from deeper supports and steel bracketing.
Prioritize stability over aesthetics to foster confidence in your space and a sense of belonging. Reassess periodically after rearranging.
How to Locate Studs and Avoid Trouble Spots
Locate wall studs safely by testing for firm, vertical backing with a stud finder or small pilot holes.
Avoid trouble spots like electrical boxes, plumbing, and HVAC runs by marking clear areas and sticking to known stud lines.
Ready yourself to verify with a few taps and recheck before drilling to guarantee solid support for your shelf.
Locate Wall Studs Safely
To locate wall studs safely, start by identifying potential stud lines using your hammer and pinpointer or stud finder. You’ll confirm every lead with light taps and a magnetic mark for nails or screws.
Once you’ve mapped the likely path, drill a small test hole to verify the center before mounting. Precision matters, so measure twice and plan your anchor points with your shelf decor in mind.
Guarantee you’re working on solid, level surfaces and avoid plaster seams that can disguise studs. When in doubt, recheck with a second tool and adjust accordingly for wall paint compatibility and weight distribution.
- Verify with a secondary tool to confirm stud centers
- Mark checks at consistent intervals for accuracy
- Choose anchors suited to your wall type and load
Avoid Trouble Spots Effectively
To avoid trouble spots, start by cross-checking every potential line for studs with two independent methods. You’ll confirm solid anchors without guesswork, then map out any pipes or wires to avoid surprises.
Use a stud finder, but also confirm with a strong magnetic test and a shallow drill probe for consistent depth. If you detect inconsistent signals, re-check or relocate; never press ahead with uncertain locations.
Mark each confirmed stud top and center, then note the edges to avoid drilling into a mounting gap. Apply decorative accents or shelf styling only after you verify load-bearing points, ensuring clean lines and secure mounting.
This careful approach helps you create a cohesive, inviting display without compromising safety or stability.
Measure Once, Place Perfectly: Placement Essentials
Measure twice to guarantee perfect placement: start by marking where the shelf will sit, then double-check height, alignment, and level before drilling. You want a clean, confident result that feels built to last and to belong in your space.
- Mark anchor positions with a light, precise pencil and verify width against adjacent surfaces.
- Set a temporary mock to confirm depth, height, and visual balance with decorative accents and existing décor.
- Drill and fasten into studs, recheck level, then mount the bracket system steady for reliable shelf styling.
Leveling Methods for a Flawless Lay
You’ll start with a reliable leveling tool and calibrate it for your shelf’s orientation, ensuring a true reading before anything else.
Follow surface preparation steps to create a clean, braced base, because a stable surface prevents drift during installation.
We’ll compare leveling tools and techniques as you proceed, so you can choose the method that best fits your wall and hardware.
Leveling Tools Guide
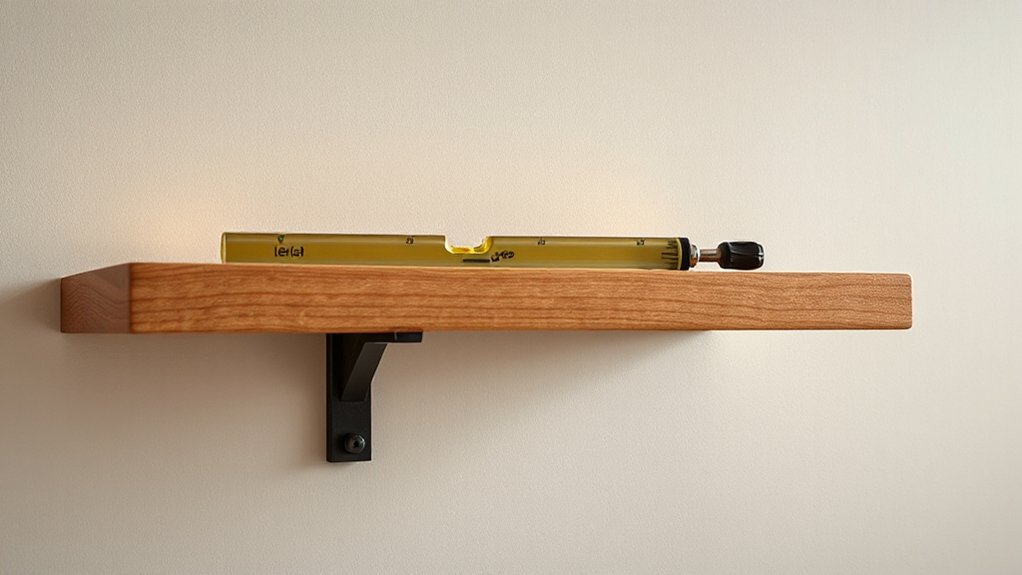
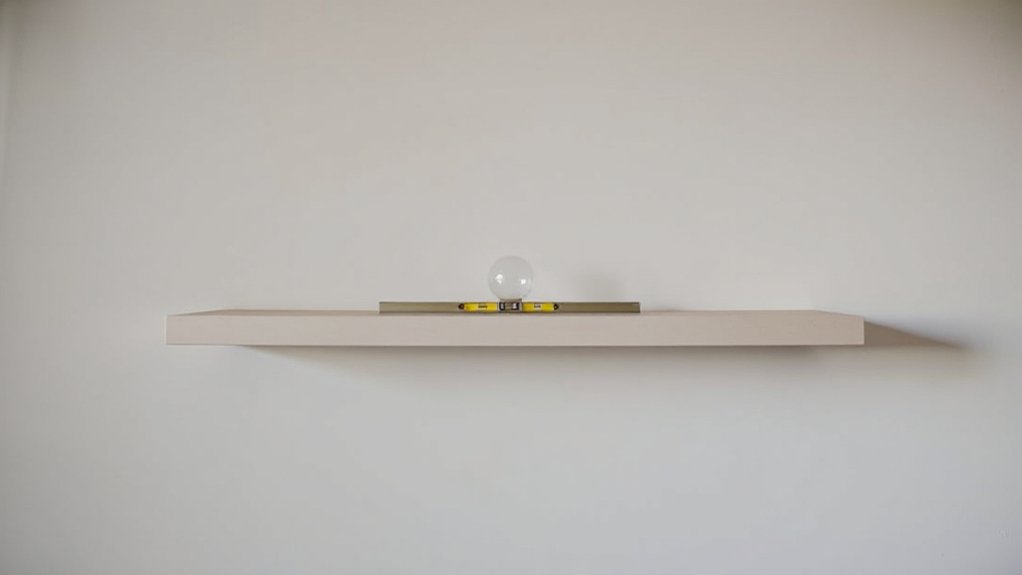
When leveling a floating shelf, start with a reliable spirit level and a steady surface to guarantee precise results from the outset. You’ll verify plumb with a vertical line, then fine-tune with small shims until the bubble sits centered.
Use a pencil to mark wall studs or anchor points, ensuring weight control and stability. Work deliberately, rechecking after each adjustment, to prevent drift over time. This approach supports clean shelf styling and decorative accents, giving your display a balanced, intentional look.
With the right tools, you’ll achieve a professional finish that invites admiration and belonging in your space.
- Use a quality spirit level, a laser line if available, and a straightedge for accuracy
- Mark studs and anchor points precisely, then predrill to avoid wood splitting
- Recheck after mounting, ensuring levelness and secure fasteners for lasting support
Surface Preparation Steps
To achieve a flawless lay, start with a clean, dry surface and plan your approach before you mount. You’ll assess the wall for imperfections, then choose a leveling method that suits the material and your shelf design.
Begin with surface texture checks—squeeze, run your finger, feel for ridges or hollows, and note high spots with a pencil. If you find unevenness, sand or fill accordingly, then recheck.
For painted walls, consider paint preparation before patching; wash grime, wipe dust, and guarantee a crisp edge around repairs.
Use a straightedge to verify plumb, level, and flat against the wall, correcting with patches or self-leveling compound as needed.
Finish by brushing away dust so the mounting hardware has clean adhesion and solid bite.
Preparing the Wall for Mounting: What to Do First

Before you install a floating shelf, inspect the wall to determine what you’re mounting into and how to anchor it securely. You want a solid foundation that supports decorative accents and shelf styling without sagging or shifting. Check for studs, pipes, and wires, and plan anchors accordingly.
If you find drywall-only sections, choose appropriate anchors or locate studs for maximum strength. Clean the surface, remove dust, and repair any gaps that could misalign the bracket system later.
Consider ambient factors like humidity and sunlight, which can affect weight and finish over time. Ensuring quality prep now saves adjustments later and helps you feel you belong in a well‑organized space.
- Locate studs and plan anchor points
- Test for level and plumb before marking
- Patch, clean, and protect surrounding area
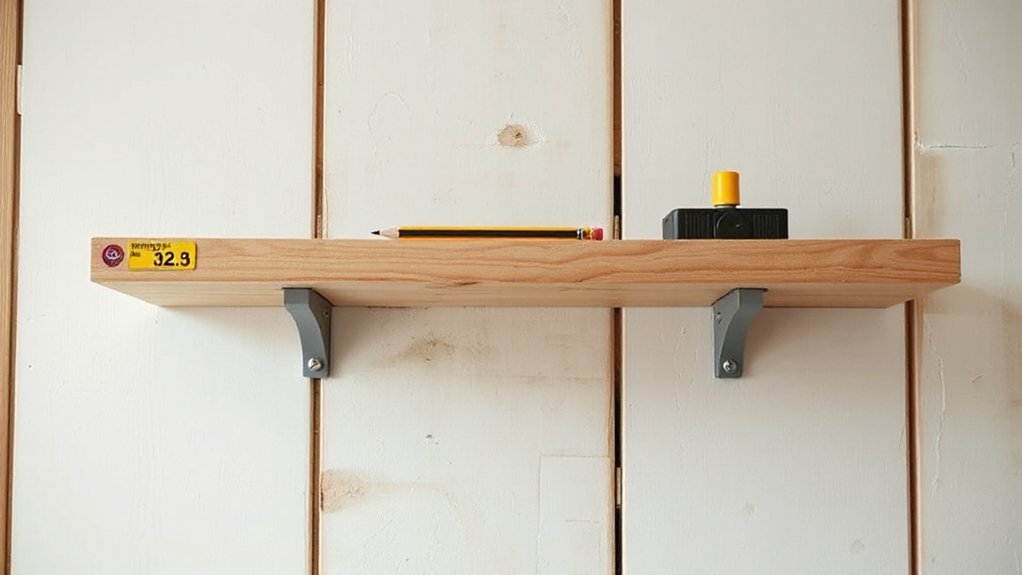
Step-by-Step: Installing a Strong Bracket System
Choosing the right bracket is your first move, balancing load rating, shelf width, and wall type.
You’ll pair a sturdy bracket system with secure mounting techniques to guarantee lasting support.
We’ll cover a clear bracket selection guide and proven securing methods to get you there confidently.
Bracket Selection Guide
A strong bracket system starts with selecting the right type and size for your shelf and wall material. You choose brackets that match load, anchor type, and span, ensuring safe, level support for long-lasting display.
- Match weight rating to your shelf and items, not just decorative looks
- Consider wall material (studs, drywall, concrete) to pick compatible anchors and screws
- Align bracket style with shelf styling and decorative accents for cohesive visuals
With the right bracket, your space communicates belonging and confidence. This choice sets the tone for sturdy performance and tasteful presentation, so you can focus on arranging items—without worry.
Secure Mounting Techniques
To set up a strong bracket system, start with precise measurements and a solid anchor plan. You’ll locate studs, mark level lines, and verify perfect spacing for brackets. Use a stud finder, confirm wall material, and choose appropriate fasteners.
Install first anchors or screws into studs, then mount brackets squarely with level alignment. Tighten all fasteners firmly, but avoid overtightening that could strip threads.
Distribute weight evenly and test by gently applying downward pressure before mounting the shelf. This disciplined approach prevents wobble and guarantees long-term stability.
Decorative accents provide personality, yet remain balanced with the bracket system and shelf. When you style, plan around shelf styling and keep items light near ends to maintain symmetry and belonging within the space.
When to Use a Hidden Cleat for a Clean Look
Hidden cleats offer a clean, nearly invisible mounting when you want the shelf to appear weightless. You use a hidden cleat when you want the support to disappear from sight while maintaining strong, even load distribution.
This method suits rooms with minimal décor or where the sculpture of the shelf stands alone, contributing to a clean look your guests will notice.
- Choose a hidden cleat for a seamless profile in open, uncluttered spaces
- Use when you want distraction-free lines and a weightless shelf appearance
- Reserve for lighter to moderate loads to preserve the clean look over time
Anchors and Fasteners by Wall Type: Studs, Drywall, Masonry
Anchors and fasteners you choose depend on the wall type: studs, drywall, or masonry. When you’re anchoring decorative accents, pick fasteners that bite solidly and distribute weight evenly.
For studs, use wood screws or through-bolts with washers, or heavy-duty toggles if you can’t hit a stud, and align with the shelf’s weight expectations.
Drywall requires anchors rated for payload, like toggle or screw-in anchors, plus longer screws into a stud when possible.
Masonry calls for masonry screws or sleeves with plastic anchors and a hammer drill for clean, secure placement.
Consider shelf styles and weight distribution to avoid sag. Always predrill and check level before mounting.
Your goal is a clean, unified look that reinforces belonging, not just support.
How to Mount the Shelf to Brackets or Cleat
Once you’ve prepared the wall and brackets or cleat, position the shelf so the bracket arms or cleat align with the mounting points and the weight will distribute evenly. You mount by securing the brackets or cleat first, then slide the shelf into place, guaranteeing full contact along the supports.
Check levelness and tighten screws incrementally to avoid tilt. Use decorative accents sparingly to highlight the shelf’s lines without overpowering its structure, then confirm alignment with a quick measurement across corners. This step ensures stability while preserving clean, minimalist aesthetics that suit any Shelf styles approach.
Your setup should feel intentional and cohesive, inviting you to display items with confidence and belonging.
- Align and secure brackets consistently
- Verify levelness before final tightening
- Choose decorative accents that complement Shelf styles
Weight Limits and How Load Distributes Safely
Understanding weight capacity starts with knowing your shelf’s rated limit and how it shares load across the brackets or cleat.
You’ll prioritize even distribution and place heavier items toward the center to reduce point stress.
Consider real-world scenarios—books, decor, and pantry items—to gauge how distribution affects overall safety.
Weight Capacity Basics
What’s the weight capacity of your floating shelf, and how does that load distribute safely? You’ll respect limits by planning around the heaviest items first, then fill with lighter pieces. Proper distribution keeps your shelf steady, reduces wobble, and protects walls from strain.
Follow these principles to guarantee reliability and a sense of belonging in your space.
- Prioritize max load per shelf and distribute evenly across the surface
- Place decorative accents and gifts with heavier items toward the center or back
- Consider shelf styling that balances weight visually and physically
Distribution Across Bracket Points
To keep a floating shelf steady, place the load so that weight is carried across multiple bracket points rather than concentrated on a single spot. You’ll maximize stability by evenly distributing items along the shelf, especially decorative accents, so the center isn’t overstressed.
Prioritize balanced placement: heavier items toward the center or along the line of support, with lighter decor toward the ends. Use shelf accessories to organize weight and avoid tipping, ensuring gaps between objects don’t create point pressure.
Confirm bracket alignment and uniform screw engagement into studs, not drywall alone. Respect weight recommendations for your hardware, and distribute weight gradually during setup to verify balance.
This deliberate approach fosters reliability, reduces sag, and invites a confident, shared sense of craft among your home’s inhabitants.
Real-World Load Scenarios
Real-world loads can vary widely, so always verify your shelf’s weight rating and distribute items accordingly to stay safe. You’ll balance weight by placing heavier items toward the center and lighter pieces outward, avoiding sudden shifts that stress the mounting.
Consider the shelf materials and how they respond to dynamic motion; sturdy wood or engineered composites handle typical decorative accents without sag. Keep a practical limit in mind for every installation to guarantee long-term reliability and safety.
- Distribute decorative accents evenly to prevent tipping and keep the display cohesive
- Pair weight with consistent depth from the wall to reduce lever forces
- Rotate items periodically to test load response and preserve shelf integrity
Aesthetics: Lining up With Studs and Centerlines
When you install a floating shelf, alignment with studs and centerlines isn’t optional—it’s essential for strength and clean aesthetics. You’ll want the shelf positioned so screws hit solid wood, not drywall. Mark stud centers and vertical centerlines, then verify with a level. This precise alignment ensures even weight distribution and a seamless look.
Consider decorative accents you’ll place nearby; alignment makes profiles appear intentional, not improvised. Coordinate color tones across wall, shelf, and accessories, so the setup feels cohesive rather than accidental.
Use a laser or bubble level to confirm horizontal and vertical accuracy before securing hardware. With correct reference points, you create a dependable anchor point for your display, inviting guests to notice the balance and thoughtful construction rather than the effort behind it.
Concealing Hardware for a Seamless Finish
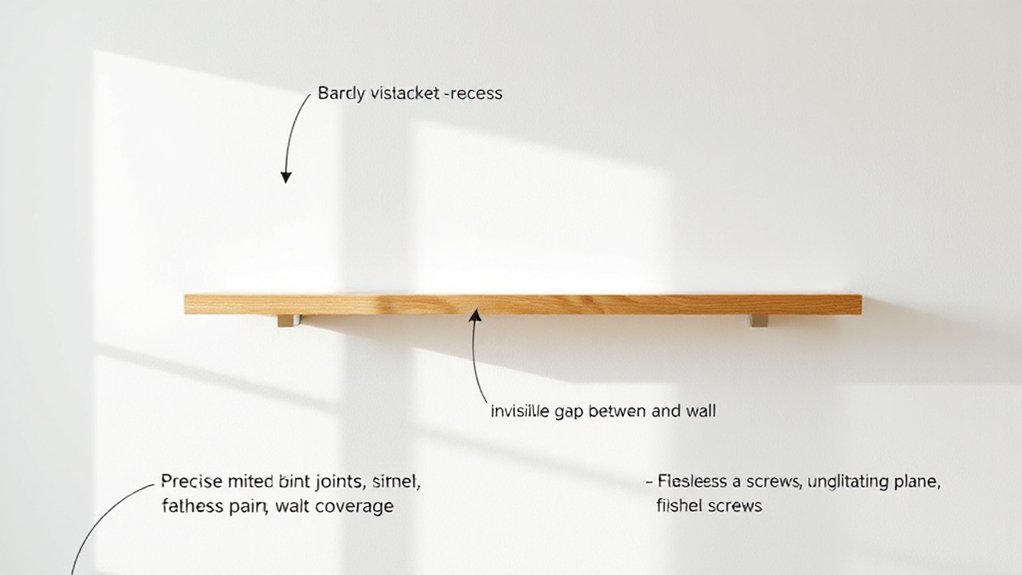
Hidden mounting hardware can quickly reveal itself if you don’t plan for a seamless look. To conceal it, install a recessed mounting plate and slide the shelf over the hardware before securing it. Use long grub screws or bolts that thread into a hidden cleat, so nothing clinks when you set items down. Paint or stain the hardware to match the shelf edge, keeping the finish uniform and clean.
Clean lines create a sense of calm and belonging in any room, enhancing your decor without distraction. Focus on minimal visible support, not hardware details, so your display feels intentional and cohesive.
- Choose decorative accents that reinforce the shelf’s outline
- Position supporting studs and brackets to minimize gaps
- Implement shelf styling that smooths the transition from wall to items
Troubleshooting Common Installation Hiccups
Despite careful planning, installation hiccups happen; the key is to diagnose and fix them quickly. If a shelf sits crooked, double-check the level and the mounting bracket alignment. Reconfirm studs, wall anchors, and screw torque, then reseat the supports as needed.
If the shelf wobbles, tighten hardware methodically in a star pattern and test at multiple points. For gaps, reseat the rail or vertical support and verify the floating-inset reveal with a short straightedge.
If weight feels uneven, reassess load distribution and adjust shelving brackets to balance the load. Use decorative accents sparingly during testing to avoid masking true alignment.
Once secure, plan shelf styling with intention, ensuring accessories sit flat and cohesive, so the finished look reinforces belonging and confidence.
Finishing Touches: Caulking, Touch-Ups, and Protection
Caulking, touch-ups, and protection finish the look and lock in your work. You seal gaps, smooth joints, and blend edges so the shelf reads as a single piece. Apply clear caulk along the seam where the shelf meets the wall, then wipe excess for a clean line.
Touch up any chipped paint or unfinished wood, matching your color scheme to maintain a cohesive feel. Protect the result with a light coat of finish or sealant if needed, especially in high-traffic areas.
- Color schemes: guarantee the caulk, paint, and finish harmonize with the room.
- Decorative accents: add subtle details that unify the shelf with surrounding decor.
- Final checks: step back, view from multiple angles, and adjust for flush alignment.
Safety Checks and Ongoing Maintenance
Regular safety checks should be part of your routine once the shelf is up, because steady monitoring prevents damage and injuries. You’ll inspect mounting hardware every few months, looking for loose screws, cracks, or shifting. If you notice wobble, tighten anchors and verify the stud connections before reloading any weight.
Clean surfaces to prevent dust buildup that hides defects, and replace any chipped or degraded brackets promptly. Use decorative accents sparingly to avoid overloading the shelf and affecting balance. Maintain a predictable load, distributing weight evenly and avoiding sharp-edged items that could scratch the finish.
Periodically reassess clearance for doors, drawers, or wall decor, ensuring shelf styling remains harmonious with room use. This routine keeps your display secure, durable, and inviting for everyone in your space.
Quick-Start Checklist for Your First Floating Shelf
Getting your first floating shelf up is quick and straightforward if you follow this concise checklist: gather your tools, locate a stud, and mark the mounting points before drilling. Once the wall is prepared, install the hardware level and secure, then slide on the shelf until it’s firmly seated.
This routine keeps mounting precise and durable, so your space feels intentional and welcoming. Decorative accents help you define style, while shelf styling lets you express personality without clutter. You’ll gain confidence with each step, knowing you’ve created a solid foundation for future updates.
- Confirm stud location and use appropriate anchors for drywall or plaster
- Level the bracket plate before tightening screws
- Arrange decor with balance, leaving negative space for readability
Frequently Asked Questions
How High Should a Floating Shelf Be Installed?
You should install the shelf at eye level, around 57 to 65 inches from the floor, so it reads as a natural focal point. You’ll feel confident choosing decorative accessories that balance height and proportion.
Consider shelf material options that suit your space and weight needs, then place lighter items up top and heavier pieces below. This approach creates a cohesive display, helping you belong in a thoughtfully styled room.
Can I Install Without a Stud? Is It Safe?
Yes, you can, but it’s not recommended to skip studs. If you must, use heavy-duty wall anchors rated for shelves and know you’re compromising security.
You’ll feel more confident using shelf material options like plywood or MDF with proper mounting hardware.
Decorating tips: plan weight distribution, and consider vibration. In community spaces, people notice when you’re precise.
If you install correctly, you’ll belong to a safer, sturdier décor conversation.
What Weight Can a Single Shelf Hold?
A single floating shelf can hold about 15–20 pounds if you’re anchored into a stud and using sturdy shelf material.
For heavier items, distribute weight across decorative accents and avoid concentrated loads.
Always verify your brackets’ rating and use proper anchors if studs aren’t available.
You’ll feel secure when you install it, knowing the shelf supports your decor without sagging.
Keep the weight reasonable to preserve the look and your sense of belonging.
Do Shelves Require Wall Anchors for Drywall Only?
Yes, shelves often need wall anchors for drywall only. If you’re hanging on plaster or masonry, different fasteners apply.
For drywall, use proper anchors or toggle bolts to support weight, especially for decorative accents and storage solutions. You’ll feel secure and included when your setup isn’t wobbly.
Always pre-mark studs when possible, and choose anchors rated for the shelf’s load. This careful approach reinforces belonging as you decorate confidently.
Can I Install Above a Fireplace or Heat Source Safely?
Yes, you can, but tread carefully. Like a sunlit compass, you’ll relocate heat away from the shelf and use heat-safe materials.
Install above a fireplace only if the clearance meets manufacturer specs and you shield the wall with a proper backing.
Opt for decorative accents that stay cool and avoid rapid temperature swings.
This Shelf customization supports belonging; you’ll feel confident, precise, and in control knowing you follow clear safety guidelines.
Conclusion
You’ve got this. With solid studs, accurate measurements, and the right bracket, your floating shelf will hold steady and look sharp. Follow the steps, double-check every mark, and don’t rush the level line. Think of the install as building a bridge between wall and shelf—every joint matters. If a hiccup pops up, pause, reassess, and adjust. When you’re done, caulk, touch up, and wipe away dust. Enjoy the clean, floating finish you created.