
To update light fixtures without rewiring, start by safely evaluating your existing wiring—turn off the main breaker, test outlets, and note wire colors. Choose fixtures that fit your ceiling box and are rated for its load. Use compatible LED bulbs, and confirm dimmer compatibility if you have one. Install fixtures using the existing box or a compatible canopy, ensuring secure mounting and proper grounding. For brighter, efficient results, upgrade lighting layers and controls—you’ll discover more options below.
How to Assess Your Existing Wiring Safely
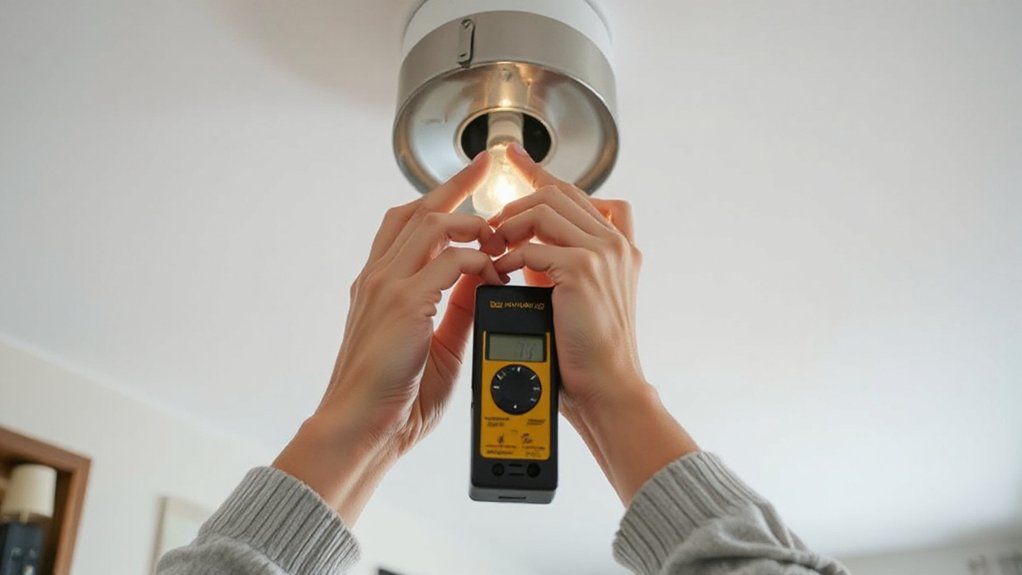
Before you start replacing fixtures, take a careful look at your electrical system. You deserve certainty, safety, and a sense of belonging as you inspect what powers your lights. Start by turning off the main breaker, then test a few outlets to confirm no current flows.
Note the color and condition of wires—copper healthy, insulation intact, no cracking. If you spot fraying, scorch marks, or exposed conductors, pause and consult a pro.
Check the electrical panel for labeled circuits and any signs of overheating. Document amperage limits and whether your wiring matches modern codes.
When you plan upgrades, consider Lighting aesthetics and Color temperature to guarantee consistent, comfortable ambience without overloading circuits.
Trust your judgment, proceed mindfully, and respect safety as you move forward.
Choosing Fixtures That Fit Your Ceiling Box
Make sure your ceiling box size matches the fixture’s mounting strap and canopy so it sits flush and secure.
Check the fixture’s mount type and wire connector standards to ensure clean, safe connections.
If any dimension or wiring isn’t compatible, choose a different fixture or box adapter before you install.
Ceiling Box Size Alignment
Ceiling box size matters because a fixture that doesn’t fit can be unsafe or look off. You’ll want to match fixture size to the box to guarantee secure mounting and a balanced look. When selecting, focus on fit, weight, and depth so installation feels confident and complete.
- Check the box type and measurement: note the square or octagonal footprint and the mounting bracket compatibility.
- Confirm weight rating: guarantee the ceiling box supports the fixture’s weight to avoid sagging.
- Verify clearance: compare fixture height to ceiling depth and existing trim for a clean silhouette.
This approach keeps your space cohesive and welcoming, reinforcing belonging. Prioritize ceiling box, fixture size alignment to prevent surprises and maximize performance.
Fixture Mount Compatibility
Choosing a fixture that fits your ceiling box starts with matching the mounting method to the box type. You’ll prioritize compatibility first, then style, so installation stays straightforward and secure.
A threaded nipple or bar-hinged bracket requires the right crossbar pattern and screw size, while a canopy ceiling box often needs a flat plate and bracket suitable for your weight load.
Confirm box depth and maximum fixture height to avoid clearance issues and wobble.
Consider lighting design goals early—shape, shade, and placement matter for ambience and function.
Energy efficiency becomes a practical baseline: choose fixtures that accept LED bulbs or integrated LEDs, and verify efficiency labels.
When compatibility aligns with intent, you’ll feel confident, supported, and part of a like-minded DIY community.
Wire Connection Standards
When wiring a fixture, you’ll confirm the box’s wire standards and the fixture’s pigtail configuration before you buy.
You’ll also match the fixture’s connection style to your ceiling box, guaranteeing safety and a clean look that fits your space’s Lighting design.
To stay cohesive, check color coordination between wires, screws, and shades, so everything reads as a unified setup.
Use these practical steps to choose confidently:
- Verify box type (single or multi-box) and compatible mounting hardware.
- Confirm wire gauge, conductor count, and pigtail length align with the fixture.
- Ensure color coding and grounding methods match your home’s standards for a seamless finish.
Matching Bulbs and Finishes for Style and Compatibility
Matching bulbs and finishes matters for both style and compatibility. When you choose bulbs, consider color temperature to match room mood and existing fixtures, aiming for a cohesive glow rather than a jarring contrast.
If your fixture supports dimming, check dimmer compatibility with the bulbs you buy; not all LEDs or incandescents play nicely with every dimmer. Opt for bulbs labeled compatible with your dimmer type to prevent buzzing or flickering.
Finish matters too: pick finishes that echo hardware, metal tones, or hardware accents in the room for a pulled-together look. If you’re unsure, bring a quick photo of your space to the store or compare samples in place.
Together, thoughtful bulbs and finishes deliver comfort, flow, and a finished feel.
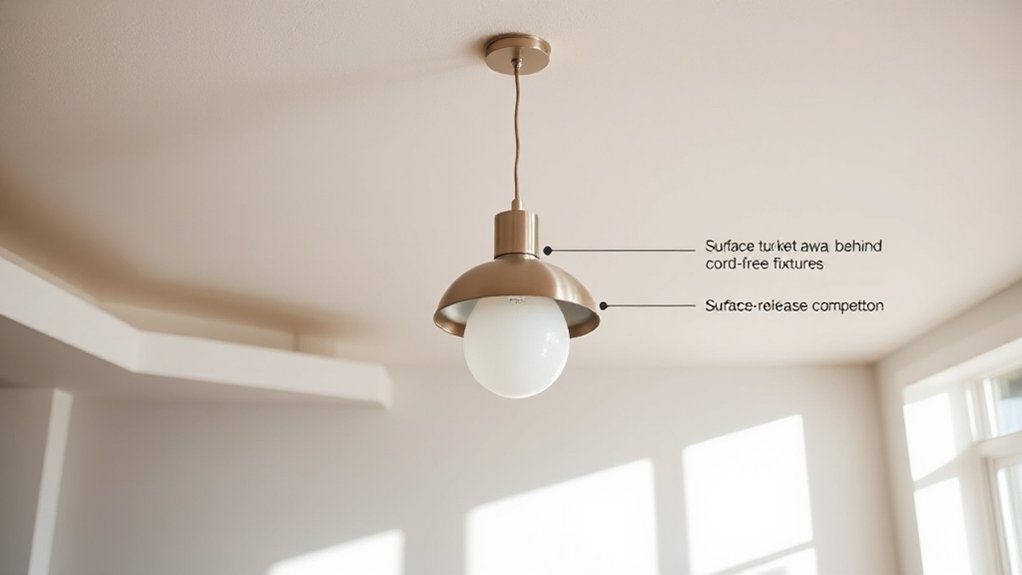
Fixtures That Don’t Require Wiring: Quick Upgrade Options
If you want a quick upgrade without rewiring, consider freestanding or plug‑in fixtures that can be mounted or swapped in place. These options deliver instant atmosphere while keeping wiring out of the picture, so you stay practical and confident in your choices.
As you shop, prioritize lighting trends and durable fixture materials that align with your room’s character.
- Plug‑in sconces or mini pendants: set the mood with scale and texture without altering ceilings.
- Clip‑on or thread‑through lampshades: refresh style while staying flexible for future updates.
- Pendant kits with cord adjusters: tailor height and brightness to space and needs.
These picks offer cohesive design, quick installation, and a sense of belonging through thoughtful, durable choices.
How to Verify Ceiling Box Rating and Load Capacity
Before you swap in a new fixture, confirm the ceiling box can support the weight and the electrical load it’ll carry. In practice, you’ll check the box’s rating stamped on the box or bracket and compare it to your fixture’s weight and amperage.
If you’re replacing with a ceiling fan or a heavy foyer light, verify the box is rated for fans or 70–100 pounds as required.
For dimmer switch compatibility, confirm the box handles the switch’s current draw and any lighting load.
If there’s any doubt, upgrade the box or consult an expert before proceeding.
Proper labeling, clear labeling of circuit terms, and confirming grounding ensure safe, confident installation that keeps you connected to a reliable home.
Tools You’ll Need and Safety Checks Before You Start
Gather your tools and double-check safety basics before you touch a thing. You’ll work with electricity, so focus on control, comfort, and confidence. Before you start, verify you have the essentials and guardrails to keep you steady—and accepted by the group you’re doing this for.
- Insulated screwdriver, voltage tester, and a sturdy ladder
- Wire nuts, electrical tape, and a non-contact tester
- Safety glasses and gloves, plus a flashlight for dim ceilings
Keep these standards in mind: switch off power at the breaker, confirm zero with a tester, and never touch exposed conductors. Lighting trends and fixture materials inform your choices, but safety comes first. If something feels off, pause and reassess to stay aligned with the group’s trusted methods. Confidence grows when preparation is clear.
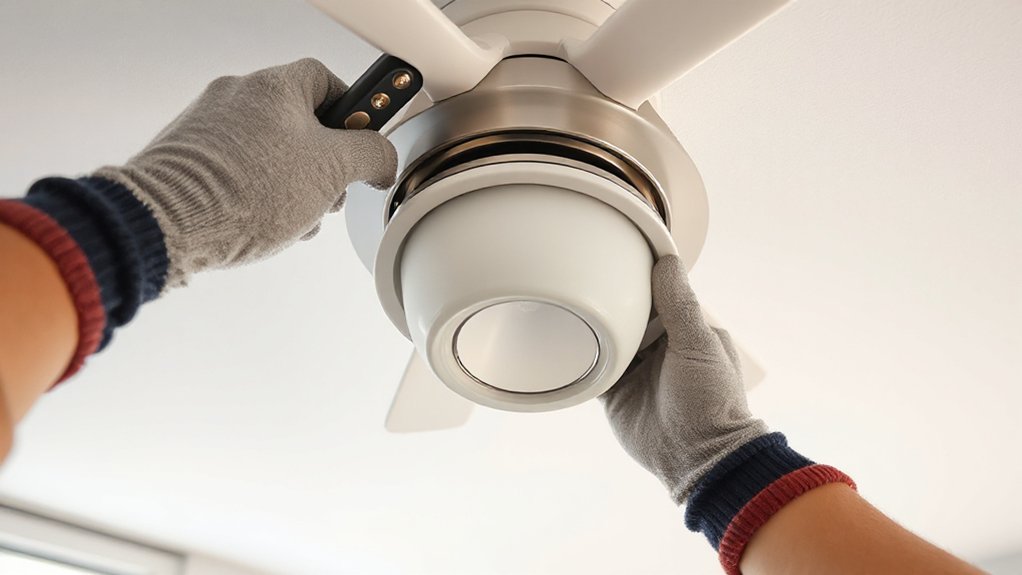
How to Remove an Old Ceiling Fixture: A Step-by-Step Guide
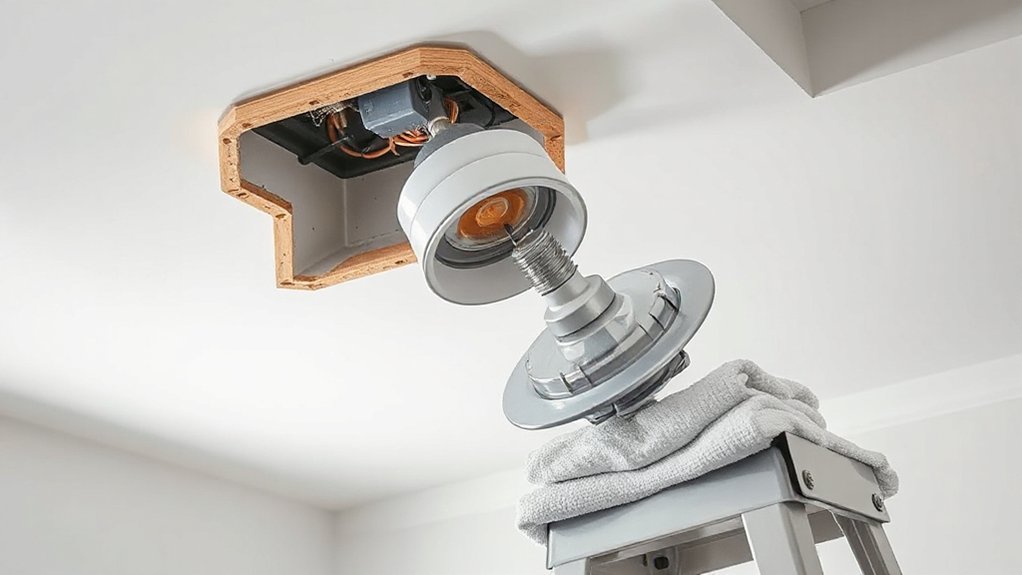
To remove an old ceiling fixture, start by turning off the circuit at the breaker, then verify there’s no power with a non-contact tester.
You’ll gain control quickly by documenting the wiring color codes and keeping a clear path to the switch.
Gently support the fixture to prevent it from dropping, then detach the mounting screws or bracket.
Disconnect the wires, noting which color connects to which house wire.
Remove the old base and set aside components for recycling or reuse.
Inspect the ceiling box for stability and replace if damaged. This step prepares you for better lighting installation choices.
When you’re ready, evaluate fixture selection for compatibility with amperage, box size, and room aesthetics—no rush, just a safe, confident progression.
Install a Pendant or Swag Light Without Rewiring
If you want a pendant or swag light without rewiring, you can install it by using the existing ceiling box and a suitable mounting kit. This approach keeps installation simple, fast, and secure while you preserve the room’s flow and decorative accents. You’ll enjoy improved energy efficiency with modern LEDs and dimmable options, without the mess of rewiring.
- Check the ceiling box rating and choose a compatible pendant or swag kit with an integrated canopy and mounting bracket.
- Connect the fixture’s ground, neutral, and hot wires, then attach the canopy to the mounting plate and tighten screws for a clean finish.
- Test the switch, adjust height, and tuck wires neatly to maintain a polished look and safe clearance.
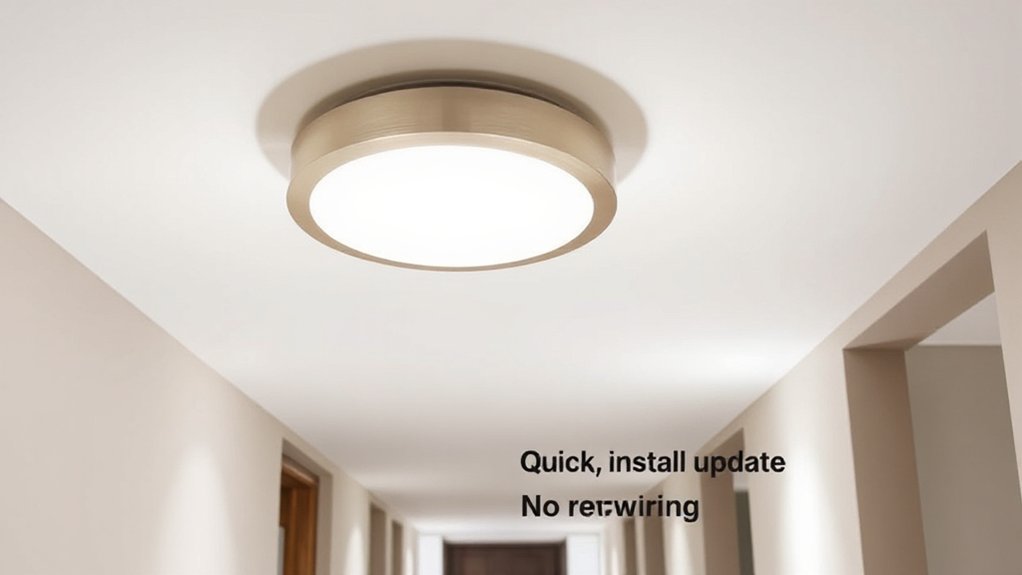
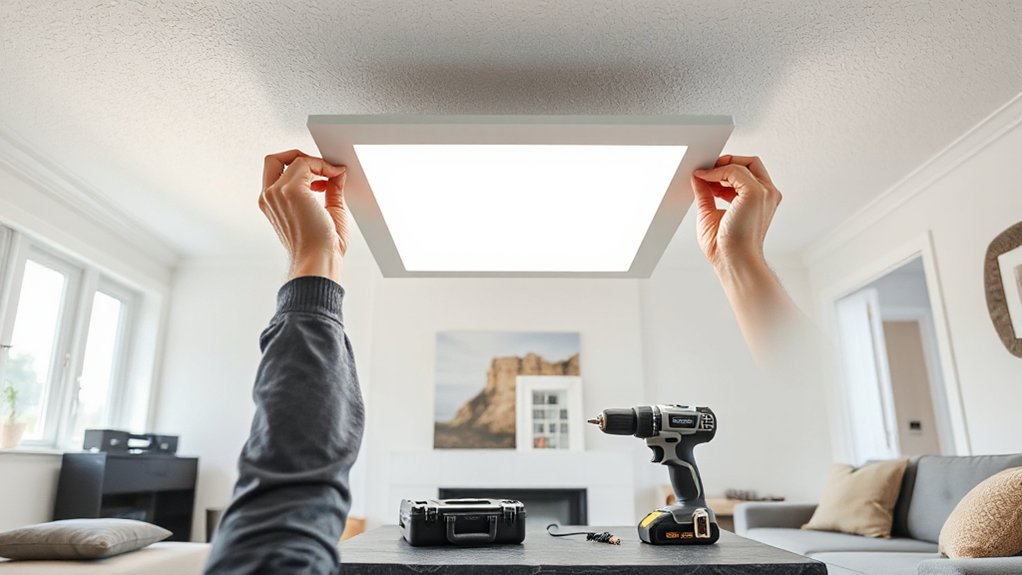
Flush-Mount and Semi-Flush Fixtures: Safe Installation
Flush-mount and semi-flush fixtures sit close to the ceiling, so safe installation starts with a proper box and support. You’ll partner with electrical boxes rated for your fixture weight and a sturdy ceiling joist or bracket, so the ceiling stays secure over time.
Choose vintage fixtures only if the mounting hardware matches the box and canopy dimensions, ensuring a flush fit that minimizes gaps. If you use ceiling medallions, pick one sized to cover any old holes while staying level with the fixture base.
Follow manufacturer instructions for ground, hot, and neutral connections, and test with the power off first. Tighten mounting screws evenly, then perform a gentle shake test.
Finishing touches matter: clean lines, proper alignment, and a safe, confident installation.
Replacing a Ceiling Fan With a Compatible Light
Before you swap a ceiling fan for a compatible light, confirm the ceiling box type and verify it supports a fixed-light fixture.
Check wire conversion needs and whether a neutral, ground, or line setup requires adapters or new wiring.
Also verify that your light switch is rated for the fixture’s amperage and control method to avoid tripping or compatibility issues.
Matches Ceiling Box Type
When replacing a ceiling fan with a compatible light, start by confirming the ceiling box is rated to support a light fixture and match the fixture’s weight and mounting type. You’ll want confidence in ceiling box types and fixture compatibility before you proceed.
- Verify the box rating (A/V or suitable for fixtures) and make certain it supports the light’s weight.
- Check the mounting bracket and brace to align with the fixture’s mounting pattern.
- Confirm the wiring path and color codes match the replacement fixture’s requirements.
Wire Conversion Requirements
If you’ve confirmed the box can support a light, you’re ready to address wire conversion requirements. You’ll prioritize a safe, compatible approach that fits your existing wiring and voltages.
Verify the fan’s circuit uses a single hot, neutral, and ground, then match these to the new light’s leads. Cap off any unused conductors per device instructions and keep the bundle neat to prevent heat buildup.
Choose a fixture installation that aligns with your ceiling box rating and mounting bracket.
When wiring, adhere to color standards and secure all connections with approved wire nuts.
Test the circuit with the power on, then recheck for secure grounding and proper grounding continuity.
Consider lighting color for the finished look, ensuring a cohesive, welcoming space.
Light Switch Compatibility
Make sure the switch you’re using can control the new fixture. When replacing a ceiling fan, confirm whether the existing switch is a simple on/off or a dimmer/control for multiple speeds. If needed, swap in a compatible switch to match the new lighting design and its load. This keeps your space cohesive and guarantees reliable operation.
- Verify switch type and load rating matches the fixture design.
- Replace or rewire only what’s necessary, preserving essential safety components.
- Label the circuit and test for proper light operation before finalizing.
Lighting art comes from thoughtful switch choices that elevate the room’s character. A compatible switch supports seamless fixture design, unifying form and function without rewiring, and helps you feel you belong to a well-designed home.
How to Secure Fixtures to Prevent Wobble and Gaps
To prevent wobble and gaps, start by tightening the mounting hardware and inspecting the ceiling box. You’ll want a solid ground for any fixture, so check that screws aren’t cross-threaded and that the bracket sits flush against the substrate.
If the box spins, switch to a remodel or fan-rated box and secure with proper anchors. Gently push the fixture up, align the canopy, and tighten all fasteners in a crisscross pattern to distribute pressure evenly.
Seal minor gaps with a minimal, color-matched shim or gasket—not cardboard. For a cohesive look, choose decorative accents that complement existing hardware while maintaining energy efficiency through compact, LED-compatible designs.
When finished, test for wobble and recheck connections after a few minutes of operation.
Recessed Fixtures: Compatibility Limits and Safe Handling
Recessed fixtures have tighter compatibility limits than surface mounts, so you’ll want to verify housing types, trim sizes, and wattage ratings before you buy.
Follow safe handling guidelines to avoid damaging the can or insulation and to reduce shock risk during installation.
If anything seems off, pause and consult the fixture’s specification sheet or a qualified electrician.
Recessed Fixture Compatibility
When handling recessed fixtures, you must guarantee the housing, trim, and bulb are compatible with your ceiling box and insulation conditions to prevent overheating or fire risk. Compatibility matters for performance and safety, so check ratings before purchasing.
- Verify housing type and size match your ceiling cutout and insulation clearance for heat dissipation.
- Confirm trim and bulb wattage align with ballast, housing rating, and dimmer compatibility to avoid flicker or overload.
- Prioritize certified LED options that support Smart lighting features and maximize energy efficiency without sacrificing brightness or color accuracy.
Safe Handling Guidelines
Safe handling starts with insisting on proper compatibility limits and safe practices. You’ll verify that recessed fixtures enclosing the bulb match the fixture material and rated heat levels, preventing overheating.
Always check packaging and label notes for allowed Lighting color and bulb type, ensuring colors don’t imply incompatible coatings or dimmers with certain trims.
Inspect the trench and housing for any signs of wear, corrosion, or moisture, and handle components with clean, dry hands.
When installing or replacing, avoid over-tightening; secure trims without forcing fit.
Keep a clear space around fixtures to prevent heat buildup.
Use gloves for protection and to prevent fingerprints on lenses.
Finally, document the install, noting any deviations and remaining maintenance needs for ongoing safe operation.
Troubleshooting Common Compatibility Issues
Compatibility issues pop up when your new fixture isn’t compatible with your ceiling box, wiring, or switch. You’ll solve them by staying practical and precise, keeping safety top of mind, and focusing on how the fit supports your space’s Lighting design and Energy efficiency goals.
Here’s a quick checklist:
- Verify box type and mounting compatibility with the fixture plate.
- Match wiring color codes and confirm the switch leg wiring won’t create dead or loaded circuits.
- Confirm dimmer compatibility, amperage rating, and bulb type to preserve efficiency and performance.
If something doesn’t align, consider a noninvasive adapter, a different fixture, or professional advice.
Belonging comes from choosing options that feel right for your home and your energy targets.
Understanding Switch Leg vs. Power Feed
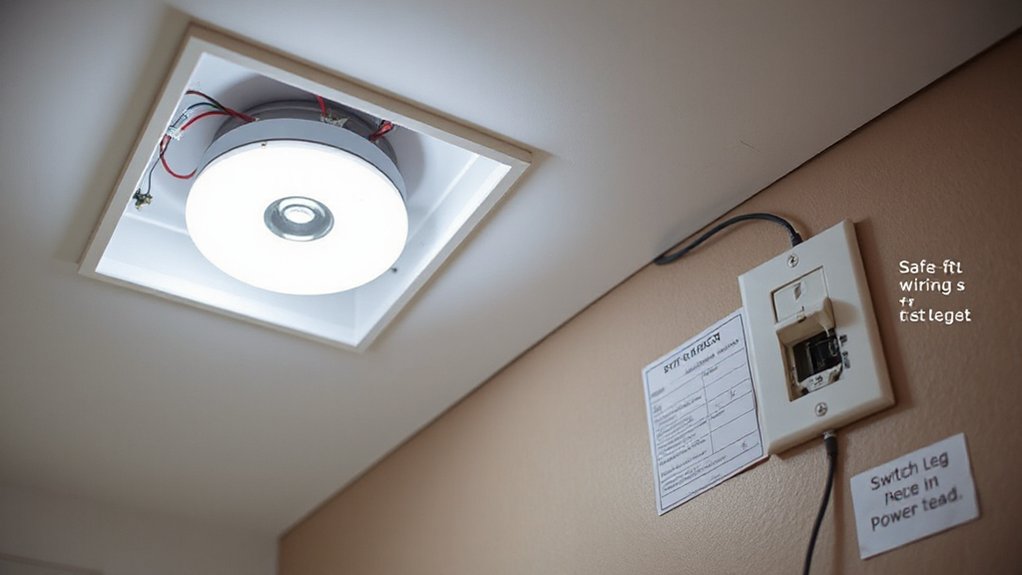
Understanding switch leg and power feed helps you wire safely and correctly. You’ll distinguish where power arrives and where it continues to the fixture, which prevents miswiring and dimming issues.
A switch leg carries switched power from the wall switch to the fixture, while the common neutral and hot feed provide constant power through the circuit. In practice, identify cables with a tester, label the hot feed, and keep neutrals grouped.
This clarity matters for lighting design, ensuring the fixture styles you choose perform as intended. When wiring, connect the fixture’s hot lead to the switched leg, and the neutral to the neutrals bundle. Ground wires stay bonded for safety.
With this approach, you preserve function, enable easy upgrades, and foster confidence in your home improvement projects.
Safe Handling of LEDs for Brighter, Efficient Lighting
You’ll learn safe handling techniques that protect you and your LEDs while you upgrade for brighter, more efficient lighting. Start with practical tips on avoiding static damage, proper cleaning, and secure installation to maximize LED longevity and performance.
We’ll also cover simple brightness tips and efficient practices to get the most out of your fixtures without wasting energy.
Safe Handling Techniques
When handling LEDs, always power down and unplug the fixture before touching any components to prevent shocks or damage. You’ll find safe, repeatable steps that keep your space confident and connected.
- Verify power is off, then use insulated gloves to handle LEDs and drivers.
- Keep components organized—store screws and heat sinks in labeled containers near your work area.
- Test each connection gently after installation, and reassess alignment as you go to maintain kitchen organization and plant care-friendly airflow.
Practice a calm routine: plan, execute, and review. This approach helps you feel belonging to a capable community that values neat, safe upgrades.
LED Brightness Tips
To boost LED brightness safely and efficiently, start with a proper drive current and guarantee your fixture is powered down before any adjustments; small changes can yield noticeable gains without stressing components.
You’ll find brightness improves when you match the driver to your LEDs, avoiding overdrive that shortens bulb longevity. Use devices with stable current output and avoid rapid dimming cycles that can cause heat buildup.
Pay attention to color temperature implications—tuning it can improve perceived brightness without changing lumen output.
When replacing parts, choose high-quality, compatible LEDs and fixtures rated for your target output. Keep a consistent heat sink and proper ventilation to sustain performance.
In practice, subtle tweaks create a cohesive, brighter space you’ll proudly share with your community.
Efficient Lighting Practices
Efficient lighting starts with safe, deliberate handling that protects both you and your LEDs. You’ll maximize energy efficiency and harmony with your space by choosing the right LED quality, color temperature, and driver compatibility. Follow these practices:
- Verify compatibility with your fixture and use proper heat sinking to sustain lighting design integrity.
- Handle LEDs by edges, avoid touching the active surface, and apply gentle pressure to prevent micro‑cracks.
- Optimize placement and dimming compatibility to balance brightness with mood, reducing wasted energy.
Aesthetic Hacks for Better Lighting Without a Remodel
If you’re aiming for brighter, more functional lighting without tearing fixtures apart, start with strategic placement and simple upgrades that make a big impact. You’ll notice immediate benefits by layering light: ceiling cans, wall sconces, and task lighting set where they’re most needed.
Choose color temperature that fits each space—warmer tones for cozy rooms, cooler tones for task zones—to create depth and avoid flatness. Smart controls simplify daily use, letting you adjust brightness and schedules without a rewiring ordeal.
Use dimmers on existing fixtures to broaden mood options, and consider plug-in lamps with adjustable shades to fine-tune spill and focus. Finish with clean, coordinated fixtures and cords tucked away for a polished, welcoming feel you’ll proudly share.
Color temperature and smart controls anchor this aesthetic upgrade.
Quick Fixes and Minor Upgrades That Make a Big Impact
Small changes can transform a room without major remodeling. You’ll notice quick, practical upgrades that don’t require rewiring, yet boost ambiance and efficiency.
Use decorative accents to personalize lighting scenes and unify the space with your style, while keeping energy efficiency in mind.
- Swap to dimmable bulbs and install simple, modern dimmers for mood control and cost savings.
- Update fixture shades or add decorative accents like brushed metal or warm-toned glass to transform the look without heavy renovations.
- Reposition lamps or add a compact, energy-efficient fixture with indirect lighting to reduce glare and create cohesive, inviting illumination.
These tweaks deliver immediate impact, reinforce belonging, and respect your budget on future-proofed, efficient lighting.
When to Call a Pro for Rewiring or Code Concerns
If you’re unsure about wiring or code rules, don’t risk it—call a licensed electrician. You’ll want pro input when you’re dealing with outdated wiring, signs of overheating, or noncompliant panels.
Stay aware of local codes and have a professional confirm all work meets safety standards.
When to Hire A Pro
When should you call in a pro for rewiring or code concerns? You know safety comes first, so if you’re unsure about electrical work, bring in a licensed electrician. A pro helps avoid hazards, ensures code compliance, and protects your home’s value.
Keep these signals in mind:
- You notice tripped breakers, scorch marks, buzzing outlets, or warm fixtures.
- You’re changing wiring, upgrading to new dimmers, or pairing unusual fixture style with existing boxes.
- Local codes or HOA rules require documentation or inspections, and you’re unsure of requirements like color temperature compatibility.
If you’re comfortable assessing basic conditions, you can start with a plan that matches your fixture style and preferred color temperature. When in doubt, call a pro.
Code Compliance Cues
Code compliance isn’t optional: if rewiring or fixture changes trigger permitting, inspections, or specific electrical box requirements, you should call a pro. You’ll know you’re in the right lane when local rules demand an inspection or a licensed electrician signs off on the project.
Don’t push past safety margins or DIY beyond simple, non-load-bearing tasks. Check your box rating, wire size, and fixture compatibility before buying. If anything seems ambiguous—especially with vintage styles or decorative bulbs—pause and verify with a pro to avoid penalties or fire risk.
Document permits and inspection results for future updates. Prioritize clear labeling, grounded connections, and secure mounting.
When in doubt, lean on expertise; your home’s reliability and your sense of belonging depend on it.
Frequently Asked Questions
Can I Install a Smart Bulb Without Rewiring My Ceiling Box?
Yes, you can, but it depends on your ceiling box and fixture.
A smart bulb is typically plug-and-play if the socket is standard and the fixture doesn’t require rewiring.
Check Smart bulb compatibility with your bulbs and dimmers, and verify the ceiling box standards allow LED/Smart bulbs.
You’ll likely need a neutral, compatible ballast, and an even, secure mount.
If unsure, consult an electrician.
Will a New Fixture Fit if My Box Is Oddly Sized?
Yes, a new fixture can fit if your box is oddly sized, but you must verify fixture compatibility and box sizing first.
Measure the opening and compare mounting brackets, screw holes, and depth with the new unit.
Choose a fixture that matches the box’s standard or uses adapter plates.
If needed, opt for adjustable or universal mounting options, and confirm electrical compatibility.
When in doubt, consult a professional for safe, lasting results.
Do I Need a Dimmer if I Don’T Rewire?
No, you don’t necessarily need a dimmer if you don’t rewire. You should still check Lighting compatibility with your new fixture and guarantee Fixture safety, especially with existing wiring and boxes.
If your switch is compatible with dimmable bulbs, a dimmer can work, but only within the fixture’s electrical limits.
When in doubt, consult a pro to confirm compatibility and avoid overloads that could trigger hazards or limit performance.
Belonging starts with safe, informed choices.
How Do I Disguise a Bulky Fixture Without Rewiring?
“Better safe than sorry,” you tell yourself. You can disguise a bulky fixture without rewiring by using decorative covers that blend with your ceiling and fixture extensions that add depth without bulk.
Install a slimmed-down canopy and a drop-in cover plate, then pair with complementary trim. This keeps proportions balanced, looks intentional, and preserves your room’s flow.
You’ll feel connected and confident, knowing you chose a practical, stylish fix that fits your space.
Is There a Weight Limit for Surface-Mounted Fixtures?
Yes, there’s a weight limit for surface-mounted fixtures; you must check fixture compatibility and weight capacity before installation.
If your ceiling box or mounting plate specifies a maximum load, stay within it, and don’t mix heavy fixtures with unsupported spans.
Choose lighter materials, verify support screws, and use a rated mounting hardware kit.
You’ll feel safer and more confident, knowing your choice fits your space and your community standards.
Conclusion
If you follow these safe, no-rewire upgrades, you’ll brighten your space without mess or risk. You’ll choose fixtures that fit your ceiling box, match bulbs and finishes, and use quick-upgrade options that don’t require electrical work. Anticipated objection: “I’ll just rewire later.” Instead, you’ll verify box rating, handle LEDs properly, and know when to call a pro for code concerns. With practical steps, you get stylish, efficient lighting now and secure, compliant performance for years to come.