

To refresh a bathroom with paint only, start with moisture-ready primers and durable, satin or semi-gloss finishes to resist humidity. Light, reflective colors brighten small spaces, with neutral bases and gentle accents. Prep thoroughly: patch drywall, repair cracks, and deglose tiles if needed. Use proper ventilation, control humidity, and seal joints. Apply thin coats, let each cure fully, and test lighting to guide color choice. With the right technique, you’ll gain a fresh, cohesive look — more tips await.
What Painting Fixes in a Bathroom Makeover
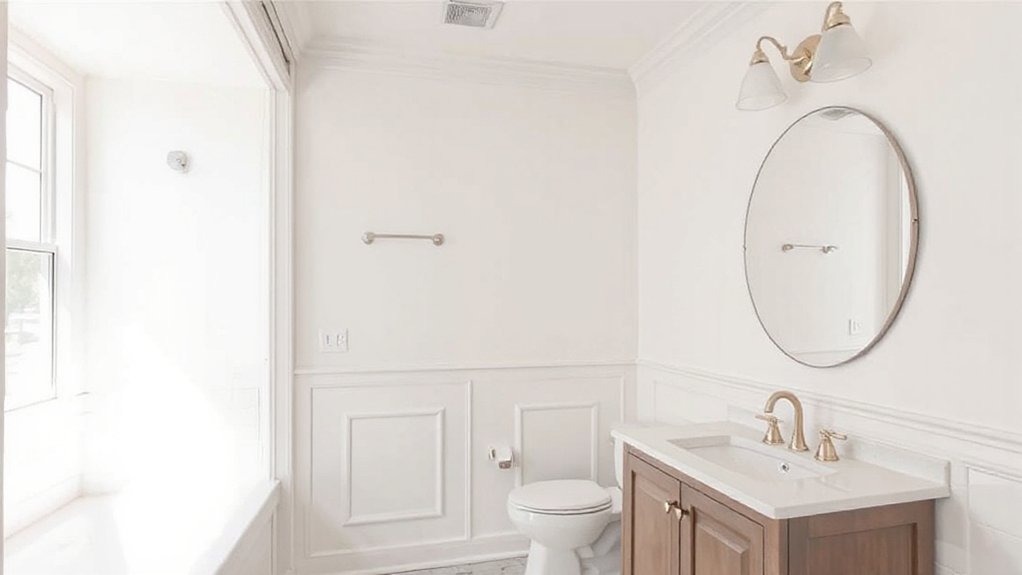
Painting is the quickest way to refresh a bathroom, and it fixes several common makeover issues at once. You’ll address dull walls, scuffed surfaces, and outdated tones by choosing a cohesive approach to bathroom decor.
A fresh coat conceals water stains, minor cracks, and peeling paint, restoring a clean, inviting feel. You’ll also control mood and lighting with a Custom color that enhances natural light and perceived space.
By selecting durable, moisture-resistant finishes, you reduce maintenance and extend longevity between projects. This choice supports belonging, showing you care about shared spaces and daily routines.
With careful prep, primer, and multiple thin coats, your walls become a sturdy foundation for practical upgrades, ornaments, and personal touches that unify the room. Your refreshed bathroom reflects thoughtful taste and dependable results.
Best Paint Finishes for High-Humidity Bathrooms
High-humidity bathrooms demand finishes that resist moisture, mold, and peeling. You want a durable choice that stands up to steam, splashes, and daily use without frequent touch-ups.
Flat finishes soak up moisture and show water spots; gloss options glare but clean easily. The sweet spot is between eggshell and satin: they hide imperfections while resisting humidity and mold better than flat, and remain easy to wipe.
Look for mold resistant paints labeled as bathroom or extra-sheened with moisture-blocking additives. For high-traffic surfaces, consider semigloss on trim and cabinets, and satin on walls for a balanced, washable finish.
Pair with proper ventilation and sealed joints around fixtures. Remember: bathroom fixtures deserve finishes that protect their look as long as you do.
How to Choose Colors That Brighten Small Baths
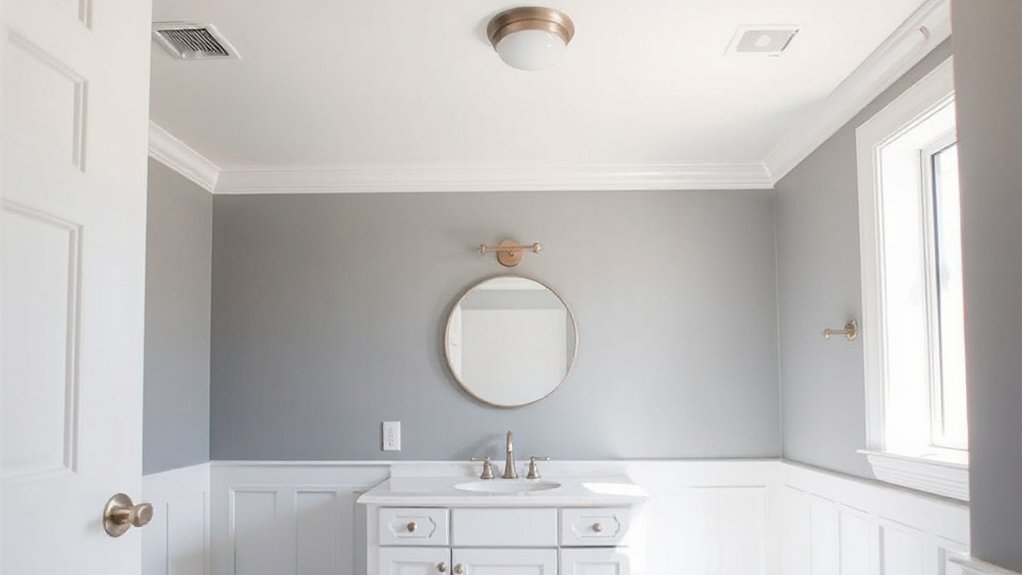
To brighten a small bath, choose colors that reflect light and create the illusion of space. You’ll want a palette that feels cohesive, not jarring, so start with a neutral base and add gentle accents.
Light colors—soft whites, pale grays, or warm beiges—maximize daylight and make surfaces recede. Implement color psychology by pairing calming tones with bright whites to foster a sense of openness. Then use a single saturated accent to guide the eye without clutter.
Consider lighting effects: mirror placement, reflective tiles, and satin finishes bounce light deeper into the room. Test swatches in both morning and evening to confirm what you see.
Aim for consistency across walls, cabinetry, and accessories to cultivate belonging and a refreshed, airy bath.
Prep Steps to Stop Leaks and Prevent Mold
Start by identifying likely leak points—around sinks, toilets, showers, and along the tub edges—then seal and repair visible gaps before painting.
Implement mold prevention measures like drying floors promptly, improving ventilation, and using mold-resistant primer in damp zones.
Stay proactive: fix leaks now, so your paint job lasts longer and your bathroom stays healthier.
Identify Leak Points
Identifying leak points is the first step to a mold-free refresh. You’ll inspect fixtures, joints, and seals with a calm, systematic eye, because careful detection saves you time and money.
Start at the ceiling and walls for staining or discoloration that hints at hidden moisture. Check under sinks, around toilets, and behind shower enclosures for signs of dampness or soft spots.
Use a flashlight and a moisture meter if accessible; even light areas can reveal slow leaks. Track any water sources you find to their origin, then repair or replace promptly to prevent further damage.
Practice leak detection as routine maintenance, and plan color coordination ahead so your paint choices reinforce a clean, cohesive look. This mindset supports belonging and confident upkeep.
Mold Prevention Measures
Once you’ve pinpointed leak points, the next step is to prevent mold before it takes hold. You’ll create a stable bathroom environment by moderating humidity, sealing gaps, and choosing the right primers.
Use mold resistant primers to form a protective barrier before painting, then maintain airflow with exhaust or vent fans. Keep surfaces dry after showers and repair drips promptly to cut moisture supply at the source.
- Inspect and seal around tiles, sinks, and cabinetry
- Choose Mold resistant primers and paint with proper ventilation
- Manage Bathroom humidity with a fan or dehumidifier
- Wipe damp surfaces and fix leaks within 24 hours
Surface-Specific Strategies: Tiles, Tubs, and Fixtures
Tiles, tubs, and fixtures each demand a tailored approach to refresh with paint. You’ll prep tiles with a deglosser to remove gloss, then apply a high-adhesion enamel for durability.
For tile patterns, choose a solid color or restrained accent to preserve depth without oversaturation; a satin finish helps hide texture and wear.
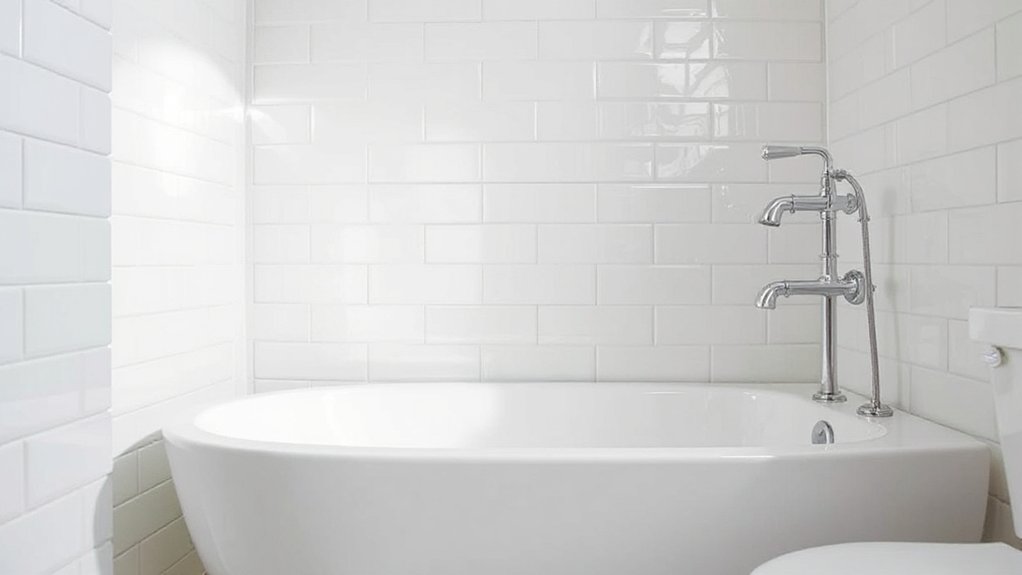
Tubs respond best to an epoxy or ceramic-safe coating that resists moisture and cleaning. Choose a color that complements existing fixtures to unify the space, and consider a light gloss for a clean, refreshed look.
Fixtures styles dictate hardware color and finish; match hardware to the chosen paint sheen for a cohesive vibe.
Finally, follow manufacturer’s cure times and ventilate well to guarantee long-lasting results.
Repairing Drywall and Plaster Before Painting
Before you paint, fix any drywall or plaster defects to keep your finish smooth and durable. You’ll address cracks, dents, and peeling texture so the new color sits evenly. Drywall repair and plaster restoration aren’t optional steps; they’re the foundation of a long-lasting result.
Use patching compound for small holes, mesh tape for cracks, and a skim coat on rough areas. Sand smooth, wipe away dust, and prime if needed to prevent stains from showing through.
- Identify problem spots with a flashlight and pressure, then plan repairs
- Apply compound, embed tape, and feather edges for invisibility
- Sand between coats and seal with a light dusting
- Guarantee patches are flush with surrounding surface before painting
Primers That Perform in Moisture-Prone Baths
When moisture is a constant in a bathroom, you need primers that stop stains and resist mold growth. In moisture-prone baths, choose primers that form a solid base, with proven Primers effectiveness against water intrusion and staining.
Look for moisture resistant coatings that cling to damp surfaces and dry evenly, so you don’t fight peeling later. Prepare walls by removing loose flaking and smoothing edges, then apply a stain-blocking primer designed for bathrooms, not generic wall primers.
Two thin coats beat one heavy coat, and a breathable topcoat prevents trapped moisture. Prefer products labeled for bathrooms or kitchens, and follow manufacturer recoat times closely.
With the right primer, your paint project stays cleaner, brighter, and lasting, building confidence in your refreshed space.
Building a Moisture-Barrier Painting System

A moisture-barrier painting system starts with a clean, dry surface and a breathable, moisture-resistant base that bonds firmly to the substrate. You’ll tighten the barrier by choosing low-VOC primers and paints, plus a moisture-sealing topcoat that resists mildew and humidity swings. Establish continuity with compatible products so you don’t trap moisture behind layers.
- Surface prep that reveals clean, dry substrate and smooths flaws
- Moisture-resistant primer as a binding base and moisture guard
- Tinted, breathable topcoats that seal joints without cracking
- Decorative accents in color-blocks or trims using color psychology to set mood
This approach blends function with style, inviting you to enjoy cohesive spaces. You’ll feel belonging as you control humidity, preserve finishes, and express personality through decorative accents.
Ceiling Painting: A Step-by-Step for a Fresh Lift
Ceiling painting can instantly lift a room, and doing it right is mostly about clean prep and steady technique. You’ll start with a fresh, dust-free surface; scrape only where needed and patch with smooth joints.
Choose Ceiling paint that resists moisture and mildew, then cut in along the edges with a steady hand. Use a short-nap roller and work in even, overlapping passes to avoid streaks.
Maintain a comfortable pace, letting coats dry thoroughly between steps. Ventilate well to control moisture as you work, and protect adjacent walls with tape and drop cloths.
Apply a second coat if you notice uneven coverage, especially near corners. Finish with a meticulous cleanup so the finish remains crisp and timeless, reinforcing a sense of belonging in your updated space.
Clean, Durable Wall Coats: Painting Technique Guide
Start with solid surface prep, smoothing and priming as needed to guarantee a durable base.
Then apply even coats using proper technique for a tough, washable finish.
Address touch-ups and maintenance to keep the coat looking fresh.
We’ll cover surface prep steps, durable finish techniques, and practical touch-up and care so you can keep your bathroom walls looking new.
Surface Preparation Steps
Before you paint, you must prepare the surface to guarantee a durable finish. You’ll clean, repair, and seal so paint adheres and lasts, while keeping a sense of belonging in your space. Consider how bathroom decor and lighting options influence your prep choices, ensuring the result feels cohesive.
- Clean walls with a mild detergent, rinse, and dry thoroughly to remove soap films.
- Scrub grout lines and corners, addressing mildew with a bathroom-safe cleaner.
- Patch dents, cracks, and nail holes; sand smooth for an even base.
- Prime glossy or stained areas to enhance adhesion and even out porosity.
This groundwork supports clean, durable coats and a confident, personalized result.
Durable Finish Techniques
To guarantee the finished look lasts in a damp bathroom, focus on two things: surface condition and the right coating. You’ll choose durable, washable finishes, then apply in thin, even coats to prevent peeling and mold growth.
Start with a high-quality primer suited for moisture resistance, especially on drywall and tile edges. Select a semi-gloss or satin enamel for walls, pairing it with a compatible topcoat for lasting resilience.
Maintain consistent brushing or rolling technique, watching for lap marks in corners or near lighting fixtures. Allow adequate cure time between coats, and ventilate to reduce moisture during drying.
This approach supports cohesive bathroom decor, while honoring practical needs. You’ll enjoy a refreshed space that feels intentional and inviting.
Touch-Up And Care
Care for your freshly painted walls by prioritizing touch-ups that blend seamlessly into the finish and by sustaining the coating with simple, durable care. You’ll guard longevity by cleaning surfaces gently, patching nicks, and feathering seams so repairs disappear.
Maintain even sheen with light, frequent checks, especially around bathroom lighting and plumbing fixtures where moisture peaks.
- Match color and sheen precisely, then apply small, feathered strokes
- Clean spills promptly with a damp cloth to prevent staining
- Refinish high-wear zones after a few months for consistent protection
- Inspect caulk joints and touch up edges to keep a cohesive look
These habits reinforce a confident, homey feel for you and your guests, ensuring the space stays fresh and welcoming.
Finishing Touches for Cabinets, Vanities, and Trim
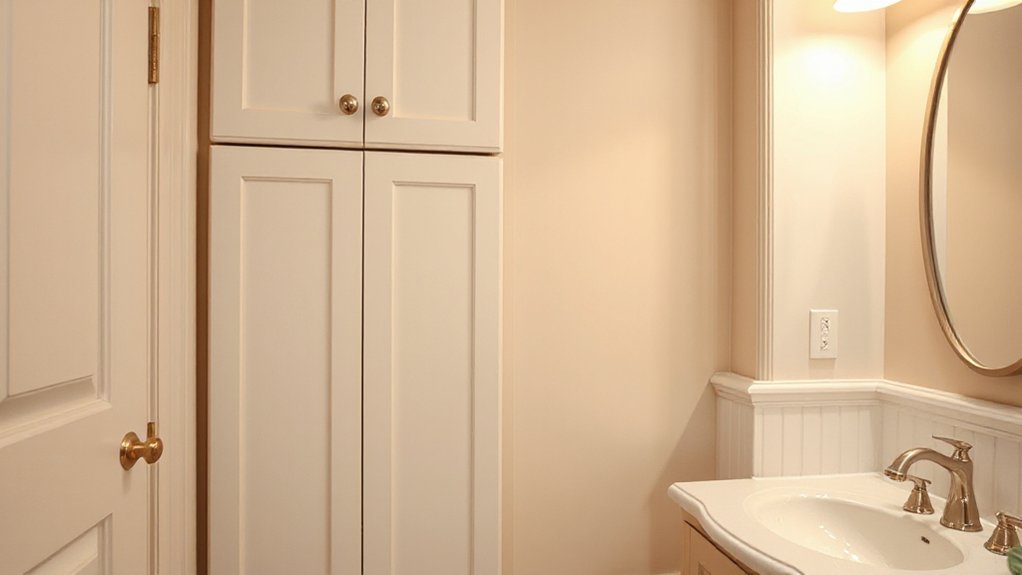
When you’re finishing cabinets, vanities, and trim, choose a durable enamel or semi-gloss paint for a hard-wearing surface that cleans up easily. In practice, prep matters most: wipe, sand lightly, and prime where needed to prevent peeling.
Apply thin, even coats and let each layer dry fully before the next. For cabinets, use vertical strokes to reduce sag and emphasize clean lines.
Consider a cohesive approach with trim accents that tie rooms together—pick Cabinet color that complements wall tones and hardware, then pick trim accents to echo cabinetry details.
Seal high-traffic edges with a finish that resists scuffs. Store extra paint for touch-ups, and label cans by surface and coat number to maintain consistency over time.
Handling Corners, Moldings, and Seams Effectively
You’ll tackle corner joints, moldings, and seams with precise prep and clean lines.
Start by masking tightly and scoring edges to prevent chipping, then apply paint evenly for crisp finishes on joints and seams.
This sets up clean alignment and a seamless look for the rest of your bathroom refresh.
Handling Corner Joints
Corners and seams are where paint failure shows first, so tackle them with precise prep and steady technique. You’ll get durable results when you manage corner joints like a pro, using calm, deliberate motions and clean lines.
- Inspect gaps, clean thoroughly, and wipe dust away before caulking.
- Apply corner caulking smoothly, then tool for a tight, even seal.
- Seal seams with light passes of paint, maintaining consistent coverage.
- Finish with a steady, controlled edge along each joint for uniformity.
Keep a damp cloth handy to wipe excess and prevent ridges. Use steady hand pressure to avoid squeeze-out, and let each layer dry fully.
Your bathroom will look seamless, feel cohesive, and resist moisture longer with deliberate prep and seam sealing.
Moldings Seams Quick-Tips
Moldings seams can be won with quick, precise steps: start by cleaning the surfaces, then sand lightly to guarantee grip and smooth edges. You’ll tape off corners and joints to keep paint neat, especially where decorative accents meet walls.
Apply a thin, even layer of primer to seal gaps and improve adhesion before color. Smooth any texture with a fingertip or small plastic tool, then re-inspect for hairline gaps.
When painting, use steady, controlled strokes and avoid overloading the brush near seams. For lighting enhancements, pick a shade that highlights trim while coordinating with wall color so reflections feel intentional, not random.
This approach builds a cohesive look that feels personal, intentional, and welcoming to guests.
Finishing Touch Alignment
Getting corners, moldings, and seams to align cleanly is all about deliberate setup and steady technique. You’ll keep lines sharp by priming edges, taping with clean joints, and lighting up the work area to spot flaws before they set.
Start at a focal edge and work inward, wiping excess paint to prevent feathering. Use a level or straightedge to verify angles, and feather the final pass for seamless results.
When you’re done, inspect under different lighting to catch shadows that reveal misalignment. This finishing touch elevates bathroom decor and complements fixtures like lighting fixtures.
By staying patient and methodical, you’ll create a cohesive space that feels welcoming and well cared for.
- Preparation and edge protection
- Precise edging with steady strokes
- Smooth progression between surfaces
- Lighting-enhanced inspection for perfection
Ventilation and Drying Timelines to Prevent Peeling
Ventilation matters as you refresh, and you should start right away to prevent peeling. You’ll reduce moisture buildup by running an exhaust fan or opening a window during painting and for at least 24 hours after the final coat dries.
Keep humidity under control—aim for 40–50% if possible—and avoid humid activities until the paint cures fully.
Drying timelines vary by temperature and ventilation, so plan for patience: thicker coats slow down, thinner coats cure faster.
Finish the ceiling and walls first, then let them dry completely before reassembling.
While you’re at it, consider practical upgrades like bathroom lighting and fixture installation that don’t interfere with your drying process.
Clear air supports durable color and a confident, belonging-filled refresh.
Budget-Friendly Upgrades That Look Pro
Budget-friendly upgrades can make your bathroom look professional without breaking the bank. You’ll transform the space with simple, enduring choices that feel luxe without the price tag. Focus on details that elevate perception: lighting, finishes, and cohesion.
- Upgrade Bathroom lighting with a single, stylish fixture and warm bulbs to create a welcoming glow.
- Replace dated plumbing fixtures with sleek handles, faucets, and coordinated finishes.
- Add a small, high-contrast accent wall or tile trim for depth.
- Choose accessories in a unifying metal or matte tone to unify the room.
These tweaks offer a pro look while staying budget-minded. You’ll enjoy brighter mornings, cleaner lines, and a cohesive feel that signals care and confidence in your space.
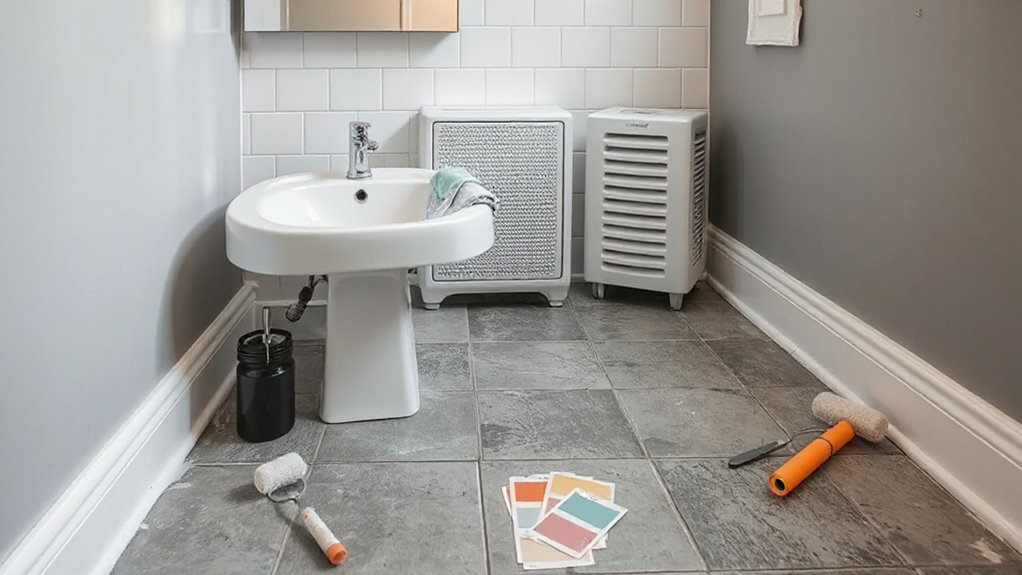
Quick Downtime Reductions During Painting
To cut downtime fast, prep your space and plan ahead so painting and cleanup flow in one efficient pass. You’ll streamline the job by tackling drywall repairs first, patching dents, and sanding until seams vanish before you apply primer. This reduces touch-ups later and keeps the project moving.
Choose paint color selection that pairs with existing fixtures to minimize repainting elsewhere; a cohesive palette speeds decisions and flags where repairs matter most.
Use a practical layout: cover floors with drop cloths, seal vents, and set aside brushes and rollers for quick progression. Work in consistent, smooth strokes to avoid rework, and label containers to avoid mix-ups.
Finally, keep a clock nearby and set a realistic deadline to maintain momentum and finish confidently.
Maintenance Tips to Keep a Bathroom Pristine
Keeping a bathroom pristine is a daily responsibility, not a weekly project. You’ll stay on top of upkeep by establishing simple habits that protect your paint and fixtures. Regular wipe-downs remove moisture and soap scum before it sets, and you’ll spot issues before they escalate.
Check bathroom lighting and Plumbing fixtures monthly to guarantee seals, switches, and gaskets remain tight and functional. Gentle cleaners preserve color and sheen, while drying surfaces after showers minimizes mold risk.
Ventilation matters, so re-evaluate your fan’s performance as needed. Consistency creates belonging, so partner with household members to share duties and keep standards high.
- Establish a quick daily wipe-down routine for walls and mirrors
- Schedule a monthly check of seals, faucets, and hardware
- Clean fixtures with a non-abrasive, damp cloth
- Review ventilation effectiveness and replace filters if needed
Troubleshooting Common Bathroom Painting Problems
To fix common bathroom painting problems, start with solid surface prep, including cleaning and priming to prevent adhesion issues.
If you notice peeling, address the underlying moisture and use proper sealing before reapplying coats.
Keep ventilation in check to control odors and guarantee a smooth finish.
Then tackle any lingering issues like glare or brush marks with the right tools and technique.
Surface Prep Essentials
Surface prep is the backbone of a durable bathroom paint job, and skipping it guarantees peeling and poor coverage. You’ll build a solid foundation by addressing moisture risk, cleaning, and sealing when needed. Use mold resistant coatings where humidity thrives, especially around showers and sinks, to boost longevity. Prepare with purpose, so your finish looks fresh for years.
- Clean thoroughly with a mild detergent, then rinse and dry completely
- Scrape loose paint and sand glossy surfaces for better adhesion
- Patch gaps, caulk joints, and treat mold-prone areas
- Prime with a stain-blocking, moisture-resistant formula before color
With vintage fixtures in mind, pick finishes that tolerate humidity and contrast tastefully, ensuring the room feels cohesive and welcoming.
Tackling Peeling Paint
Peeling paint in a bathroom usually signals moisture and adhesion issues that were missed during prep. When you tackle peeling, start by removing loose sections with a putty knife, then scrub the area with a bathroom-safe cleaner to clear soap scum and mildew. Rinse, dry thoroughly, and sand glossy edges so new layers bite properly.
Reprime any bare spots with a stain-blocking primer, especially behind sinks and showers. Choose a high-humidity, mold-resistant paint and apply in thin, even coats, letting each dry fully before the next.
If peeling recurs, investigate ongoing moisture sources—leaks, poor caulking, or inadequate ventilation—and address them before repainting. Remember: peeling paint isn’t just cosmetic; it signals compromised paint adhesion that needs solid prep and proper products.
Ventilation and Odors Control
Ever wonder why odors linger or paint seems to trap moisture behind a fresh coat? You control airflow to cut odors and moisture, using proper ventilation and placement. Start with air circulation, opening windows or running a fan during and after painting. Keep doors ajar to create cross-ventilation, so fumes dilute faster.
Choose low-odor, breathable primers and finishes to reduce odor absorption in walls while you work. Maintain steady humidity below 60% to prevent prolonged drying and mildew risk.
- Improve air circulation with a bathroom-rated exhaust fan directed outside
- Use quick-drying, low-odor paints and primers to minimize odor absorption
- Open windows on opposite walls for cross-ventilation
- Wipe down wet surfaces and control moisture to avoid trapped humidity
Frequently Asked Questions
How Long Does Bathroom Paint Cure to Full Hardness?
You’ll see full hardness after about two to four weeks, depending on humidity and airflow. For best Paint durability and accurate Curing time, keep surfaces dry, ventilated, and avoid cleaning with abrasive products during curing.
Can I Paint Over Existing Tile Without Removal?
Yes, you can, if you sand and clean first as allegory-wise, you’re shaping a bridge. Do Tile preparation, then choose paint selection suited for slick surfaces, and you’ll feel confident, belonging, and practical in your bathroom project.
What’s the Best Way to Prevent Brush Marks on Damp Walls?
You’ll prevent brush marks by using smooth brush stroke techniques and proper paint application tools, keeping your surface damp but not soaking and maintaining a consistent cadence. Practice even pressure, and clean edges for seamless, confident results you’ll love.
Do Low-Voc Paints Reduce Mold Risk in Bathrooms?
Yes, low-VOC paints help with mold prevention and reduce VOC emissions, making bathrooms safer. You’ll notice better indoor air quality, easier cleanup, and long-term protection against moisture, while feeling confident you’re choosing a responsible, community-minded option.
Can I Repaint Cabinets Without Removing Hardware?
Yes, you can repaint cabinets without removing hardware. Start with cabinet prep, then choose a durable paint finish. This practical approach bonds with you, offering belonging as you refresh confidently, while hardware remains, guiding your sympathetic, steady project.
Conclusion
A fresh coat of paint can transform a bathroom fast, with durable finishes that resist humidity and mildew. On average, homes save up to 15% on energy costs by choosing lighter colors that reflect more light, making the space feel bigger. Stick to high-humidity finishes like satin or semi-gloss, prep thoroughly, and use mold-inhibiting primers. With steady technique, you’ll enjoy a refreshed bath that lasts years, not months, and looks professionally done.