
Plan the Basement Slab Replacement (Permits, DIY vs Pro, Safety)
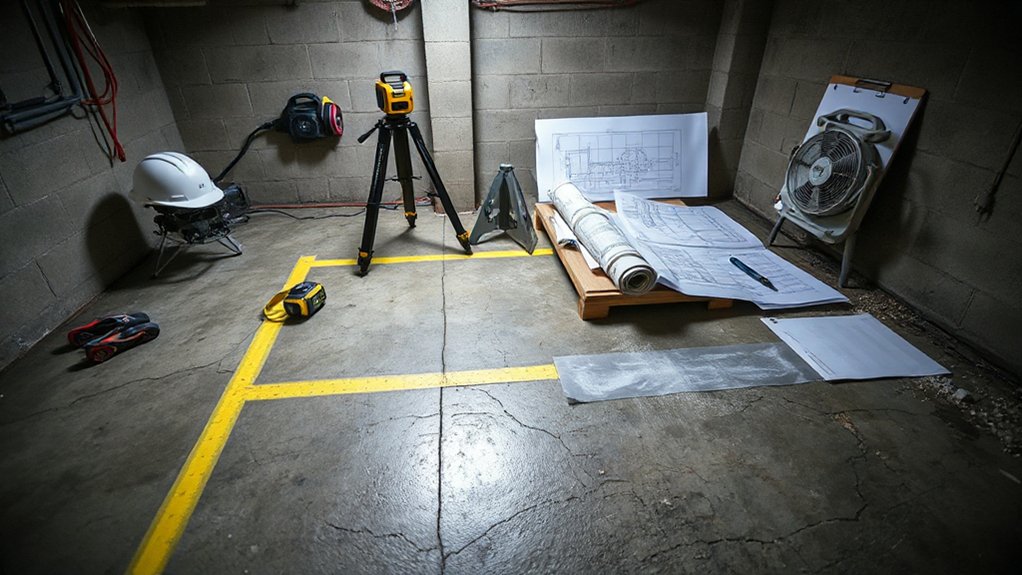
Before you swing a jackhammer, map the whole slab replacement: confirm whether your municipality requires a permit for demolition, concrete work, plumbing/drain changes, or radon mitigation, then decide what you can realistically DIY (surface demo, hauling, vapor barrier) versus what you should hire out (structural evaluation, sewer tie-ins, sump/drainage, large pours). Document existing elevations, door clearances, and drain locations, then mark control joints and thickness targets. Call 811 and locate any embedded utilities. Sequence materials: gravel base, radon piping, insulation, vapor barrier, rebar/wire, and concrete delivery. Set ventilation and dust control; plan GFCI-protected power. List safety precautions: eye/ear protection, respirator, gloves, boots, and safe lifting. Verify permits required before ordering concrete or inspections.
Break Up and Remove the Old Basement Concrete
With permits, elevations, and safety gear sorted, you can start demolition by isolating the work area (plastic dust walls, negative air if possible) and confirming utilities are clear, then score or saw-cut the slab into manageable sections to control cracking. Mark cut lines, set saw depth to avoid subgrade disturbance, and wet-cut or use a HEPA shroud. Break sections with an electric jackhammer from edges toward the center, keeping your stance stable and hands clear of pinch points. Pry up pieces, stage them on plywood, and wheel them out to a dumpster rated for concrete weight. During Surface preparation, scrape off adhesives and remove loose debris so you can inspect cracks and plumbing penetrations. For Material selection, choose disposal bags, blades, and bits matched to slab thickness and any rebar.
Build the Subbase: Gravel, Drainage, Vapor Barrier
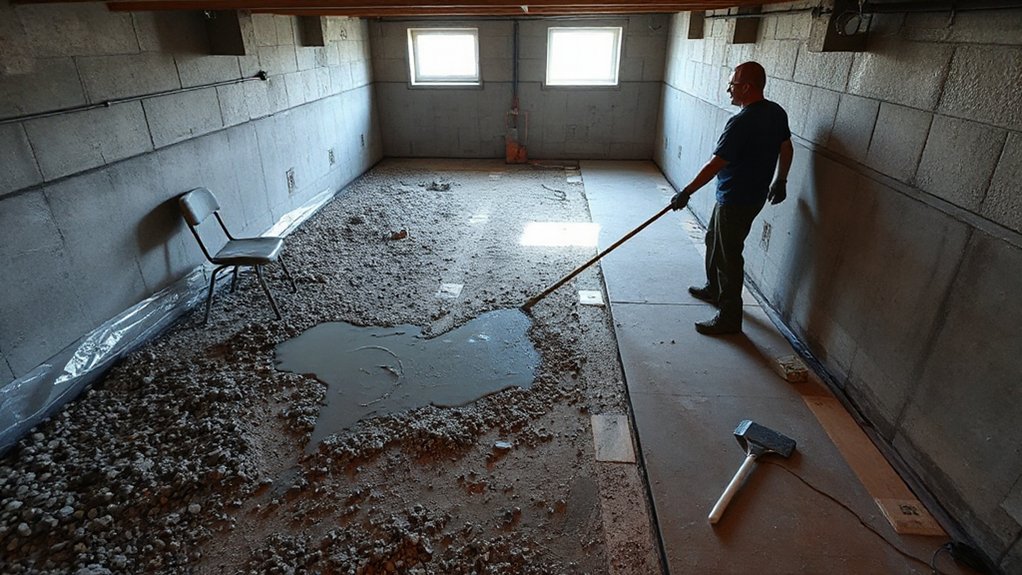
Once the slab’s out and you’ve exposed firm native soil, build a subbase that controls moisture and supports the new concrete: rake the subgrade level, then compact it in lifts with a plate compactor while you watch for soft spots that need undercutting and replacement.
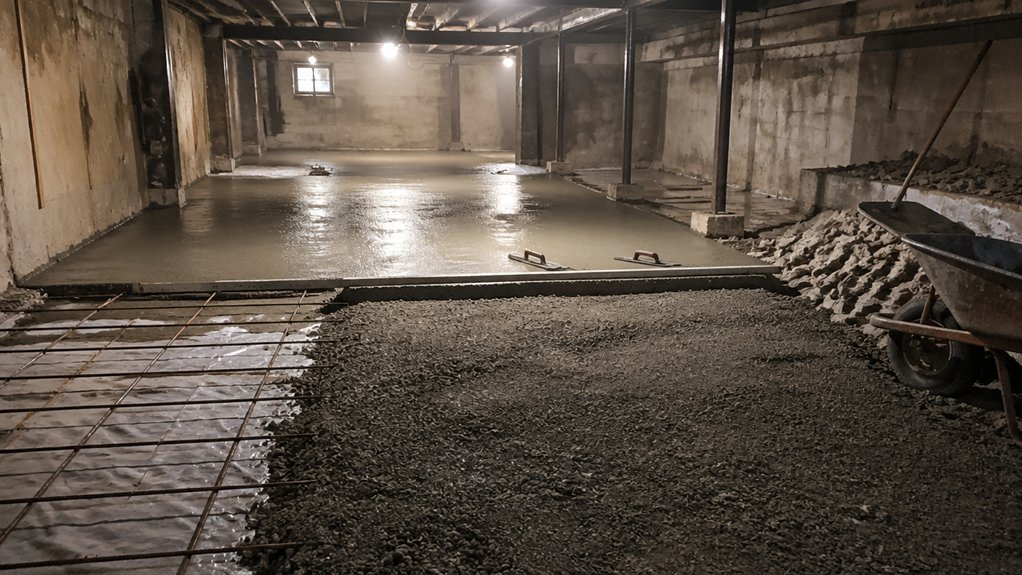
Install subbase materials next: place 4–6 in. of clean, angular 3/4-in. crushed stone, spread evenly, and compact in two lifts. Keep a slight slope to your sump or drain line and add drainage solutions like a perimeter drain or channel drain if you’ve had seepage. Wear a respirator and hearing protection when cutting pipe or compacting. Finish by laying 10–15 mil poly vapor barrier over the gravel, overlap seams 12 in., tape them, seal at walls, and protect it from punctures.
Pour the New Basement Slab (Rebar, Thickness, Screed)
After you’ve inspected the vapor barrier for rips and confirmed the gravel is flat and compacted, set your reinforcement and slab thickness so the concrete can’t crack or curl. Use chairs or dobies to hold steel mid-depth; don’t let it sit on the plastic. For Rebar placement, tie a grid per plan (often #3 or #4 at 12–18 in. O.C.), lap ends 24–40 bar diameters, and keep 2 in. cover from soil edges. Establish slab thickness with grade stakes or screed rails; 4 in. is typical, thicker at load points.
Order the right mix, wear boots, gloves, and eye protection, and place concrete continuously. Strike off with a straight screed, sawing in passes to stay on grade. Check with a level.
Finish and Cure the Concrete for a Hard, Durable Surface
Keep the screed handy, because the finishing clock starts as soon as the slab hits grade. After screeding, bull-float to embed aggregate and close ridges, keeping your boots clean to avoid tracking. Wait for bleed water to disappear; don’t trap it with early troweling or you’ll weaken the surface. Edge forms, then cut control joints with a groover or saw within 6–12 hours, spacing them 8–10 feet.
Apply Finishing techniques based on use: steel-trowel for a smooth floor, or broom-finish for traction near stairs. Wear gloves, eye protection, and a respirator if you dry-cut joints.
Start curing immediately. Choose curing methods: polyethylene sheeting sealed at seams, wet curing with soaked burlap, or a sprayed curing compound. Maintain moisture for 7 days, limit loads for 28.
Frequently Asked Questions
How Much Does Replacing a Concrete Basement Floor Typically Cost per Square Foot?
You’ll typically pay $6–$15 per square foot—your basement’s “foundation tax.” First, measure area; confirm thickness. Next, factor cost considerations: demolition, disposal, vapor barrier. Then choose material choices. Finally, PPE, ventilation, dust control.
Will a New Basement Slab Increase My Home’s Resale Value?
Yes, it can boost resale if you fix moisture and comfort issues. First, complete Basement waterproofing. Next, address Insulation considerations under-slab. Then, pour a code-compliant slab. Finally, document permits and tests; follow PPE and ventilation.
Can I Replace Only a Section of the Basement Floor Instead of the Whole Slab?
Yes—you can, but it’s like patching a ship’s hull: do it right. For partial replacement/section repair, you’ll saw-cut square edges, excavate, compact base, add vapor barrier, dowel rebar, pour, cure, isolate joints.
How Long Will the Basement Be Unusable During Slab Replacement?
You’ll typically lose basement use for 1–3 weeks. Demo and prep: 1–3 days. Install damp proofing, moisture barriers: 1 day. Pour: 1 day. Cure safely: 7–14 days; ventilate, restrict loads.
What Flooring Options Work Best on Top of a New Basement Slab?
Want the best basement flooring fast? You’ll choose LVP, tile, or engineered wood with underlayment. Install Moisture barriers first, then verify Floor leveling, test RH, wear PPE, follow manufacturer cure times, and seal edges.
Conclusion
You’ve mapped permits, chose DIY or a pro, and kept PPE on—now finish like Theseus finding daylight. Confirm your subbase is compacted, drainage slopes, and the vapor barrier is taped. Verify rebar placement, slab thickness, and level screed lines before the pour sets. Edge, trowel, and cut control joints on schedule. Cure under plastic, maintain moisture, and restrict loads until strength develops. Document inspections, then seal and ventilate for long-term durability.