
Gather Tools and Materials for Rendering
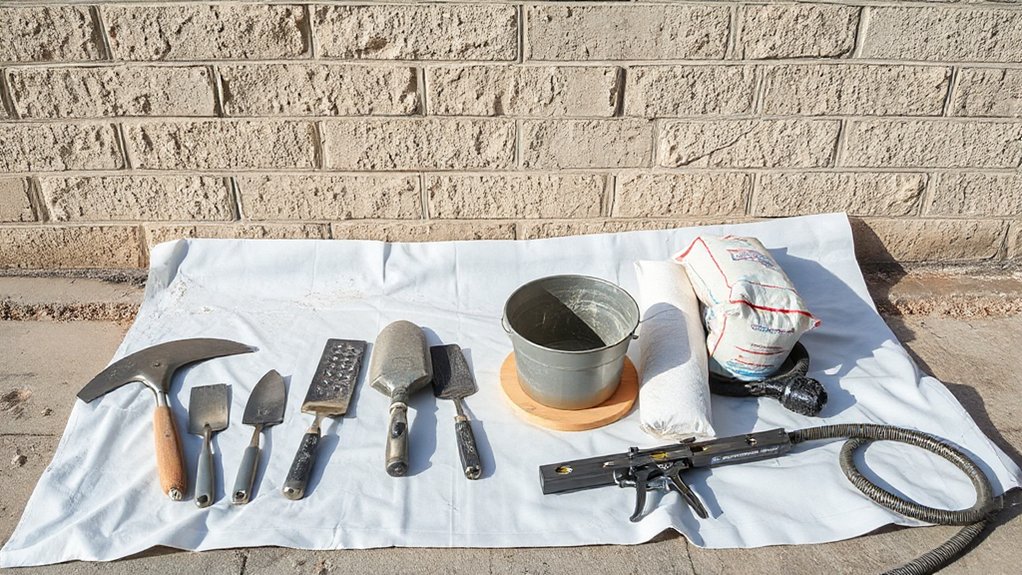
Before you mix any render, gather the right tools and materials so you can work cleanly and keep to UK site standards. You’ll need a paddle mixer and 110V drill, clean mixing buckets, gauging bucket, and a water measure to keep ratios consistent. For application, pack a hawk and stainless steel trowels (including a small pointing trowel), a featheredge/straightedge, darby, and a spirit level. Add a scarifier or devil float for keying between coats, plus sponge and plastic floats to control Finish textures. Keep a spray bottle, stiff brush, and clean water for tool washing. Stock beads: stop, corner, and bellcast with appropriate fixings. For Color matching, keep batch notes, pigments, and sample boards. Use PPE: gloves, goggles, FFP3 mask.
Prep Masonry, Plaster, or Paint for Render
Although you might be keen to get a coat on, you’ll only get a durable render if the background is sound, clean, and keyed to take it. Start by checking for loose masonry, blown plaster, hollow areas, and salts; hack back to firm edges and rake out weak joints. Brush, then wash down to remove dust, algae, and oil; let it dry. On absorbent brick or block, control suction with a dampen-down or suitable primer so it won’t pull water too fast. Where paint remains, scrape back flaking areas, abrade glossy films, and degrease; consider mechanical keying or a Surface bonding agent. At junctions and exposed substrates, manage Moisture barriers: clear weep paths, seal penetrations, and avoid bridging DPCs.
Mix Render: Ratios and the Right Consistency
Once your background’s properly prepped, you need a render mix that matches the substrate and won’t slump, crack, or de-bond. For traditional sand/cement, batch accurately: 1 part cement to 4–5 parts sharp sand; add hydrated lime (up to 1 part) to improve workability and reduce shrinkage. Use clean, graded sand and potable water; measure by volume with the same bucket every time. Add water slowly and mix mechanically until you get a cohesive, plastic consistency that holds on a hawk and forms a firm peak without bleeding. Keep batches consistent for Color matching, especially if you’re tinting or using coloured sand. Control Texture selection by choosing sand grading and limiting fines. Don’t retemper once it’s started to stiffen.
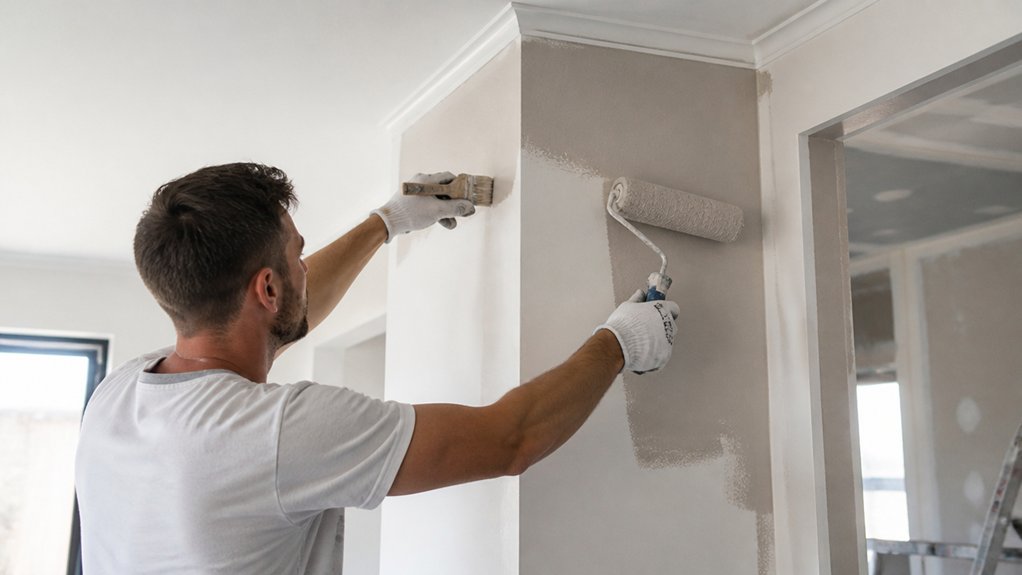
Apply Render Coats: Thickness, Leveling, Drying
With a consistent mix on the board, you can focus on getting each coat on at the right thickness and plane, because that’s what controls bond, flatness, and drying. Lay the scratch coat at roughly 8–10mm, press it firmly into the background, then rule it off with a straightedge and close it up with a wood float. Key it to provide Surface texture for the next coat. Allow it to firm up, then apply the float coat at 6–8mm, using feather edges and stop beads to keep arrises true. Check level and plumb with a 1.8m darby. Don’t overwork; you’ll bring water to the face and slow curing. For Color matching, keep batch sizes consistent and protect from sun and wind during set.
Stop Render Cracks, Drumming, and Peeling
If you want render that stays tight and sounds solid, you’ve got to control movement, suction, and curing, because most cracking, drumming (hollow-sounding areas), and peeling come from poor background preparation, incorrect mix/water control, and coats applied too thick or allowed to dry too fast. Start with Surface preparation: rake out loose joints, remove paint, dust and salts, and wire-brush to a sound key. Fix blown masonry, stabilise friable backgrounds, and fit beads plus movement joints where required. Control suction with pre-wetting or an SBR bonding slurry; don’t render onto dry, hot brick. Keep coats within spec (typically 8–11mm base, 3–5mm top) and scratch the base. Weather considerations matter: avoid frost, strong sun and wind; protect, mist-cure, and let it carbonate properly.
Frequently Asked Questions
What Render Finish Styles Are Best for Modern Exterior Walls?
For modern UK exteriors, you’ll get the best results with silicone or acrylic thin-coat renders in smooth or fine-scraped Texture options, paired with muted grey, white, or charcoal color choices for crisp, low-maintenance façades.
Do I Need Planning Permission or Building Approval to Render My Home?
Usually you won’t need planning permission, but you’ll need it if you change appearance substantially; 90% of UK household applications get approved. Building Control may apply with insulation. Check rendering techniques and colour selection against local constraints.
How Much Does Wall Rendering Cost per Square Meter?
You’ll typically pay £40–£120 per m² in the UK, depending on system and access. For cost comparison, budget £40–£60 sand/cement, £60–£90 monocouche, £90–£120 silicone; material selection drives durability and maintenance.
Can I Render Over Existing Brick Slips, Tiles, or Insulated Cladding?
Yes, you can, but only with proper Surface preparation. UK surveys suggest about 60% of failures stem from poor adhesion. You’ll need sound substrates, keying, bonding primers, and choose Texture options compatible with movement.
How Do I Clean, Repaint, or Maintain Rendered Walls Long-Term?
You’ll clean render with gentle biocide and low-pressure rinse, then repaint using breathable masonry paint after thorough Surface preparation. Check annually for cracks, patch promptly, and consider Color selection for UV. Avoid sealing coatings.
Conclusion
Now you’re ready to render like a pro, with each step building strength like layers in a well-set mortar bed. You’ve gathered the right UK tools, prepped the substrate, mixed to a workable, creamy consistency, and applied coats at the correct thickness with proper levelling and drying time. Keep control joints clean, protect fresh work from rain and frost, and cure slowly to prevent cracking, drumming, or peeling. Do it right, and your finish lasts.