
Think of planning your renovation like plotting a clear route on a map, with the final destination in mind. You’ll define goals, set a budget, and assess the space for feasibility before you pick designers or contractors. Start with a practical plan that covers milestones, permits, and contingencies, then stay organized and communicative as details firm up. The path ahead hinges on small decisions you’ll need to manage carefully—so you’ll want to keep your options open as you proceed.
Defining Your Renovation Goals and Priorities

Before you plunge into any plans, start by clarifying your renovation goals and priorities. You’ll map what must improve, what would be nice to have, and what you can compromise on. Define functional outcomes first—better flow, more storage, improved light—and tie each to a concrete need.
Then rank priorities by impact and feasibility, so you don’t chase fleeting trends. Consider space optimization from day one: measure how you’ll use rooms, where you’ll add zones, and how circulation will feel. Address aesthetic considerations alongside practicality, selecting materials and finishes that support durability and mood without overcomplicating the plan.
Document decisions, attach rationale, and set a realistic timeline. With clear goals, you’ll maintain focus and prevent scope creep throughout the project.
Creating a Realistic Budget and Financing Plan
This section kicks off your budgeting basics and financing options, so you can map costs against your goals. You’ll set a realistic budget, reserve contingencies, and track expenses as you go.
We’ll outline practical steps to compare financing choices and avoid surprises down the line.
Budgeting Basics
Planning a realistic budget and financing plan starts with a clear snapshot of your project scope, timeline, and total costs. You’ll list must-haves versus nice-to-haves, then estimate everything from permits to cleanup.
Create a line-by-line worksheet for materials, labor, and contingencies, so you spot gaps before they surprise you. Set a target contingency—typically 10%–20%—and map it to risk areas.
Prioritize cost saving opportunities without sacrificing essential quality; compare quotes, and track changes in real time. Establish a phased spending plan that aligns with milestones, not dates alone.
Document approvals, changes, and approvals reminders to keep stakeholders aligned. Favor material quality where it matters for durability and resale, while negotiating smarter on noncritical finishes to stay on track.
Revisit and revise your budget weekly.
Financing Options
Securing the right financing options is a key part of turning a plan into reality, so start by matching your project scope and timeline with affordable, flexible funding.
You’ll compare loan options by total cost, interest rate, repayment period, and fees, then align them with milestones in your renovation schedule. Prioritize options that minimize cash flow disruption and stay within your monthly budget.
Consider a home equity loan or line of credit if you have built-up equity, but weigh the risk of securing your home.
Build a financing plan that pairs a realistic draw schedule with contingency funding for change orders. Document terms in writing, confirm lender requirements, and set up automatic payments.
Regularly reassess as •scope• evolves to keep financing aligned with progress.
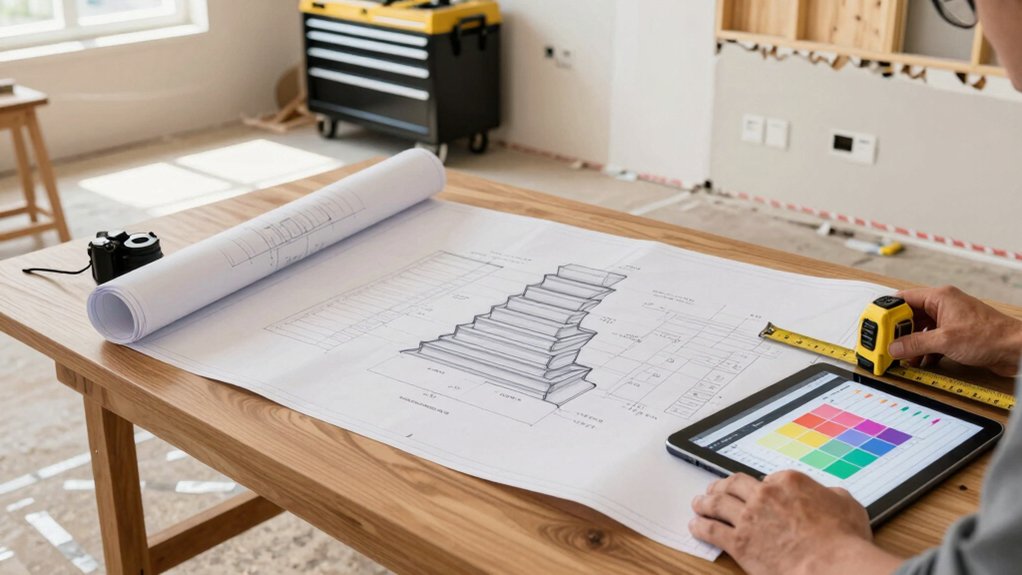
Assessing Your Space: Measurements and Feasibility
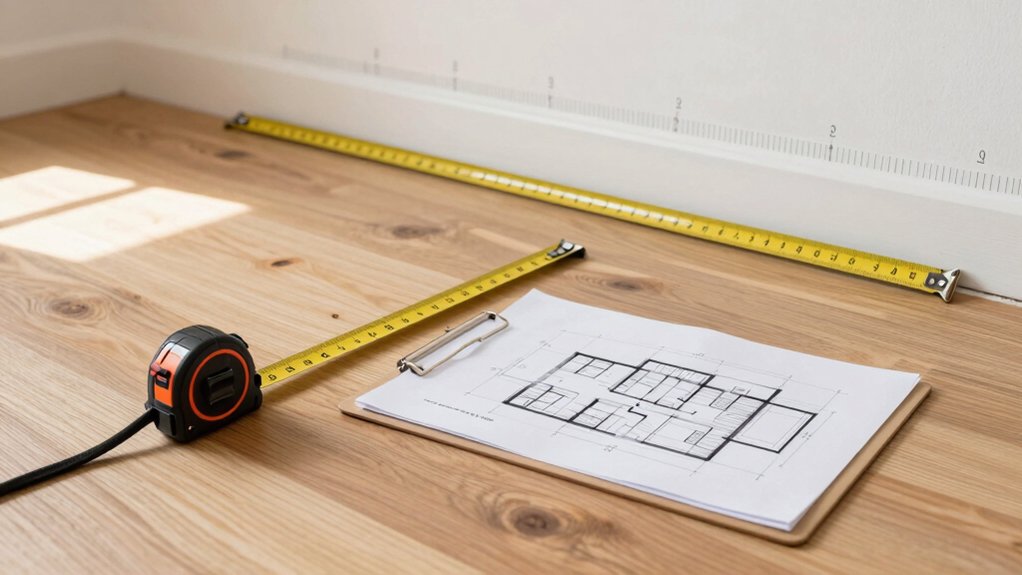
Before you plunge in, map out the space by taking accurate measurements of each room and noting walls, doorways, windows, and fixtures. You’ll want a clean floor plan you can reference later, so measure ceiling heights, attic access, and load-bearing elements.
Next, assess space utilization by identifying high-traffic zones, storage gaps, and potential bottlenecks. Mark electrical outlets, plumbing rough-ins, and HVAC returns to gauge feasibility for new layouts. Consider door swings and furniture footprints to avoid cramped passages.
Evaluate structural feasibility early: confirm beam placements, column locations, and load paths with a contractor or structural engineer. This early check helps you spot costly surprises and prioritize changes.
Document any constraints, like easements or setback rules, so you can plan practical, achievable renovations.
Designing With Function and Style in Mind
Designing with function and style starts by aligning everyday needs with thoughtful aesthetics. You map how spaces will be used, then shape them with intention. Start by prioritizing flows: how people move, reach, and interact without friction.
Choose lighting design that supports tasks, mood, and energy efficiency, not just illumination. Balance brightness with warmth, layering ambient, task, and accent lights for flexibility.
In material selection, stay pragmatic: durable surfaces, easy maintenance, and consistent textures reduce upkeep and visual clutter. Pick finishes that resist wear where it matters, while adding character through subtle contrasts.
Plan furniture footprints to preserve clear sightlines and accessible storage. Document measurements, tolerances, and installation steps so trades align.
Finally, review your plan for adaptability, ensuring your spaces evolve with you.
Sourcing Professionals and Getting Estimates

Start by vetting prospects carefully so you know who truly fits your project.
Next, gather multiple, detailed estimates to compare scope, timing, and costs, and watch for consistency across bids.
Finally, set clear criteria for selection and ask for references to confirm reliability and quality.
Vetting Prospects
To vet prospects effectively, start by defining your project scope, budget range, and timeline, then gather a short list of qualified contractors and design professionals to contact.
You’ll perform focused prospect screening to filter for relevant experience and compatibility. Prioritize references, portfolio relevance, and licensed status to narrow to credible candidates.
Create a standardized evaluation checklist so you can compare proposals consistently, not emotionally.
When you reach out, request a high-level scope, anticipated milestones, and any potential constraints, and ask for an itemized, ballpark price range. Avoid accepting vague assurances; insist on specifics.
During contractor vetting, verify insurance coverage and past project outcomes, and confirm familiarity with local codes.
Document responses, compare strengths, and schedule brief, structured interviews to move only solid fits forward.
Getting Accurate Estimates
How can you guarantee you’re getting accurate estimates from pros and design firms? Start with a clear brief that defines scope, materials, timelines, and fixed vs. contingency items.
Gather at least three detailed bids, each itemized by line items and unit costs, so you can compare apples to apples. Verify licenses, insurance, past projects, and client references before you deep-dive into numbers.
In the estimating phase, focus on material selection early, as changes here can cascade into price shifts. Request alternates for key components to test value.
For contractor negotiations, pin down payment schedules, change-order processes, and warranty terms. Document assumptions, set a formal review process, and track deviations.
This disciplined approach minimizes surprises and keeps your budget on track.
Comparing Proposals and Choosing Contractors
When you’re comparing proposals and choosing contractors, begin by clarifying your project priorities and budget, then evaluate each bid against those criteria. You’ll scan scope details, timelines, and payment terms for consistency, looking for gaps or unassigned tasks.
Compare line items for material selection, labor rates, and warranty coverage, ensuring proposals reflect realistic contingencies. Check contractor qualifications, licenses, insurance, and safety records; confirm their ability to coordinate trades and handle permitting.
Request references and visit prior sites to verify workmanship and reliability. Favor bids that propose clear schedules, defined milestones, and accountability procedures.
Align contractors with your interior design goals and material preferences, confirming compatibility with your design intent. Choose the bid that combines value, transparency, and clear communication, and draft a concise contract outlining scope, costs, and change-order processes.
Developing a Phased Schedule and Milestones
After selecting a contractor and agreeing on scope, you’ll map out a phased schedule and milestones that keep the project on track. A phased schedule breaks work into logical chunks, aligning tasks with trade sequencing, deliveries, and inspections.
Begin with design finalize, permitting (omit permit details here), and material orders, then move to demo, rough-in, and major finishes in clear, calendar-driven steps.
Define milestones for key outcomes: permits approvals (as placeholder), framing completion, drywall setup, and final inspections. Assign owners, durations, and dependencies, so delays don’t cascade.
Build buffers for weather, supply hiccups, and change orders. Use a centralized timeline that everyone can access, updating as realities shift.
Regular check-ins verify progress against milestones, re-calibrating priorities to protect the overall timeline and budget. Milestone planning keeps momentum steady.
Permits, Regulations, and Compliance Essentials
Permits, regulations, and compliance aren’t optional add-ons; they’re the foundation that keeps your project legal and on schedule. You’ll start by identifying which permits your renovation needs, based on scope and location. Check local building codes and zoning laws early, because missing approvals can halt work or trigger fines.
Gather drawings, specifications, and material lists to support applications, and track submission timelines to avoid delays. Hire licensed professionals when required; their plans and inspections help ensure safety and code adherence.
Create a simple compliance checklist and assign responsible team members to verify each item. Maintain records of approvals, amended plans, and inspection results for future renovations or resale. Anticipate inspections and be prepared to adjust as needed to stay on track.
Managing the Renovation: Communication and Tracking
Create clear communication protocols with your team and trades, so everyone knows who to contact for each issue and when updates are expected.
Establish tracked progress milestones you’ll monitor weekly, and share the status with a simple, centralized system that’s accessible to all stakeholders.
Stay proactive by reviewing blockers, adjusting timelines, and documenting changes as they arise.
Clear Communication Protocols
Clear communication keeps a renovation on track. You’ll set clear roles, channels, and timing from day one, so everyone knows who approves changes and when to respond.
Establish one primary point of contact for each trade and a weekend backup to handle urgent questions.
Use a written log for decisions, with brief summaries and dates, to prevent misinterpretation later.
Integrate contract protocols into your onboarding, so expectations, payment terms, and scope are documented upfront.
Define how you’ll handle change orders, who signs them, and how delay notices are issued.
For emergencies, establish emergency communication procedures, including a rapid alert method and a fallback plan if a lead or contractor is unreachable.
Regular check-ins keep you proactive and aligned.
Tracking Progress Milestones
Tracking progress milestones keeps you on schedule and helps catch delays early. You’ll set clear milestones for each phase, from demolition to finish work, and tie them to specific dates and deliverables.
Use a simple progress tracking system—a shared checklist, a Gantt view, or a project app—so everyone sees status at a glance. Regularly update the board after each workday or milestone completion, noting completed tasks, responsible parties, and any blockers.
Prioritize milestone management by forecasting dependencies, allocating buffers, and aligning approvals with permit timelines. Hold brief, focused check-ins to review progress, adjust priorities, and reallocate resources as needed.
Document changes and decisions for accountability, and maintain a rolling forecast to anticipate next steps and keep momentum intact.
Preparing for Timeline Risks and Contingencies
What timeline risks are most likely to derail your renovation, and how can you prevent them before they start? You map out critical paths, identify potential delays, and set guardrails. Build a detailed schedule with milestones, lead times, and owner responsibilities, then share it with every tradesperson.
Prioritize contingency planning by allocating time buffers for supplier delays, permitting, and weather. Maintain open communication channels: weekly check-ins, updated dashboards, and immediate issue logging. Create formal change-control processes so scope tweaks don’t explode timelines.
Pre-book key resources and confirm access to spaces during each phase. Document assumptions and risk triggers, then revisit them monthly. By combining proactive planning with real-time tracking, you minimize disruptions and keep your project on track, despite inevitable surprises.