

Porcelain tiles and ceramic tiles each serve distinct aims, so you’ll weigh initial cost against long-term performance as you plan spaces with moisture, traffic, and maintenance in mind. Porcelain offers superior density, lower porosity, and outdoor durability, but comes at a higher upfront price and tighter cutting tolerances; ceramic is budget-friendly and versatile indoors, yet more prone to wear in high-traffic or damp areas. The choice hinges on where utility, durability, and cost intersect—and what that means for your project’s demands.
Cost Comparison: Porcelain Vs Ceramic
Porcelain and ceramic tiles differ primarily in material composition and production processes, which directly affect cost. In this cost comparison, you’ll evaluate pricing analysis based on material inputs, manufacturing steps, and intended applications.
Porcelain typically commands higher upfront tile prices due to denser body, advanced firing, and stricter quality controls. Yet its long-term performance can reduce replacement and maintenance costs.
Ceramic tiles usually cost less per square foot, but you may incur more frequent replacements in high-traffic or moisture-prone areas.
Consider the total cost of ownership and installation labor, since weight, cutting ease, and substrate requirements influence labor hours.
For a sound decision, conduct a value comparison across performance, lifecycle, and warranty terms, aligning pricing analysis with practical expectations.
Material Composition and Manufacturing Differences
Material composition and manufacturing differences hinge on two key variables: the body material and the firing process. You evaluate porcelain and ceramic by these axes to predict performance and cost.
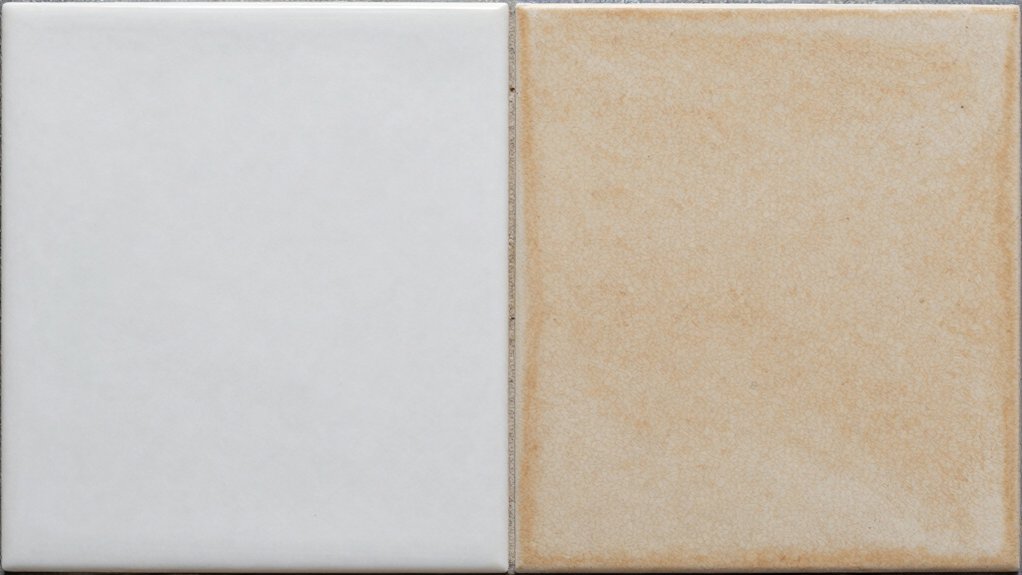
Material composition defines core properties: porcelain uses a denser body with higher alumina or feldspar content, yielding low porosity and greater hardness. Ceramic employs a more porous clay body, enabling easier shaping and lower firing temperatures.
Manufacturing processes then translate composition into final performance: porcelain relies on high-temperature, tightly controlled kilns and pressed, fine-grain bodies, producing consistent density. Ceramic relies on lower-temperature fires and broader tolerances, resulting in more varied textures.
You should assess how firing cycles, glaze compatibility, and post-processing influence durability, installation, and long-term maintenance, guiding the best material choice for specific applications.
Density, Water Absorption, and Durability Metrics
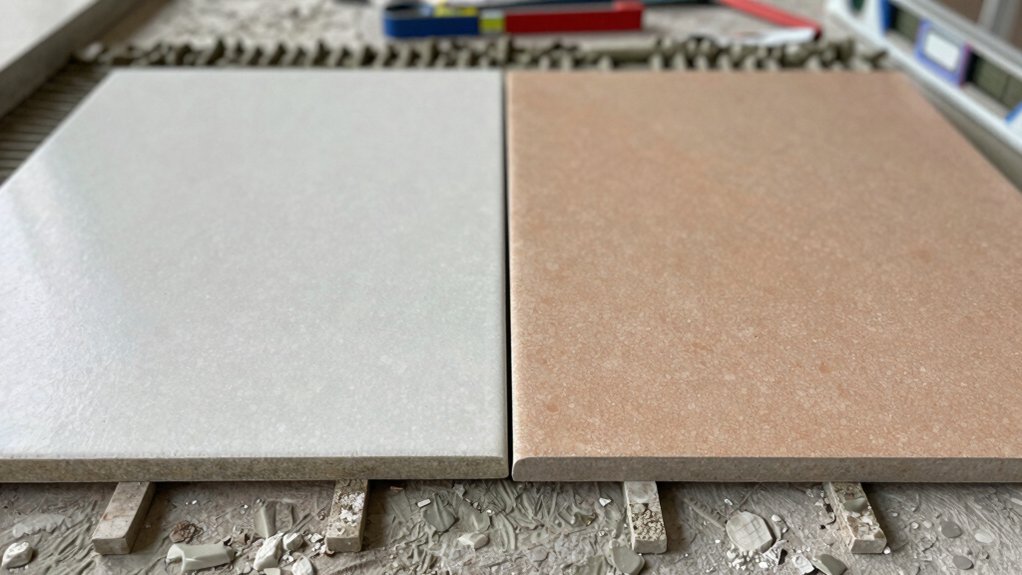
Density, water absorption, and durability metrics quantify how porcelain and ceramic tiles perform under real-world conditions. You’ll compare density metrics to understand material compactness, which directly affects weight, handling, and load-bearing capacity.
Porcelain typically yields higher density and lower porosity than standard ceramic, translating to better structural stability in challenging installations. Water absorption rates reveal how quickly moisture penetrates the surface; lower rates mean superior freeze-thaw resistance and dimensional stability in outdoors or humid environments.
For durability, you’ll examine fracture toughness, wear resistance, and edge durability under typical foot traffic. In practice, porcelain’s tighter microstructure provides superior long-term performance, while high-grade ceramic can meet many indoor requirements at a lower cost.
Your evaluation should balance density metrics, water absorption rates, and real-use demands to determine appropriateness for specific applications.
Scratch Resistance and Longevity in High-Traffic Areas
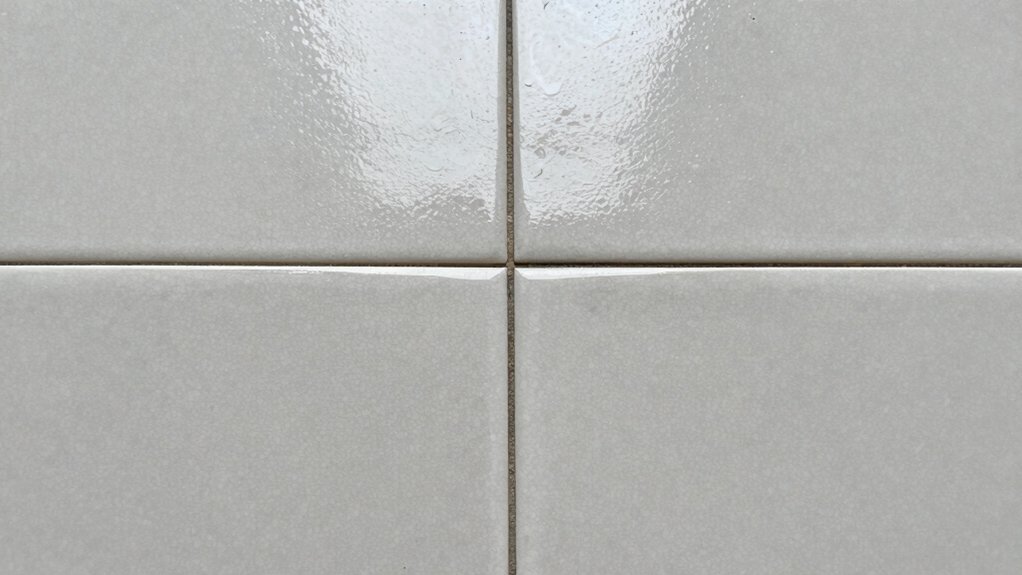
Even in high-traffic spaces, scratch resistance determines whether ceramic or porcelain tiles maintain a pristine surface over time. Porcelain typically exhibits superior hardness and tighter grain structure, yielding lower scratch likelihood under constant wear.
Ceramic, while less dense, can still perform adequately with proper glaze engineering and glaze crystallization that resists micro-abrasions. In practice, you’ll notice porcelain preserves a uniform finish longer on floors with heavy footfall, reducing visible scratches and color change.
Choose a gloss finish cautiously: it enhances sheen but reveals finer abrasions more readily than matte. If you prioritize longevity, select a porcelain tile with a dense body and a durable glaze.
Color options remain broad in both materials, yet porcelain’s color stability under abrasion tends to be more consistent over time.
Installation Considerations: Subfloor, Substrate, and Techniques
You must assess the subfloor condition before choosing porcelain or ceramic tiles, ensuring a stable, clean surface for reliable adhesion.
Use proven installation techniques that match your substrate and tile type, prioritizing flatness, proper leveling, and appropriate fasteners.
This approach minimizes movement, prevents failures, and delivers consistent long-term performance.
Subfloor Preparation
A solid subfloor is the foundation of a durable tile installation, and proper preparation guarantees stiffness, flatness, and stable fastenings. You guarantee the subfloor is structurally sound, free of deflection, and compatible with porcelain or ceramic requirements.
Assess subfloor moisture to prevent bond failure; test moisture content and address leaks or high humidity before proceeding.
Verify substrate stability by eliminating voids, squeaks, or excessive flex, correcting with appropriate patches, shims, or reinforcement as needed.
Remove contaminants, dust, and surface coatings that could impede adhesion.
If tolerances exceed guidelines, plan for leveling or underlayment solutions that maintain rigidity without excessive buildup.
Match fastener patterns and thickness to tile type, adhesive, and substrate, ensuring a uniform, clean installation surface for reliable, long-lasting performance.
Installation Techniques
Installation techniques directly impact tile performance by coordinating substrate readiness, bonding methods, and layout. You’ll assess substrate flatness, moisture, and compatibility before choosing porcelain or ceramic.
Subfloor preparation establishes a stable base; you verify deflection criteria, clean surfaces, and correct slope where needed. Select a bonding method matched to tile type and site conditions, ensuring proper mortar strength and open time.
Consider substrate and tile thickness to minimize lippage, then plan layout to optimize grout lines and pattern integrity. Grout selection affects movement accommodation, water resistance, and durability; choose products aligned with tile porosity and use.
Sealing techniques matter in high-traffic or wet areas, safeguarding joints and reducing staining. Execute meticulous curing and inspection, then perform field checks for flatness and bond integrity prior to grouting.
Ideal Applications: Where Porcelain Shines
Porcelain tiles excel in high-traffic, moisture-prone environments, making them ideal for commercial corridors, kitchens, bathrooms, and outdoor spaces where temperature swings and heavy use are common.
You’ll leverage their dense composition to minimize wear, staining, and moisture intrusion, ensuring long-term performance with minimal upkeep. In these settings, select porcelain for uniform, predictable behavior under varied loads and climates.
Consider border or field applications that maximize durability without sacrificing aesthetics. When choosing, evaluate installation substrate compatibility, consistent thickness, and slip resistance ratings to meet code requirements.
For design impact, you can employ decorative patterns and restrained textures that translate into durable, easy-care surfaces. Explore color options that maintain visual clarity across large areas while preserving grout integrity and maintenance efficiency.
Ideal Applications: Where Ceramic Shines
Ceramic tiles excel in applications where cost-effectiveness, versatile aesthetics, and straightforward installation matter most. You’ll find ideal uses in kitchens, baths, and entryways where moderate moisture exposure occurs and a lightweight, easy-to-cut tile is advantageous.
Because ceramic resists wear well in low to moderate foot traffic, you get reliable performance without premium maintenance. Use where you want precise, clean lines and a uniform surface for cabinetry and fixtures, enabling quick layout iterations.
Decorative patterns translate well, offering visual interest without complex installation. Color options remain broad, enabling coordinated palettes across walls, backsplashes, and floors.
Choose glazed finishes for easier wipe-downs in high-use zones. Avoid heavy-duty outdoor or high-slip environments; opt for porcelain where those demands exist.
Maintenance, Cleaning, and Long-Term Care for Both Options
To keep porcelain and ceramic tiles looking their best, you’ll follow a consistent cleaning routine that covers daily debris, spills, and grout care. You’ll apply appropriate cleaners, use non-abrasive tools, and schedule periodic deep cleanings to protect long-term finish and grout integrity.
We’ll outline practical long-term care tips for maintenance, and distinguish routine practices from issues that warrant professional attention.
Cleaning Routine Basics
Routine cleaning and long-term care for porcelain and ceramic tiles share core principles: establish a simple, regular schedule, use pH-neutral cleaners, and avoid abrasive tools that can scratch or dull surfaces.
You should pre-treat high-traffic zones with grout sealing to minimize moisture and staining ingress, then mop with a well-wrung microfiber pad to prevent water pooling.
Select cleaning products labeled safe for ceramic and porcelain, avoiding acidic or alkali-heavy formulas that can erode grout and glaze over time.
Rinse thoroughly after cleaning to prevent residue buildup, especially on glossy finishes.
Dry surfaces using a soft cloth or squeegee to reduce water marks.
Schedule periodic inspections for grout integrity and tile lamination, addressing cracks promptly to maintain uniform appearance and long-term performance.
Long-Term Care Tips
Long-term care for porcelain and ceramic tiles hinges on proactive maintenance, disciplined cleaning routines, and timely repairs to preserve glaze, grout integrity, and structural performance.
To extend life, implement sealing techniques where recommended by manufacturer, especially on porosity-prone surfaces or textured finishes, and reapply per guidelines to maintain stain resistance.
Clean with pH-neutral cleaners; avoid harsh acids or abrasive pads that can dull surface or erode grout.
Regularly inspect and reseal high-traffic zones, joints, and progressions to prevent moisture intrusion.
Grout color options can aid maintenance by concealing light staining or wear, but choose compatible sealers to prevent efflorescence or color bleed.
Address cracks or loose tiles promptly to prevent water damage.
Document material specs and follow installation warranties for long-term reliability.