
Keep your garage floor coating in top shape by cleaning regularly with a soft mop or microfiber cloth and a warm, pH-neutral cleaner to lift dirt without dulling the finish. Promptly blot and clean spills, inspect for wear or cracks, and protect the surface from abrasion with proper pads and careful handling of tools. Consider seasonal checks and ventilation, and plan timely repairs to extend longevity—all while you tighten up the routine that could save you more than you expect.
Cleaning Methods That Protect Your Floor
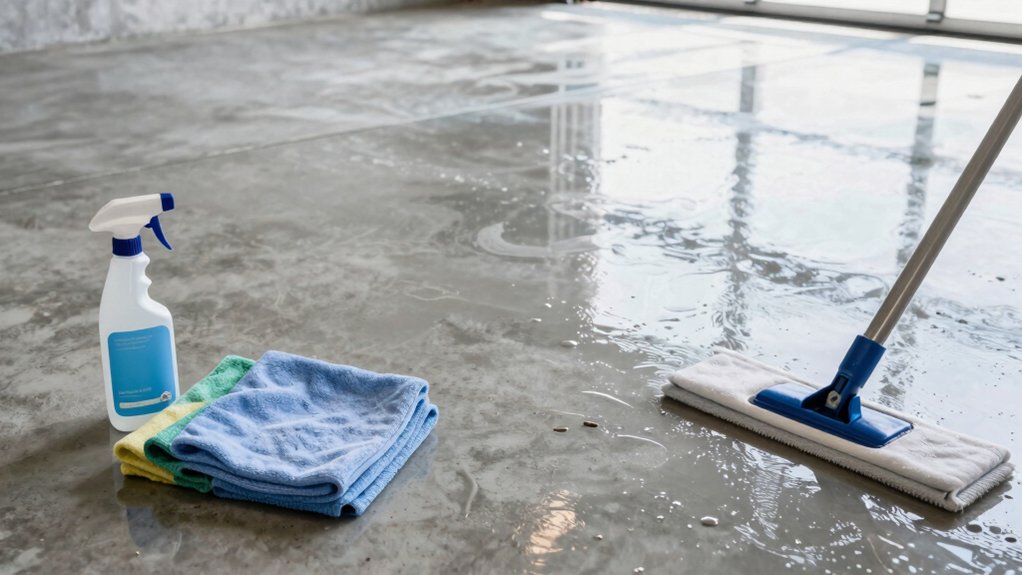
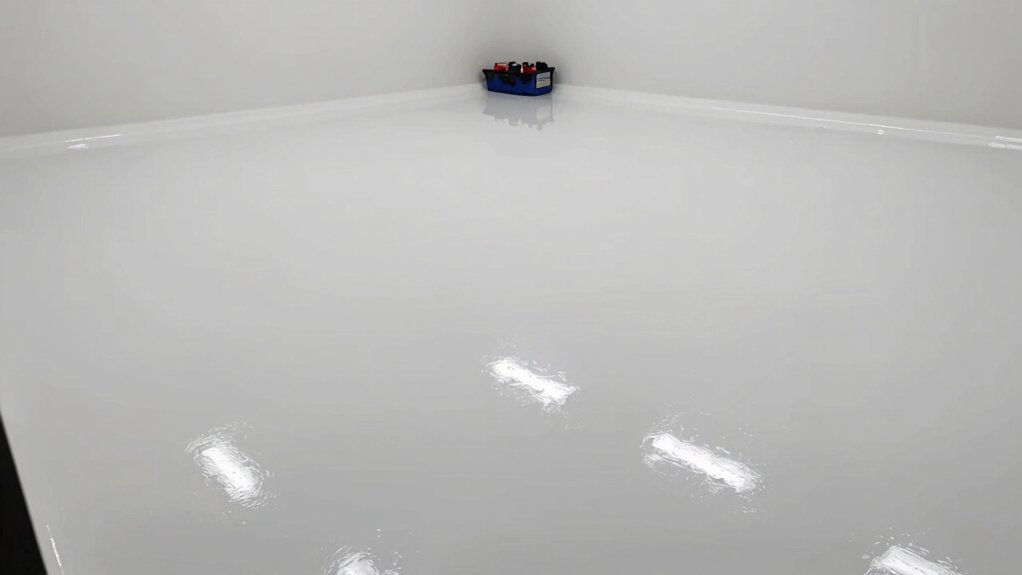
To keep your garage floor coating looking great, start with regular, gentle cleaning that removes dirt and debris without scratching the surface. You’ll use a soft mop or microfiber cloth and warm water, avoiding harsh scrubs that can dull the finish.
For stubborn spots, apply a mild, pH-neutral cleaner and let it sit briefly before a light scrape with a non-metallic tool. Rinse thoroughly and dry to prevent streaks.
Maintain proper garage ventilation during cleaning to disperse fumes and moisture, and ensure adequate garage lighting so you can spot high-traffic patches.
Regular sessions prevent residue buildup, protect slip resistance, and prolong coating life. Keep a routine calendar, use traceable cleaners, and document any notable changes in surface appearance for future reference.
Regular Inspection for Early Damage
Regular inspections catch early damage before it spreads. Look for visual wear, crack and chip signs, and any fluid or stain spots that stand out.
Addressing these indicators promptly helps preserve the coating’s integrity and longevity.
Visual Wear Indicators
Visual wear indicators matter because they let you spot early damage before it spreads. Regular checks focus on surface cues that predict future failure, guiding timely intervention.
You should track color fading and gloss loss as primary markers, noting any shifts from your coating’s baseline. Compare areas near doors, vents, and high-traffic zones, since these locations drive accelerated wear.
Document changes with dates and photos to build a reference timeline you can act on. When indicators appear, avoid assuming minor flaws will self-correct; small issues can escalate under moisture, UV exposure, or chemical contact.
Use a consistent inspection cadence, and prioritize resealing or spot repairs before peeling or delamination occur. Maintaining vigilance preserves appearance, durability, and long-term performance of your garage floor coating.
Crack and Chip Checks
Crack and chip checks are essential for catching early damage before it worsens. You should inspect edges, corners, and high-traffic zones for fine fissures and surface chips, documenting any change over time. Use a bright work light and a mirror to reveal hairline cracks that vanish under casual glance.
Record width, length, and location, prioritizing areas near expansion joints and drains. If you spot cracking widening beyond hairline or coating delamination, address promptly to prevent moisture intrusion and corrosion of underlying substrate.
Regular checks support garage aesthetics by guiding timely repairs, and they influence your floor color options by confirming where touch-ups are needed. Schedule quarterly reviews, and adjust your cadence after heavy use or temperature swings for consistent protection.
Keep observations organized for your maintenance log.
Fluid and Stain Spotting
Have you noticed any fluid or stain spots on the garage floor can herald early damage? Regular inspection flags weak points before coatings fail. Start by identifying the liquid type, then trace stains to their source.
Immediate action is vital: blot, not scrub, to prevent spreading and to preserve surface integrity. Assess whether spots are surface blemishes or indicate deeper issues tied to chemical reactions that could degrade polymer bonds. Note color, size, and spread pattern for monitoring over time.
Consider surface porosity, which governs absorbency and stain persistence; a porous slab will reveal spills faster and require targeted cleaning or resealing. Document findings, remove contaminants with appropriate cleaners, and recoat as needed to maintain a seamless, durable finish.
Dealing With Spills and Stains Promptly
You should establish an immediate spill response protocol to minimize penetration and staining. Identify stains quickly—note the spill type, color, and surface contact—so you can select the correct cleaner and activation time.
Maintain a regular cleanup schedule to prevent buildup and ensure consistent floor performance.
Immediate Spill Response
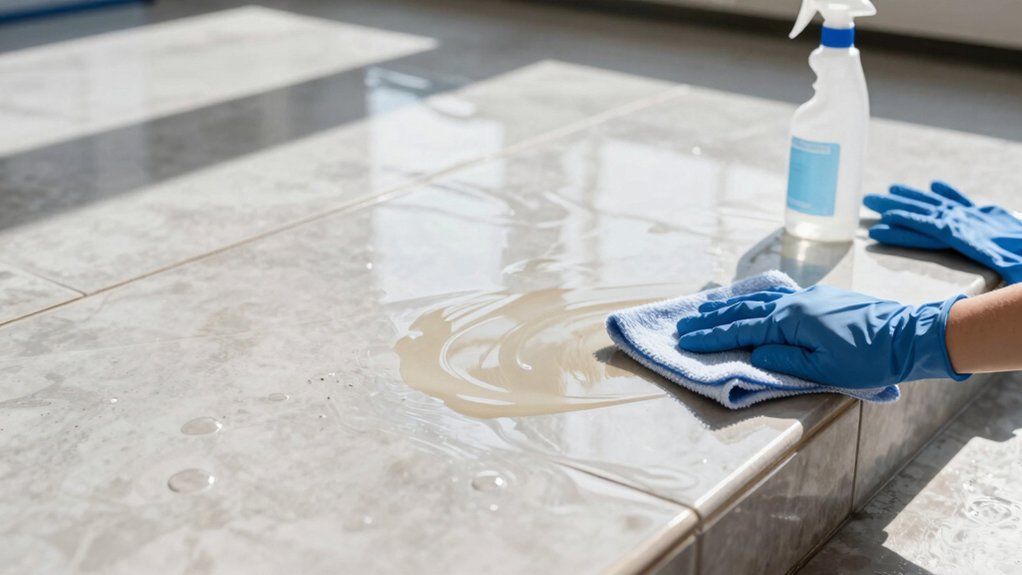
How should you respond to a spill on a coated garage floor to minimize damage and downtime? Begin by acting quickly: blot excess liquid with an absorbent material, working from the outside inward to prevent spreading. Avoid rubbing, which can embed contaminants or scratch the surface.
Use a mild detergent compatible with your coating, apply a small amount, and agitate gently with a soft pad. Then rinse with clean water and dry completely.
If residue remains, repeat the process and consider a specialized cleaner approved by the coating manufacturer. Document incident timing and cleanup steps for maintenance records.
Efficient spill handling supports garage organization and preserves flooring aesthetics, reducing downtime and extending coating life through disciplined, repeatable practices.
Stain Identification Tips
Stain identification should begin right after a spill is contained, so you can select the correct cleanup approach and minimize lasting marks. To identify the stain, note color, texture, and odor, then determine chemistry: acidic, alkaline, oil-based, or dye.
Test a hidden area first with a mild cleaner to observe response before full treatment. Document the spill type and surface condition, then choose a compatible product to avoid coating damage. Always blot rather than rub to prevent embedding.
For oil-based stains, apply a degreaser and absorbent, repeating as needed. For water-based spills, rinse with clean water and use a neutral cleaner.
Post-cleanup, inspect for residue and re-seal if necessary. Effective stain removal hinges on timely action and targeted stain prevention strategies.
Regular Cleanup Schedule
Regular cleanup scheduling guarantees spills and stains are addressed before they set, preserving the coating’s integrity and appearance. You should establish a daily checkout routine that spots fresh spills quickly and prevents absorbed residues.
Keep a spill kit accessible, with towels, approved cleaners, and a soft scrub pad, and label it for quick use. When a spill occurs, blot—don’t rub—to minimize spreading, then treat with a manufacturer-recommended cleaner and rinse thoroughly.
Schedule periodic inspections to confirm coating sheen and adhesion remain uniform; address any micro-damage promptly.
Integrate garage organization practices so supplies stay organized near work zones, reducing response time.
Improve lighting enhancements to identify marks sooner, enabling immediate action and extending coating life.
Regular upkeep reduces maintenance costs and maintains a professional, safe workspace.
Preventing Abrasion and Scratches
To prevent abrasion and scratches on a garage floor coating, you should implement a combination of surface care and usage practices that minimize point loads and recent impacts.
Begin with proper surface conditioning: keep the coating clean, dry, and free of loose grit that can act like sandpaper. Use felt or nylon pads on any dragged equipment, and apply temporary protectors to high-traffic zones.
Choose loading practices that distribute weight across the surface, and avoid dropping heavy tools. Routine inspections help detect wear early, enabling timely re-application of protective topcoats when needed.
For aesthetics, consider garage aesthetics and flooring color options that complement your space while signaling care. This disciplined approach preserves durability and appearance without compromising workflow efficiency.
Temperature and UV Exposure Considerations
Temperature and UV exposure can degrade garage floor coatings if not properly managed. You must control heat sources and sun exposure to preserve coating integrity. UV protection is essential; ultraviolet rays can break down binders and cause chalking, fading, or loss of gloss over time.
Position vehicles and equipment to minimize direct sun contact on treated surfaces, and use awnings or shade where feasible. Temperature control helps prevent microcracking and solvent evaporation that can weaken adhesion. Maintain consistent ambient temperatures during application, curing, and service life, avoiding rapid warming or cooling that stresses the coating.
Check for temperature fluctuations in attached garages and adjust HVAC or insulation accordingly. Pair UV protection with proper maintenance intervals to extend durability and performance.
Seasonal Maintenance Routine
Seasonal maintenance keeps your coating performing year-round. Start with seasonal cleaning tips to remove debris and prevent wear. Then, apply temperature-ready steps to protect edges and high-traffic areas as conditions change.
This routine sets a clear framework for preserving gloss, durability, and safe footing through every season.
Seasonal Cleaning Tips
When you tackle seasonal cleaning for a garage floor coating, start by establishing a simple routine that aligns with climate and usage patterns; this guarantees the coating remains durable and easy to maintain.
You should pre-clean loose debris, then sweep and vacuum to prevent scratch pathways. Use a mild degreaser on oil spots, rinse thoroughly, and allow complete drying before applying any protective coat or sealant touch-ups.
Schedule two focal checks per season: inspect for micro-scratches and sealant wear, and re-clean high-traffic zones to prevent buildup.
Integrate garage organization steps to keep tools off the floor and pathways clear, reducing grime ingress.
Consider lighting enhancements to improve visibility during maintenance, ensuring accurate spot cleaning and safe navigation, especially in dim corners.
Maintain consistent intervals to optimize longevity.
Temperature-Ready Steps
With the seasonal routine in mind, you’ll align your garage floor maintenance with temperature shifts to prevent coating stress and keep protection intact. Temperature-Ready Steps focus on proactive preparation and execution.
First, verify garage ventilation is unobstructed to manage fumes and drying air flow during any recoat or cleaning.
Second, assess floor insulation levels; inadequate insulation can create condensation risks that compromise adhesion.
Third, adjust schedules to perform coating touch-ups during stable temperatures, avoiding extreme heat or cold that dulls cure.
Fourth, inspect edges and joints for micro-cracks after temperature swings, performing timely repairs before coating failure.
Fifth, calibrate your dehumidification or heating as needed to sustain a consistent environment.
Finally, label seasonal maintenance tasks for future reference to sustain long-term durability.
Repairing Chips and Dull Spots
Repairing chips and dull spots is a focused, methodical task that restoration hinges on. You begin by cleaning the area thoroughly to reveal the base substrate and remove contaminants that impede adhesion.
Lightly etch or roughen the damaged zone if required by your coating system, then wipe away dust. Use a compatible epoxy repair paste or resin to fill chips, smoothing flush with the surrounding floor. Allow proper curing per manufacturer guidelines before applying a patch layer.
For dull spots, recoat with the same epoxy system, ensuring uniform interface and color consistency. Post-application, inspect adhesion and surface evenness.
Consider Garage floor sealing in the surrounding region to unify gloss. If color irregularities occur, review epoxy color options and adjust shade for a seamless finish.
Maintenance Tools and Protective Products
Maintenance tools and protective products are essential for durable, professional results and safer operation. You build a reliable workflow by selecting purpose‑built tools and guardrails that match your coating system.
Prioritize power tools designed for concrete work, choosing items with variable speed, dust collection, and compatible pads to prevent heat buildup and gouging.
Keep protective gear within reach: impact‑resistant eyewear, NIOSH respirators, chemical‑resistant gloves, and slip‑resistant footwear.
Use a clean, organized toolbox to reduce misplacement and downtime. Inspect blades, brushes, and pads before each use, replacing worn parts promptly.
Store solvents and cleaners in labeled, sealed containers away from heat sources.
Document tool maintenance and consumable lifecycles to optimize job planning and minimize downtime.
Preventative Coating Renewal Timing
Preventative coating renewal timing hinges on understanding service life and performance indicators. You assess wear patterns, gloss loss, and micro-cracking to gauge when renewal is prudent.
Track coating durability as a data point, noting how long the surface maintains slip resistance and color integrity under typical garage conditions. Plan renewals before visible degradation accelerates, not after failures begin.
Your decision should align with manufacturer recommendations, but also with observed performance in your space, including vehicle traffic, chemicals, and cleaning frequency. Keep records of cure windows, maintenance cycles, and observed performance shifts to refine timing.
When renewal becomes necessary, rely on precise application techniques to restore uniform protection. Timely refresh minimizes downtime and preserves long-term substrate integrity.
Safety and Slip-Resistance Checks
Safety and slip-resistance checks should be a routine part of garage floor care, performed before and after coatings are applied or refreshed. You assess surface texture, looking for dull spots, grit, or uneven patches that could cause drips or missteps.
Use a clean, controlled test: walk the area slowly, noting any slipping sensations, and drag a clean object across the surface to detect roughness changes. Verify that traffic lanes remain clearly defined and that high-traffic zones meet standard friction expectations.
Document results, then address deficiencies with proper cleaning, abrading, or re-coating as needed. Emphasize garage safety by enforcing no-slip zones during work and cure periods.
Regular checks support slip prevention, extending coating life and protecting occupants. Stay methodical, repeatable, and precise in every assessment.
Long-Term Care for Epoxy, Polyaspartic, and Acrylic Floors
Long-term care for epoxy, polyaspartic, and acrylic floors centers on consistent inspection, timely maintenance, and appropriate reconditioning to preserve glare-free aesthetics and slip resistance.
You should schedule quarterly surface checks for wear, micro-scratches, and coating integrity, paying attention to chips or delamination. Promptly address any damage with manufacturer-approved fillers and recoat as needed to prevent water intrusion and staining.
Use pH-neutral cleaners in diluted form, avoiding harsh solvents that can dull gloss. Maintain even humidity and temperature during reconditioning to ensure adhesion.
Regular strip-and-wuff? Actually, avoid that. Instead, vacuum, damp-mop, and dry thoroughly after cleaning to sustain garage flooring aesthetics and color consistency.
Embrace decorative finishes sparingly in high-traffic zones to preserve long-term gloss and slip resistance.
Frequently Asked Questions
How Long Does a Garage Floor Coating Typically Last?
Typically, a garage floor coating lasts 5–15 years depending on traffic and prep. You should consider durability expectations, but follow maintenance tips: clean regularly, reseal when wear shows, and protect from chemicals and impacts.
Can Pets Affect Epoxy Floor Longevity and Finish?
Pets can affect epoxy longevity and finish. You’ll experience pet scratches and potential odor control issues if coatings aren’t maintained. Regular inspection, prompt scratch repairs, and odor control measures help preserve durability, appearance, and slip resistance over time.
Should I Reseal or Recoats Be Done Annually?
Sealant renewal isn’t necessary every year; perform coating inspection first to assess wear. If adhesion or gloss falters, reseal or recoat promptly, otherwise skip annual renewal to avoid unnecessary buildup and preserve performance.
Which Cleaners Won’t Strip Epoxy or Polyaspartic Coatings?
You should use cleaning solutions with strong chemical resistance that won’t strip epoxy or polyaspartic coatings. Choose pH-neutral cleaners or dedicated garage floor cleaners; avoid acidic or alkali-heavy formulas that can degrade the surface over time.
Is Professional Resurfacing Required for Heavy Tires or Equipment?
Professional resurfacing isn’t always required; it depends on impact. If you have heavy tires or equipment, assess wear, then perform targeted Garage prep and address Equipment concerns before deciding on resurfacing. Consider consultation for precise guidance.
Conclusion
To keep your garage gleam, grant keen care: clean with gentle, pH-neutral products, promptly blot spills, and polish with practical pads. Periodic probes of wear prevent surprises, and protect surfaces with sensible seals and sturdy pads on gear. Manage heat, sun, and UV exposure, then monitor moisture and slip resistance. Maintain methodical maintenance schedules, map renewal timing, and store supplies sensibly. With disciplined discipline, durable epoxy, polyaspartic, or acrylic floors stay pristine, protected, and perpetual.