
A few small changes can help you avoid bigger problems in a basement bathroom. You’ll want a fan that moves moisture outside, not just around the room, plus intake vents low on walls to bring in fresh air. Keep windows and doors sealed where it matters, and use a sensible control like a timer or humidity sensor. The details ahead explain how to size, install, and maintain a system that stays reliable and mold-free.
Understanding Basement Moisture and Ventilation Needs
Basement moisture is a constant risk, so start by understanding how humidity and dampness behave in below-grade spaces. You’ll notice humidity concentrates near walls, floors, and corners where cool air meets warm air and where leaks or condensation occur.
Identify Moisture sources such as leaks, groundwater intrusion, wall cracks, and high indoor humidity from showers, laundry, and cooking. Ventilation myths often lead you to overestimate single-room fixes; you need a system, not a gadget.
Assess how long moisture lingers after use and how quickly surfaces dry, then plan for continuous air exchange. Prioritize balanced ventilation, exhaust placement, and dehumidification when necessary.
Keep condensate from entering crevices by sealing gaps, and monitor humidity to maintain comfortable, mold-free conditions.
Assessing Current Ventilation and Airflow
To assess your current ventilation and airflow, start by mapping how air moves through the space. Identify intake and exhaust points, note any stagnant zones, and trace heat and moisture paths from the shower, toilet, and sink.
Check ceiling, wall, and floor vents for blockages and verify they’re adequately sized for the space.
Observe humidity patterns during use and after showering; if air feels damp or cold spots form near corners, ventilation may be insufficient.
Record airflow measurements if possible, and compare against standard baselines for bathrooms of similar size.
Consider dehumidifier options as a backup to control moisture.
Document mold prevention techniques you already employ and flag areas needing improvement to prevent future condensation and mildew growth.
Choosing Between Exhaust Fans and Whole-House Solutions
When deciding between an exhaust fan and a whole-house solution, you’ll weigh where you want moisture to exit and how much air you want moved.
Consider overall costs—installation, operation, and any needed ducting or controls—as well as long-term reliability.
I’ll help you compare installation challenges and practical limitations so you pick the approach that fits your basement bathroom and budget.
Exhaust vs. Whole-House
Choosing between an exhaust fan and a whole-house ventilation solution hinges on your basement bathroom’s needs, budget, and existing systems.
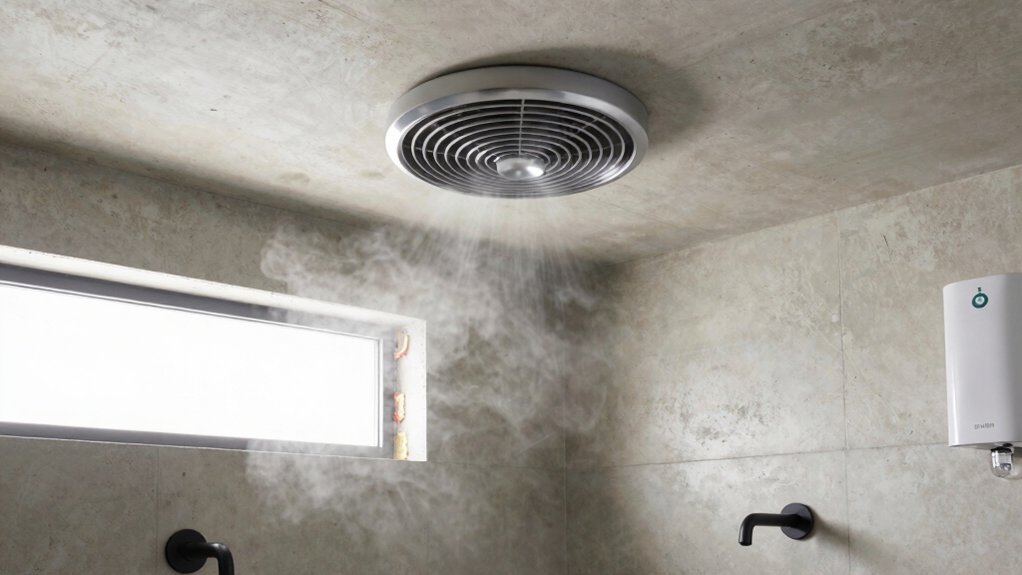
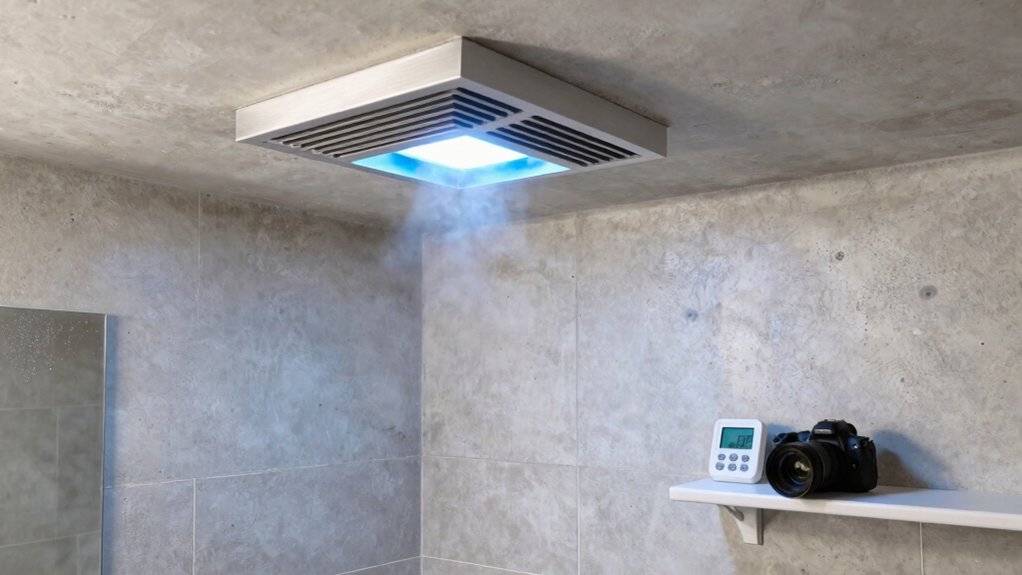
An exhaust fan is simple and targeted, moving moisture-laden air straight out and preventing mold buildup where you actually shower. It’s cost-effective, easy to install, and requires little disruption to your home’s structure. If your goal is rapid moisture control and improved air quality in a compact space, this option shines.
A whole-house approach treats the basement as part of the home’s overall ventilation strategy. It can balance humidity year-round, reduce odors, and support consistent air exchange with upper floors. It’s more complex, often pricier, and needs integration with HVAC.
Choose based on long-term performance, maintenance, and how you use the space.
Ventilation System Costs
Installing a ventilation system for a basement bathroom comes with upfront and ongoing costs that affect your long-term budget. When choosing between an exhaust fan and a whole-house solution, start by evaluating your priorities: air quality and odor control.
An exhaust fan is inexpensive upfront, simple to install, and targets moisture directly. However, it may require ducting and regular maintenance.
A whole-house system costs more upfront but can deliver balanced ventilation, integrated humidity control, and less noise if properly designed. Consider energy efficiency, control options, and potential zoning to minimize heat loss.
Plan for filters, potential electrical upgrades, and eventual replacement cycles. Balance initial expense with long-term reliability to maintain consistent air quality and odor control without surprising bills.
Installation Considerations
Evaluating your options early helps prevent backtracking later: exhaust fans are cheap and easy to install, but they mainly vent moisture and odors, often requiring ductwork and routine maintenance.
When you weigh exhaust fans against whole-house solutions, start with room needs: moisture load, odor control, and noise tolerance. An inline or ceiling-mounted fan suits small bathrooms, while larger spaces benefit from coordinated ducting and humidity sensors.
Whole-house systems, like an interconnected ventilation strategy, can maintain balanced air exchange but come with higher upfront costs and more complex installation. Consider future renovations and access to attic or crawl spaces.
Think about aesthetics too—decorative vents can blend with decor, and aesthetic covers reduce visual impact. Ensure you plan duct routing, condensation management, and service access for long-term reliability.
Sizing a Ventilation System for a Basement Bathroom
To size a basement bathroom ventilation system, you’ll start with System Sizing Basics to establish the target airflow for the space.
Use Airflow Calculation Tricks to check whether you meet code minimums and fit with any existing ductwork, then apply Fixture Load Factors to account for sinks, toilets, and showers.
Keep the approach practical and precise, so you can justify your airflow choice before you shop or install.
System Sizing Basics
Sizing a ventilation system for a basement bathroom isn’t guesswork: you determine the required flow, select a fan with adequate power, and confirm it will meet code and moisture control goals.
You’ll size by target air changes per hour and moisture risk, then verify intake and exhaust clearances meet your space constraints. Choose a unit with a static pressure rating that handles duct length, bends, and any local debris.
Match CFM to room volume, but plan for peak moisture events—shower, laundry, and child occupancy—so air quality stays stable. Consider humidity sensors and auto-retrofit options if future changes occur.
Ensure the system provides continuous background ventilation with an optional boost when needed. Prioritize odor control and clean, reliable operation to maintain comfort and code compliance.
Airflow Calculation Tricks
Now that you’ve locked in how big the space is and what moisture risk you’re aiming to control, you can fine-tune airflow with practical calculation tricks. Start with target air changes per hour (ACH) for basements, then translate that into a simple CFM range based on room volume.
Don’t chase vanity numbers; aim for steady exchange to sustain air quality without overventilating. Use continuous operation for the general vent and intermittent boosts for odor control when showers run hot and long.
Consider a programmable timer or humidity-sensing control to adjust output. Factor remote pressure and duct length into a friction loss estimate, then pick a fan on the lower end of the spec if ducting is lengthy.
Verify performance with a simple airflow test.
Fixture Load Factors
Fixture load factors matter because they determine how much air you must move to handle moisture and odors without overventilating.
In sizing, you convert each bathroom fixture type into an equivalent ventilation load. Fixture load factors assign a multiplier to common bathroom fixture types, reflecting how much air they emit during use.
Start with toilets, sinks, and showers, then add any bathtubs or bidets as applicable. Use the bathroom fixture types as your baseline and apply the factors specified by code or manufacturer guidelines.
Sum the loads to establish the minimum continuous airflow your system must deliver. Keep in mind that higher occupancy or additional fixtures increase the total.
Aim for a balanced design that maintains comfort without excessive exhaust. Verify with local code requirements and adjust as needed.
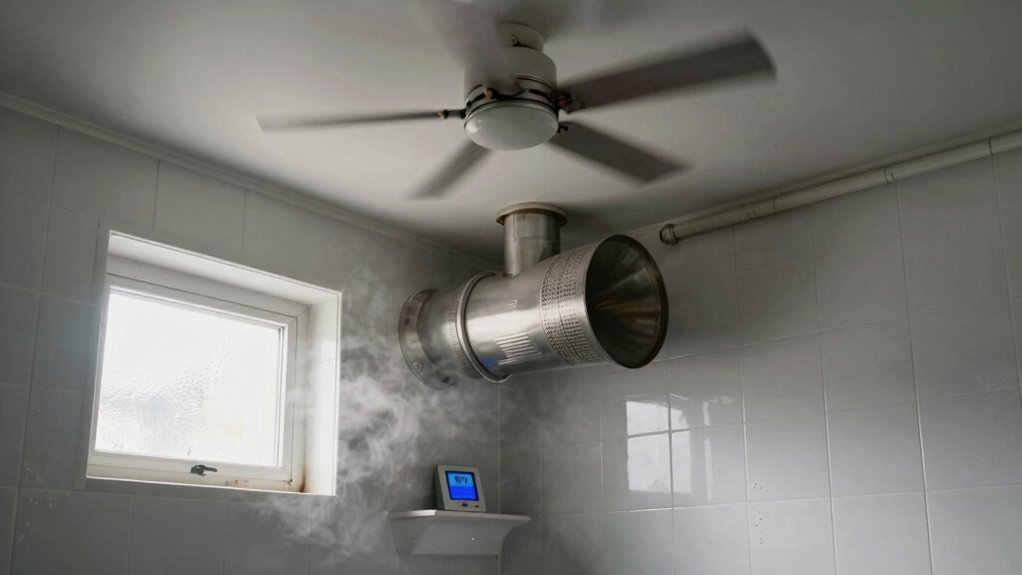
Ductwork Planning and Installation Basics
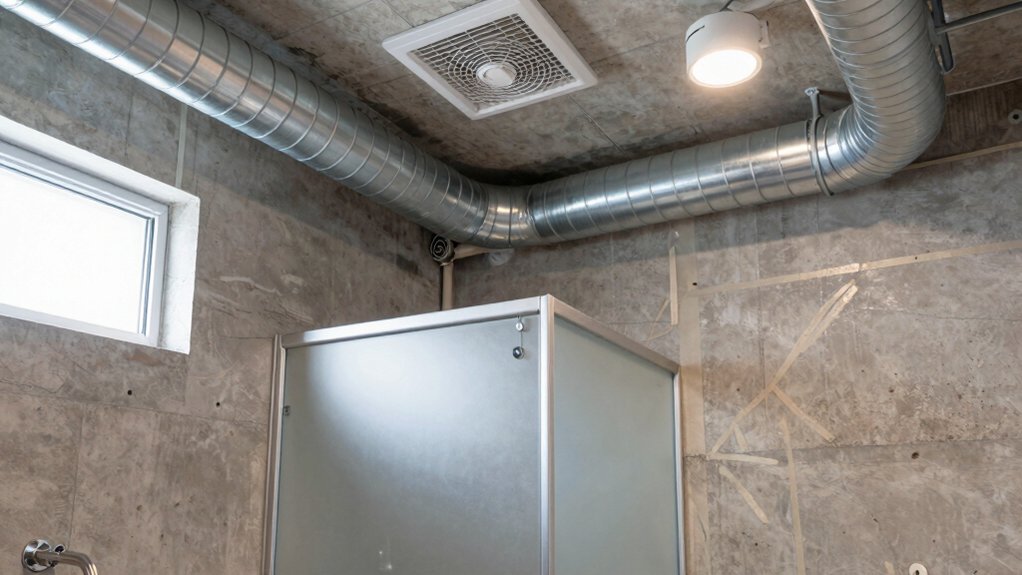
Ductwork planning starts with knowing your bathroom’s exhaust needs and the space available for routing. You determine diameter, run length, and mounting options by mapping routes from the fan to an exterior vent, avoiding airtight corners and long bends.
Choose solid ducting material, seal joints with UL-listed tape, and use insulated runs to minimize condensation and heat loss. Plan for a single, appropriately sized duct rather than parallel lines that waste airflow.
Pull calculations consider fan CFM, room volume, and leakage; ensure the system can sustain code-compliant airflow at the furthest point. Install a cleanout access and a backdraft damper to prevent backflow.
Focus on air quality and moisture control, verifying joints are airtight and the exterior termination is weatherproof. Test performance after installation.
Vent Placement for Optimal Air Exchange
Where should you place vents to maximize air exchange without creating drafts or moisture problems? In practical terms, position intake vents low on walls or near the floor and exhaust vents high on walls or toward the ceiling. This aligns with typical airflow patterns: cool air enters low, warm, humid air exits high.
Place the bathroom exhaust as close as possible to the source of moisture (shower, tub) without blocking it, and avoid placing it directly opposite a door that can short-circuit airflow.
If you have a soffit or ceiling void, draw supply air from living areas while venting into the bathroom through a dedicated exhaust run.
Ensure vent placement supports consistent circulation, not stagnant corners, and use a timer or humidity sensor to maintain effective airflow patterns.
Humidity Control and Smart Moisture Management
Humidity control isn’t optional in a basement bathroom—it’s essential. You’ll manage moisture proactively with a simple plan: install moisture barriers at key surfaces, seal joints, and use continuous vapor barriers behind walls where feasible.
Pair these barriers with reliable humidity sensors to track variation between wet seasons and dry spells. Place sensors near showers, sinks, and the lowest wall plane to capture early moisture cues. When readings rise, you trigger ventilation or dehumidification promptly, avoiding condensation that fosters mold.
Choose a system with adjustable fan duty cycles and a slow ramp to prevent pressure shocks. Maintain filters and shutoffs so the setup stays balanced. Schedule quarterly checks, calibrate sensors, and document changes for long‑term precision.
Electrical Considerations and Safety
Electric work in a basement bathroom requires careful planning and strict safety. You should map outlets, switches, and fixtures to a dedicated circuit, minimizing shared loads that could trip breakers. Verify exterior and indoor wet locations meet electrical wiring codes, using damp-rated boxes and GFCI protection near sinks and showers.
Install safety switches or a clearly labeled disconnect for the ventilation system, so you can shut power quickly if needed. Keep all wiring contained in rigid conduit or approved cable, with proper strain relief at enclosures. Use tamper-resistant receptacles and cover plates to prevent accidental contact.
Never work live; turn off the main and test with a voltage tester before starting. Consult a licensed electrician for complex tasks or code verification.
Noise Reduction and Comfort Improvements
To reduce noise and boost comfort in a basement bathroom vent system, start with solid isolation and thoughtful routing. You’ll minimize sound transmission by buffering the duct run with short, straight segments and avoiding sharp bends. Use flexible connections only where necessary, and insulate ductwork with proper grade insulation to dampen vibration.
Select a quiet, appropriately sized inline fan and mount it on a vibration-isolating pad or hanger. Seal joints with acoustical duct mastic to prevent rattles and air leaks. Consider a dual-speed or timer-controlled model to match usage, improving system efficiency.
Maintain humidity control by preventing condensation on cold surfaces, which reduces muffled sounds from dripping. Focus on balanced airflow and deliberate ducting to sustain comfort without excess noise.
Maintenance, Cleaning, and System Lifespan
Regular maintenance keeps your basement bathroom vent system reliable and quiet. After each cleaning cycle, inspect the exterior vent and grille for dried dust or debris, and remove it with a damp cloth.
Check the fan blades for wobble, unusual noise, or binding; apply a light, non-silicone lubricant if needed, and secure any loose mounting screws.
Replace damp filters promptly to maintain airflow and odor elimination efficiency.
Schedule quarterly inspections of duct connections for leaks or disconnected joints, and seal leaks with appropriate foaming sealant.
Clean the housing annually to prevent grime buildup that impedes performance.
Monitor humidity levels to sustain mold prevention, and replace aging components before failure.
Document service dates to extend system lifespan and maintain consistent ventilation.
Budget-Friendly Upgrades and DIY Tips
You can start with simple, cost-effective vent upgrades that improve airflow without major renovations. Consider upgrading to a higher-CFM bath fan or adding a smoke/acetone test to confirm negative pressure and fix leaks.
I’ll share practical DIY tips and budget-friendly ideas you can implement this weekend.
Budget-Friendly Vent Upgrades
If you’re upgrading a basement bathroom without blowing the budget, start with simple, practical moves that boost ventilation without major remodeling. First, replace or add a quiet, inline fan with a higher CFM rating matched to the room size, and vent it directly outdoors. Consider a fan timer or humidistat to run automatically after showers.
Seal ductwork and ensure minimal bends to reduce backdrafts and noise. Add a passive vent in the door to encourage cross-ventilation when the fan isn’t running. For aesthetics, choose bathroom aesthetics that don’t trap moisture, and conceal ducts with accessible panels. Use decorative fixtures to integrate the system visually, choosing finishes that resist humidity.
Regularly clean grills and replace filters to maintain performance and longevity.
DIY Ventilation Tips
Start with practical, budget-minded upgrades you can do yourself. You’ll improve airflow by sealing long gaps around windows and doors, then adding affordable vent grilles or a small bathroom exhaust fan with a timer. Choose a unit rated for moisture, install according to instructions, and vent it outdoors, not into attic spaces.
Regularly clean the fan and replace filters to prevent reduced airflow. Keep humidity manageable with a simple dehumidifier in high-traffic areas, especially when painting or cleaning.
Avoid common Ventilation myths, like hoping windows alone solve moisture; they don’t remove built-up dampness. Track condensation, fix leaks promptly, and ensure bathroom mold signs are addressed early.
With these steps, you create efficient, low-cost improvements that reduce humidity and improve air quality.
Frequently Asked Questions
How Often Should I Replace Ventilation Filters in a Basement Bathroom?
Replace filters every 3 to 6 months, depending on use and odor. Track ventilation system effectiveness and adjust the filter replacement schedule as needed; heavy basement moisture or mold suggests more frequent changes to maintain system effectiveness.
Can a Bathroom Exhaust Vent Cause Moisture Issues Upstairs?
If you notice moisture upstairs, yes, a bathroom exhaust vent can contribute, depending on exhaust vent placement and airflow balance. Monitor moisture buildup, seal leaks, and guarantee proper venting away from living spaces to prevent issues.
Do Humidity Levels Affect Mold Risk Differently in Basements?
Yes, humidity levels affect mold risk differently in basements. You’ll want vigilant humidity control to prevent basement mold, since cool, damp air fuels growth more than upstairs spaces. Use dehumidifiers, ventilation, and monitor humidity regularly.
What’s the Best Timer or Smart Control for Bathroom Ventilation?
“Time is money,” you might say. You’ll want smart controls or ventilation timers for your bathroom; they guarantee consistent extraction, auto-sensing humidity, and delay shutoff. You’ll set it to run after showers for ideal moisture control.
Can Natural Ventilation Be Effective in Cold Basements?
Yes, natural ventilation can help, but in cold basements its effectiveness is limited. Make certain of steady natural airflow, avoid drafts, and complement with passive vents or a heat-assisted setup to improve ventilation effectiveness. Monitor humidity to maintain comfort.
Conclusion
Ventilate your basement bathroom by matching a suitable fan to the space, venting directly outside, and keeping intake vents low. Seal gaps around doors and windows, use humidity sensors or timers, and insulate ducting to curb condensation. Regularly inspect and clean components, replace filters, and monitor moisture levels to prevent mold growth. In short, stay on top of airflow, and you’ll sleep easy—the system will pay for itself in peace of mind, no ifs or buts. You’re all set.