

Are infrared heaters expensive to run in winter? Not necessarily. They heat people and objects directly, so you can warm critical spots without cranking up the whole house. Costs depend on room size, insulation, and how you use them—opt for the right wattage, place units to cover occupied areas, and employ zoning or timers. Regular maintenance helps too. If you keep usage targeted, you’ll likely see lower energy bills, and there’s more to learn beyond this.
How Infrared Heaters Work and What “Expensive to Run” Really Means
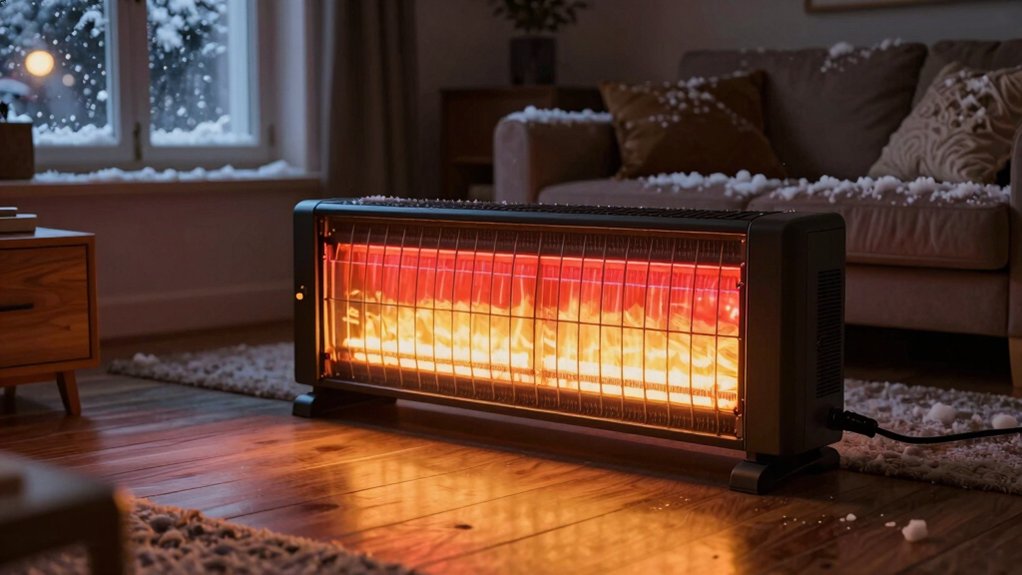
Infrared heaters work by emitting radiant energy that warms objects and people directly, rather than heating the air. You feel warmth as waves travel from the heater to you, not through a reheated room. This makes infrared units efficient for spot heating, especially where you spend time, like at a desk or by a couch.
You can choose shortwave or medium/longwave designs, each delivering heat differently, but the principle stays the same: energy moves through space and transfers to matter it encounters.
Unlike convection heaters, infrared devices don’t rely on circulating air to transfer heat, so drafts don’t diminish comfort.
When you assess costs, consider the heater’s wattage, your usage pattern, and whether you benefit from immediate warmth rather than whole-room heating.
Factors That Drive Infrared Running Costs in Winter
Winter is when infrared running costs swing most, because outdoor temps and indoor heating needs change how you actually use the heater. Your efficiency factors kick in: room size, insulation, and ceiling height determine how long you run it and how evenly it warms.
The heater’s wattage sets a ceiling on cost, but actual use depends on your climate and occupancy. Drafts, humidity, and window quality amplify or dampen heat loss, so small gaps matter more than you think.
Position matters too: targeting the space you occupy minimizes wasted heat. Thermostat behavior, ambient temperature, and schedule impact totals—shorter, strategic runtimes save more than constant on.
Regular maintenance keeps reflectors clean and sensors accurate, preserving performance.
Compare: Infrared vs. Central Heating and Space Heaters
When comparing infrared heaters with central heating and standalone space heaters, you’ll notice differences in heat delivery, cost, and comfort.
Infrared heaters warm objects and people directly, offering quick warmth and targeted zoning without heating the entire room.
Central systems distribute heat through ducts, delivering uniform warmth but often slower to respond and slower to reach set temps.
Space heaters provide portable heat, but can be uneven and costly if used long-term.
Infrared usually uses less energy for spot heating and can reduce overall bills if you heat only occupied areas.
Central systems feel more consistent but may waste energy warming empty spaces.
Space heaters are flexible but risk higher peak costs and safety concerns.
Choose based on room size, usage, and comfort priorities.
How to Maximize Efficiency: Placement, Wattage, and Zoning
To maximize efficiency, start with smart placement that targets hot zones without obstructions.
Choose wattage that fits room size and insulation, avoiding overkill.
Use clear zoning by timing and controlling heaters in separate areas to maintain comfort and save energy.
Placement Principles
Proper placement can dramatically boost infrared heater efficiency. You’ll maximize comfort by considering position, line of sight, and heat flow. Place units so the radiant beam isn’t blocked by furniture or walls; unobstructed projection keeps warmth where you want it.
Aim for mid-room or corner setups that reduce cold drafts without creating hot spots. Avoid pointing directly at seating or zones you don’t occupy, which wastes energy and comfort. Elevate units roughly chest height if possible, but respect manufacturer guidelines and safety clearances.
Consider room layout: open plans benefit from strategic angles, while smaller spaces may require tighter placement. Use mirrors or reflective surfaces carefully to distribute heat without overloading a single area.
Finally, document placement changes to track comfort and energy results.
Appropriate Wattage Use
Choosing the right wattage is key to keeping infrared heating efficient after you’ve set up placements. Start with your space’s size, insulation, and typical occupancy, then choose a wattage that targets the area you use most.
Too much power wastes energy and can feel uncomfortable, while too little won’t heat the spot effectively. Use a heater with adjustable output or multi-wave settings to match demand.
In general, smaller rooms need less wattage, larger rooms require more, and higher ceilings dilute warmth. Avoid running heaters at full blast for long periods; instead, run at moderate levels and complement with proper insulation.
Pair pinpoint placement with seasonal adjustments, turning down output when doors and windows are closed, and using timers to prevent idle heating.
Effective Zoning Strategies
Effective zoning helps you heat where you actually spend time, not the entire space. To maximize efficiency, map rooms by activity and occupancy. Place infrared heaters where you sit, work, or relax, not where you rarely go. Use small, targeted units rather than one oversized heater, which wastes energy.
Keep doors closed to maintain heated zones and prevent leakage. Implement thermostats or smart controls to synchronize heat with your routine, lowering output when rooms are unused. Prioritize high-traffic areas first, then expand gradually if needed.
Consider insulation and drafts, because good envelope performance reduces the required wattage. Avoid blind spots by balancing heat sources to minimize cold pockets. Test, adjust, and document results to refine your zoning strategy over time.
Real-World Usage: Room Size, Insulation, and Thermostat Habits
Room size sets the baseline for your infrared heater needs, since larger spaces require more consistent coverage. Insulation matters, too, because it helps keep the heat in and your bills down.
Your thermostat habits—how you set, adjust, and time heat—drive how efficiently you use the room’s warmth.
Room Size Impact
Room size directly affects how efficiently an infrared heater warms a space. In small rooms, you’ll notice faster heating because panels reach target warmth quickly and stay focused on occupants.
Medium rooms balance heat pull and surface area, so you’ll still feel the benefits without overworking the unit.
Large rooms require more careful placement and possibly multiple heaters to avoid cold corners; otherwise, you’ll waste energy chasing uneven comfort.
You’ll get the best results by matching the heater’s wattage to the space, not overcompensating with higher settings.
Keep doors closed to minimize heat loss, and use a thermostat strategy that targets the occupied zone rather than blasting the entire room.
Insulation Influence
Insulation plays a big role in how infrared heaters perform in real homes, especially when you consider room size, existing insulation quality, and how you use the thermostat. Poor insulation wastes energy by letting heat escape, so you feel cooler sooner and run the heater longer.
In well-sealed rooms, infrared panels can heat people and objects directly, making warmth feel steadier with lower settings. Larger rooms require more heat output or zoning, while compact spaces heat quickly and stay warmer with modest use.
Thermostat habits matter: setbacks, schedules, and accurate readings help avoid overshooting heat demands. Combine modest ambient temps with reflective barriers and under-floor or ceiling insulation for efficiency.
In short, better insulation reduces running costs and improves comfort.
Quick-Start Guide to Budgeting for Infrared Heating in Winter
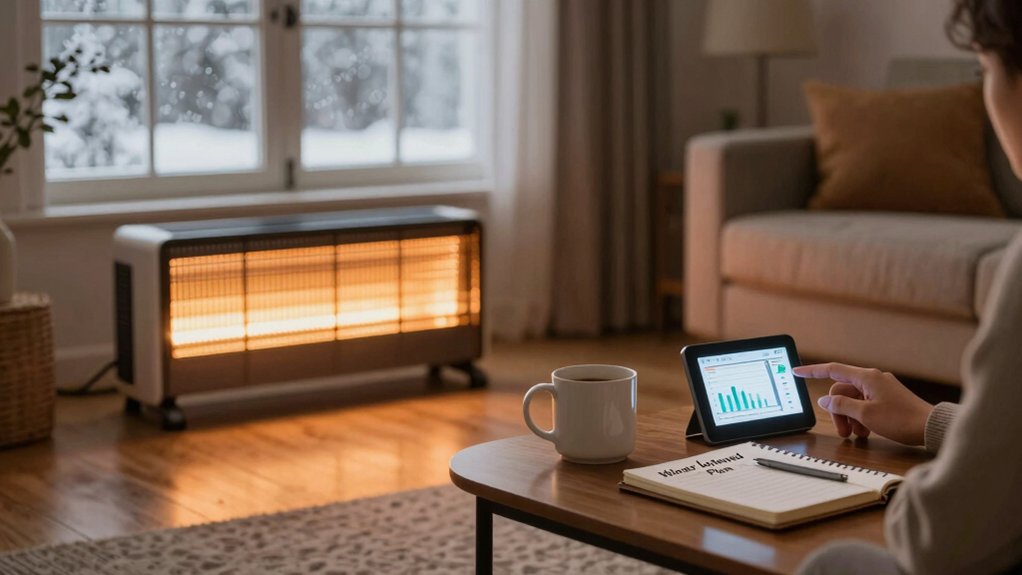
If you’re budgeting for infrared heating this winter, start by tracking your total heating needs and the efficiency of your chosen panels.
Next, compare upfront costs to running costs, using the watts-to-kWh method for monthly estimates.
List rooms you’ll heat, then assign target temperatures and run times for each area.
Consider insulation gains from previous topics, and adjust usage when doors or windows are open.
Choose panels with high efficiency (heat output per watt) and long warranties to lower maintenance surprises.
Don’t assume brighter equals warmer; match output to room size and comfort, not volume.
Add a contingency fund for seasonal price swings, and set a monthly review to refine usage.
Finally, monitor bills against expectations and iterate for savings.
Conclusion
In the end, infrared heat isn’t a furnace that roars—it’s a quiet, sunless glow warming what you touch. Think of it like lighting a single, careful ember rather than stoking a bonfire. Costs aren’t fixed; they bend with how and where you use it. Place it where you live, tune wattage to the room, and your bills fade into a steady, manageable hum. You’ll feel warmth where you stand, and savings where you feel it most.