
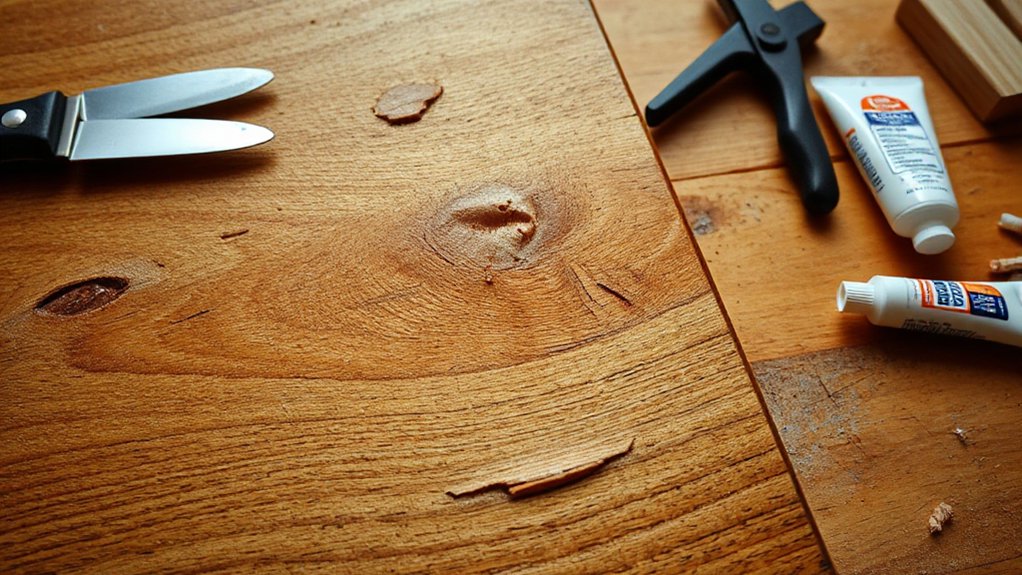
For the best wood repairs, start with a cohesive system that handles both structural and cosmetic needs. Use epoxy for cracks, voids, and missing chunks where strength matters, then switch to compatible fillers for surface imperfections. Add glues to stabilize joints and bar any re-infestation with moisture barriers before finishing. Match finishes and grain fillers to your wood type, then seal with a thin, even topcoat. Want more practical steps and product pairings? You’ll find them as you continue.
Start Here: Choose the Right Wood Repair System for Your Fix
Choosing the right wood repair system starts with knowing the problem you’re solving. You identify the defect, then map a practical plan that targets the root cause, not just the surface.
Start with assessment: is there active decay, surface wear, or insect activity like woodworm? If woodworm treatment is needed, pick a system that penetrates and stabilizes, with long-term protection against re-infestation.
If moisture is the culprit, implement moisture barriers first to curb ingress and swelling, then choose a repair method that accommodates movement without cracking.
Confirm compatibility between the repair system and the wood type, finish, and exposure. Verify warranty coverage and regulatory compliance.
Finally, favor systems that offer clear, repeatable steps, minimal downtime, and measurable performance outcomes.
Epoxies, Fillers, and Glues: When to Use Each
Epoxies, fillers, and glues each have a distinct role in wood repair, so pick the one that aligns with the defect and the wood’s behavior under load. You’ll choose epoxy for structural cracks, voids, or missing chunks where strength and gap filling matter, especially on dense timber.
Use fillers for surface imperfections, small cracks, or cosmetic fixes that don’t bear heavy load, and when you need fast shaping and sanding.
Glues seal joints and stabilize pieces, ideal for aligning panels or broken parts before finishing.
Always prep, match hardness to wood type, and consider cure time. For durable results, track wood grain movement and swelling.
Your goal is a solid bond with minimal expansion, using repair adhesives at the right moment for lasting performance.
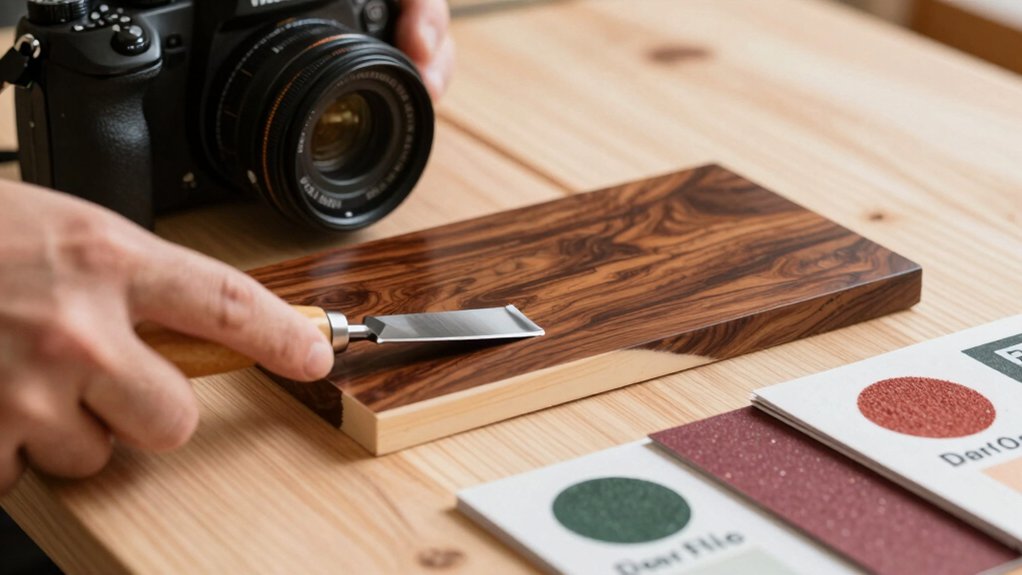
Finishes and Grain Fillers for Seamless Repairs
Choosing the right finish and grain filler is your first step to a seamless repair. Start by matching grain size, color, and sheen to the surrounding surface.
You’ll prep the area, apply a compatible grain filler, and then build with a finish that seals evenly without highlighting repairs.
We’ll explore precise techniques for filling deep pores, choosing between pore-filling vs. surface-fill methods, and how to test for color match before final coatings.
Seamless Finish Options
Seamless finish options combine the right finish and grain filler to hide repairs and match surrounding wood, so you get a smooth, continuous surface. You’ll choose a compatible stain or topcoat and a matching grain filler, then apply with controlled, deliberate motions to avoid mottling.
Begin by testing color matching on a hidden area, adjusting with subtle tint adjustments until the blend disappears. For texture blending, select a filler that mirrors the wood’s grain depth and use a scraper or fine-grit sanding to level the surface without creating halos.
Seal with a compatible topcoat, applying thin, even coats and letting each dry fully. Prioritize consistency, cure time, and cleanliness to maintain a professional, durable result.
Grain-Filling Techniques
Grain-filling is the linchpin of seamless repairs, and choosing the right finish and filler is essential for a true disguise. You optimize results by matching filler consistency to the substrate and grain pattern, then applying in thin, level swaths.
Start with a clean, dust-free surface, then work in small batches to prevent drying ridges. For open-grain woods, pick a sanding sealer first to minimize grain raised and improve fill.
Use a flexible putty knife to tamp filler into pores, and scrape off excess at a 45-degree angle to ensure a flat, consistent finish. Allow cure time per product specs, lightly sand, and reapply as needed until you achieve a uniform surface.
Final prep should leave wood grain indistinguishable from surrounding panels.
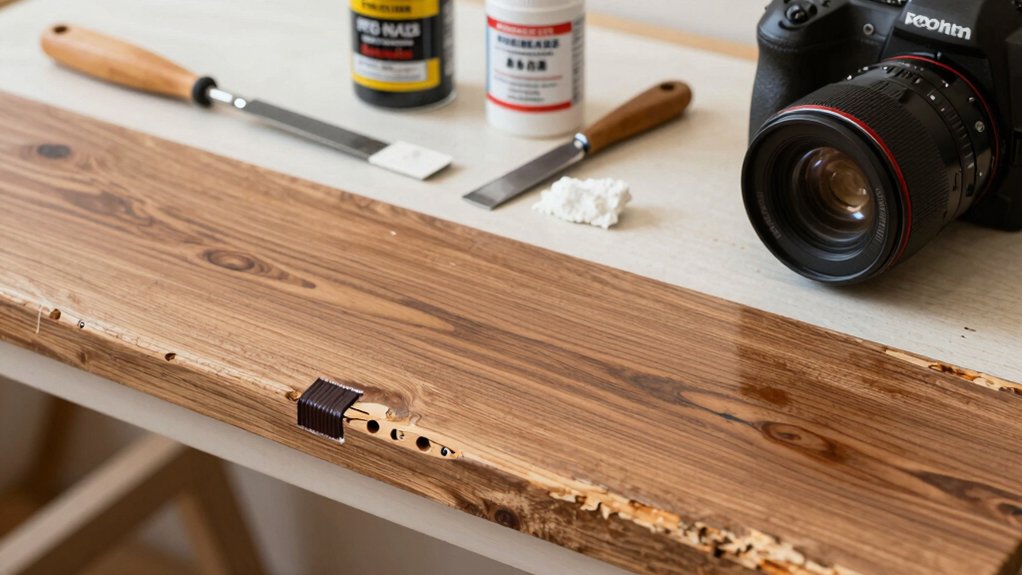
Tools and Techniques for High-Quality Patches
You’ll start by thorough sanding and prep to create a clean, stable base.
Then choose the right filler by weight, setting type, and curing behavior, guided by your patch’s size and wood species.
Finally, apply in-field patch tips that emphasize feathering edges, testing fit, and re-checking concealment under finish for a high-quality result.
Sanding And Prep
Sanding and prep set the foundation for durable wood repairs, and doing it right hinges on choosing the right grit sequence, cleaning thoroughly, and safeguarding surrounding surfaces. You’ll start with coarser grits to flatten defects, then progress to finer grits for a glass-smooth surface, ensuring consistent contact and minimal scratches.
Use proper sanding techniques: keep the sander flat, move evenly, and avoid overworking edges. Clean between steps with a tack cloth to remove dust that dulls cuts. Protect adjacent areas with masking tape and drop cloths, so patches don’t bleed into oak, pine, or veneer.
When you reach final grits, aim for uniform sheen and test for grain blending, not visible ridges. A precise prep ensures patches hold, finish flows, and durability dominates.
Filler Selection Guide
Choosing the right filler is as important as choosing the right patching technique, because the filler determines how your repair will look, feel, and hold up over time. In this guide, you’ll evaluate wood filler versatility, bonding strength, and sanding behavior to match your project.
Start with wood filler for repairs where your patch must flex with the substrate and finish evenly. Assess drying time, shrinkage, and compatibility with stains or paints; faster-setting formulas save time, but may sacrifice depth of fill.
For grain-filled surfaces, grain filler delivers a glass-smooth, uniform texture, especially on bare or open-pored wood. Balance cost against performance, choosing products that minimize pinholes and cracking.
Always test a small area before full application to ensure color, adhesion, and patch longevity.
In-Field Patch Tips
In-field patching hinges on practical, repeatable steps that hold up under use and time, so start with a clear assessment of the damaged area and the surrounding substrate.
You then choose a patch material that matches grain direction and hardness, ensuring grain matching for a seamless blend.
Clean the area thoroughly, remove loose fibers, and abrade to a rough surface for adhesion.
Apply a thin, even layer of your repair compound, press the patch in, and clamp or weight it until set.
Sand flush with the surrounding surface, then recheck for gaps.
Control moisture throughout the process to prevent swelling, and seal with a compatible finish.
Test a small area before full application to confirm color and hardness alignment.
Maintain moisture control for long-term durability.
Choosing by Wood Type and Damage Scenario
When selecting wood repair products, match your choice to the wood type and the specific damage you’re tackling. Your goal is durable results, so identify whether you’re working with hardwood, softwood, plywood, or engineered panels, then assess stain compatibility, porosity, and finish type.
For small splits in hardwood, use high-strength repair adhesives and clamp until cured, ensuring a tight fiber bond.
For softwoods with gouges, choose a quick-setting filler that sands flush without raising grain.
In damaged plywood, prioritize veneer-safe fillers and edge sealants that resist cottoning and cupping.
Always test on a hidden area to confirm color match and grain acceptance.
Consider grain direction, then apply a compatible topcoat.
This approach minimizes visibility, preserves wood grain, and delivers professional results with confidence.
Budgeting and Practical Buying Guide for Wood Repairs
Budgeting for wood repairs means planning for value, not just price. You’ll start with a clear scope: assess damage, list required materials, and set a realistic ceiling. Prioritize cost effective solutions that deliver durable results, not quick fixes.
Compare brands by coverage, curing time, and warranty, and favor systems that minimize waste and rework. Build a shopping plan around multipurpose products—stain + sealer, filler that accepts stain, and undercoats that reduce sanding.
For repairs, allocate a portion for eco friendly materials that perform under load and exposure; they often save long-term maintenance costs. Track quantities meticulously to avoid overbuying.
Don’t overlook tools you already own—quality blades and applicators save time and improve outcomes. Finally, anticipate future needs to keep a concise, adaptable budget.
Frequently Asked Questions
How Long Do Wood Repair Products Cure Before Use?
You’ll typically wait for the product’s stated drying time, but factor in environmental factors like humidity and temperature; resist touching or loading the repair until fully cured to guarantee strength and lasting adhesion.
Are Water-Based and Solvent-Based Options Interchangeable?
Not exactly. About 60% of pros prefer water-based for less odor, but solvent paint can outlast in humidity. You should know wood filler accepts either; choose based on flexibility, finish, and stain compatibility.
Can Repairs Be Refinished With Any Topcoat?
Yes, you can refinish repairs with any topcoat, but guarantee proper surface prep and use compatible finishes; sand, clean, and apply wood filler to level imperfections before sealing with your chosen topcoat for lasting durability.
Do Repairs Affect Wood Structural Strength?
A cracked beam on a ship taught you: repairs can restore, but not fully regain original strength. Wood grain guides load, so repaired joints, if thorough, boost repair durability and limit strength loss; use proper techniques and inspection.
How Should I Store Leftover Repair Products?
Keep leftover repair products sealed tightly, stored upright in a cool, dry place, and label clearly. You’ll extend their shelf life and prevent spills. Follow storage tips, avoid extreme temps, and rotate stock to maintain effectiveness.
Conclusion
Choosing the right wood repair system is like arming yourself for a quiet win. You’ll mix epoxies, fillers, and glues with confidence, then sand, stain, and finish until the repair fades into the grain. Think ahead: match product to wood type and damage, budget wisely, and practice on scrap first. With the right approach, you’ll fix flaws without drama, restoring strength, beauty, and longevity to your project—quiet, precise, and remarkably satisfying.