
When you choose between dyed concrete and stained concrete, you’re weighing how color penetrates versus how it sits on or in the surface. Dye delivers a uniform, bold look with deeper penetration, but it can fade with UV exposure and needs more resealing. Stain offers richer, natural tones with greater longevity and less fading, though results vary with the concrete’s profile. Each path affects maintenance and cost—and your final look will steer what comes next, so consider your environment and upkeep.
How Dye Penetrates and Colors Concrete
Dye penetrates concrete by seeping into the pores and binding with the cement fibers, delivering vibrant color from the inside out. You’ll apply dye evenly, using a sprayer or roller, to prevent streaks.
Start with a clean, porous surface; impurities block penetration, so you’ll rinse, neutralize, and air-dry before continuing. The dye’s chemistry determines depth: water-based dyes dilute for subtle tinting, while concentrated formulas yield richer tones.
You’ll control color by applying multiple thin coats rather than one heavy infusion, allowing each layer to dry fully. Expect color to intensify with the concrete’s porosity and age, so you may need testing on a scrap or inconspicuous area.
Work in moderate temperatures, avoid direct sunlight, and monitor cure times to prevent blotching or uneven saturation. Seal afterward to lock in shade and reduce fading.
How Stain Interacts With the Surface
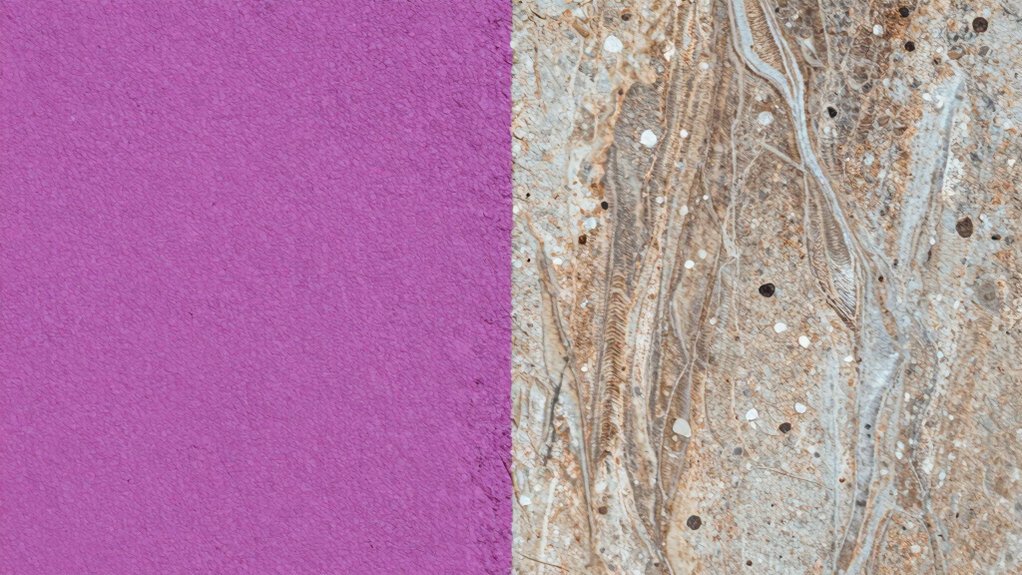
Stain interacts with the surface by soaking into micro pores and creating color from the top down, so you’ll notice depth depends on porosity and prep.
If the stain sits on the surface too long, it can sit unevenly, affecting color uniformity across edges, highs, and lows.
You’ll get clearer results by controlling penetration with consistent prep, even application, and testing a small area first.
Penetration and Depth
When you apply dye or stain to concrete, the depth of penetration hinges on the product’s chemistry and the surface’s condition. Some formulations sit on the top layer, while others soak deeper to alter the color throughout. You’ll notice that penetration is affected by cement paste porosity, aggregate size, and moisture content.
Prepare the surface: clean, dry, and free of sealers or efflorescence that block absorption. Test a small area to gauge depth before full application.
Solvent-based stains penetrate more aggressively than water-based options, yet cure time and wipe-off practices can limit final depth. Temperature and humidity influence drying, so plan accordingly.
After application, allow sufficient curing, then assess color intensity at multiple points to determine if additional passes are necessary for even depth.
Color Uniformity Effects
Once you’ve considered how penetration depth varies by product and surface condition, color uniformity comes into sharper focus. With stained concrete, expect variation where the substrate absorbs differently, leaving lighter or darker patches unless you blend evenly.
Prep matters: consistent surface abrasion, uniform porosity, and clean, dust-free trowel marks reduce abrupt shifts. Apply stain in controlled steps, using steady rhythm and a damp sponge or microfiber pad to moderate saturation.
Work from already darker areas toward lighter zones to avoid halo effects. Monitor color as it reacts to ambient conditions; humidity and temperature shift drying time and intensity.
Seal promptly with a compatible top coat to lock in hue. If streaks appear, rework small sections before full cure, ensuring the surface remains visibly balanced.
Longevity and UV Stability of Dye Vs Stain
Durability and UV exposure determine how long either dye or stain keeps a color and protects the wood, so choosing the right option hinges on how you plan to use the surface.
You’ll see dye colors penetrate deeper, but UV rays can fade them faster unless you apply a UV-stable sealer. Stain sits on or just beneath the surface, offering more surface resistance to fading, yet color intensity may be less uniform over time.
In practical terms, expect dye to require periodic resealing or reapplication after several seasons in sun-exposed areas. Stain often lasts longer between maintenance cycles but may need touch-ups for edge wear or high-traffic zones.
For longevity, match product formulation to exposure, climate, and maintenance cadence, and verify warranties before install.
Aesthetic Results: Solid Color Vs Varied Tones
Solid color finishes deliver a uniform, even look across the entire surface, making maintenance predictable and edges cleaner. With solid dyes or stains, you get one consistent hue that doesn’t rely on light exposure or surface texture to read as varied. This predictability helps you plan coatings, color consistency, and cleaning protocols.
In practical terms, you’ll notice fewer color shifts from foot traffic or spills, and repairs blend more easily into the overall field.
Varied tones, by contrast, embrace depth and character, revealing subtle shifts that highlight texture and micro-etching. If you want a contemporary, orderly feel with straightforward maintenance, solid colors deliver that clarity.
If you value warmth, individuality, and a natural variation, varied tones provide distinctive visual interest worth embracing.
Substrate Requirements and Prep
Before you apply dye or stain, start with surface prep: clean and smooth the slab, repair cracks, and verify flatness.
Understand the porosity and sealing needs so you can choose the right cleaners, etchants, and sealers without trapping moisture.
And check moisture and pH levels first, since improper conditions echo through adhesion, color uniformity, and long-term durability.
Surface Preparation Basics
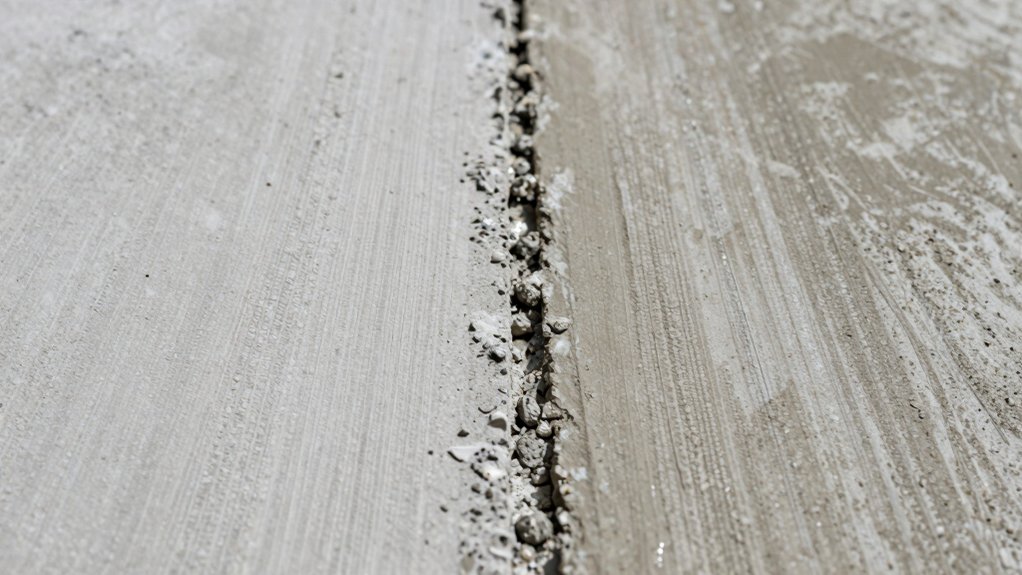
Surface prep starts with clean, sound concrete that’s free of contaminants, loose dust, oils, and laitance. You assess the substrate for flatness, cracks, and delamination, marking high spots and lifted patches.
You’ll remove old coatings with mechanical means—grinder, scarifier, or shot blast—until the surface exposes solid, dutifully rounded aggregate and sound paste. Dust containment matters: enclose work zones, use vacs with HEPA filters, and wipe down after grinding.
You test profiles with a wet or dry method to ensure the target roughness, then scrub and rinse thoroughly. You neutralize residues if applicable, then perform a final sweep to inspect for chatter marks or residual haze.
If moisture is present, you schedule correction before dyeing or staining, ensuring a stable, ready-for-finishing base.
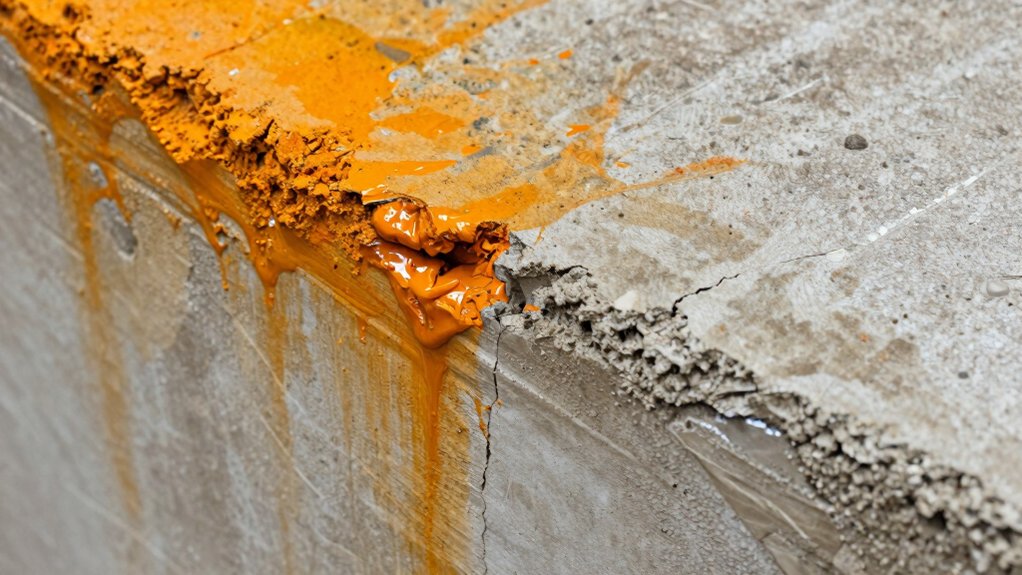
Porosity and Sealing Needs
You’ve prepped the surface for adhesion, but porosity varies across the slab and will dictate how you seal and accept color. Porosity affects absorption rate, staining depth, and edge definition, so assess in multiple spots with a carbide-tipped tool or a simple test patch.
If you find high porosity, use a compatible penetrating sealer or a stain that tolerates quicker absorption, and plan for a longer dwell before wiping.
Low-porosity areas require a lighter touch or a compatibility check to avoid blotching. Choose sealers that won’t trap moisture or impede color uniformity; many installers favor two-coat systems for even saturation.
Document your test results and adjust application thickness, dwell time, and curing intervals to balance color acceptance with surface performance.
Moisture and Ph Considerations
Moisture and pH levels drive how a concrete floor accepts stain or dye, so verify both before you apply color. You’ll check moisture with a plastic sheet test or a concrete moisture meter, ensuring no more than 3–5% moisture in most systems.
If you’re in doubt, schedule slab drying or use a compatible sealant first.
For pH, test to stay between about 7 and 11; alkaline surfaces can hinder color uptake or alter shade. If pH is high, consider a pre-treatment that neutralizes alkalinity and improves penetration.
Clean and etch or profile the surface to remove residues that block absorption. Repair cracks and patch low spots, then vacuum and tack to remove dust.
Final prep should be dry, dust-free, and uniform to achieve consistent color.
Maintenance, Care, and Cost Considerations
Maintenance, care, and cost considerations for dyed versus stained concrete hinge on upkeep frequency, materials, and long-term expenses. You’ll weigh sealing schedules, cleaning routines, and the durability of finishes you choose.
Dyed concrete often requires resealing more frequently to preserve color intensity, while stained concrete can tolerate longer intervals between sealants if the stain is bonded well.
Daily care is similar: wipe spills, avoid harsh cleaners, and use pH-neutral products.
Maintenance costs include sealant purchases, labor, and potential color refreshes or recoats.
Material costs differ: dyes may be less expensive upfront but fade with UV exposure; stains typically offer deeper, more resistant color that lasts longer with fewer coatings.
Consider foot traffic, maintenance accessibility, and expected lifespan to determine total ownership expenses.
Frequently Asked Questions
Can Dyed Concrete Cause Color Fading in High-Traffic Areas?
Yes, dyed concrete can fade in high-traffic areas; factors like UV exposure, frequent cleaning, and abrasion accelerate it. Use UV-resistant sealants, periodic reapplication, and choose high-quality dyes to prolong color retention and surface resilience.
Which Option Is More Eco-Friendly and Why?
You’ll find dyed concrete generally captures less dye waste than stains and uses simpler top coats, making it more eco-friendly; choose low-VOC pigments and sealants, and maximize durability to reduce replacements and runoff over time.
Are There Health Risks During Installation for DIYERS?
Yes, you should wear respirators, gloves, and eye protection; work in good ventilation, avoid skin contact with chemicals, follow manufacturer instructions, and keep pets away. Clean spills promptly, ventilate during and after application, and dispose of waste properly.
How Do Color Variations Affect Resale Value?
Color variations can boost resale value if they look intentional and balanced; uneven patches may deter buyers. You’ll maximize appeal by choosing a cohesive palette, documenting the process, and ensuring fade resistance and uniform sheen across high-traffic areas.
Can Dye or Stain Be Repaired if Damaged?
Yes, you can repair dye or stain if damaged. Lightly scuff the area, clean, and reapply color and sealer, blending edges. For stains, use compatible products, test on a hidden spot, and reseal to protect the repair. You’re covered.