
Start by mapping your climate and current gaps: inspect attic, walls, and basements for insulation type and depth, look for drafts around windows, doors, outlets, and lighting, and note any hot or cold spots. Use candles, tissue, or a thermal camera to spot leaks, then compare your findings to climate-based R-value targets. Begin with sealing and basic attic insulation, then upgrade with higher‑R materials as needed. Want practical steps and checks you can follow next? You’ll find more guidance after this.
Assess Your Home’s Insulation Level Today
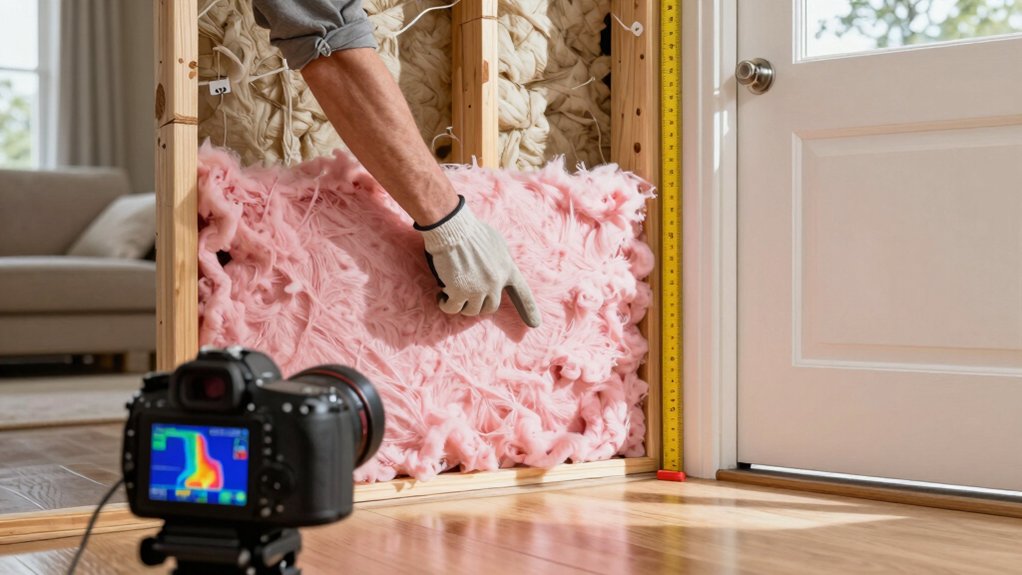
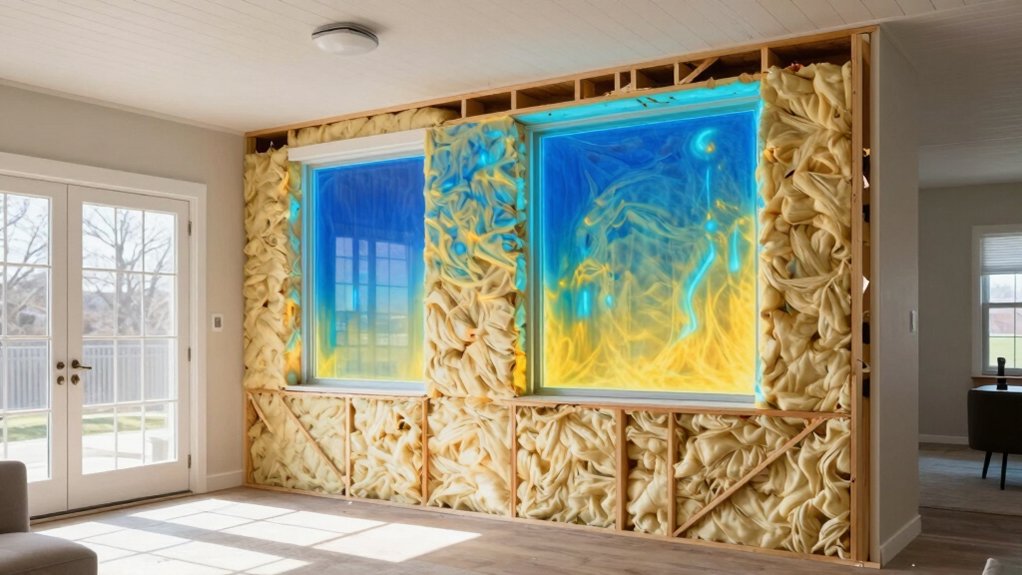
Start by knowing your current insulation level. You can estimate quickly by checking your attic and basement access areas, noting insulation depth, material, and any gaps. Inspect attic ventilation to ensure soffit and ridge vents aren’t blocked, which affects overall efficiency.
Compare what you find against typical standards for your climate to gauge adequacy. When evaluating wall insulation types, document whether you have batt, blown-in, foam, or retrofit options, and note any compressed or settle signs.
Look for visible gaps around outlets, wiring, and recessed lighting that could compromise performance. Use a thermographic scan or a DIY bump test to validate effectiveness without full remodeling.
Record findings, prioritize upgrades by impact on comfort and energy bills, and plan improvements accordingly.
Signs Your Insulation Isn’t Doing Its Job
If you’re seeing spikes in your energy bills, your insulation might be failing to stop heat flow. Drafty windows and doors, plus uneven indoor temperatures, are strong indicators something isn’t performing as it should.
Start with a quick check of problem spots and plan targeted upgrades to reduce heat loss.
Visible Energy Bills Spikes
When your energy bills spike without a clear cause, it often signals that your insulation isn’t performing as it should. You’ll notice steady increases during shoulder seasons or months when comfort isn’t aligned with spend.
Start with a baseline: compare bills to similar periods past and note anomalies like sudden jumps despite unchanged usage. Use data-driven checks: look for temperature inconsistencies between rooms and ceilings, and review month-to-month usage against thermostat settings.
Practical steps: schedule an attic inspection to identify gaps, compressions, or damaged insulation, and consider thermal imaging to spot hidden leaks or thermal bridges. Address findings with targeted sealing, blower-door tested air-tightening, and recommended upgrades.
If issues persist, consult an insulation professional to quantify R-value needs.
Drafty Windows And Doors
Drafty windows and doors are a telltale sign your insulation isn’t doing its job. You’ll notice cold drafts near edges, especially around frames and sills, and you may feel pressure changes when doors shut.
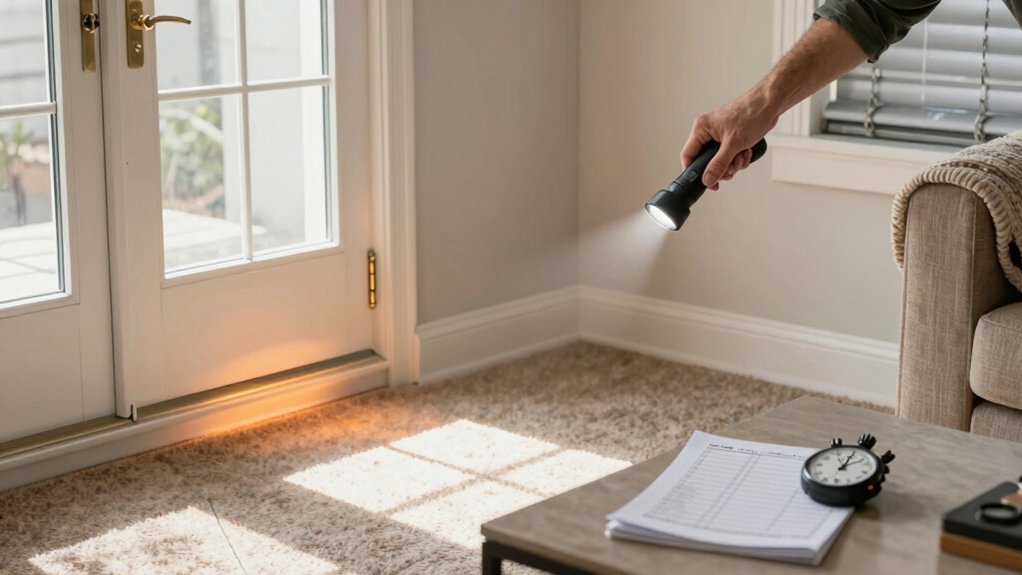
Start with a quick visual check: gaps around window frames and loose caulking reduce effectiveness. Measure with a simple flashlight test at night: shine from the inside, look for light leaks around edges.
For doors, inspect weatherstripping and threshold seals; replace worn door seals to restore a continuous barrier.
Use a basic sealing strategy: seal gaps first, then add or replace weatherstripping, and finally consider upgrading insulated panes if drafts persist.
Track improvements by noting indoor temperature stability and reduced wind-driven drafts after updates.
Uneven Indoor Temperatures
Uneven indoor temperatures often point to insulation gaps or airflow issues that let in cold spots or heat up rooms unevenly. You’ll notice drafts near outlets, baseboards, or ceilings, plus rooms that don’t reach the same comfort level as neighbors.
Use a simple test: compare temperatures between rooms at the same height, then run a blower door or infrared check if you have access to tools. Prioritize addressing air leaks around windows, doors, and attic hatches first, since these reduce overall thermal mass effectiveness.
Track thermal comfort by 24-hour thermometer data and adjust with targeted insulation or radiant barriers where readings diverge. Humidity control matters too; high moisture can worsen perceived cold, so fix vapor gaps and ensure proper ventilation to sustain consistent comfort.
Quick Weekend Tests to Check for Drafts and Warmth
You can start with quick draft detects around common trouble spots to spot drafts fast. Use a simple warmth test by feeling along windows, doors, and outlets while the house is at a steady temperature.
Record what you find and prioritize based on the strongest signals for next-step sealing or insulation improvements.
Quick Draft Detects
Quick Draft Detects are quick weekend checks you can perform to identify where your home loses heat. You’ll pinpoint weak spots with simple, repeatable actions and stay data-driven about where to upgrade next.
- Inspect doors and windows for gaps, testing with a candle or tissue—note consistent drafts and heat loss corridors.
- Run a quick air leak detection by feeling around outlets, plumbing penetrations, and attic hatch frictions, marking obvious leaks for sealing.
- Schedule a low-cost baseline using a basic infrared approach—thermal imaging if available—to visualize cold spots and prioritize insulation fixes.
These steps deliver actionable targets for improvement, helping you quantify drafts without overhauling your entire envelope.
Focus on measurable leaks, then validate gains after upgrades.
Warmth Test Tips
Ever wonder how well your home holds warmth after sunset? A quick weekend check helps you gauge energy performance without full testing. Start with a simple sweep: walk rooms at dusk, note drafts near windows, doors, and outlets, and feel for cold spots.
Use a thermal imaging app or device to map surface temperatures; look for gaps around sills and corners. Compare warmth retention across rooms to spot insulation thickness disparities that matter.
Tally improvements you’d expect from adding insulation, then validate with a second pass after weather changes. Record temp deltas on ceilings and walls to quantify gains.
This data-driven approach guides upgrades, prioritizing areas where warmth leaks most and where modest insulation thickness boosts comfort and savings.
Interpret R-Values by Climate: What You Need to Know
R-Value needs vary by climate, so don’t judge insulation quality by a single number alone. In practice, you’ll use R value interpretation relative to climate zones and local guidance to gauge performance. Focus on matching recommended ranges to your region, not chasing max numbers.
- Identify your climate zone and compare it to official charts for target R values.
- Evaluate performance across walls, attic, and ducts, noting where gaps reduce effectiveness.
- Plan upgrades that boost insulation without over-sealing, balancing cost and comfort.
Use data from manuals and local codes to confirm your findings. You’ll improve accuracy by considering humidity, airflow, and building tightness.
This approach keeps you practical, data-driven, and aligned with real-world conditions.
Budget-Friendly to Premium Upgrade Options for Homes
When upgrading your home’s insulation, start with budget-friendly options that deliver noticeable gains before moving to premium solutions. You’ll tighten gaps with DIY insulation tips that maximize interior comfort without blowing your budget.
Begin with sealing leaks, adding weatherstripping, and attic insulation up to recommended levels; these steps yield quick, measurable heat-loss reductions.
Move to cost-effective upgrades like insulated doors or reflective radiant barriers where appropriate, tracking payback with energy bills and comfort notes.
If you’re targeting longer-term value, compare premium batt and spray foams for high R-values per inch and better air sealing, but rely on data to guide choices.
Favor eco-friendly materials when feasible, as they often balance performance, cost, and environmental impact without sacrificing effectiveness.
Verify Code Compliance and Lock in Long-Term Savings
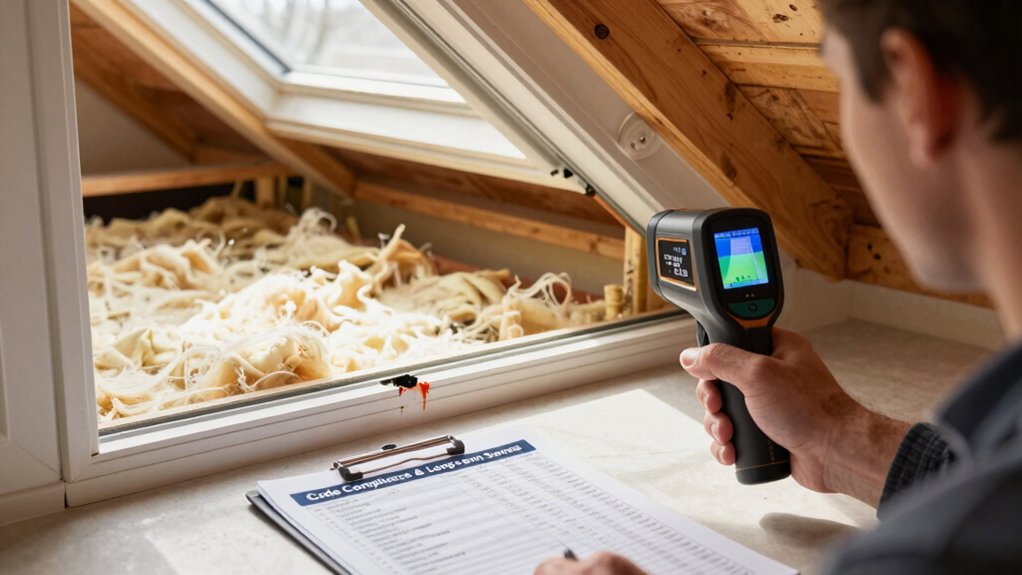
Verifications matter: start by confirming your insulation project meets local building codes and manufacturer requirements before you seal gaps or install materials. You’ll ensure safety, performance, and long‑term savings by aligning with code and standards from day one.
1) Check that your installation plan references current building codes and the manufacturer’s guidance, and verify any required inspection milestones.
2) Confirm that insulation R-values, vapor barriers, and air sealing meet compliance standards for your climate zone, preventing rework.
3) Document tests, permits, and manufacturer data so audits go smoothly and future upgrades remain cost-effective.
Conclusion
You’ve got the clues to read your home’s warmth, like footprints in frost guiding a trail. When you feel drafts or rising bills, you’re hearing the room’s whisper to upgrade. Use quick tests, compare to climate R-values, and map options from budget to premium. You’ll lock in savings as surely as a lock in a storm. Upgrade smartly, verify codes, and let data steer your decision—your home’s comfort is a measurable, enduring return.