
Yes, it’s OK to paint bathroom tile if you choose the right surfaces and prep properly. Start by cleaning and degreasing, then lightly sand glossy areas for adhesion. Use a moisture‑resistant enamel or epoxy and a suitable primer, plus a satin or semi‑gloss topcoat. Seal after painting and allow full curing time. Expect to reseal periodically and patch any cracks or grout gaps first. Curious what exact steps and products work best? There’s more to cover.
Why Painting Bathroom Tile Can Be a Smart Update
Painting bathroom tile can be a smart update because it’s a cost-effective way to refresh a dated space without a full remodel. You’ll gain immediate visual impact without demolition or carpentry.
Consider practicality: proper prep, epoxy or alkyd paint, and a quality topcoat extend durability in high-humidity zones. You can customize mood with color options that suit your existing fixtures and lighting, from bright whites to muted neutrals or bold accents.
Budget considerations matter, so compare material costs, tools, and labor if you DIY versus hiring a pro. Expect minimal downtime and a cleaner, steadier surface than a quick glaze.
Plan for scuff resistance and a washable finish, then seal with a heat- and moisture-resistant topcoat to protect your hard work.
Types of Tile Surfaces That Respond to Paint
Certain tile surfaces take paint better than others, so knowing what you’re working with helps you choose the right prep and coating.
In practice, glossy ceramic and porcelain with a smooth glaze respond well when you scuff lightly and clean with a degreaser.
Matte ceramic without glaze can seize adhesion unless you etch or apply a bonding primer first.
Glass tiles and metal accents usually need a resin or epoxy coating to stick reliably.
Porous natural stone, like travertine, often rejects paint unless sealed and primed, then layered with an appropriate sealant.
For color matching, test a small area under lighting similar to the room.
Choosing the Right Paint and Topcoat for Tiles
Choosing the right paint and topcoat for tiles starts with matching products to the tile type and the room’s humidity. You’ll want a durable, moisture-resistant enamel or epoxy designed for high-humidity environments.
Check that the primer is compatible with glossy tile surfaces and that the finish options suit bathrooms, typically satin or semi-gloss for easy cleaning.
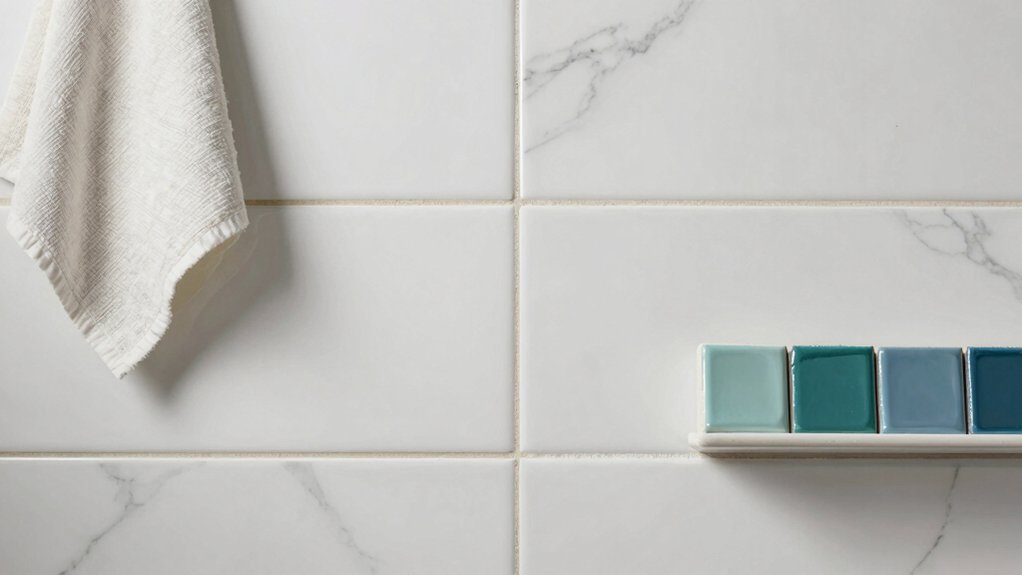
When selecting color choices, pick lighter tones to brighten small spaces or darker hues to hide water spots, keeping in mind that some brands shift color slightly as they cure.
For resistance, choose topcoats labeled mildew-resistant and scrub-safe; this reduces staining from soap scum.
Plan for two coats of paint, plus a dedicated topcoat, ensuring you follow manufacturer dry times for best adhesion.
Prep Steps Before You Start Painting
Before you start painting, run through the Surface Prep Checklist to make sure the tiles are clean, smooth, and free of flaking glaze.
Pick a primer that grips tile surfaces well, and note any special instructions for drying times so you can plan your workflow.
Know the drying and curing times for each coat to avoid tackiness or mismatched finishes.
Surface Prep Checklist
If you’re painting bathroom tile, start with a thorough surface prep checklist to guarantee adhesion and a long-lasting finish. Begin by evaluating the tiles for chips, cracks, or glazing wear, and address any damage with epoxy putty or replacement as needed.
Clean thoroughly with a degreasing cleaner, rinse, and dry completely to remove soap scum and oils. Lightly abrade glossy surfaces with fine-grit sandpaper to create tooth, then wipe with a damp cloth to remove dust.
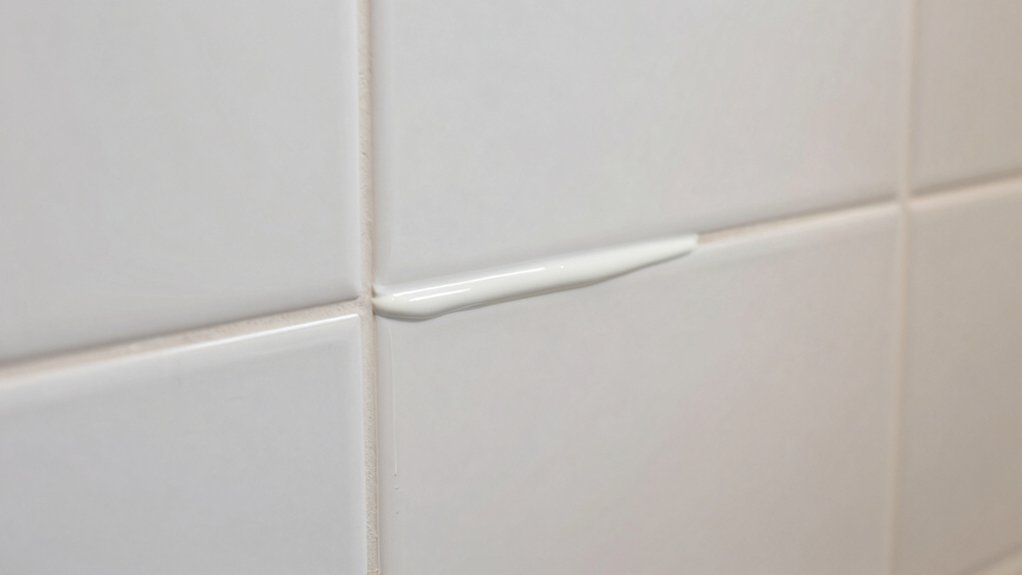
Mask edges, fixtures, and grout lines, and cover floors. Remove loose grout and reseal gaps with new grout where necessary.
Plan your color matching and budget considerations before buying supplies, ensuring you have compatible primers and topcoats for tile and substrate.
Store brushes and rollers upright to prevent damage.
Primer Selection Tips
To guarantee adhesion and a durable finish, start by selecting the right primer for both tile and substrate. You’ll want a primer that bonds well to glazed or non-porous tile and sticks to your wall or backer board. Check primer compatibility with your chosen paint system—epoxy, acrylic, or hybrid varieties vary in grip and flexibility.
Prep matters: clean surfaces thoroughly, remove soap film, and lightly abrade slick areas so the primer can bite. For glossy tile, use a deglossing or etching step recommended by the product to improve surface adhesion. If moisture is a concern, choose a moisture-resistant, mold-inhibiting formula designed for bathrooms.
Apply evenly in thin coats, allow proper recoat windows, and avoid pooling.
Drying and Curing Time
Once you’ve prepped and primed, give the surface a full drying window before coating. Drying and curing time isn’t optional; it’s your first defense against peeling and bubbling. After priming, wait for the tile to reach a stable, dry state—usually 24 hours for most primers and 48 hours in humid baths.
If your space finishes dry to the touch, you can test with a light finger tap: no tack means you’re ready. Avoid rapid humidity swings or heat that can cause condensation and reduce tile durability. Plan painting when the surface is dry to the touch and the air is steady.
This patience supports paint adhesion and long-lasting results, because proper drying lets the primer set fully and bonds stronger to tile.
Surface Cleaning and Etching for Better Adhesion
Surface cleaning and etching are essential steps to guarantee paint sticks well to bathroom tile. You’ll remove soap film, mineral deposits, and grease with a mild cleaner, then rinse thoroughly. If you skip this, paint can peel or fail to adhere.
Use a non-acidic etch or etching scrub pad as directed, focusing on grout lines and tile surfaces to create a micro-rough finish that improves bite. After cleaning, dry the tiles completely before applying primer.
Pay attention to grout cleaning too, since dirty grout can hinder adhesion and create staining later. Seal the tile surface lightly with a compatible primer or tile sealer if recommended by the product you choose. This ensures even coverage and helps prevent moisture penetration.
Repairing Chips and Cracks on Tile
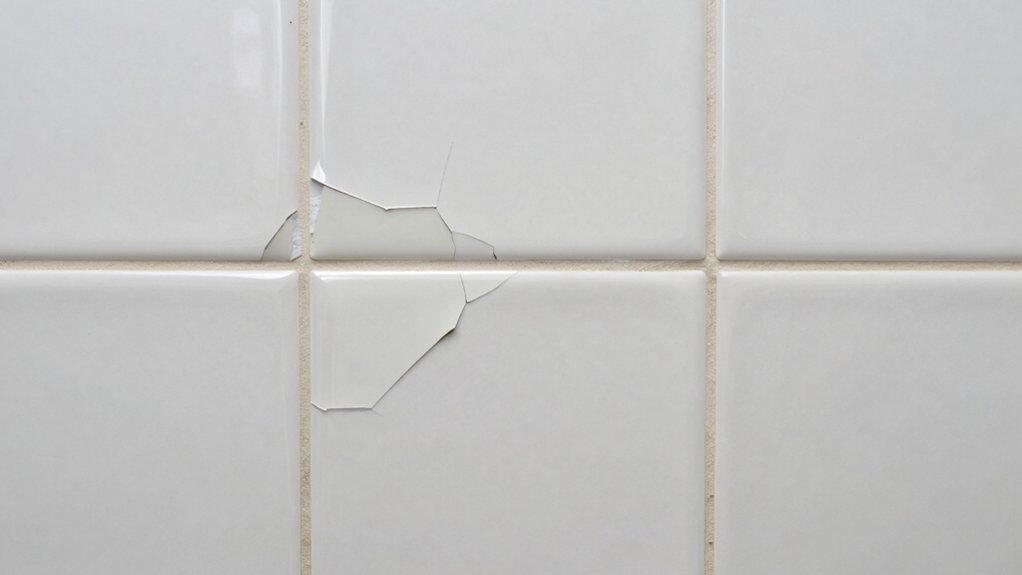
Chips and cracks in bathroom tile don’t have to derail your project; addressing them now guarantees further damage and assures a smooth, durable finish. Start by inspecting the affected area to determine depth and potential underlying grout damage.
For small chips, use a matching epoxy or acrylic filler; smooth it flush with the tile surface before it cures. Cracks that span the grout line may require re-grouting or chasing the crack with a ceramic-repair epoxy, then sealing.
Clean the repaired area thoroughly, dry, and test for paint adhesion with a quick scrape. When choosing color, consider tile patterns and grout color; a neutral grout often hides repairs, while a contrasting grout highlights them.
Allow repairs to fully cure before any painting to avoid bond failure.
Application Techniques for Even Coverage
After repairing chips and cracks, you’re ready to apply the finish evenly. Start with a well-prepared surface: clean, dry, and dust-free before you dip into the coating.
For brush techniques, use long, even strokes in one direction to lay down a uniform base coat, maintaining a consistent load on the brush. Avoid overloading to minimize drips and lap marks.
When you switch to roller application, choose a high-density nap appropriate for tile texture, and roll in smooth, overlapping passes. Pausing briefly at edges helps prevent ridges.
Maintain a steady pace and keep the roller almost dry to reduce streaks. Work in small sections, blending edges as you go, and listen for a slight skin forming before proceeding to the next area.
Sealing and Curing: Tips for Longevity
Sealing and curing are the steps that lock in your hard work and extend tile life, so don’t skip them. After painting, choose a sealer compatible with your tile surface and finish. Apply evenly, following the product’s directions, and avoid puddling in grout lines.
A sealed finish protects against moisture, stains, and soap scum, making maintenance simpler. Once coated, allow the recommended curing time without foot traffic or cleaners nearby; rushing this phase weakens durability. Keep the area ventilated to reduce fumes and ensure consistent drying.
Re-seal periodically as recommended by the manufacturer, especially in high-humidity bathrooms. Document the curing process and any color changes, and store extra sealer for touch-ups. With proper sealing, your painted tile remains resilient and easy to clean.
Common Mistakes to Avoid and Maintenance Tips
Common mistakes can derail your project, but you can prevent them with a few targeted tweaks and steady routines. Start by choosing color coordination that fits your space; overly busy palettes make tiles feel dated and cramped. Keep it simple: one bold accent works better than four competing hues.
Before you paint, clean and degrease surfaces thoroughly, then patch any cracks, and sand glossy areas for adhesion. Use a high-quality epoxy or tile-appropriate paint, and apply thin, even coats with a stiff roller or brush. Allow full cure time between coats.
For maintenance, wipe spills promptly and ventilate to prevent mildew. Pattern matching matters: align grout lines with tile edges to avoid a checkerboard look, and test a small area first to verify color stability.
Frequently Asked Questions
Can Tile Paint Withstand Direct Water Exposure in Showers?
Waterproofing concerns exist; tile paint can’t reliably resist direct water exposure in showers. You’ll need proper waterproofing, surface prep, and high-quality epoxy or polyurethane topcoats. Expect limited color retention and plan maintenance to preserve appearance and durability.
How Long Does Painted Tile Stay Colorfast Before Redoing?
Tile adhesion fades after about 3–5 years with heavy moisture; paint durability varies. You’ll see color shift or chipping first, then flaking. Prepare surfaces, seal edges, and maintain humidity to maximize tile adhesion and paint durability.
Will Painting Tile Affect Tile Grout Longevity?
Painting tile can affect grout longevity; you’ll improve tile adhesion and paint durability with proper prep, sealing, and compatible products, but continue to monitor grout for cracking or loosening as movement occurs. Maintain ventilation and routine cleaning.
Is Reglazing or Reglazing-Like Options Better Than Painting?
Yes, reglazing often lasts longer and looks smoother, but painting can be cheaper; you’ll get faster results with textured finishes or colorful accents. You’ll enjoy practical durability advantages, yet expect maintenance unless you seal and prep properly.
Can You Repaint Over Existing Painted Tile Later?
Yes, you can repaint over existing painted tile, but you’ll need meticulous tile prep and proper paint durability testing to guarantee longevity and cleanability. Use a bonding primer, high-quality enamel, and sealant; avoid moisture-prone gaps or peeling.