

Yes, you can paint bathroom tile, but it’s a practical choice that depends on the tile’s condition and using the right products. Check for sound glaze, solid grout, and low porosity; cracked or loose grout means you should replace rather than paint. Choose moisture-resistant paints (epoxy, urethane, or specialty tile paints) with a compatible primer, and prep by cleaning, light scuffing, and masking edges. With proper prep and seals, you’ll extend protection—and you’ll learn more if you keep reading.
Assessing When Painting Tile Is a Good Idea
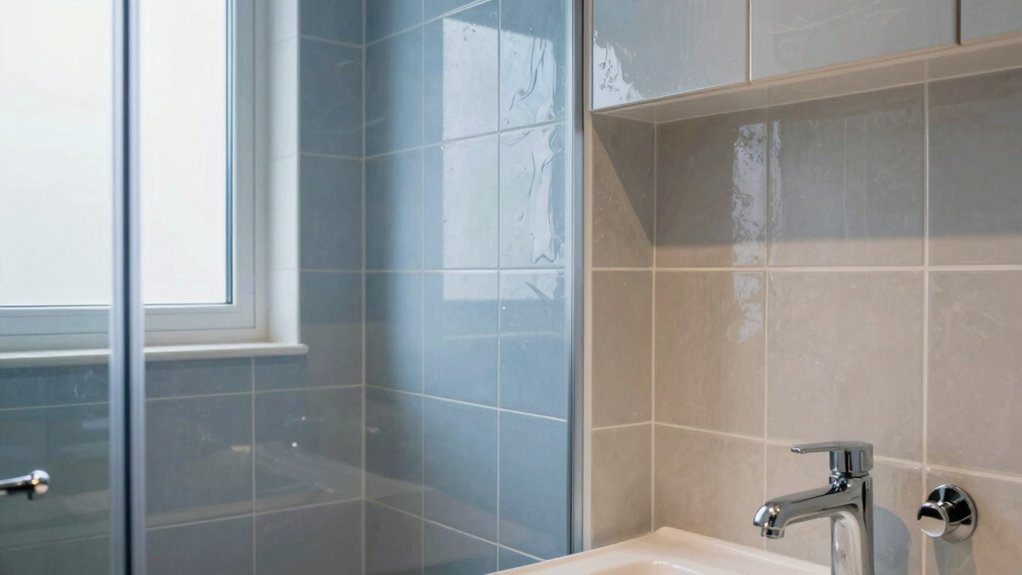
Deciding whether to paint tile depends on your goals, budget, and the current condition of the tile. You’ll assess feasibility by inspecting glaze integrity, grout health, and anticipated longevity. If tiles are solid, stain-resistant, and sound, painting can be a practical update.
If there’s cracking or high porosity, prep costs rise and results may disappoint. You should weigh aesthetic gains against durability, especially in high-use bathrooms.
Consider DIY projects as a learning curve, but don’t underestimate surface prep, primer compatibility, and sealant requirements. A cost comparison helps you decide between repainting, regrouting, or full replacement.
If you value a quick refresh and lower disruption, painting may fit. Otherwise, invest in more durable options. Document findings, set a budget, and choose a targeted scope for best outcomes.
Choosing the Right Paint and Prep Materials
Choosing the right paint and prep materials starts with selecting a high-quality, tile-appropriate product and a compatible primer. You’ll want a epoxy- or urethane-based enamel or a specialty tile paint designed for bathrooms, plus a bonding primer suited to ceramic or porcelain surfaces.
Prepare surfaces by cleaning, lightly scuffing, and removing glossy finishes to improve grip. Use painter’s tape to shield edges and ensure crisp lines.
Select sealants and topcoats rated for moisture exposure and mildew resistance. When considering tile color options, pick a color that complements existing fixtures and lighting, testing a small area first.
Verify paint durability under humidity cycles and scrub resistance; opt for a material with high abrasion stability for long-lasting results.
Step-by-Step Tile Painting Process
Now that you’ve chosen the right paint and prep, follow these steps in order to achieve a durable, even finish on your tile. Begin by masking edges and protecting fixtures, then read paint labels for application rules.
Stir thoroughly, do a small test area, and apply a high-adhesion primer if required. Use a narrow roller or angled brush for consistent coverage, working in light, even coats. Allow each coat to dry fully before the next; usually 2–4 hours.
Inspect for gaps and touch up promptly. Once the final coat cures, recheck seams and corners, and wipe away any dust. For decorative accents, add subtle details after curing.
Texture enhancement can be achieved with a light, deliberate stipple pattern or decorative stencils once the surface is fully dry.
Maintenance, Sealants, and Longevity
After you’ve completed the tile painting steps, you’ll want to focus on maintenance, sealants, and longevity to keep that refreshed look for years.
Start with daily care: wipe spills quickly, use a soft cloth, and avoid abrasive cleaners that dull finish.
For tile durability, choose a mild pH-balanced cleaner and rinse thoroughly to prevent buildup that weakens paint adhesion.
Sealants matter: apply a compatible, water-based sealant over the painted surface per manufacturer directions, and recoat as recommended to preserve gloss and protection.
Ventilate bathrooms during cleaning to reduce moisture exposure.
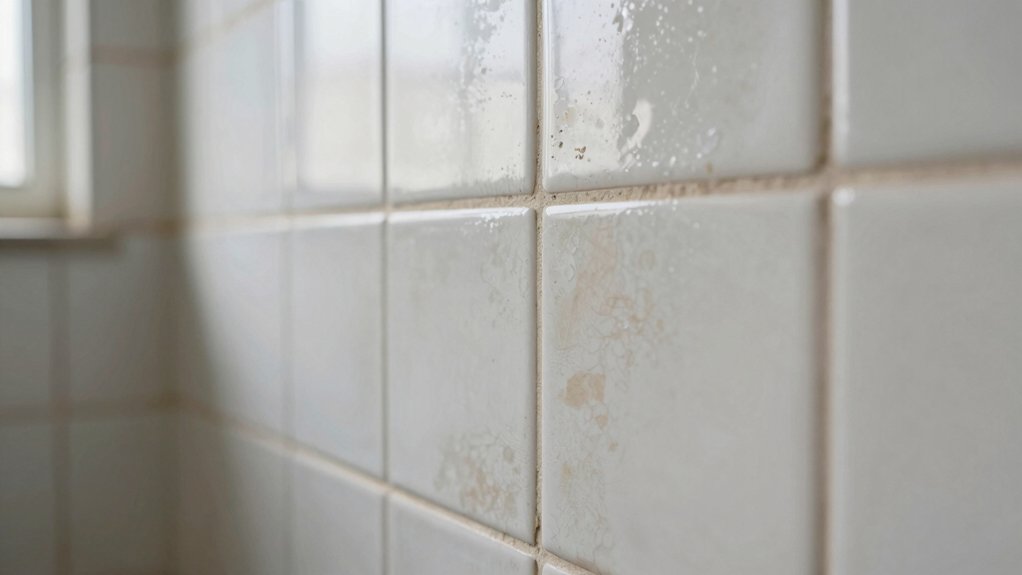
Inspect grout lines for cracks and re-seal if needed.
Address any moisture or mold issues promptly to prevent damage.
With proper care, paint adhesion stays strong and the room maintains its refreshed, durable appearance.
When to Consider Replacing Tile Instead of Painting
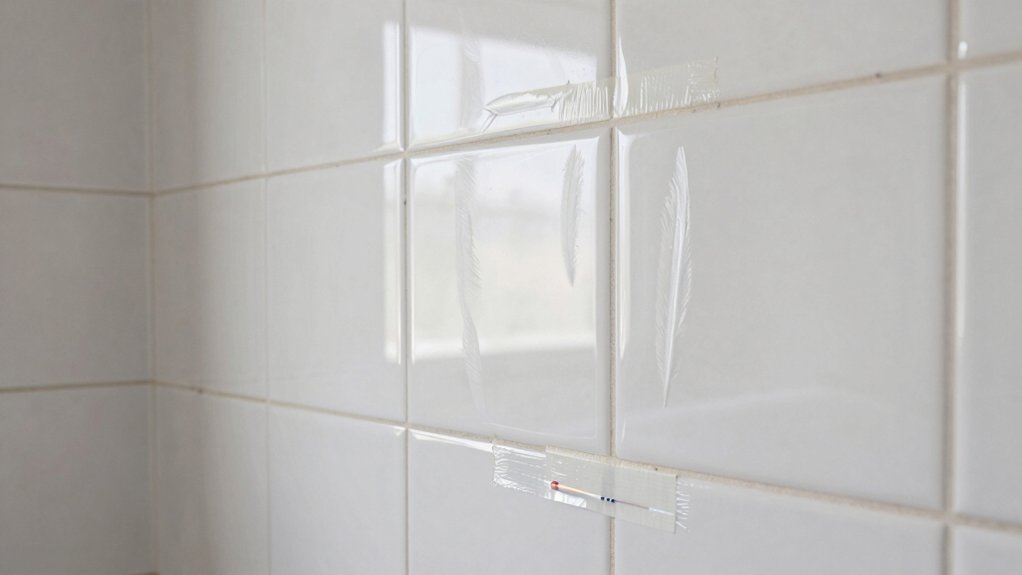
There are clear indicators that painting isn’t the best option for your bathroom tile, and you should consider replacing it when the tile is cracked, severely chipped, or has loose grout that keeps peeling.
If you notice widespread cracking, bowing, or behind-tile water damage, replacement prevents ongoing failures and staining. When tile durability is compromised, you’ll save time and money by swapping panels rather than chasing patchwork repairs.
Consider replacing if the grout haze hides mold or mildew growth that won’t scrub out, or if you’re upgrading to a more water-resistant surface.
Remember that paint adhesion struggles on worn tile; replacing ensures a solid, long-lasting renovation and a cleaner, easier-to-clean result.