
During your annual roof inspection, you’ll inspect exterior wear like curling shingles, missing granules, and any flashing gaps around chimneys or valleys. Check roof vents, collars, and fasteners for cracks or corrosion. Peek at attic conditions—insulation thickness, moisture signs, and balanced ventilation. Look for hidden damage, micro-cracks, loose fasteners, and gutter wear. Trace potential water pathways from surface to attic, noting weather history and edge deterioration. You’ll finish with a prioritized maintenance plan—and that plan reveals more you can do.
Roof Inspection: Exterior to Interior Checklist
When inspecting from exterior to interior, start with a thorough exterior assessment before moving inside. You’ll systematically verify roof condition, note damage, and assess drainage.
Begin at the eaves, check for missing or damaged gutters, and confirm gutter cleaning has been performed to prevent overflow. Inspect flashing around joints and edges, looking for loose components or seal failures.
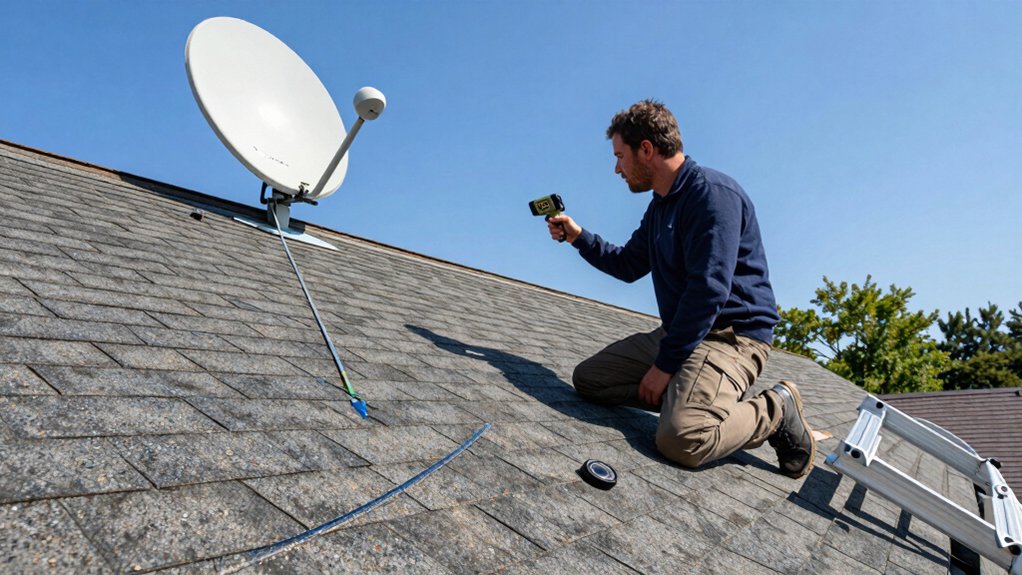
Move to the roof surface, observing for cracked or lifted shingles, signs of wear, and surface granule loss. For solar panels, ensure mounting integrity, electrical conduit routing, and any panel shading issues that affect performance.
Inside, evaluate attic ventilation, insulation thickness, and moisture indicators that could reveal leaks. Document findings with concise notes and photos, prioritizing immediate repairs and scheduling routine maintenance.
Shingles, Flashing, and Roof Vents
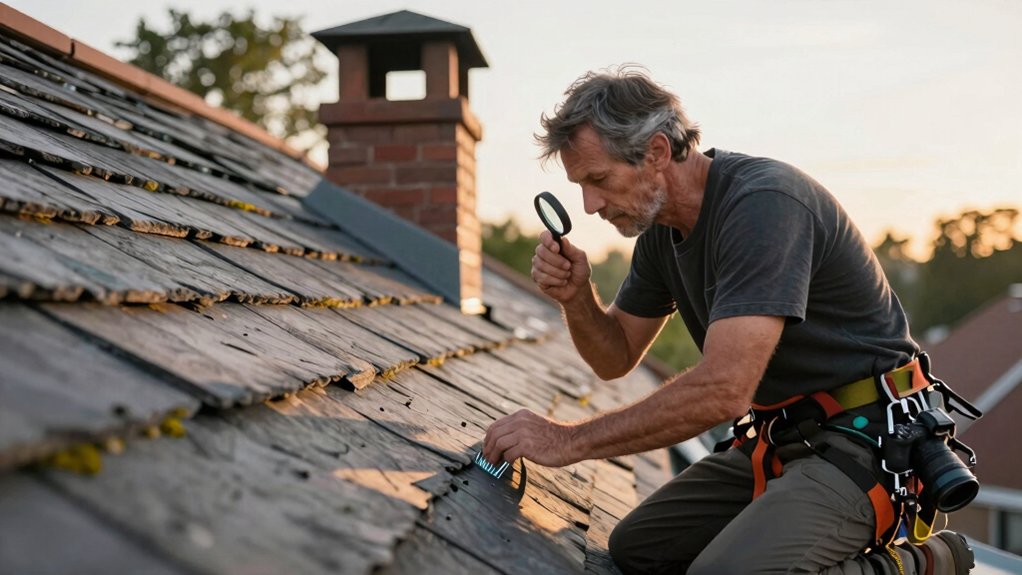
Shingles, flashing, and roof vents form the core line of defense against leaks, so start by a precise exterior check. You’ll assess condition, alignment, and any abnormal wear before lifting your gaze to the roofline for signs of trouble.
- Inspect shingles for curling, cupping, or missing granules, noting any shingle durability concerns.
- Check flashing at chimneys, valleys, and edges for gaps, corrosion, or loose seams to prevent flashing corrosion.
- Examine roof vents and collars for cracks, displacement, or blocked openings.
- Observe overall roof geometry for sagging or unusual dips that hint at underlying issues.
Focus on durable, well-sealed joints and intact vent housings to safeguard longevity and minimize leaks.
Attic Assessment: Insulation, Moisture, and Ventilation
You’ll start with an insulation integrity check to verify there are no gaps or compression that reduce efficiency.
Look for moisture signs detected, such as staining, musty odors, or unusual dampness, and note any elevation in humidity.
Finally, assess ventilation effectiveness, confirming that intake and exhaust paths balance airflow to prevent cold spots and condensation.
Insulation Integrity Check
Insulation integrity in the attic matters because gaps, compression, or moisture can double heat loss and raise cooling costs. You’ll verify thickness, uniformity, and placement, noting any compression from storage or shelving.
Pay attention to signs of thermal bridging where joists create paths for heat transfer, and assess overall insulation continuity around penetrations.
- Check insulation depth against spec and adjust where needed
- Inspect for compressions, settling, or gaps near vents, electrical boxes, and pipes
- Confirm proper layering and continuous coverage across hatch openings
- Evaluate air leaks and sealing around attic perimeter, noting any moisture indicators
Remember vapor permeability matters too; ensure the attic barrier supports slow, controlled moisture movement while preventing condensation. Prioritize precise gaps and alignment with fasteners and wrap details.
Moisture Signs Detected
Are moisture signs in the attic a red flag you can’t ignore? Yes, they warrant immediate attention.
In this section, you’ll learn to identify moisture detection cues with precision. Look for staining on sheathing, ceiling discoloration, and softened or warped boards, which signal past or ongoing intrusion. Elevated humidity or damp air suggests inefficient vapor barriers or hidden leaks.
Inspect around penetrations—chimneys, vents, and attic access points—for bead-like mineral deposits or condensate on rafters, indicating water movement. Track musty odors that accompany damp conditions, not just seasonal humidity.
Pay attention to black or gray mold growth, as it confirms prolonged moisture exposure. Document all findings, prioritize damaged insulation, and plan prompt remediation to prevent structural decline and energy loss.
Leak signs guide you toward targeted fixes and safer, longer-lasting results.
Ventilation Effectiveness Review
To assess ventilation effectiveness in the attic, start by verifying that air intake and exhaust paths function as designed and that ventilation rates meet code and manufacturer guidelines. You’ll focus on that balance between ventilation airflow and attic performance, ensuring no obstructions compromise exhaust efficiency.
Inspect soffit, gable, and ridge vents for debris, damage, or sealing gaps that impede flow. Measure airflow with a simple test or meter, confirming steady, unidirectional movement toward exhaust points. Check insulation placement to avoid blocking soffits or vents.
Look for signs of moisture buildup near vents, roof sheathing, or rafters, correcting any leaks promptly. Small improvements here boost overall efficiency and longevity.
- Verify intake/exhaust paths and code-aligned rates
- Inspect vents for debris, damage, and gaps
- Assess insulation’s impact on airflow
- Confirm clear, effective exhaust flow and moisture control
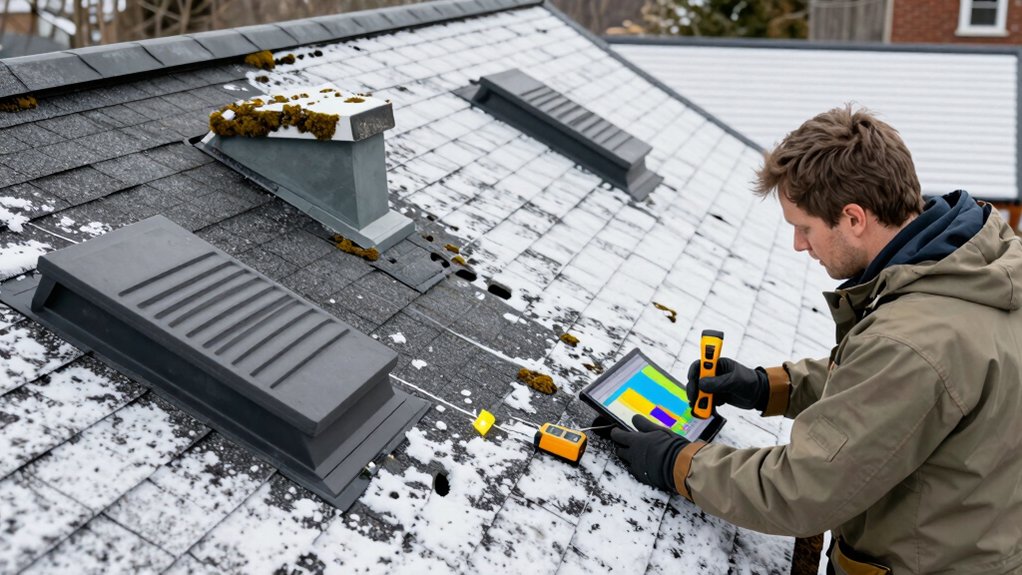
Hidden Damage: Micro-cracks, Loose Fasteners, and Gutter Wear
Inspect for micro-crack detections along shingles and flashing, noting any early signs that could expand with weathering.
Check for loose fastener indicators—quartile gaps, uplift, or rust—that signal underlying failure risks.
Pay attention to gutter wear patterns, as corrosion or sagging can mask hidden structural movement and warrant closer inspection.
Micro-C Crack Detections
Micro-crack detections reveal hidden damage that can quietly escalate if left unaddressed, so a diligent roof inspection must start by identifying tiny fractures, loose fasteners, and signs of gutter wear.
- You perform micro crack detection during roof surface analysis to map crack patterns across shingles and flashing.
- You look for hairline fractures, discoloration, and delamination that indicate moisture infiltration.
- You assess fastener security, noting looseness or corrosion that could loosen under wind load.
- You document gutter wear, including rusting edges or sagging troughs that threaten drainage.
This approach keeps you ahead of failures, guiding timely repairs and preserving roof integrity through precise roof surface analysis.
Loose Fastener Indicators
Are you spotting signs that fasteners are losing grip before they fail? You’ll notice loose or shifting roofing panels, nail pops, or screws sitting high.
Tap tests reveal hollow areas beneath shingles, indicating degraded fastener seats or backing. Pay attention to rust on metal fasteners, bent portions, or missing washers, all red flags for fastener security.
If you hear creaks or feel movement under wind load, investigate the fastening pattern and surrounding deck conditions. Gaps around fasteners can allow water intrusion, accelerating corrosion and compromising roof stability.
Document any irregular spacing, pullout, or corrosion, and address promptly. Prioritize secure reseating, replacement, or upgrading to stainless or coated screws.
Regular checks ensure fasteners aren’t the weak link in roof stability.
Water Intrusion Pathways and Weather History
Weather history shapes how water travels across a roof surface and into its structure. You assess how wind, rainfall intensity, and prior storms alter intrusion routes, especially around flashing and joints. When you map water pathways, you consider how aging components influence seepage and where storm damage may have created micro-fissures. Your goal is to trace potential entry points from surface to attic, not just leak spots.
- Track recent storm events and their wind-driven impact on edge conditions
- Note roof age and material changes that create vulnerabilities
- Inspect flashings, penetrations, and joints for gradual deterioration
- Correlate observed leaks with weather history to prioritize testing and repair
This approach keeps you precise, actionable, and focused on prevention.
Roof Health Metrics and Priority Repairs
To establish a clear picture of roof health, compile a concise set of metrics that translate observations into actionable priorities. You’ll track conditions like shingle integrity, flashing stability, and membrane wear, then weight findings by risk and repair impact. Assign a severity score to each issue, and map it to a response window—from immediate fixes for leaks to seasonal maintenance.
Prioritize by safety, cost, and disruption, documenting dates, photos, and measurements. Look for hail damage patterns, including bruising, cracks, or granule loss, and note any pest infestation signs such as nests, chew marks, or droppings that threaten sealing and attic circulation.
Flag items requiring contract-based workmanship first, followed by schedule-based upkeep, and reserve emergency actions for active leaks or structural compromise. Keep the plan actionable, audit-ready, and aligned with budget realities.
Maintenance Planning for Next Year
Building a practical maintenance plan for next year starts with translating the current roof-health data into a prioritized, calendar-based program.
You’ll convert findings into a concrete schedule that aligns with your budget, weather windows, and warranty terms. Focus on proactive actions that extend roof lifespan and minimize surprises, not reactive fixes.
- Prioritize high-risk items and set fixed dates for inspections and repairs
- Allocate budget buffers for unexpected issues and seasonal maintenance
- Schedule routine tasks like debris removal and drainage checks
- Map recurring evaluations to ensure continuous performance and record-keeping
This approach sharpens maintenance scheduling, reduces downtime, and preserves overall roof lifespan.
You’ll stay ahead of deterioration, document progress, and keep stakeholders informed with a clear year-long plan.
Conclusion
You’ve seen how a pro reads a roof—from shingles to gutters, attic moisture to hidden cracks. One striking stat: gutters clogged in 60% of failures, so debris removal isn’t optional. You can spot trends, prioritize repairs, and plan for next year with confidence. By documenting water intrusion pathways and weather history, you protect your investment and extend roof life. Stay proactive, schedule inspections annually, and address issues before they cascade into costly damage. Your vigilance keeps you dry and secure.