
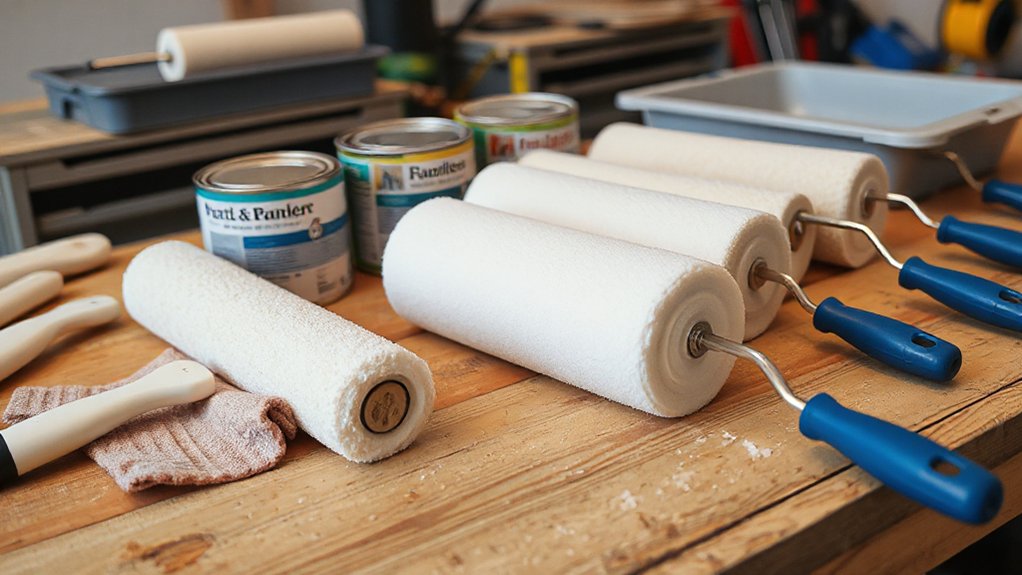
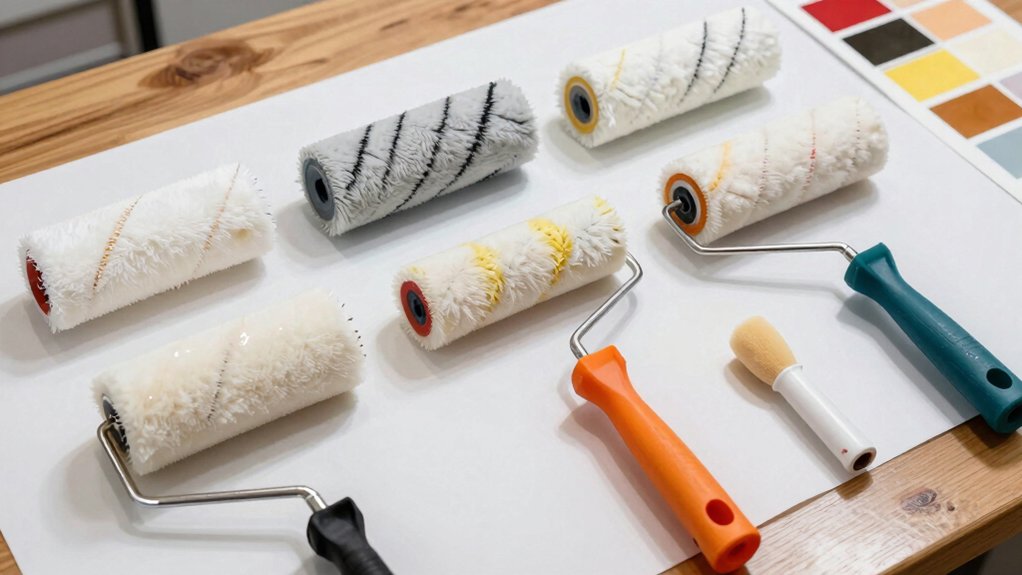
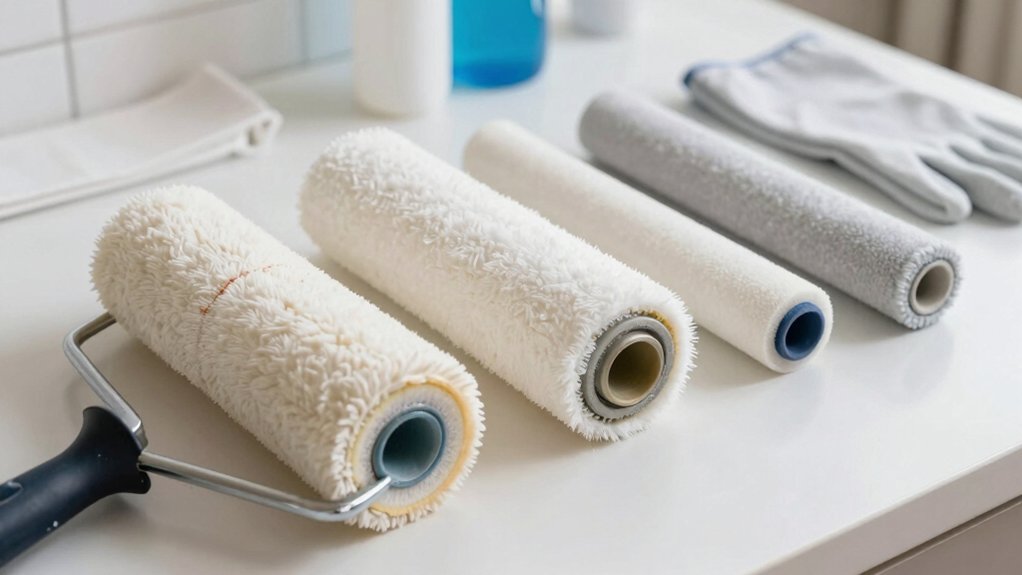
Different rollers suit different surfaces and coatings. Foam rollers excel for ultra-smooth finishes on doors, panels, and metal, but they blister on rough textures and aren’t ideal for thick paints. Microfiber rolls deliver fast, even coverage with minimal lint for large rooms. Nylon and polyester nap rollers balance release and durability, with nylon resisting repeated loading on hard-to-reach areas and polyester offering crisp edges on waterborne finishes. For edges and corners, use mini-rollers with tight naps. You’ll learn more next.
Why Rollers Matter for Paint and Stain Projects
Rollers matter because they control coverage, texture, and finish quality in paint and stain projects. You choose the tool that governs flow, bead formation, and defect risk, so you gain predictable results, not guesswork.
In paint, roller type and nap size determine coat thickness, edge steadiness, and uniformity, affecting paint durability.
In stain work, absorption rate and surface contact dictate color depth and evenness, reducing glare and lap marks.
You’ll optimize efficiency by matching roller to substrate and product, minimizing rework.
Consider resin compatibility, pile integrity, and loading behavior to prevent fiber shedding and surface marring.
Precision handling yields durable coatings with consistent performance, where control of pigment distribution and stain absorption translates to long‑lasting protection and appearance.
Your method, not chance, delivers superior results.
How to Choose Your Roller: Key Criteria
When you pick a roller, start with coverage basics to match your project size and finish. Then check surface compatibility to guarantee the nap or cover material suits wood, metal, or drywall.
Consider how evenly the roller lays down paint or stain across textures, and expect differences in absorption and release between smooth, semi-smooth, and rough surfaces.
This quick framework guides you to evaluate exact roller specifications before you compare options.
Roller Coverage Basics
Selecting the right roller starts with matching nap length and cover material to your project and the surface you’re painting. You’ll assess coverage quality by nap length, weave, and sleeve composition, then align with the coating’s viscosity.
Short naps suit smooth walls; medium naps handle semi-gloss and eggshell; long naps lay down thick coatings and textured ceilings.
Cover materials vary: can be synthetic for latex, natural for oil-based finishes, or blends for versatile use. Choose a sleeve with a tight, uniform cover that resists shed and resists solvent damage.
Pair your tool with proper technique: load evenly, maintain a consistent pass, and avoid overloading. Consider brush types for corner control and edges, and plan paint mixing to ensure color consistency across runs.
Precision planning guarantees clean, uniform results.
Surface Compatibility Guide
To choose the right roller, start by matching surface texture and porosity to nap length and sleeve material. You’ll assess smooth, semi-smooth, and rough substrates, then select nap heights that deliver even coverage without splatter.
For porous walls, opt for synthetic sleeves that resist absorption; for enamel or polyurethane coatings, prefer higher-plicity nap with a snug sleeve fit to reduce fiber shed.
Consider roller ergonomics: handle balance, grip comfort, and rolling pressure to maximize control on long runs.
Align paint patterns with your workflow—dense patterns demand firmer coverage, while fine patterns require precise loading.
Validate compatibility with your coating chemistry to prevent premature wear.
This guide minimizes waste, boosts consistency, and keeps you in command of finish quality from first pass to final cap.
Foam Rollers: When They Excel and When to Avoid
Foam rollers give you surface smoothness with fast setup, but they can trap air bubbles and lift thin coatings if you push too hard.
We’ll cover surface smoothness tips, plus the pros and cons of their use across latex, enamel, and thin-stain applications.
Consider ideal material applications to determine when foam is the right tool and when alternatives win.
Surface Smoothness Tips
Foam rollers excel at achieving a ultra-smooth finish on flat surfaces, especially when you’re applying light coats of water- or solvent-based paints. To maximize paint finish quality, start with solid surface preparation: clean, scrub, and tack away dust before you roll.
Use a light, even pressure and maintain a consistent speed to avoid ridges. Flooding the area or overloading the roller creates sags; reload sparingly and feather edges. Keep your coats thin—multiples beat one heavy application for smoothness.
Roll in a unidirectional pattern, then cross-roll lightly to eliminate lap marks. If you detect micro-roses or pulling, pause to skim with a dry roller. For best results, finish with a final pass in one direction.
This approach delivers predictable, durable surface performance.
Pros And Cons Use
Foam rollers excel when you need a fast, smooth finish on flat or lightly textured surfaces, especially for water- or solvent-based paints. You gain rapid coverage and minimal sheen variation, making them ideal for quick priming and solid color lays in paint design tasks.
The downsides: foam can blister on rough textures, absorbent surface quality limits durability, and reclaiming sharp edges can leave micro-ridges. They perform poorly with thick paints or heavy rollers, risking lap marks if you push too hard.
For clean, sharp lines, their edge control is decent but not superior to nap rollers. Storage matters: keep foam dry and away from solvents to prevent distortion. Use dedicated storage to maintain consistency and prevent cross-contamination in roller storage.
Ideal Material Applications
When you need quick, uniform coverage on flat or lightly textured surfaces, foam rollers excel, delivering smooth finishes with minimal sheen variation on water- or solvent-based paints. Use them for doors, cabinets, and paneling where you want a flawless, low-sheen look without roller texture.
They perform best with dense, low- to medium-viscosity coatings and acrylic enamels, avoiding heavy latexs or thick gloss enamels that can trap bubbles or shed foam. For large, smooth surfaces, they boost speed and control, but avoid rough textures or porous substrates that telegraph roller marks.
To protect results, practice proper roller storage after use and clean promptly to prevent hardening. Remember paint sheen matters; choose foam when you aim for pristine, even illumination.
Microfiber Rollers: The All-Around Best Choice
Microfiber rollers excel for most interior paints due to their dense, split-fiber construction that holds more paint and distributes it evenly. You’ll experience consistent coverage across surfaces without frequent reloading, even with modest paint thickness.
The fiber blend minimizes lint and delivers a smooth, uniform finish, reducing streaks on walls and ceilings. If you’re tackling large rooms, their high paint pickup accelerates project pace while maintaining edge control and precision in corners.
For cleanup, microfiber resists water penetration and cleans quickly, enabling faster roller storage between sessions. You maintain reliability by selecting appropriate nap length for texture, avoiding excessive lift of embedded material.
When planning coatings, account for desired gloss and durability, and choose microfiber rollers that align with your target paint thickness and workflow efficiency.
Nylon and Polyester Nap Rollers: Uses and Limits
Nylon nap rollers offer strong surface pickup but have limited absorption compared to plush options. So you’ll want to match them to fast-drying paints and even finishes.
Polyester nap provides consistent release and good durability, making it a solid choice for smooth to semi-smooth surfaces with low linting.
Consider these trade-offs in absorption and finish quality as you decide which nap best suits your project and paint type.
Nylon Absorption Limits
Nylon and polyester nap rollers have defined absorption limits that constrain how much finish they hold and release. You’ll notice nylon absorption governs how quickly you can reload the roller without dripping, while release consistency determines uniformity across edges and corners. These limits hinge on fiber density, nap thickness, and core design, so you measure performance by absorption rate and recovery after each pass.
When you push past ideal saturation, you’ll see increased roller drag, uneven film thickness, and longer cure times. For durability, nylon remains resilient under repeated loading, preserving nap shape and minimizing fiber pullout. You gain predictable transfer, reduced run-off, and steadier tooling control, enhancing roller durability and enabling precise coverage on multiple coats and hard-to-reach surfaces.
Polyester Nap Benefits
Polyester nap offers a balanced performance, delivering steady finish transfer with lower drag compared to nylon. You’ll notice crisp edge control on flat and semi-gloss coats, with fewer brush marks in the field.
The synthetic fiber resists moisture swell, so consistency stays stable across temperatures and humidity shifts. For heavy-duty substrates, polyester naps provide uniform laydown without fiber fray, enabling predictable coverage per stroke.
They excel with waterborne enamels and latex paints, delivering a smoother roll and easier cleanup when paired with compatible rollers. When choosing, consider paint color and substrate porosity to optimize pigment pickup.
Store rollers upright or in roller storage racks to preserve nap alignment. Avoid overloading; rewash between uses to maintain performance and prevent transfer of residual pigment.
Nap Length 101: What Length for Each Surface
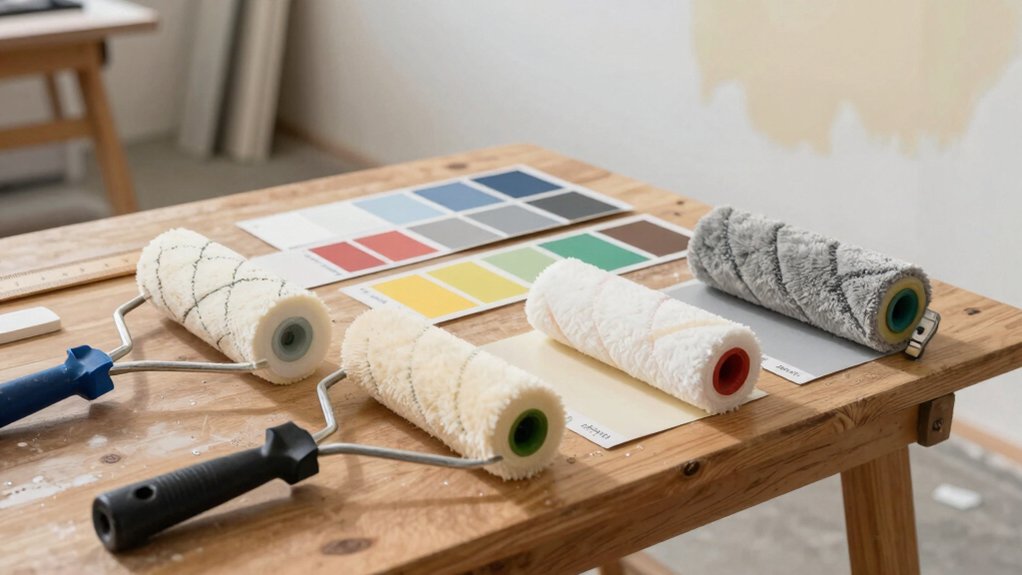
Choosing the right nap length depends on both the surface and the coating you’re applying; longer naps hold more paint and leave thicker coats, while shorter naps deliver smoother finishes.
You’ll match nap length to texture: smooth surfaces for 1/4″ or 3/16″ naps, lightly textured for 3/8″, and heavy textures for 1/2″ or more.
For oil- or latex-based coatings, select a nap that minimizes bounce and roller mark risk on the project’s scale.
In practical terms, aim for efficiency without sacrificing coverage or finish.
Understand how brush types interact with your roller, and plan cleaning and storage around your workflow.
Keep roller storage simple to preserve nap integrity between tasks, and always test a small area first.
Specialty Rollers for Decks, Cabinets, and Smooth Ceilings
Specialty deck rollers, cabinet rollers, and smooth-ceiling rollers address unique surface challenges with targeted suction and edge control. You’ll want to compare how each design maintains even paint transfer, minimizes runs, and preserves texture on vertical or delicate surfaces.
This discussion highlights how suction features influence performance across decks, cabinetry, and flat ceilings to choose the right tool for your project.
Specialty Deck Rollers
Specialty deck rollers are designed to handle textured surfaces, cabinets, and smooth ceilings with higher precision and consistency than standard rollers. You’ll experience improved transfer and uniform coverage on outdoor deck surfaces, thanks to denser nap options and rigid core construction.
Choose rollers with Advanced pile profiles to minimize streaking on rough wood while maintaining edge control along railings and joists. For cabinet faces, swap to a smaller diameter and firmer core to reduce roller bounce and curling, ensuring clean lines.
Smooth ceilings benefit from low-splatter formulas and sealed sleeves that resist fiber shedding. Keep your kit organized with dedicated roller storage to preserve nap integrity and rotate heads for even wear.
This configuration optimizes efficiency, reduces touch-ups, and enhances overall project quality.
Cabinet and Ceiling Suction
Cabinet and ceiling suction rollers are engineered to optimize transfer on flat surfaces and smooth ceilings, delivering controlled release and reduced splatter. You apply steady, high-torque motion to maximize coating consistency across cabinet faces and tight ceiling angles.
The suction design stabilizes the roller, minimizing edge skipping during cabinet cleaning and ensuring uniform coverage in intricate joints. For ceilings, the tool excels with smooth surfaces and shallow domes, maintaining pressure without gouging or drip streaks, while preserving ceiling design integrity.
Material select aligns with solvent resistance and easy cleanup, boosting workflow efficiency. Choose compatible pads or sleeves to match substrate, achieving crisp lines and professional results.
Pair with proper ventilation and PPE for safe, repeatable performance.
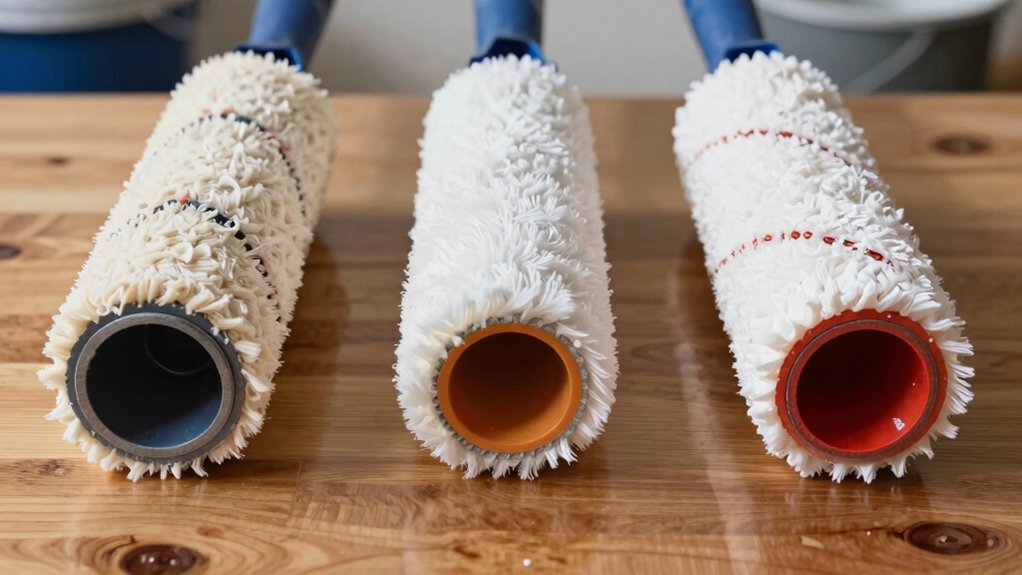
Shedding, Durability, and Frame Quality: What to Inspect
When evaluating rollers, examine shedding, durability, and frame quality to guarantee long-term performance. You’ll check fiber integrity, grip, and nap consistency to prevent premature shedding that ruins coats and wastes painters’ time.
Durability means bend resistance under load, reliable screw or snap fittings, and corrosion resistance in metal frames. Frame quality translates to straightness, centering, and minimal flex, which preserves even paint release.
Consider how the roller reacts under different painting techniques; a durable frame maintains contour through lines, creating uniform coverage without spurts or gaps.
Plan for practical use by evaluating roller storage features and ease of maintenance, ensuring the tool stays ready. Prioritize controls and real-world feedback over fluff, and store components neatly to extend life and reliability.
Primer and Topcoat Compatibility by Roller Type
Primer and topcoat compatibility varies by roller type, so choose based on solvent base, viscosity, and film formation needs. You assess primer compatibility by matching solvent resistance and roller porosity to ease of application, minimizing roller shedding while preserving film integrity.
For high-solid or waterborne primers, select textiles and cores that resist swelling and maintain shape under agitation. Topcoat adhesion hinges on roller finish and surface tension; smoother naps like microfibers reduce texture that interrupts film cohesion, while solvent-sensitive topcoats require rollers with compatible solvent resistance.
You prioritize uniform coverage, reduce orange-peel risk, and engineer quick release of air bubbles. In practice, you confirm compatibility with manufacturer data, test on scrap panels, and document results to ensure durable, uniform film formation and reliable adhesion.
primer compatibility, topcoat adhesion.
Cleaning and Maintaining Rollers to Extend Life
To extend roller life, stick to a routine that preserves the nap, core, and solvent resistance you rely on for consistency across coats. You maintain performance by immediate cleaning after use and selecting the correct solvent for your roller type.
For water-based coatings, rinse with water until runoff is clear, then spin or blot excess moisture.
For solvent-based coatings, use the recommended thinner and ensure ventilation.
Roller cleaning should target the nap and core without twisting, which can kink fibers. Dry thoroughly in a poised position to prevent deformation.
Store tips: keep rollers in a breathable container, away from heat, and label by coating type.
Regular inspection for wear, and replace worn sleeves promptly. This approach delivers reliable results and extended tool life.
Cost vs. Value: Budget Rollers That Deliver Real Results
Budget rollers can deliver solid results without breaking the bank, especially when you match the nap type and core construction to your coating. You prioritize value by selecting budget-friendly, single- or dual-plied rollers that suit common paints and stains.
Focus on nap height and material compatibility to optimize laydown, avoid fiber shedding, and minimize cleanup. Core rigidity matters; a stable core reduces roller bounce and yields uniform coverage across medium to flat surfaces.
Expect dependable paint durability when using compatible rollers with high-quality primers and topcoats. For stains, choose rollers designed for adhesion without causing fiber pull.
A practical balance exists between cost and performance: invest in the correct nap and construction, avoid overpaying, and you’ll achieve precise coverage, reduced cycle time, and consistent finish.
Choosing Rollers by Surface Texture: Walls, Ceilings, Woodwork
Choosing rollers by surface texture starts with matching nap and core design to the task at hand: walls, ceilings, or woodwork. You optimize coverage by selecting nap length for texture and finish, then pair it with a durable core.
For walls, a medium nap delivers smooth yet capable coverage without excessive stipple; ceilings benefit from a lighter nap to reduce linting and roller grip fatigue. Woodwork demands a denser nap to minimize fiber pull and create sharp, uniform lines.
Consider foam options for ultra-smooth finishes on metal or high-gloss paint where surface texture matters most. Verify compatibility with your coating’s viscosity, and test a small area.
Efficient rolls reduce rework, save time, and guarantee consistent surface texture across the project.
Edges and Tight Corners: The Right Roller for Details
Edges and tight corners demand a precise roller choice to capture sharp lines without overspray or lint. When detailing edges, pick a mini-roller with a tightly wound nap and a rigid core for consistent release. Your aim is edge precision, so avoid oversized sleeves that drag or leave snags.
Use a controlled, short-stroke motion to trace border lines, maintaining steady pressure to prevent skipping. For corner detail, rotate the roller gently or switch to a corner-specific tool to reach inward angles without feathering.
Choose rollers with high-density covers that resist shedding under pressure, ensuring clean, uniform coverage. Balance speed with control; rushing introduces gaps.
With the right roller, you execute crisp edges and precise corner detail that stand up to scrutiny and performance demands.
Sleeve Replacement vs. Full Roller: What to Know
When deciding between sleeve replacement and a full roller, consider the project scope, material compatibility, and cost. Sleeve replacement offers targeted updates with minimal downtime, ideal for midstream adjustments or varying textures. A full roller provides a fresh, uniform coat and reduces management of uneven wear, beneficial for large surfaces.
Material compatibility matters: some coatings demand specific nap types, affecting application control and finish quality. Sleeve replacements save money and minimize waste, but you must monitor roller lifespan to prevent fiber shedding and texture inconsistencies.
For paint texture, choose sleeves that match the surface and desired grip. If you’re chasing speed and consistency, a full roller often wins; for budget, precision, and ongoing performance, sleeve swaps excel.
Assess maintenance, downtime, and long-term costs to decide.
How to Test a Roller Before You Buy
First, inspect the roller for consistency in nap length and uniform diameter along the core. You test grip, spin, and reel resistance to confirm true cylindricity and steady rotation.
Then check nap adhesion by gently flexing a section; any loose fibers indicate poor construction you won’t trust on a project.
Assess spring tension and end caps for secure fit, ensuring no wobble under load.
Evaluate paint texture compatibility by applying a light pass on a sample board; note even coverage and absence of streaking or shedding.
Confirm roller storage design avoids moisture and dust intrusion, with a clean cap or bag for immediate reuse.
End with a quick durability forecast: high-quality rollers preserve texture fidelity, minimizing waste and maximizing results.
Quick Setup Checklist for a Rollers-Only Project
To set up a rollers-only project quickly, gather all required tools and materials, then organize them within easy reach: rollers, trays, compatible paint, a roller frame, drop cloths, masks, and cleaning supplies.
You’ll optimize flow by inspecting paint consistency first: stir, strain if needed, and confirm proper viscosity for your surface.
Prepare paint preparation steps: mask edges, seal seams, and test a small area to verify coverage and texture.
Establish a dedicated space for roller storage to prevent contamination and keep tools clean between coats.
Load trays correctly to minimize drips, and keep spare sleeves and solvents accessible for rapid changeovers.
Maintain a tight workflow, wipe spills immediately, and document any adjustments for future projects.
This approach ensures efficient, repeatable results with durable finishes.
Frequently Asked Questions
How Long Do Rollers Last Under Heavy Use?
A roller lasts roughly 6–12 months under heavy use, depending on material and load. Durability concerns arise with frequent washings and debris. Maintenance tips: clean thoroughly, dry after use, replace worn sleeves promptly, and store properly to maximize life.
Can Rollers Affect Paint Color Sheen or Texture?
Yes, rollers can affect paint sheen and roller texture. You’ll see slight gloss shifts and texture changes depending on nap length, material, and loading, so choose carefully to preserve the finish you want in every wall.
Are Budget Rollers Compatible With All Paints?
Yes, budget rollers aren’t universally compatible with all paints; check paint compatibility, especially with specialty coatings. You’ll optimize results by thorough roller cleaning afterward, ensuring you preserve fibers and finish for future projects.
Do Roller Covers Need Washing Before Storage?
Yes, you should wash roller covers before storage. Rinse, remove excess water, and spin-dry. Store dry in a clean, ventilated area. Cleaning tips prevent mold; Storage methods protect fibers and extend longevity.
Which Roller Is Best for Textured Ceilings?
Yes, use a thick-nap roller with densely packed fibers for textured ceilings. Opt for a roller that captures texture patterns and uneven surface details, delivering smooth ceiling finishes without overloading. You’ll control texture, reach, and consistent coverage.
Conclusion
Rollers aren’t just tools—they’re the secret to flawless finish, miracle-fast projects, and a home improvement glow-up you’ll brag about for years. With the right roller, you cut paint waste, hit tight corners like a pro, and actually enjoy the process. Foam, microfiber, or nylon—pick the one that matches your stain or paint and your surface. Swap sleeves rather than whole handles, test before buying, and follow this setup. Your project will thank you with showroom-worthy results.