
For budget-friendly smart thermostats under $100, you’ll want models with reliable scheduling, precise sensing, and adaptive learning to cut energy waste. Check compatibility with your HVAC type (forced air, heat pump, boiler) and confirm a 24V C‑wire or sufficient power. Wired setup should follow labeled terminals, with secure connections and proper mounting. Wi‑Fi options offer remote control, while Z‑Wave or Bluetooth can reduce latency. If you stick to proven, warranty-backed options, you’ll save time and money—plus you’ll discover more soon.
Why Affordable Smart Thermostats Make Sense
Affordable smart thermostats deliver long-term cost savings by optimizing heating and cooling use. You’ll see energy efficiency in action as adaptive scheduling reduces unnecessary runtime, while maintaining comfort.
These devices learn your patterns, adjust for outdoor conditions, and leverage occupancy sensing to fine‑tune demand. With precise controls, you avoid overheating or overcooling spaces, which directly translates to monthly energy bills staying lower.
The upfront price is typically modest compared to legacy systems, yet the payback period remains favorable through durable cost savings. You gain centralized management, remote access, and reliable fault alerts, enabling quick interventions.
This combination of practical functionality and measurable savings makes affordable smart thermostats a compelling choice for disciplined energy strategies and durable home performance enhancements.
What to Check About Your HVAC Before You Buy
Before you buy, confirm system compatibility with your existing HVAC setup and the thermostat’s supported features.
Check wiring and power needs to make certain your current circuit can handle the thermostat and that terminals match your control board.
Understand your HVAC system type basics, so you pick a model that suits your equipment and installation constraints.
System Compatibility Check
To guarantee your new smart thermostat works reliably, start with a System Compatibility Check that covers your HVAC’s current setup, wiring, and control capabilities. You’ll verify if your system uses conventional forced air, heat pumps, or boiler zoning, and confirm compatibility with common communication protocols (Wi‑Fi, Bluetooth, or dedicated hubs).
Inspect the control board terminals, noting common wire colors and whether C‑wire power is present, since many smart thermostats demand it for stable operation. Assess compatibility with features you prize, such as voice control and energy reports, ensuring the platform supports those functions without adapters.
Finally, review any OEM restrictions, app permissions, and firmware requirements to prevent future lock‑ins and maintain system reliability and performance.
Wiring And Power Needs
When you’re sizing up a smart thermostat, check the wiring and power needs early to avoid compatibility surprises. Start by confirming your HVAC system uses standard R, C, G, Y, and W terminals, and verify the C-wire is present or can be added.
Review the thermostat’s voltage requirements and ensure your supply matches—most units run on 24V AC, but some models support 12V or 120V variants. Assess whether power stealing is sufficient for your setup, or if a dedicated C-wire kit is required.
Consider the transformer capacity and any accessories like humidifiers or dehumidifiers that draw current. Plan for wireless interference in dense environments, and ensure the thermostat’s radio operates on robust bands.
Accuracy here prevents misreads, resets, and unstable performance.
HVAC System Type Basics
Knowing your HVAC system type is essential before you buy a smart thermostat, because it determines compatibility with wiring, power, and control features. You’ll want to classify whether you have a split system, heat pump, furnace, boiler, or packaged unit, and note whether control is a traditional relay or modern smart-capable.
Confirm the type of thermostat you can support, such as line-voltage vs. low-voltage, and check the presence of common wires or power-stealing options.
Assess system-age and refrigerant compatibility, since older setups may limit features.
Factor in thermal insulation and recent energy audits to gauge potential savings and required performance targets.
This baseline ensures you select a model that delivers reliable scheduling, remote access, and efficient operation without rewiring surprises.
How to Choose Between Wi‑Fi, Z‑Wave, and Bluetooth
Choosing between Wi‑Fi, Z‑Wave, and Bluetooth hinges on wireless protocol tradeoffs, coverage needs, and how your setup handles installation and ongoing maintenance. You’ll weigh connectivity range, network congestion, and compatibility with existing hubs or devices.
Then consider how each option affects setup time and reliability. This short comparison sets the stage for practical decisions about network scope, device density, and future expansions.
Wireless Protocol Tradeoffs
Wireless protocol choice shapes reliability, responsiveness, and setup complexity for smart thermostats, so understanding the tradeoffs matters. You’ll evaluate wireless protocols by range, security, and ecosystem compatibility, then align with your priorities.
Wi‑Fi delivers broad compatibility and straightforward cloud access, but it can congest networks and strain your router during peak schedules.
Z‑Wave offers low power usage and mesh reliability with strong interference resistance, yet it relies on a hub and supported devices, potentially limiting options.
Bluetooth provides quick setup and direct device control, but limited range and maintenance overhead reduce scalability for whole‑home systems.
Consider your connectivity options and the role of a hub or bridge in centralization. Choose a protocol that balances control, latency, and future expandability for long‑term efficiency.
Connectivity Range Considerations
For connectivity range, you’ll weigh how far signals travel and how reliably they penetrate walls and floors. You’ll compare Wi‑Fi, Z‑Wave, and Bluetooth based on effective range, mesh potential, and interference susceptibility, then project real-world performance in typical homes.
Assess signal strength under load, noting how many devices share the channel and how far the thermostat sits from the hub or gateway. Z‑Wave often excels in range with low power, while Wi‑Fi offers broad coverage but higher congestion risk.
Bluetooth provides short, targeted connections ideal for setup or direct control near the unit. Prioritize interference mitigation tactics, such as channel planning and colocating radios away from dense electronics. This disciplined approach guarantees reliable operation, fewer dropouts, and consistent comfort control.
Installation And Setup Impact
Effective installation and setup influence how you’ll interact with a smart thermostat day to day, so pick the option that fits your home’s wiring, devices, and routine. Your choice between Wi‑Fi, Z‑Wave, and Bluetooth shapes reliability, expansion potential, and remote access.
Wi‑Fi offers direct internet connectivity and broad compatibility, but may strain home networks and raise exposure to online threats.
Z‑Wave excels in mesh reliability and lower bandwidth use, demanding a compatible hub and compatible devices.
Bluetooth delivers straightforward pairing for onsite control, with limited range and fewer interior network impacts.
Consider energy efficiency goals, existing hubs, and preferred user interface complexity. Clear onboarding guides, status indicators, and consistent firmware updates matter.
Pick the path that sustains seamless control, predictable performance, and scalable automation.
DIY Installation: What You Can Do Yourself
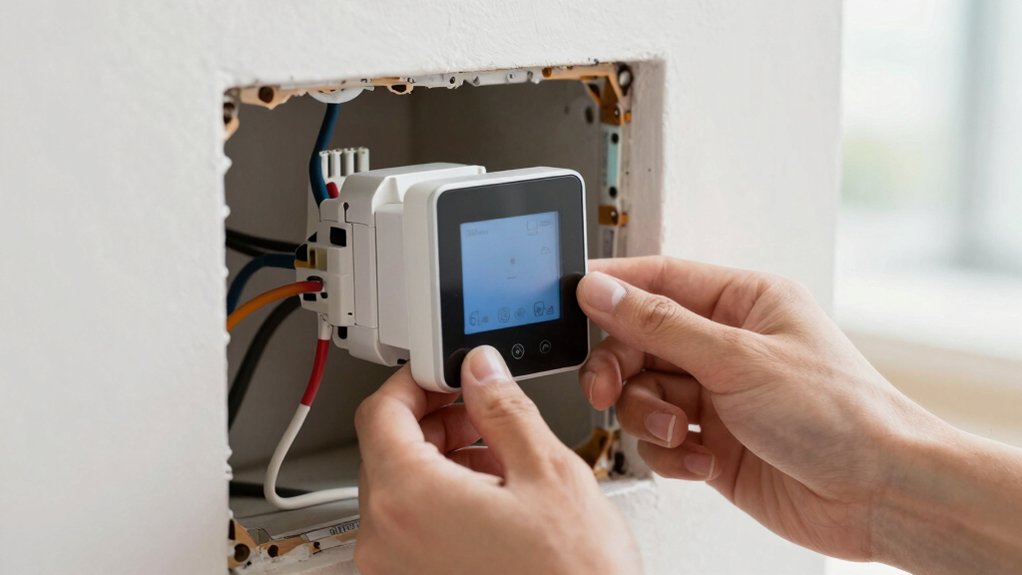
Installing a smart thermostat yourself is doable if you have the right tools, follow the instructions, and plan the wiring and mounting steps carefully.
You’ll assess compatibility with your HVAC system, confirm wire colors, and shut off power before any removal. The process emphasizes safety, correct wiring, and a solid mounting surface to prevent future issues.
Expect a concise wiring map, a clean wall cutout, and secure, vibration-free placement.
After installation, you’ll configure the user interface for preferred temperature schedules, screen brightness, and remote access.
Energy savings hinge on precise scheduling and responsive sensors, so you’ll validate sensor placement and test modes for comfort equity.
Keep documentation handy for troubleshooting and firmware updates as part of ongoing system performance.
Step-by-Step Installation for Most Homes
This section outlines how to approach Step-by-Step Installation for most homes, focusing on Wire Compatibility Basics, Power Requirements Overview, and HVAC Wiring Steps.
You’ll verify your thermostat’s wire type and compatibility with your system, confirm the power needs match your supply, and follow standard HVAC wiring practices for a safe, code-compliant setup.
We’ll cover essential checks before you start the installation to minimize surprises and clarify what you’ll connect and where.
Wire Compatibility Basics
When choosing a smart thermostat, get a clear picture of your existing wiring and power source. You’ll verify terminal types, wire counts, and control board signals to guarantee a proper fit.
Start by identifying common conductor types (26–18 AWG) and noting whether you have a C-wire, G-wire, Y-wire, or O/B wire.
Check that the furnace or air handler provides stable 24-volt power and that the HVAC system supports multi-stage or heat pump configurations if needed.
Read the manufacturer’s compatibility list for your model and confirm brand compatibility with your system’s components.
Plan for wireless security features and ensure your home network supports secure enrollment.
Avoid forcing incompatible adapters; choose a thermostat that aligns with your existing wiring and system design for reliable operation.
Power Requirements Overview
Power requirements for most homes are straightforward: you’ll confirm the thermostat’s supply voltage, verify common terminals, and make sure the control board can deliver enough current without overloading any circuit.
You’ll assess the power supply’s adequacy, ensuring a stable source that supports peak call-for-heat or cool events.
Voltage compatibility matters: confirm the thermostat matches your HVAC system’s nominal voltage and any dual-supply options.
Check common terminal configurations (R, C, W, Y, G) and note any adapter needs for nonstandard layouts.
Inspect breaker ratings and wire gauge to prevent voltage drop under load.
Document the expected current draw and compare it to the circuit’s capacity.
A precise assessment reduces risk, enables efficient operation, and supports reliable, continuous performance.
HVAC Wiring Steps
Before you begin, gather and label all thermostat wires, confirm system type (single-stage, multi-stage, heat pump), and turn off the power to the HVAC unit.
You’ll install the compatible base plate, then mount the thermostat, making certain the wall is plumb and clean.
Connect wires to the corresponding terminals as labeled, using the diagram from your model’s manual.
Verify four essential checks: proper wire gauge, secure terminal screws, no stray conductors, and a grounded, isolated circuit.
Reconnect power and test functions in a controlled sequence: heating, cooling, fan, and emergency shutdown.
Make certain the wireless security features are active and the user interface reflects correct settings.
Document configuration for future service, and confirm system communication with the control module to prevent ghost readings or false alerts.
Remote Control, Scheduling, and Energy Savings
Sure, you’ll control comfort from anywhere with remote access, real-time scheduling, and smart energy savings. You’ll set schedules that align with your day, reducing emissions and expenses without sacrificing performance. Opt for adaptive or custom schedules that adjust to occupancy, outdoor temperatures, and your preferred routines, ensuring consistent comfort when you return.
Voice control lets you tweak settings hands-free, while weather integration forecasts needs and applies changes before conditions shift. Focus on power: you’ll monitor consumption per device and adjust thermostats to optimize runtime, leveraging eco modes and programmable setbacks.
Easy pairing with hubs or apps keeps you in command, even while traveling. Precision reporting highlights savings opportunities, so you consistently validate ROI and maintain peak efficiency.
Must-Have Features for Small Projects
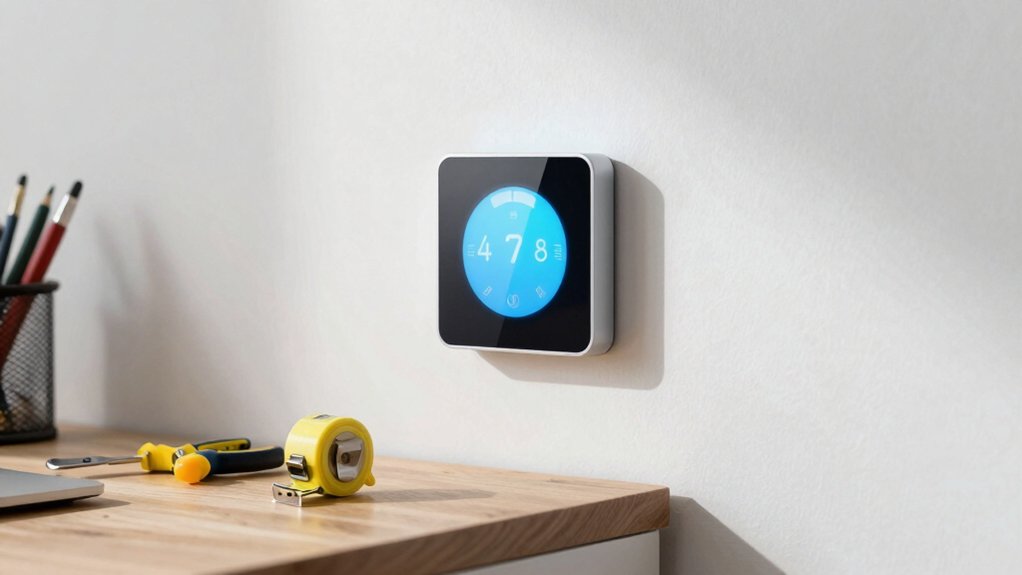
When tackling small projects, prioritize features that deliver noticeable gains without overcomplicating setup. You’ll want core capabilities that streamline control and monitoring, without steep learning curves. Focus on reliable scheduling, precise temperature sensing, and quick responsiveness that reduce wasteful cycling.
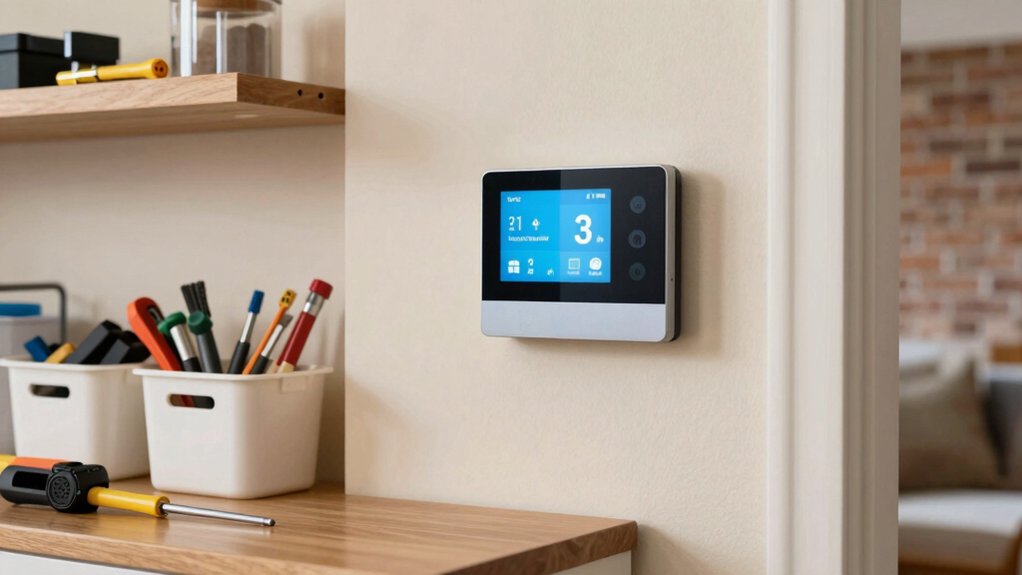
Energy efficiency remains a primary lens: look for accurate thermostats with adaptive learning that minimize runtime while preserving comfort. A clean, intuitive User interface is essential, letting you view current vs. target temps at a glance and adjust in seconds.
Guarantee compatibility with existing HVAC systems and straightforward installation, so you don’t sacrifice time for compatibility. Prioritize durable connectivity options and clear status indicators to verify operation without guesswork.
In small projects, simplicity paired with effective feedback drives real, measurable improvements.
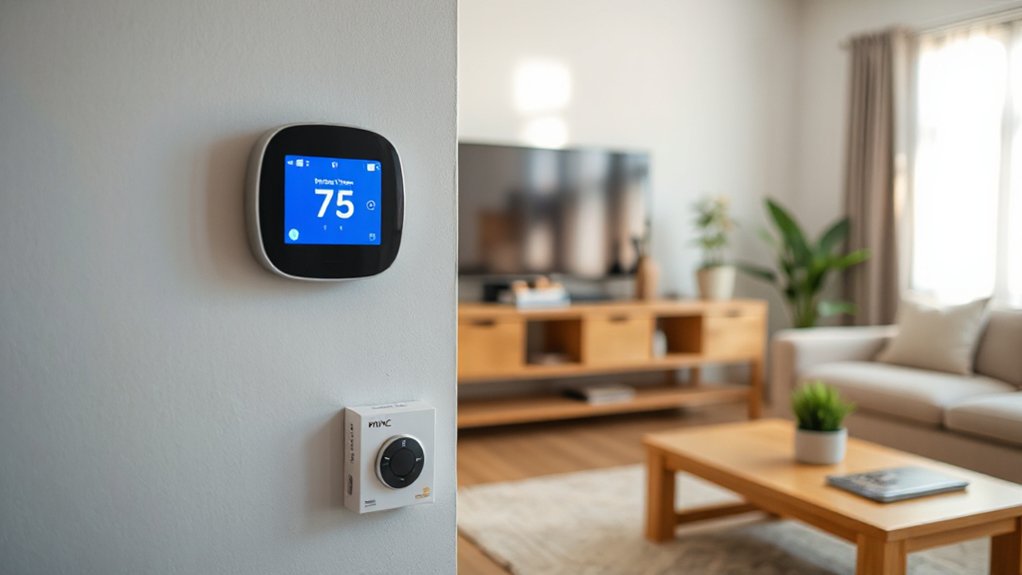
Budget Thermostats Under $100: Top Picks
Budget thermostats under $100 offer practical ways to upgrade comfort and efficiency without large upfront costs. You’ll find compact radios of control, straightforward setup, and reliable performance for basic homes.
Look for models that maximize energy efficiency through precise scheduling, smart wake times, and adaptive cooling/heating routines. A clean, intuitive user interface matters, so you can program schedules quickly and adjust on the fly without a learning curve.
When evaluating, check compatibility with your HVAC system, app access, and firmware updates that extend lifespan. Budget picks should deliver steady temperature control, responsive sensors, and solid warranty support.
Avoid bells and whistles that add cost without improving daily functionality. Prioritize proven brands, transparent specs, and clear energy-saving claims backed by real-world results.
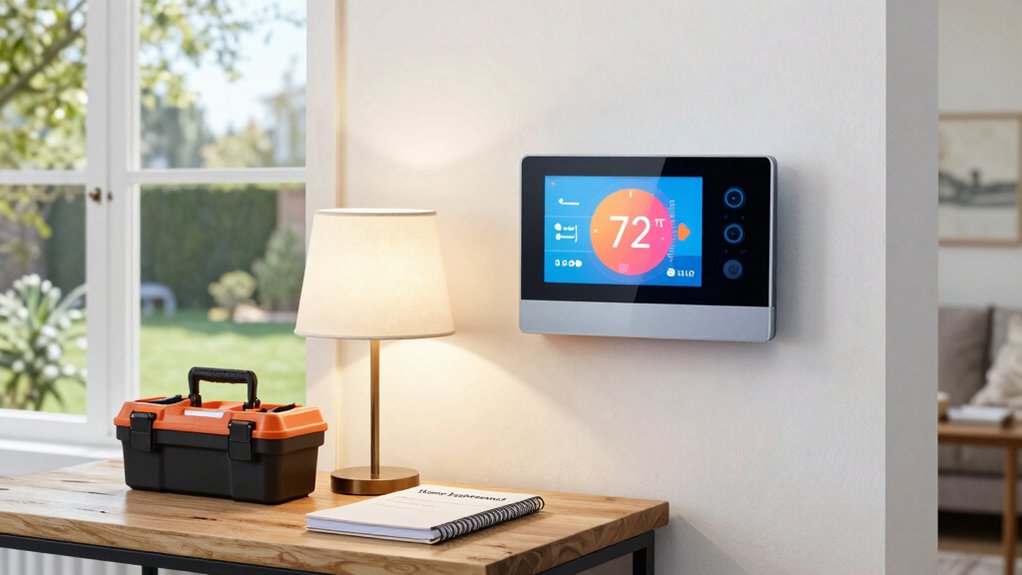
Mid-Range Models That Balance Cost and Features
Mid-range smart thermostats offer a balanced mix of price and features, delivering stronger scheduling, better sensors, and more flexible integration without the premium cost of high-end models.
You’ll gain improved energy efficiency through smarter learning, adaptive schedules, and responsive temperature adjustments. These devices typically offer robust compatibility with major platforms and easier setup via intuitive user interfaces, helping you customize routines without complexity.
Expect enhanced sensor arrays for occupancy, humidity, and ambient light, which refine comfort and efficiency without sacrificing reliability. You’ll notice faster response times, clearer status indicators, and more granular controls in the user interface, enabling precise tuning of setpoints and modes.
Pros and Cons: DIY vs. Hiring a Pro
DIY installation can save money and provide immediate control, but hiring a pro often guarantees proper wiring, system compatibility, and code-compliant installation. You’ll weigh time, risk, and total project cost when comparing options.
A DIY approach offers fast results and the satisfaction of hands-on effort, yet miswiring or misconfigurations can negate energy savings and trigger costly repairs.
Pros bring code familiarity, seamless integration with existing equipment, and validated performance under local standards.
The cost comparison often hinges on labor rates versus potential troubleshooting.
For energy efficiency, a pro’s setup tends to optimize thermostat scheduling, zoning, and sensor placement, reducing wasted runtime.
Decide based on confidence with electrical work, system complexity, and desired control fidelity, then prioritize reliability alongside initial price.
Buying Tips: Warranties, Returns, and Where to Buy
When you’re choosing a smart thermostat, start with warranties, returns, and where to buy to protect your investment and simplify future service. Prioritize clear warranty policies that cover parts, labor, and eligibility windows, and note what constitutes warranty voidance.
Compare return procedures: time limits, restocking fees, and whether refunds are issued to original payment methods.
Verify authorized retailers to ensure genuine products and full manufacturer support, and check price matching or bundle offers that include extended coverage.
Confirm service options, such as online chat or phone support, and accessibility of replacement units if needed.
Document receipts, model numbers, and serials for swift claims.
Choose retailers with transparent policies to maintain control and minimize downtime.
Warranty policies, return procedures, and reputable sourcing drive reliable performance.
Quick Start Guide: From Box to Smart Home in 30 Minutes
Setting up your smart thermostat in just 30 minutes starts with a quick prep: confirm you have the right model, check that your HVAC system is compatible, and gather the tools listed in the manual.
Next, power on, connect to power, and place the device where the display is easily legible. Follow the on-screen prompts to select language, time, and Wi‑Fi network, avoiding VPNs or guest networks for stability.
During wiring, reference labeled terminals and tighten connections to spec. Install the mounting plate, attach the thermostat, and archive your screws.
Then run a diagnostic to verify sensor readings and fan control. Configure energy efficiency settings, schedules, and peak‑demand rules.
Explore user interfaces and dashboards to monitor performance, ensuring quick access to critical data and precise control.
Frequently Asked Questions
Do Affordable Thermostats Work With Heat Pumps?
Yes, affordable thermostats can work with heat pumps. They support energy savings and offer straightforward installation ease, but verify compatibility with your model, guarantee proper wiring, and set auxiliary heat controls to optimize performance and efficiency.
Can I Install Without a C-Wire?
Yes, you can install without a C-wire, but it may affect compatibility issues and power stability. You’ll need to verify wire installation, consider power stealing options, and make certain your thermostat’s battery or power adapter satisfies your system’s demands.
Are There Voice Assistant Compatibilities?
Yes, many affordable options offer voice assistant integration, and you’ll find strong smart home compatibility across major platforms. You’ll control settings hands-free, verify compatibility, and optimize routines for seamless, powerful, centralized management.
How Accurate Is Their Temperature Sensing?
Temperature calibration varies by model, but you’ll see solid accuracy with proper setup. Sensor reliability is typically high, yet occasional drift occurs. You’ll improve results by regularly recalibrating and monitoring readings for precise climate control.
Do These Thermostats Require Monthly Fees?
No monthly fees in most cases, you save energy and money; some brands offer optional subscriptions. Energy savings depend on use and setup. Installation complexity varies, but you can DIY or hire, balancing control, data, and power.
Conclusion
You stand at the doorway of a cooler, smarter home, where your thermostat hums like a quiet engine. With a quick install, you’ll hear the HVAC settle into a steady, even breath. You’ll notice the glow of a responsive app, schedules ticking like clockwork, and comfort arriving exactly when you need it. Each affordable model paints a clear path from box to climate control, turning simple choices into a lasting rhythm of energy savings and ease.