
Revitalizing your kitchen with new worktops starts with picking the right material for your lifestyle—consider durability, maintenance, and budget. Plan precise measurements, including thickness and edge profiles, and map cabinet and appliance clearances before cutting. Remove old tops, prep units, then install with clean seams and aligned cutouts. Choose materials and textures that create cohesive color and mood, and seal or finish as needed. Ready to transform your space, and you’ll uncover practical steps that follow this path.
Why Choosing the Right Kitchen Worktop Matters
Choosing the right kitchen worktop matters because it sets the tone for your space, affects durability, and influences everyday usability. You want a surface that supports smooth workflows and reduces strain, so you feel confident in every task.
Kitchen ergonomics matter: you’ll work smarter when counters are at the right height, drawers open without crowding, and prep zones align with sinks and appliances.
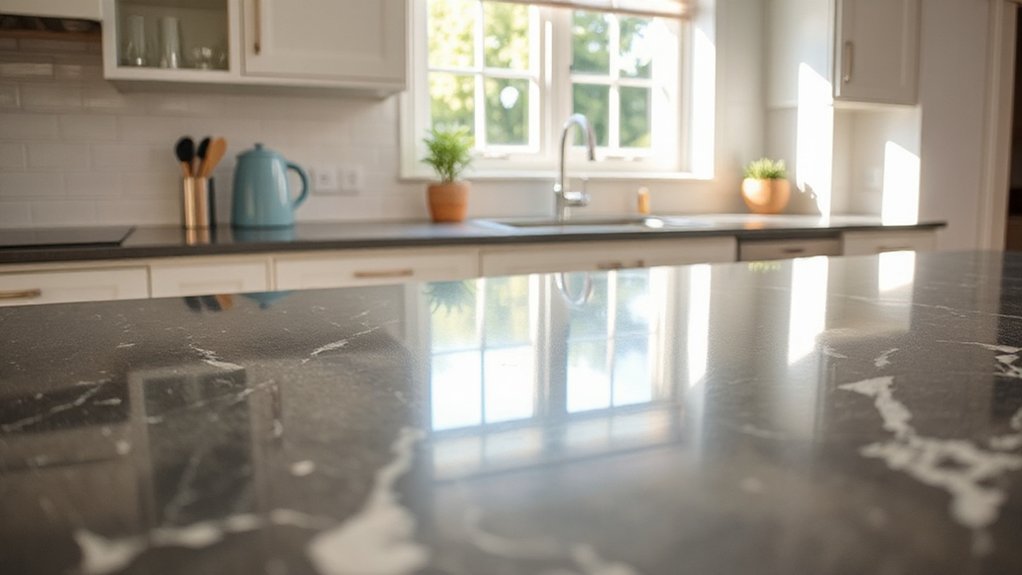
Worktop aesthetics matter too, because color, texture, and depth echo your style and create a welcoming, cohesive kitchen you’re proud to show off.
A well-chosen worktop boosts value and longevity, while resisting stains and heat.
You’ll notice confidence rise as maintenance stays simple, and daily rituals become efficient, comfortable, and undeniably yours.
Your kitchen, your sanctuary, your signature finish.
How to Pick the Best Material for Your Lifestyle
When you pick a worktop, match material durability to how you actually use the kitchen, so you’re not surprised by wear or scratches.
Consider maintenance needs, because easier care means less time cleaning and more time cooking.
Weigh cost and availability now, so you’ll choose a finish you can source and sticks to your budget.
Material Durability Comparison
Durability matters more than looks when selecting kitchen worktop material, because the right choice stands up to daily use, heat, moisture, and knife wear. You want substance you can trust, with clear tradeoffs you can compare at a glance.
In practice, material lifespan and aesthetic flexibility drive long-term satisfaction. Consider how each option ages as you cook, entertain, and clean.
- Quartz: consistent durability, low maintenance, modern look; great lifespan.
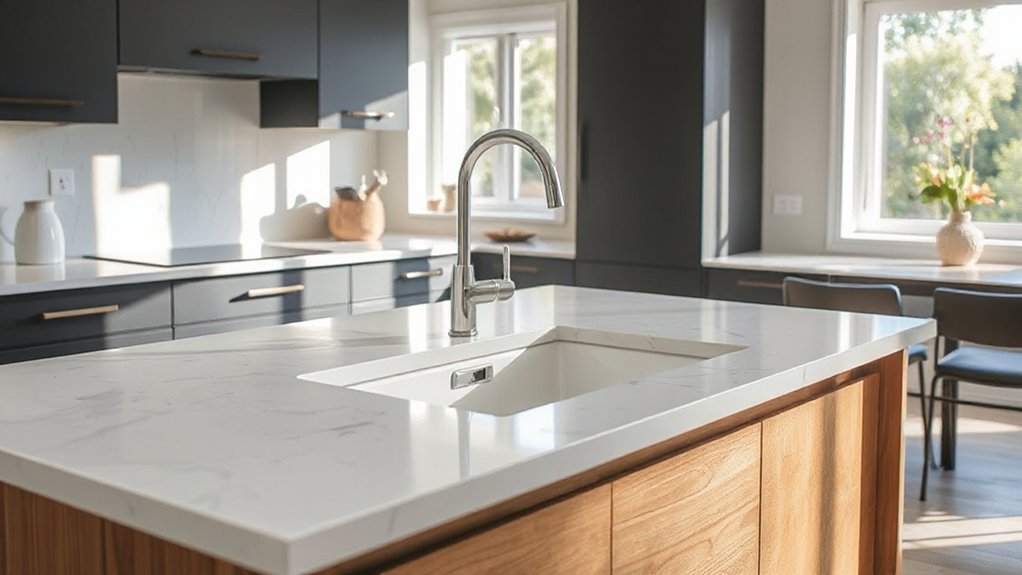
- Granite: natural character, heat resistant, requires sealing; classic versatility.
- Solid surface: seamless edges, repairable, softer on knives; adaptable style.
- Laminate: budget-friendly, wide colors, easier to damage; updateable with replacements.
Choose a material that aligns with your routine and sense of belonging in the kitchen.
Maintenance And Care
A quick reality check: the right kitchen material should fit your cleaning habits as much as your cooking style. You’ll keep it simple by establishing a daily routine—wipe spills promptly, use a soft cloth, and follow the manufacturer’s cleaning guidelines.
Choose finishes that tolerate your cleaning routines without demanding frequent, meticulous care. For high-traffic kitchens, select surfaces with built-in stain resistance and easy-touch maintenance. For quieter homes, you can favor textures that reveal wear gracefully.
Remember that regular sealing or conditioning (if advised) extends life and preserves look. Avoid abrasive cleaners that dull sheen.
Train household members to treat messes immediately, reinforcing belonging through shared upkeep. Prioritize stain prevention features in materials and implement a consistent care schedule to maintain a cohesive, welcoming space.
Cost And Availability
- Compare upfront costs vs long-term value to avoid cheap traps.
- Check supplier lead times and stock reliability to reduce delays.
- Consider regional materials to lower shipping and carbon footprint.
- Verify warranties and service availability for future proofing.
With these checks, you’ll balance aesthetics with practicality, ensuring your kitchen feels both welcoming and functional.
Thickness and Edge Profiles: What They Mean for Durability and Fit
Thickness sets the baseline for durability, so you’ll want to pick a profile that matches your kitchen’s use and support needs.
Edge profiles aren’t just cosmetic—the shape and radius influence wear resistance, cleaning, and fit with sinks and backsplashes.
In short, plan thickness and edge shape together to guarantee a sturdy, seamless installation that lasts.
Thickness Impacts Durability
Edge profiles and thickness directly influence how durable your kitchen worktops will be. Thickness isn’t just about heft; it affects impact resistance, heat tolerance, and long-term stability. You’ll notice fewer dents with heftier slabs, but you must balance weight with installation needs and cabinet support.
1) Choose a practical thickness range that suits your use, cabinet structure, and edge profile choice.
2) Consider how color matching and texture variation interact with thickness for a cohesive look.
3) Anticipate heavy daily use and potential misalignment by selecting reinforced supports or thicker cores.
4) Plan for expansion gaps and professional sealing to preserve durability over time.
This approach gives you reliable performance, a polished finish, and a shared sense of belonging in your upgraded space.
Edge Profiles Fitment Considerations
Choosing the right edge profile and thickness together determines both fit and durability. You’ll weigh edge profile considerations to guarantee the countertop meets daily use, spill handling, and cleanability without compromising style.
Thicker profiles feel substantial and resist chipping, yet require precise cabinet support and plumbing clearance. Narrow profiles save weight and emphasize minimal seams, but may show wear sooner and demand careful jointing.
Profile customization lets you align edge shape with cabinet design, seams, and backsplashes, creating a cohesive kitchen look. Consider edge radii for family safety and edge finish for maintenance needs.
Remember that thicker edges often pair best with deeper mortises, while slim profiles suit angular modern kitchens. Prioritize compatibility with sink cutouts, cooktop clearance, and appliance tolerances for a seamless, durable result.
How to Plan Cabinet and Appliance Clearances
Clearances around cabinets and appliances aren’t optional; they’re essential for safe, functional kitchen operation. You plan with intention, ensuring fit and flow while keeping future access easy. Align clearances with your house’s wiring and plumbing layout to prevent surprises during installation.
- Measure door swing and appliance clearance, then add 5–10 mm for hinges and doors to open without obstruction.
- Reserve vertical gaps for ventilation, especially behind runs containing ovens or steamers, and note any required plumbing integration.
- Allocate space for countertop overhangs and backsplash, ensuring seamless progressions to lighting and plumbing fixtures.
- Mark zones for Kitchen lighting and service access, keeping cords and ducts clear of drawers and doors.
These steps keep your kitchen cohesive, safe, and welcoming.
How to Measure Your Kitchen for a Precise Fit
To measure your kitchen for a precise fit, start with a full footprint survey: record every wall length, doorway width, and cabinet-to-cabinet distance, then double-check with a second set of measurements. You’ll want clear, repeatable data you can trust as you install new worktops.
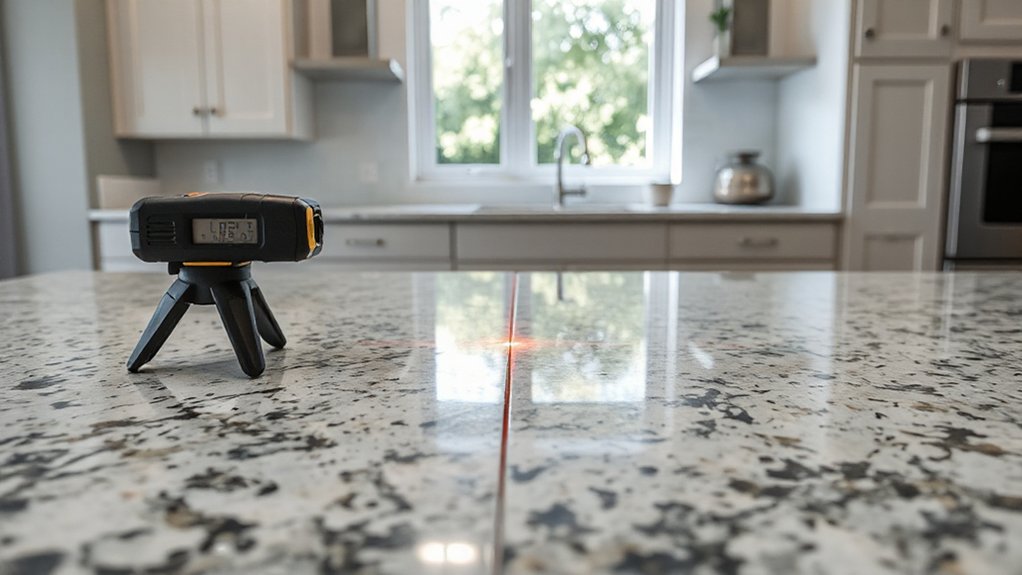
Measure from wall to appliance faces, including toe-kick gaps, and note any irregularities, like angles or wall offsets. Use a laser or steel tape for accuracy, but verify with a physical second person to confirm the numbers.
Organize your results in a single sheet, labeling zones for easy reference during installation. This helps with kitchen organization and reduces surprises.
Accurate measurements save time, support precise cuts, and enable effective storage solutions that feel built for belonging and everyday use.
How to Choose a Color and Pattern That Matches Your Style
Choose colors that reflect the mood you want—cool neutrals feel calm, warm tones add coziness, and bold hues make a statement.
Consider the pattern scale and texture next: large patterns read as dramatic, while small ones stay subtle; mix textures to add depth without shouting.
Tie it all together with your existing cabinetry and backsplashes so the whole kitchen reads cohesive and stylish.
Color Options and Mood
What color and pattern best fit your kitchen’s vibe? You’re guiding the space, so choose hues that support daily comfort and shared moments. Color psychology shows warm neutrals feel welcoming, while cool blues calm mornings and soften drama. For mood enhancement, balance brightness with depth to avoid glare and fatigue.
- Select a dominant cabinet or countertop shade that echoes the room’s lighting.
- Pair a secondary color for accents that lift energy without shouting.
- Use a matte finish to reduce reflections and create a cozy tone.
- Introduce subtle contrast through textiles and decor to deepen cohesion.
Keep it practical: test swatches in natural light, observe how activity levels respond, and adjust until the mood feels right for everyone.
Pattern Scale and Texture
Start with scale design by picking a dominant pattern for a focal area, then introduce smaller repeats or muted textures to support it. If your kitchen has large features, choose a bold pattern on a single panel or edge; if space is intimate, opt for gentle textures and fine linework.
Consider material contrasts—gloss versus matte, smooth versus ribbed—to enrich the tactile experience. Aim for cohesive repetition across surfaces to foster belonging and confident, timeless style.
Wood, Quartz, Laminate, Granite, and Concrete: Pros and Cons
Here’s a quick comparison of the five popular countertop materials: wood, quartz, laminate, granite, and concrete. You’ll balance aesthetics with durability, maintenance, and feel, keeping color coordination and design trends in mind. Each option offers a distinct personality, enabling you to achieve a cohesive kitchen vibe.
1) Wood: warm, flexible edges; needs sealing and moisture care.
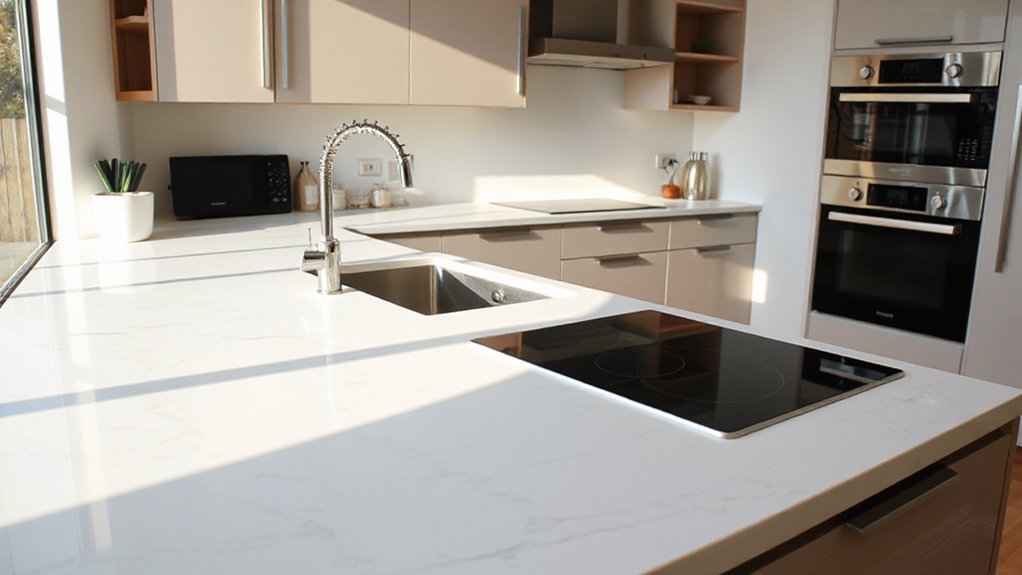
2) Quartz: low maintenance, consistent patterns; scratches rebound well.
3) Laminate: budget-friendly, versatile finishes; less heat resistance.
4) Granite: natural variation, strong, requires occasional sealing.
5) Concrete: highly customizable, industrial edge; porous unless sealed.
Choose based on your daily routine and long‑term vibe. Pick materials that invite you to gather and create, not just cook.
How to Compare Costs and Budget Realistically
To budget realistically, start by listing every cost you’ll incur beyond the counter itself, from materials and installation to delivery, repair, and disposal. This total will shape your plan and prevent hidden surprises.
Begin with materials: compare options for price, durability, and longevity so you’re not overspending on trends. Add installation time and labor rates, recognizing that complex edges or custom cuts can shift costs quickly.
Include delivery fees, waste removal, and potential modifications to cabinets or plumbing. Build a contingency for unexpected needs; a 10–15% cushion helps you avoid stress.
Use Budget planning as your framework and conduct Cost comparison across suppliers, confirming warranties, lead times, and aftercare. With clear numbers, you’ll choose confidently, stay on track, and feel you belong in the process.
DIY vs. Professional Installation: What to Consider

DIY or hire a pro? You’re weighing outcomes, not hassles. A pro brings precise cuts, seam discipline, and guaranteed alignment with plumbing and cabinets. You’ll save time and minimize mistakes, but cost and scheduling matter. Consider design trends and color coordination to verify your surface reads as a cohesive room, not a standalone piece.
- Evaluate scope: edge profiles, sink cutouts, and appliance gaps.
- Assess guarantees: warranty on fabrication, installation, and seams.
- Compare timelines: you vs. contractor cadence, delivery, and dust control.
- Weigh future flexibility: refinishes, repairs, and potential color shifts.
Ask yourself if you want DIY learning curves or predictable results. When you align choice with color coordination and current design trends, you’ll feel you belong in a refreshed, cohesive kitchen.
Tools and Safety Gear You’ll Need for Install
You’ll want the basics: protective gear like eye protection, gloves, and a dust mask, plus sturdy footwear.
Keep tool handling safe with gloves that still allow grip, clear workspace, and proper storage for sharp edges.
We’ll cover how each item reduces risk and fits into a smooth install workflow.
Protective Gear Essentials
Protective gear isn’t optional when installing new kitchen countertops; it’s vital for your safety and a clean, efficient job. You’ll rely on trusted safety equipment to protect you from dust, cuts, and fumes, while staying comfortable through the day.
- Safety glasses or goggles to shield eyes from debris
- N95 mask or respirator for dust and nuisance fumes
- Cut-resistant gloves for handling sharp edges and tools
- Hearing protection and a sturdy apron to guard skin and clothing
Choose gear that fits well and moves with you, so you complete the install without distraction. Keep safety equipment within easy reach, and inspect it before each use.
Prioritizing protective gear ensures you work confidently, efficiently, and with a sense of belonging to a safety-minded community.
Tool Handling Safety
When you’re handling tools for countertop install, keep safety gear and proper technique at the top of your list. Tool handling becomes second nature when you pair it with clear safety precautions.
Start with reliable PPE: safety glasses, gloves, and ear protection. Secure the workpiece and use clamps to prevent slips. Maintain sharp blades and inspect cords and plugs for damage before each cut.
Use the right tool for each task, and follow manufacturer instructions to avoid kickback or overheating. Keep your workspace clean and well-lit, and store tools securely after use.
Plan your moves, test cuts on scrap, and never rush. With deliberate tool handling and consistent safety precautions, you’ll complete the install with confidence and reduce risk.
Removing Old Worktops and Prepping the Units
Before you install new worktops, remove the old ones and prep the base units for a steady, clean fit. You’ll create a solid foundation by tidying edges, checking plinths, and ensuring level surfaces. Then, prep the units so the new worktops sit true and long-lasting.
- Dismantle supports and lift the old countertops with help if needed.
- Clean sills, backs, and cabinets; remove adhesive residue and dust.
- Inspect cupboards for wobble; tighten fittings and add shims where required.
- Seal joints and edges with masking tape to protect surfaces during fitting.
Kitchen color and worktop texture influence finish; align these choices with your space. A precise, organized prep gives you a confident, connected install.
Installing New Worktops: Step-by-Step Guide
Now that the old worktops are cleared and the base units prepped, install the new tops by laying them out and marking cut lines precisely. Measure twice, cut once, and keep your workspace steady for accurate gaps.
Dry-fit first: place the pieces, check alignment, and adjust as needed before final fastening. Use clean, sharp edges and seal joints with appropriate edging for a seamless finish.
Secure with screws through predrilled holes, avoiding over-tightening to prevent warping. Check level and plumb along the run, then trim any lip for a flush fit.
Consider kitchen decor as you place the tops to maintain a cohesive look, and plan appliance placement with access in mind so you can clean and use surfaces easily.
Finish with gentle sealing where required.
Handling Seams, Cutouts, and Appliances
Seams, cutouts, and appliance openings demand precise planning and clean execution: align seams with cabinetry, notch for sinks and cooktops, and leave enough clearance for ventilation and doors. You’ll guarantee a seamless look and functional fit by mapping positions first, then cutting templates to trace on the worktop.
- Seam handling: stagger joints where possible, and conceal seams under edging or trim for a polished appearance.
- Surface transitions: use edging and careful sanding to join pieces without gaps or height differences.
- Appliance cutouts: rough-cut, then finalize with a jig saw or circular saw, ensuring straight edges and accurate mouth openings.
- Clearance and ventilation: verify fridge, oven, and dishwasher doors clear their frames; leave space for heat dissipation and airflow.
Caring for and Protecting Your New Worktops Long-Term
Caring for your new worktops long-term starts with a simple, consistent maintenance routine: clean spills promptly, use soft, non-abrasive cleaners, and protect surfaces from heat and sharp objects. You’ll keep their look and feel by adopting practical habits that fit your daily life.
Regular wiping with a damp cloth and a mild cleanser prevents buildup, while a thin layer of approved polish or sealant helps sustain sheen and durability.
For cleaning techniques, avoid abrasive pads and acidic cleaners that can dull finishes; opt for gentler products suited to your material.
When stains appear, address them quickly with a targeted stain removal approach, following manufacturer guidance.
Establishing these routines reinforces ownership, ensuring your kitchen remains cohesive, welcoming, and resilient for years to come.
Frequently Asked Questions
How Long Does a Full Kitchen Worktop Refresh Take?
A full kitchen worktop refresh usually takes 1–3 days, depending on material and cabinet access. You’ll weigh Material options and Cost considerations, plan around gaps, and stay practical, ensuring you feel confident, supported, and part of the process.
Do I Need a Permit for Countertop Installation?
You don’t usually need a permit for countertop installation, but check your local codes first. When you DIY, plan a kitchen backsplash and under cabinet lighting, then follow guidelines to keep everyone feeling like you belong.
Can I Install Countertops Over Existing Cabinets?
Yes, you can install countertops over existing cabinets, but you should assess cabinet integrity first. Choose countertop materials thoughtfully, estimate installation costs, and guarantee proper support and leveling so you feel confident and belong in your upgraded kitchen.
What Warranty Comes With New Worktops?
Your warranty varies by material, but most offer limited coverage for manufacturer defects and lifetime wear, depending on product choice. Material options influence coverage length, so review terms; you gain peace of mind with clear Warranty coverage and support.
How Should I Dispose of Old Countertops Safely?
Nearly 70% of homeowners recycle countertop waste; you can too. Dispose of old countertops under local Disposal regulations, arrange material recycling if possible, and use licensed waste handlers to guarantee safe, compliant removal and minimal environmental impact.
Conclusion
To refresh your kitchen, you don’t need a full remodel—just the right surface. Pick a material that fits your life, plan clearances, and measure twice for a precise fit. When you remove old tops, prep the units and seal seams properly for a seamless look. With careful installation and ongoing care, you’ll enjoy durable beauty for years. It’s not rocket science—you’ll see results fast, and your kitchen will shine like a new penny. Now you’re cooking with gas.