
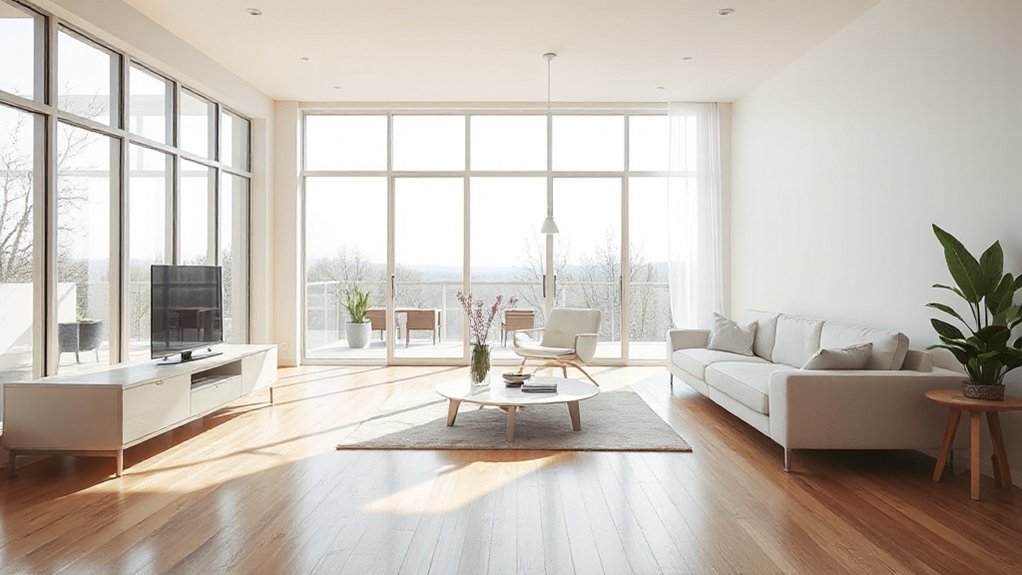
To renovate for better natural light, start by evaluating daylight potential: note sun angles, window orientations, glare, and seasonal shifts. Set daylight goals per room, then align layout with sun paths to place bright zones where light is strongest. Maximize openings you already have and plan new ones like skylights or clerestories if feasible. Use reflective finishes, light colors, and mirrors to bounce light deeper. Upgrades can be budget-friendly, but some cases require a pro—keep exploring for details.
Assess Daylight Potential for Your Space
Assess how daylight already behaves in your space by mapping where the sun hits at different times of day and year. You’ll start by noting window orientations, glare, and shade patterns, then translate those findings into a practical plan.
Observe how light travels across floors and walls, and how it changes with seasons. Use this awareness to decide where to place lighting fixtures for supplementary brightness without overpowering natural cues.
Consider window treatments that can modulate brightness while preserving a sense of openness. Prioritize movable shades, translucent panels, and light-colored surfaces to reflect daylight deeper into rooms.
Keep your goals simple: enhance comfort, reduce artificial load, and preserve ambience. Your clarity about daylight now informs efficient, intentional renovations.
Define Daylight Goals Based on Orientation and Use
Now use what you observed about orientation and how you’ll use each space to set concrete daylight goals. You’ll apply Sunlight calibration and daylight mapping to translate observations into measurable targets that honor how you live.
- Define primary activities by room and season, prioritizing spaces with the most natural glow.
- Set target daylight hours and glare limits for each zone, balancing tasks and comfort.
- Align glazing choices and shading to support consistent illumination, not just brightness.
- Establish a simple tracking method to adjust goals as you refine layout and finishes.
These goals create a shared language, reinforcing belonging as you renovate with purpose and measurable progress.
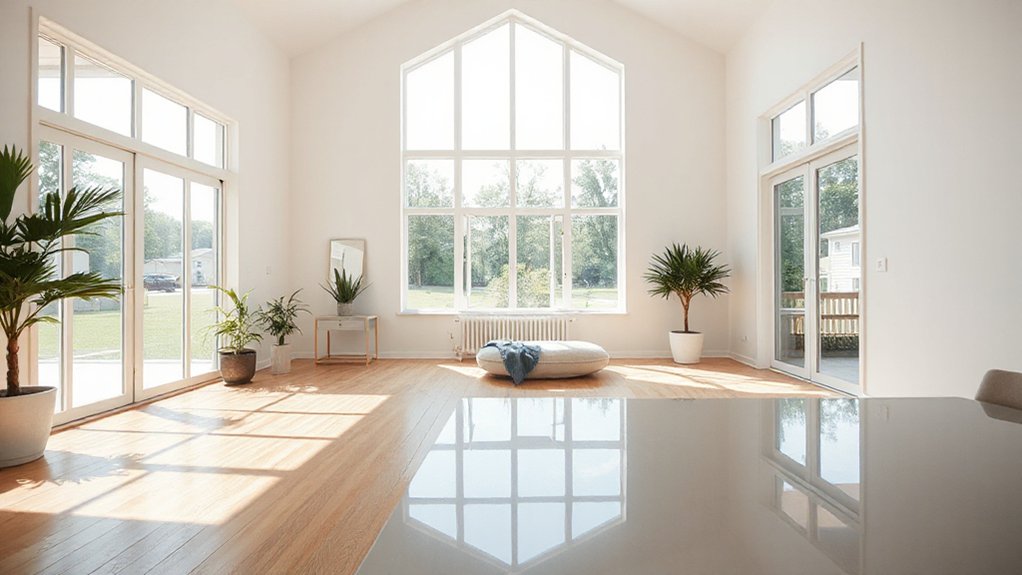
Align Layout With Sun Paths and Optimal Orientation
Align layout with sun paths and ideal orientation by placing everyday activities where daylight is strongest while minimizing glare and heat. You optimize spaces by charting sun paths across seasons and aligning rooms to capture steady, soft daylight.
Prioritize living areas where natural light boosts mood, and reduce exposure in rooms prone to glare during peak sun hours. Use orientation strategies to balance warmth in winter with shade in summer, grounding decisions in practical needs rather than trends.
Consider window placement, skylights, and glazing choices that support consistent light quality without overheating. By planning around sun alignment, you create a cohesive flow that enhances comfort, energy efficiency, and a sense of belonging.
This approach keeps you connected to the home’s natural rhythms.
Identify Opportunities and Constraints for Existing Openings
You start by evaluating your existing openings to see how they currently admit light and how they frame views.
Identify constraints like obstructions, structural limits, privacy needs, and energy performance, then spot opportunities such as widening, repositioning, or adding glazing.
This quick audit sets the path for targeted improvements with measurable impact on natural light.
Assess Existing Openings
Evaluating existing openings is about spotting what you have to work with and the limits you’ll face. You’ll assess size, position, and potential for daylight without overreaching on preservation or code.
1) Map current openings and daylight patterns to see where you gain or lose sun.
2) Note historical preservation implications that may constrain enlargement or alteration.
3) Check Building codes for required clearances, safety, and egress related to openings.
4) Identify framing and structural constraints that limit light opportunities and guide practical tweaks.
You’ll use this to balance charm and practicality, ensuring your choices honor heritage while meeting modern expectations.
With a clear plan, you’ll pursue renovations confidently, aligning design, safety, and daylight gains.
Constraints and Opportunities
There are clear opportunities and constraints to take into account when evaluating existing openings: larger, well-placed additions can boost daylight and flow, while preserved features and structural limits may cap how far you can go.
You’ll balance light gains with thoughtful placement of new glazing and doorways, aiming for smooth sightlines and climate comfort.
Historical preservation considerations guide how you modify historic openings, so you align with spirit and standards without compromising daylight.
Budget constraints shape choices, encouraging phased updates and prioritizing high-impact moves.
You’ll assess load paths, framing, and insulation to avoid costly retrofits later.
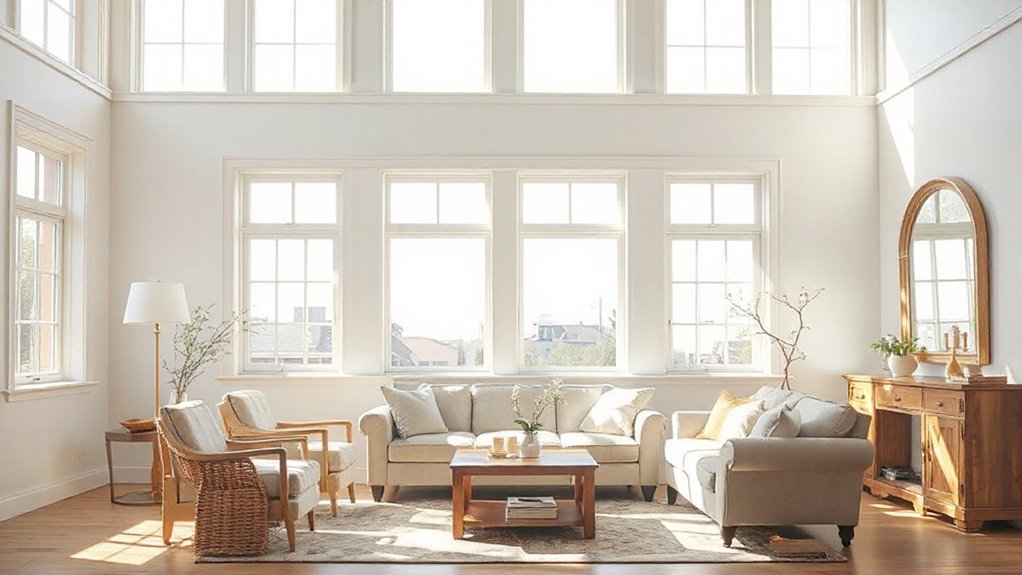
Maximize Current Doors and Windows for Brightness
Maximizing the light that already enters your space starts with evaluating and optimizing your current doors and windows. You’ll boost brightness by tweaks that respect structure and style, using practical steps you can trust.
- Inspect door thresholds and jambs for drafts; seal loose gaps to keep light steady and rooms warmer.
- Upgrade hardware and door sweeps to reduce obstruction while preserving charm, enabling cleaner, brighter surfaces.
- Choose door enhancements like reflective finishes or glass inserts where allowed to bounce more daylight.
- Optimize window treatments using sheer fabrics, light colors, and minimal framing to expand visible glass and minimize glare.
Door enhancements and window treatments aren’t cosmetic afterthoughts—they’re core brightness tools you can implement today.
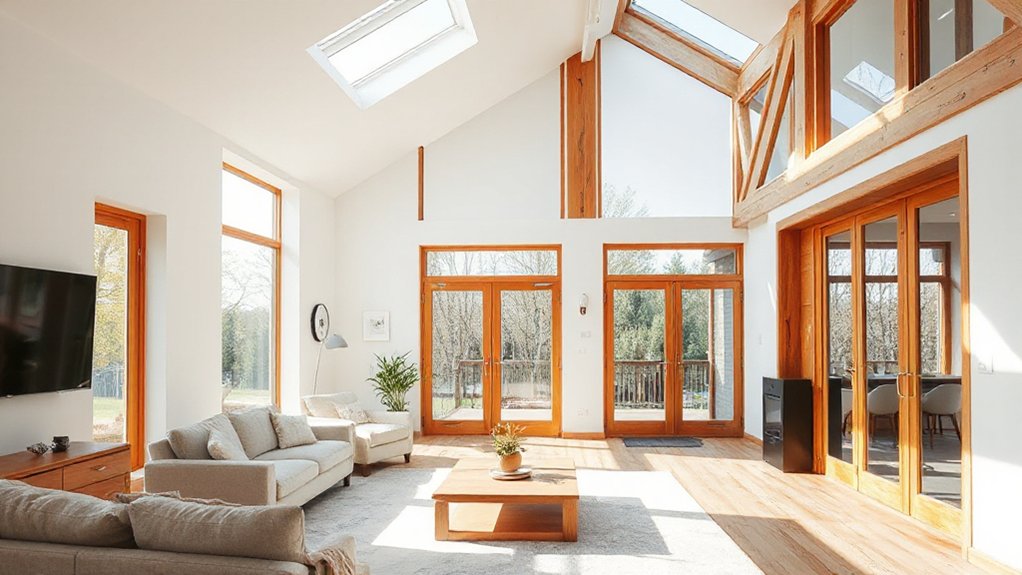
Add New Openings Without Compromising Structure
Creating new openings can boost light without weakening structure when you plan carefully. You’ll assess existing framing and confirm load paths before any cutting. Start with a structural engineer’s review to guarantee you choose safe locations and sizes.
Prioritize openings that don’t require excessive reinforcement, and consider header spans, jack studs, and anchorage details for long-term integrity. Structural reinforcement should be integrated into the design from the outset, not as an afterthought.
For every opening, select materials that suit both strength and aesthetics—timber, steel, or engineered wood can perform well with proper detailing. Material selection matters; use compatible sheathing, flashing, and insulation to prevent thermal bridging.
Plan discreetly, so new light feels natural and your space remains securely supported.
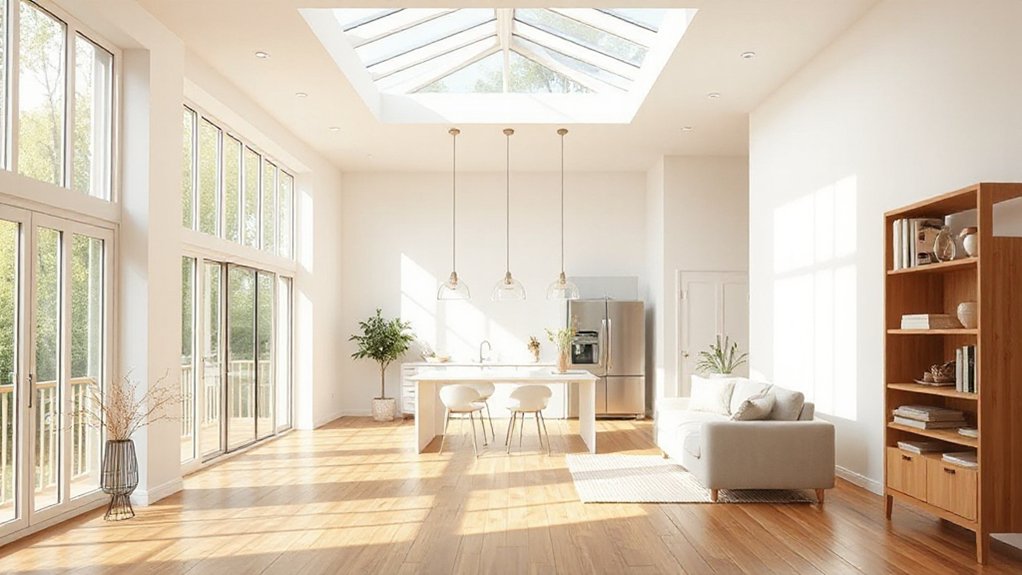
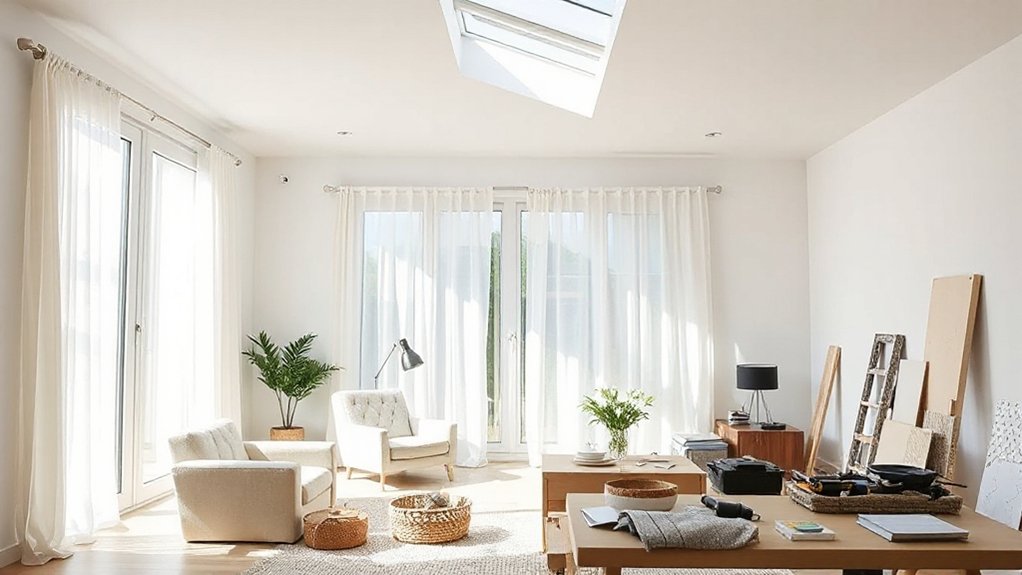
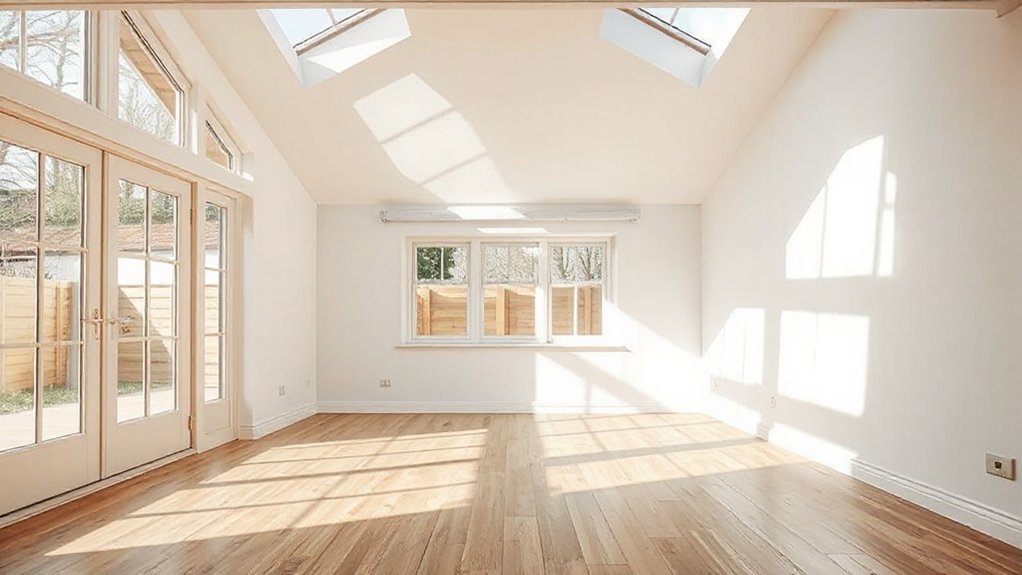
When to Add Skylights and Roof Windows
How do you know when to add skylights and roof windows? You assess light flow, climate, and your home’s rhythm. Plan skylight placement to maximize daylight without glare, and align roof window design with room use and eave height. Timing matters: install during phase where structure is open and framing is flexible, not after finishes.
- You notice rooms feel dim in the morning or afternoon and skim light from above helps.
- You’re renovating a space with high ceilings or a central stairwell where vertical light aids orientation.
- You’re expanding a roof terrace or exterior wall and want seasonal shading control.
- You need ventilation benefits without compromising insulation or weatherproofing.
Skylight placement and roof window design prioritize efficiency, balance, and belonging.
Choosing Glazing Options for Brightness and Efficiency
Prioritize thermal insulation to reduce energy waste without sacrificing brightness, choosing double or triple glazing as appropriate for your climate. Consider low-emissivity coatings that reflect infrared heat yet stay transparent to visible light, helping year-round comfort.
Pair glazing with thoughtful window treatments to modulate intensity and privacy when needed. Look for frames with airtight seals and proper drainage to prevent condensation and drafts.
Schedule installers who verify thermal performance, including U-values and solar heat gain coefficients. By combining quality glazing with sensible treatments, you create brighter rooms, controlled heat, and a cohesive sense of belonging in your home.
Glass Types That Maximize Interior Daylight
To maximize interior daylight, select glass types that prioritize high visible light transmission while minimizing glare and heat gain. You’ll shape spaces that feel open and inclusive by choosing options that balance brightness with comfort.
Glass textures and coatings can subtly control glare without dulling color or depth. Pairing these with practical furnishings keeps rooms welcoming.
- High-transmission glazing with low-maintenance coatings
- Clear or lightly tinted panes to preserve color accuracy
- Textured glass for diffused, even illumination
- Optional blackout curtains for controlled privacy without sacrificing daylight mood
Light-Reflective Interior Finishes That Amplify Daylight
You can boost daylight by choosing light-reflective finishes that bounce natural light deeper into rooms. Pair these with daylight-boosting palettes and mirror-smart surfaces to maximize brightness without extra lighting.
Start by testing finishes in small areas to confirm they enhance glare-free illumination and maintain color accuracy.
Light-Reflective Finishes
- Reflective paint on walls creates a soft, uniform wash that feels calm and welcoming.
- Light color ceilings bounce upward light, reducing perceived depth limits.
- Trim and molding in pale shades keep edges airy, avoiding heavy contrasts.
- Finishes with low luster prevent hotspots, sustaining even illumination all day.
Applied strategically, these finishes amplify daylight from windows and skylights, supporting a cohesive, belonging-focused home atmosphere.
Pair with clean lines, uncluttered surfaces, and breathable textures to sustain brightness without overpower.
Daylight-Boosting Palettes
Use light, neutral walls as a base and pair them with slightly lighter ceilings to keep sightlines airy. Introduce subtle color contrast through accents, textiles, and furniture to add warmth without absorbing light.
Prioritize materials with soft sheens and low glare to maintain a calm, welcoming atmosphere. Consider window treatments that maximize daylight while controlling glare—sheer fabrics, adjustable blinds, or woven shades that filter rather than block.
Test color interactions before committing; a well-balanced palette unifies spaces, inviting collaboration, comfort, and belonging throughout your home.
Mirror-Smart Surfaces
Could mirror-smart surfaces transform daylight merely by reflecting it deeper into rooms? Yes, you’ll feel the difference when glassy, light-awake finishes bounce more sunlight across corners, making spaces feel spacious and welcoming. You’ll choose mirror surfaces and smart surfaces that brighten without glare, balancing function with warmth.
- A glossy tile or polished plaster reflects light like a tiny window, elevating contrast and clarity.
- High-gloss cabinetry mirrors the ceiling, doubling perceived height and airiness.
- Aluminum or enamel-coated fixtures scatter daylight softly, reducing shadows.
- Strategic mirrors frame viewpoints, guiding you through the room with a cohesive glow.
Adopt these finishes to craft belonging, practicality, and a brighter mood throughout your home.
Color Strategies to Brighten Every Room
Bright colors and thoughtful neutrals can bounce light around a space, making rooms feel brighter without extra lamps. You’ll choose colors with intent, aligning hue, saturation, and brightness to the room’s natural exposure.
Color psychology matters: cool whites and warm neutrals can calm or energize, while lighter tints increase perceived openness.
When pairing tones, aim for consistent undertones to avoid jarring shifts; paint consistency across walls, trim, and ceilings helps reflect more light and reads as deliberate, not patchy.
Use semi-gloss or satin on trim to catch glow from windows without glare.
Test large swatches in multiple lighting conditions to confirm your choices.
Finally, document your palette and finish decisions for future updates, ensuring a coherent, welcoming environment that stays bright over time.
Floor Plans That Bounce Light Around the Home
To brighten a home, prioritize light-boosting circulation so daylight travels from room to room without dead zones.
Use reflective surface strategies—glossy floors, glass-tills, and light walls—to bounce illumination deeper into each space.
Plan clear sightlines and open progressions to keep natural light moving where you need it most.
Light-Boosting Circulation
Natural light can be amplified through smart circulation strategies that channel daylight from room to room. You’ll guide airflow and sightlines to maximize bounce, not glare, keeping spaces cohesive and welcoming. By prioritizing flow, you invite sunshine to travel through common zones and into tucked corners.
- Arrange doorways and hallways to create a zigzag path that redirects light from bright rooms toward shaded ones.
- Use open plan adjacencies with partial walls or glass transoms to maintain privacy while letting light flow.
- Integrate skylights or clerestories where possible to feed upper-level illumination downward.
- Pair with controlled artificial lighting and window treatments to balance brightness without sacrificing mood.
This approach fosters belonging, practicality, and precision in every step you take toward brighter rooms.
Reflective Surface Strategies
Opt for reflective surfaces that amplify natural brightness, like light-wood tones, porcelain, or polished concrete that refracts rather than absorbs. Avoid heavy finishes that dull glow; instead, lean into surface treatments that soften shadows while preserving clarity.
Position mirrors and glass panels to extend sightlines and redirect rays toward dim corners, creating a cohesive, welcoming feel. Consider skylights or clerestory windows paired with light-reflective ceilings to maximize overhead light.
This approach helps every room feel more open and connected, reinforcing a sense of belonging through brighter, balanced spaces.
Daylight-Friendly Shading for Year-Round Control
Daylight-friendly shading balances glare reduction with ample natural light, enabling consistent interior brightness across seasons. You’ll master year-round comfort by tailoring shade depth and angles to how you live.
- Shadow zones map: note where sun hits most and place shading to protect those spots without dimming the entire room.
- Solar shading choices: louvered screens, roller shades, and light-dan fabrics adapt to sun height.
- Seasonal tuning: adjust slats with changing sun angles for steady brightness from dawn to dusk.
- Connection between indoors and ambiance: lightweight controls foster a sense of belonging and effortless flow.
This approach minimizes heat gain, preserves views, and keeps spaces welcoming, practical, and visually calm.
Outdoor-To-Indoor Connections That Invite Light
You’ll optimize light by creating light-friendly outdoor passages that blur the line between exterior and interior.
Let your spaces maintain an uninterrupted visual flow, so daylight travels from porch or deck straight into living areas.
Use low-profile thresholds, glass doors, and aligned materials to sustain brightness without clutter.
Light-Wriendly Outdoor Transitions
Outdoor shifts should welcome light without sacrificing insulation or weather protection. You can craft seamless passages that invite daylight while keeping outdoors aligned with indoors. Focus on human-scale connections, scenting and sounds that invite you outside and back in.
Here are practical steps:
- Design a covered threshold that buffers drafts yet lets sun through.
- Choose glazing and frames that blur the indoor/outdoor line with minimal mullion presence.
- Integrate outdoor privacy and landscape integration so greenery mediates light and sightlines.
- Use color, texture, and furniture to create a cohesive flow from door to living spaces.
These moves foster belonging by extending the home’s glow, reinforcing a calm, integrated environment.
Indoor-Outdoor Visual Flow
How can you craft a seamless visual corridor that pulls light from outside into every interior room? You design sightlines that connect outdoor living zones with interior spaces, using transparent or lightly shaded partitions, and aligned windows. Prioritize unobstructed egress from outdoors to indoors, so daylight travels unimpeded through the core of your home.
Use large, thoughtfully placed glazing, skylights, and reflective surfaces to bounce light deeper, while keeping privacy in mind. Consider outdoor screens, frosted glass, or smart glass to balance indoor privacy with openness.
Plan artificial lighting to reinforce daylight when needed, avoiding harsh contrasts. Align furniture and finishes to maintain a cohesive rhythm, ensuring every room feels inviting, connected, and inclusive—a practical, breathable flow that strengthens belonging.
Budget-Friendly Daylight Upgrades That Deliver Value
To upgrade daylight without breaking the bank, start with simple, high-impact changes that brighten rooms and boost energy efficiency. You’ll feel empowered and part of a smarter home community as you upgrade thoughtfully. Focus on affordable upgrades that deliver real value.
- Energy efficient windows: swap single panes for double or add low-emissivity glass to cut glare and heat loss.
- Interior plant placement: group tall and trailing plants to reflect light and soften shadows near bright walls.
- Light-reflective finishes: choose crisp white or light neutrals with satin finishes to amplify natural glow.
- Window treatments: install sheer panels or adjustable blinds to modulate sun without dimming rooms.
DIY Daylight Upgrades vs. When to Hire a Pro
You’ll want to weigh what you can safely handle against what truly benefits from a pro’s expertise.
If DIY daylight upgrades exceed your skills—structural work, electrical, or proper framing—bring in a professional.
For simple, non-load-bearing tasks, you can start small but know your limits and plan for a pro when complexity or safety factors rise.
DIY Daylight Limits
When considering DIY daylight upgrades, know your limits before you lift a saw or drill a hole. You’ll get stronger results by choosing projects that you can safely handle and knowing when to pause and call in a pro.
- Assess framing and load-bearing decisions before you cut a single stud.
- Check local codes and permits that control daylight changes and glass types.
- Prioritize airtight efficiency to prevent drafts and moisture issues.
- Align projects with Sunlight scheduling and seasonal shading to avoid glare and heat spikes.
If the plan requires structural changes, electrical moves, or complex glazing, hire a pro. You’ll protect your space, toning the light to feel welcoming and inclusive for everyone who belongs there.
Pro Hiring Triggers
Even small daylight upgrades can stay DIY, but certain signs point to calling in a pro. You’ll know it’s time when measurements or angles don’t align, or when daylight goals clash with historic preservation constraints.
If you’re modifying structural elements, need to reroute electrical, or pursue complex skylight integration, a licensed pro protects safety, code compliance, and your investment.
Pro involvement prevents interior acoustics problems—unintended echoes, glare, or sound transmission—especially in tight spaces or historic interiors.
When multiple rooms share daylight goals, or when seasonal shading impacts feel intentional rather than incidental, enlist a specialist for consistent outcomes.
Choose firms with clear processes, transparent pricing, and respect for your building’s character. You’ll gain confidence, faster results, and a brighter, cohesive home.
Assess Structural and Energy Implications of Daylight Upgrades
Evaluating the structural and energy implications of daylight upgrades starts with a clear plan: confirm that new openings won’t compromise framing, load paths, or moisture management, and then quantify energy savings from improved natural light. You’ll balance aesthetics with safety, honoring Historical preservation while pursuing Modern efficiency.
You’ll sketch reinforcement needs and coordinate with a structural engineer early, ensuring Structural reinforcement is seamless. Then you’ll model simple, material-efficient changes that maximize daylight without overloading exists.
- Visualize load flow as daylight threads guiding your upgrades
- Map moisture barriers around new openings to prevent hidden rot
- Align glazing choices with insulation to cut drafts
- Schedule reviews with trades to keep the project cohesive
Measure Daylight Gains and Set Benchmarks
Begin with a baseline using a simple light meter and simple, repeatable tests—no guesswork. Define target lux levels for living spaces, kitchens, and work zones, plus comfort criteria like evenness and color rendering.
Compare results after upgrades to quantify gains from daylight. Establish time-based goals: morning, noon, and late afternoon.
Use lighting fixtures and artificial illumination as complementary tools to maintain consistent brightness when daylight wanes.
Document methods, assumptions, and outcomes so future renovations stay aligned with your comfort and belonging goals.
Frequently Asked Questions
How Can I Assess Daylight Potential Quickly?
You assess daylight potential quickly by measuring window exposure and asking about room use, orientation, and shading. Consider color contrast and window placement; pair bright surfaces with strategic glazing to boost perceived daylight and create a welcoming, inclusive space.
What Budget Range Suits Daylight Renovations?
You’ll budget roughly $5,000–$40,000 depending on scope, prioritizing lighting design and window placement; start with simpler fixes like skylights or transoms, then upgrade glazing. This keeps you connected, practical, and confident in your brighter home.
Which Rooms Benefit Most From Daylight Upgrades?
You’ll see the most benefit in living rooms, kitchens, and bedrooms. Use interior colors that reflect light and maximize brightness, and choose window treatments that control glare while preserving daylight. This creates a welcoming, cohesive, daylight-friendly home.
Are Skylights Worth the Maintenance Costs?
Skylights can be worth it if you value daylight; weigh maintenance costs against energy and comfort gains. Consider window placement and roof modifications to optimize glare control and insulation, ensuring your space feels belonging, bright, and efficiently lit.
How Do I Avoid Glare After Upgrades?
Yes, you’ll curb glare by layering interior lighting and choosing window treatments. You’ll diffuse, not slice, sunlight while maintaining brightness. Position fixtures, use dimmers, and apply blackout or light-filtering coverings for comfortable, collective living spaces.
Conclusion
You’ve mapped the sun’s path, trimmed constraints, and boosted brightness without breaking the bank. Think of daylight as a friendly neighbor: present, steady, and uplifting when you welcome it. With practical tweaks and smart choices, your space breathes easier, feels bigger, and wastes less energy. Stay disciplined about measurements and benchmarks, then celebrate the glow you’ve invited in. The result isn’t just lighter rooms—it’s a brighter, more efficient living rhythm you can live with.