
Shut Off Breaker Power to the Honeywell Thermostat
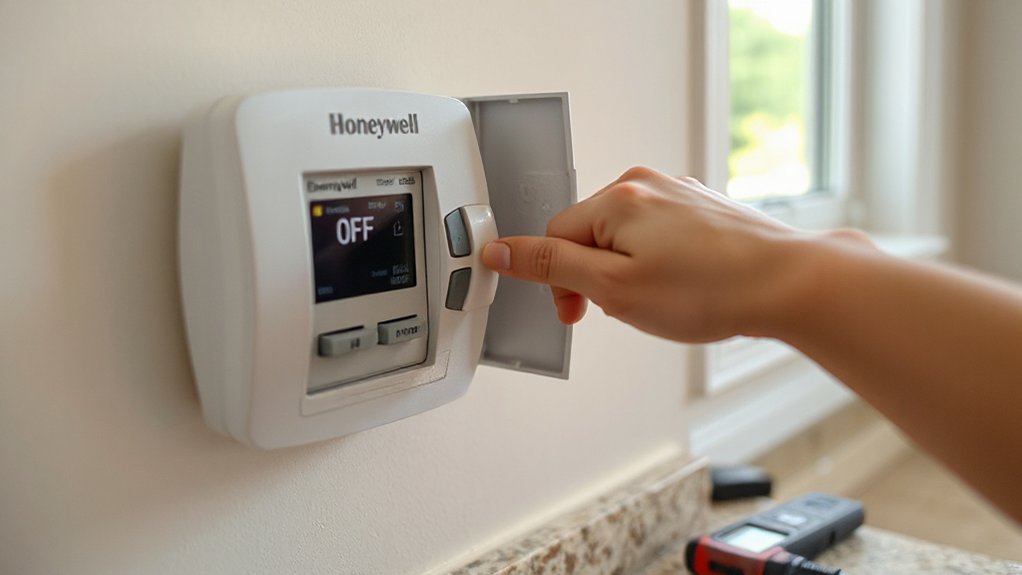
Before you touch the thermostat or its wiring, shut off power at your home’s breaker panel to eliminate shock risk and prevent accidental shorting. Locate the HVAC/air handler and furnace breakers, then switch them fully to OFF; if labels are unclear, shut off the main. Verify the thermostat screen is blank and the system won’t start by raising and lowering setpoints—don’t treat thermostat calibration as a power test. Use a non-contact voltage tester at the thermostat base or nearby low-voltage bundle to confirm zero voltage. If you’re doing DIY troubleshooting, also disable the service switch at the furnace if present. Lock out the panel or tape the breakers to prevent re-energizing while you work.
Confirm Your Honeywell Model and Mounting Style
Once you’ve verified the power is off, identify your exact Honeywell thermostat model and how it mounts so you don’t pry on the wrong latch or pull on live wires. Look for the model number on the display bezel, inside the battery compartment, or on a label along the bottom edge. If you can’t see it, check the user manual or Honeywell Home app pairing screen for Model identification.
Next, confirm the mounting style: snap-on faceplate over a wall plate, hinged cover, or a slide-off body on a dock. Inspect the perimeter for release slots, set screws, or side tabs, and note their locations. Compare what you see to the manual’s Mounting techniques diagram before applying any force. Document wire terminal labels with photos for reassembly.
Pop Off the Honeywell Thermostat Faceplate Without Breaking Clips
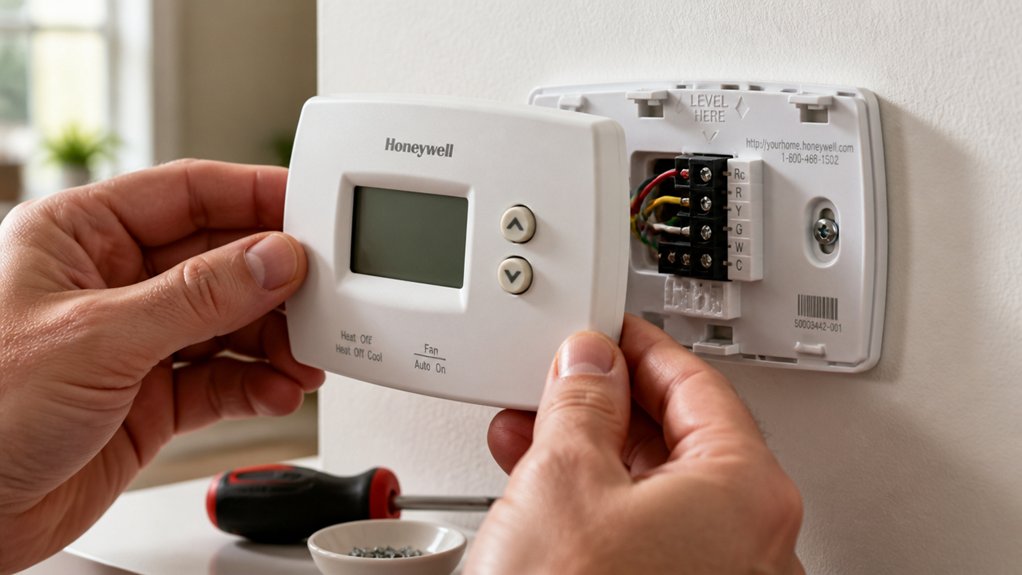
With the model and mounting style confirmed and your wire labels photographed, you can remove the Honeywell faceplate using the release points you identified instead of forcing the housing. Cut power at the HVAC breaker to prevent shorting internal contacts, then steady the wall plate with one hand. Insert a small flat screwdriver or plastic spudger into the release slot or notch, keeping the tool parallel to the wall. Apply gentle outward pressure until you feel the clip disengage, then move to the opposite side and repeat. If it won’t budge, stop and reassess for hidden tabs or side latches—this prevents broken clips and reduces Troubleshooting issues later. Lift the faceplate straight off, avoiding twisting. Set it aside for Aesthetic replacement or inspection without stress.
Photograph, Label, and Disconnect Thermostat Wires Safely
Why trust your memory when a quick photo can prevent a wiring mistake? With the faceplate off, confirm power is still off at the breaker. Take a straight-on photo of the terminal block, then a close-up that shows each wire color and letter. If the thermostat has jumpers or unusual connections, photograph those too.
Next, perform wire labeling: wrap numbered tape or preprinted tags around each conductor and match it to its terminal letter (R, C, W, Y, G, etc.). Don’t rely on wire colors. Follow safety precautions by avoiding contact with exposed copper and keeping wires separated. Loosen each terminal screw or release each spring clamp, then pull the wire out by its insulation, not the copper. Immediately bend each wire into a hook or tape it to the wall so it can’t slip back inside.
Unscrew and Remove the Honeywell Thermostat Base Plate
After you’ve secured and labeled every conductor, remove the Honeywell base plate by backing out the mounting screws that anchor it to the wall or junction box. Support the plate with your free hand so it doesn’t drop and tug wires. If screws bind, turn them counterclockwise slowly to avoid cracking drywall or stripping anchors. Pull the base straight out; don’t twist, since that can bend terminals or nick insulation. Confirm no bare copper is exposed and cap unused conductors. If the plate has a level bubble, note its position for accurate reinstallation and Temperature calibration later. Remove any wall anchors if you’re patching. Before storing the thermostat, complete Battery replacement if the model uses cells, and keep screws together in a labeled bag.
Frequently Asked Questions
Will Removing My Honeywell Thermostat Erase Schedules or Wi‑Fi Settings?
Removing your Honeywell thermostat usually won’t erase schedules or Wi‑Fi settings, unless you factory-reset it. Step-by-step: cut power, detach gently, note wiring. Reinstall, confirm thermostat calibration. If offline, perform Wi Fi reconfiguration.
Do I Need to Shut off HVAC Power at the Furnace as Well?
Absolutely—kill power at the furnace too, or you’re begging for sparks. For HVAC safety, switch off breaker and furnace service switch. Verify zero voltage at R-C. Then detach wiring carefully; label leads for thermostat compatibility.
Can I Patch and Paint the Wall Holes After Removing the Thermostat?
Yes, you can patch and paint the holes. First, shut off HVAC power, confirm wires are capped, then fill holes with spackle for wall patching. Sand smooth, prime, then apply matching paint touch up.
What Should I Do if the Thermostat Contains Mercury or Special Disposal Requirements?
If it contains mercury, don’t trash it. Follow Mercury safety: keep it upright, avoid breakage, ventilate if damaged. Use Disposal procedures: seal in a bag, label it, take it to hazardous-waste collection.
How Do I Reconnect the Thermostat After Reinstalling or Replacing It?
Reconnect power off: match Thermostat wiring labels to terminals, tighten screws, mount base, snap faceplate. Restore power, run setup, test heat/cool/fan. If gaps remain, finish Wall patching. Consult manual if errors.
Conclusion
You’ve safely removed your Honeywell thermostat by cutting breaker power first, then confirming the model and mount style. Next, you popped the faceplate off gently to protect the clips, photographed and labeled each wire, and disconnected them one at a time. Finally, you removed the mounting screws and lifted off the base plate. Treat every conductor like a sleeping snake: handle it carefully, keep wires separated, and cap them if needed before restoring power.