
Plan Your Ceiling LED Strip Layout (Perimeter vs Cove)
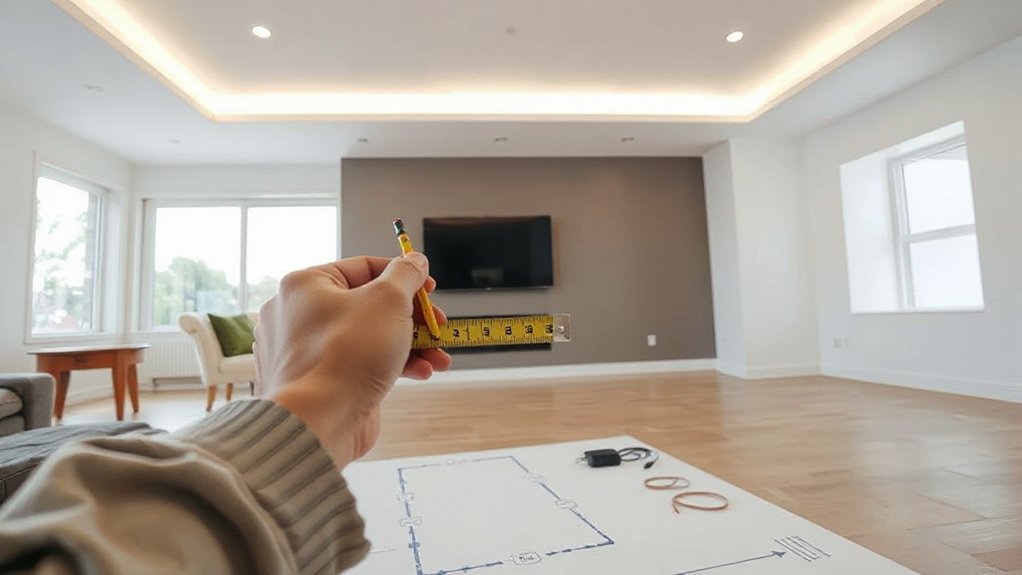
Before you buy strip length or a power supply, map the ceiling run and choose between a perimeter install (strips mounted along the room’s outer edges for a crisp outline) and a cove install (strips hidden in a ledge/valance to bounce light off the ceiling for softer, glare-controlled illumination). Measure each leg, note corners, and plan cable paths to a listed driver location with ventilation and service access. For perimeter, keep setbacks consistent so the line reads straight from typical viewing angles. For cove, verify the ledge depth and throw distance so the ceiling washes evenly without hotspots. Select color temperature to match adjacent luminaires and finishes. Estimate required strip brightness by room use and surface reflectance, and confirm dimming method compatibility and control zoning. Document cut points and connector locations.
Pick the Right LED Strips and Diffuser Channels
With your ceiling run, corner count, and driver location mapped, you can now choose LED strips and diffuser channels that meet your lighting goals and install constraints. Start by selecting a strip voltage and PCB width that fits your profile and allows safe, code-compliant mounting. Choose high-CRI (90+) strips for accurate color rendering, and match Color temperature to the room: 2700–3000K for warm living areas, 3500–4000K for neutral task zones, 5000K+ for crisp utility spaces. If you’ll dim, confirm the strip’s compatibility with your control type. Then pick diffuser channels that suit the aesthetic: shallow channels reduce bulk, deeper lenses improve dot-free uniformity. Use aluminum channels for heat spreading and specify UV-stable lenses near sunlit windows.
Measure Runs and Size the Power Supply Correctly
Measure each ceiling run and add up the total strip length so you can determine the full watt load at the specified volts-per-foot (or meter). Then choose a listed, code-appropriate power supply that matches your strip voltage and provides headroom (typically 20–30%) for thermal limits and long-term reliability. If your runs are long, you’ll also plan for voltage drop with shorter feed lengths, power injection, or multiple supplies to keep brightness uniform.
Calculate Total Strip Length
Once you’ve mapped the ceiling route, total the strip length by adding each continuous run (including corners and vertical drops) and then add a small allowance for cut points and connector gaps so you don’t come up short. Measure along the mounting line, not the wall, and account for coves, soffits, and any return legs. Keep bends within the manufacturer’s minimum radius; strip flexibility varies by PCB width and IP rating, so tighter corners may require angled channels or jumper leads. Confirm your planned cut increments (for example, 50 mm or 100 mm) and round up to the next cut mark. If you’re mixing zones by color temperature, calculate each zone separately so lengths match your lighting layout and control plan. Record totals in feet and meters for ordering accuracy.
Choose Correct Power Supply
Because LED strips draw current continuously, you need to size the driver from your measured run lengths and the strip’s watt-per-foot (or watt-per-meter) rating, then add headroom so it doesn’t run hot or fall out of regulation. Multiply length by W/ft, then choose a constant‑voltage UL‑listed driver (12V or 24V) rated at least 20–30% higher than your calculated load. Confirm the driver matches your dimmer/control type and that its output voltage tolerance suits the strip to prevent flicker and color shift that can skew Color temperature. Keep runs within voltage‑drop limits; if needed, inject power or split circuits. For energy efficiency and code compliance, select high‑efficiency drivers, provide ventilation, and follow NEC/CEC Class 2 limits where applicable.
Plan Controller, Dimmer, and Power-Injection Points
Before you stick anything to the ceiling, map where the LED controller, dimmer, and power supply will live and where you’ll inject power so voltage drop doesn’t cause color shift or dim sections. Prioritize controller placement near an accessible junction or service bay, and keep it within the manufacturer’s max lead length to the strip. Confirm dimmer compatibility: match PWM vs analog, single-color vs RGB/RGBW, and verify the dimmer’s load rating and voltage align with the driver and strip. For long runs, plan power injection every 3–5 m (12 V) or 5–10 m (24 V), depending on current draw and conductor size. Route low-voltage cabling separately from line voltage per code, and label injection points for commissioning and future maintenance.
Gather Mounting Clips, Channels, and Connectors
With your controller, dimmer, driver, and power-injection locations mapped, spec the mechanical hardware that’ll keep the strip straight, serviceable, and code-compliant. Choose mounting options that match heat load and access: aluminum channels (surface, recessed, corner) improve thermal management and diffusion, while also protecting the PCB. Verify channel width fits your strip and any silicone sleeve.
Select clip types based on substrate and service needs: snap-in channel clips for removability, low-profile screw clips for direct strip runs, and adhesive-backed clips only where permitted by temperature rating. Use listed fasteners when required and keep penetrations clear of concealed wiring zones. Gather connectors sized for your strip’s voltage and width: solderless corners, jumpers, and pigtails, plus strain reliefs and end caps for a finished, protected run.
Clean and Prep the Ceiling for Strong Adhesion
Even if you’re using aluminum channels and screw clips, you should prep the ceiling like the strip’s adhesive has to carry the load. Start by identifying ceiling texture and surface paint type; adhesives bond poorly to chalky, glossy, or peeling coatings. Patch defects, then sand lightly to degloss and level high points without exposing asbestos-era materials; follow local abatement rules if the building is pre-1980. Vacuum dust and wipe with 70% isopropyl alcohol on a lint-free cloth; don’t use ammonia cleaners that can leave residue. Let the ceiling dry fully and keep RH below ~60% for predictable tack. If surface paint is porous or friable, apply a compatible bonding primer and cure per label. Mask adjacent finishes.
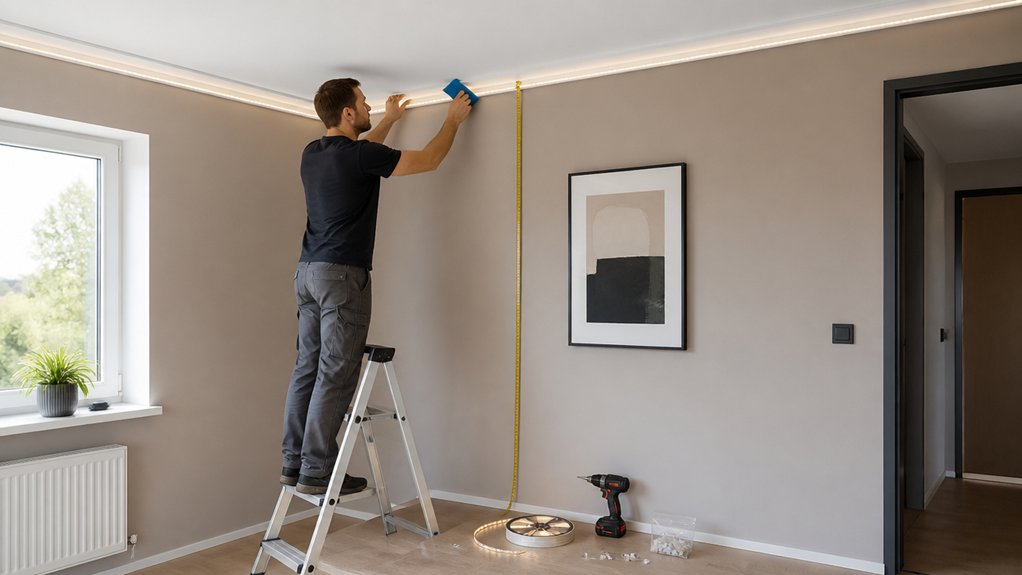
Install LED Strip Lights on the Ceiling Edge
A clean, fully cured ceiling gives you the tack and mechanical bite you need to mount strips neatly along the perimeter. Snap a level reference line 10–20 mm off the wall to hide diodes and create smooth ambient lighting. Dry-fit the reel, confirm the controller and power-supply location, and verify the driver is Class 2/SELV where required by code. Peel the backing gradually, press the strip to the line, and apply firm, even pressure for 30–60 seconds per section. Add low-profile mounting clips every 300–500 mm, especially near HVAC registers or textured paint. Keep leads strain-relieved and away from sharp edges. Power up, test dimming and color customization, then finalize cable management with listed raceway or compliant concealment.
Make Clean Corners, Cuts, and Gap Bridges
To keep your ceiling run compliant and visually continuous, you’ll plan each corner turn before you stick anything down, using rated corner connectors or controlled bends that don’t exceed the strip’s minimum bend radius. You’ll cut only on the manufacturer’s marked cut lines, square the ends, and confirm polarity and voltage matching before you reconnect. When you hit gaps at joints or obstacles, you’ll bridge them with properly sized, insulated jumper wire in a protected path so the light line stays clean and consistent.
Plan Corner Turns
Before you stick anything up, map every inside corner, outside corner, and ceiling break so the strip never has to twist past its bend radius or bridge a gap unsupported. Mark turn points with painter’s tape, then verify your path clears crown molding profiles, vents, and sprinkler heads per local code and NFPA 13/72 where applicable. Use corner routing options that preserve photometrics: plan a gentle sweep on flexible strips, or a rigid 90° change using approved corner connectors or channel elbows that keep LEDs aimed consistently at the wall wash. Keep power feeds and controllers accessible; your remote controls should reach the receiver without being buried behind metal channel. Confirm color temperature continuity through each turn so corners don’t read as shifts.
Cut Strips Precisely
With your corner points and clearances marked, you can start cutting the strip so each run lands exactly on a factory cut line and keeps the LED pitch consistent through corners and across breaks. Use flush cutters or a sharp shear, not scissors, and cut square across the copper pads to protect trace integrity. Confirm the strip’s voltage and cut interval (typically 25–100 mm) so you don’t create an unlisted segment length or uneven spacing. Dry-fit each piece against your ceiling layout, then recheck polarity marks before you remove adhesive backing. When you plan LED strip brightness, avoid trimming mid-cluster, which can cause visible scalloping and hotspotting at corners. Match Color temperature options across all spliced runs so progression don’t read as tint shifts under painted surfaces.
Bridge Gaps Neatly
Although your strip runs may line up on paper, real ceilings introduce breaks at corners, trim, vents, and driver shifts, so you’ll need clean gap bridges that preserve voltage, polarity, and a continuous light line. For inside corners, don’t kink the tape; cut at marked pads, then use UL-listed corner connectors or soldered jumpers with heat-shrink for strain relief. Keep jumpers short and sized for current to limit voltage drop and color shift across the run, which can skew perceived color temperature. For small gaps over joints or molding, bridge with 18–22 AWG stranded wire and mount the bridge in a shallow channel for a crisp shadow line. Repress the tape firmly, and back it up with clips where adhesive strength may weaken. Maintain polarity marks throughout.
Power On, Hide Wires, and Troubleshoot Problems
Once the strip is mounted, how do you power it on cleanly without creating a code-risky tangle of cables? Mount the UL-listed driver in an accessible, ventilated spot, not buried in insulation, and keep line-voltage connections inside an approved junction box. Route low-voltage leads through raceway or paintable cord channel, then caulk gaps for a crisp ceiling line. Add wireless control so you don’t fish extra switch legs, and use dimming schedules to boost energy efficiency. Before you energize, verify polarity, connector seating, and that your supply voltage matches the strip. If sections flicker, check voltage drop and add a parallel feed. If a segment is dark, test continuity, re-solder pads, and replace damaged clips. Reset controllers last.
Frequently Asked Questions
What Color Temperature Is Best for Bedrooms Versus Kitchens?
Choose 2700–3000K for bedrooms to support rest and mood lighting; you’ll get warmer color options. Choose 3500–5000K for kitchens for accurate task visibility. Prefer high CRI, dimmable, and UL/ETL-listed fixtures for compliance.
Can LED Strip Lights Attract Insects or Cause Headaches?
Yes—like a cool beacon in dusk, you may draw bugs; Insect attraction rises with blue-rich light. You can trigger Headache causes via glare or flicker; choose IEC 62471 compliant, low-flicker strips, diffuse.
Are Ceiling LED Strips Safe to Leave on Overnight?
Yes, you can leave ceiling LED strips on overnight if they’re UL/ETL-listed, properly rated, and ventilated. You should schedule LED strip maintenance and inspect drivers. Consider Battery operated options for emergency lighting, with timers and dimming.
How Do I Sync Ceiling LED Strips With Smart Home Voice Assistants?
You sync ceiling LED strips by pairing a compatible Wi‑Fi/Zigbee controller in your hub app, enabling voice control via Alexa/Google/HomeKit, then configuring automation features. Use UL/CE-listed components, secure firmware updates, and logically group zones.
Do LED Strips Increase Electricity Bills Significantly?
Like a feather on your power meter, LED strips don’t raise bills much. Your energy consumption stays low; run watts × hours, then do a cost comparison to kWh rates. Use UL/CE-listed drivers, dimming controls.
Conclusion
You’ve planned the layout, sized the power supply, and installed your strips with proper channels, corners, and wire management—now finish like a pro. Verify polarity, test dimming, and confirm your driver/controller stay within rated load and ventilation limits. Secure low-voltage wiring per local electrical code, and keep any mains connections in an approved enclosure. Consider this: lighting can represent about 15% of a home’s electricity use—so efficient LEDs and controls pay off.