
Think of your basement like a fortress you can’t see from the outside. You’ll want a precise plan that combines exterior barriers, interior controls, and reliable drainage. Each method—drainage, membranes, crack repair, grading—must work in concert to keep moisture out and humidity in check. Start with a solid assessment, then map a stepwise approach that fits your home’s layout and climate—but know you’ll face tradeoffs and maintenance that demand upfront clarity. Stay with me as we outline the essentials.
Diagnosing Basement Moisture: Where Leaks Come From
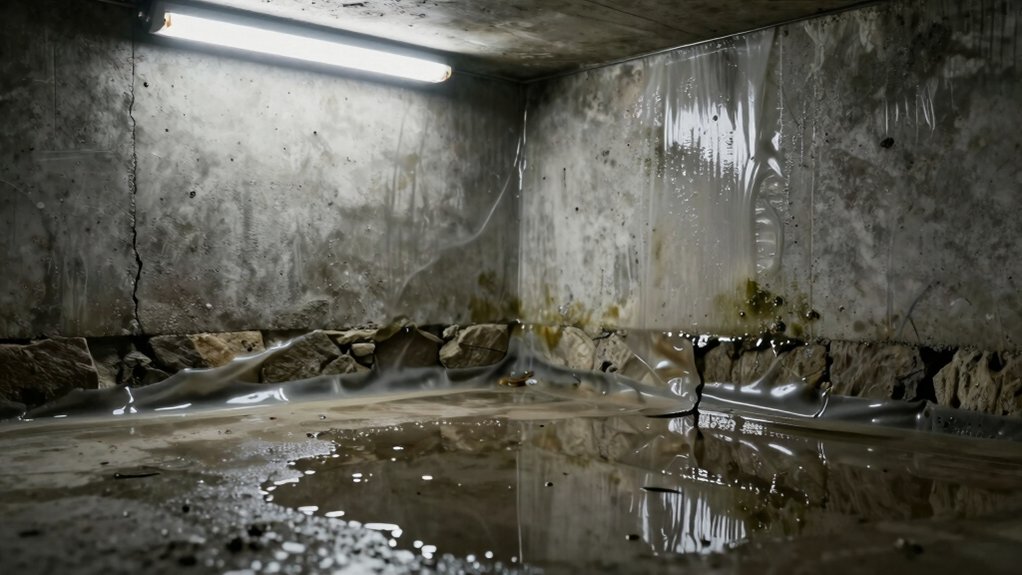
Basement moisture leaks originate from several predictable sources, and identifying them quickly helps focus remediation efforts. You’ll narrow the field by evaluating how water enters: capillary rise through porous concrete, hydrostatic pressure driving groundwater inland, and surface infiltration around foundation joints.
Check for exterior runoff failures that channel water toward the wall, then inspect interior plumbing for leaks that manifest as persistent damp spots or staining. Track patterns over time to distinguish intermittent condensation from active leaks.
Monitor basement humidity levels with calibrated sensors to establish baseline and detect anomalies, supporting leak detection decisions. Note that mold risk escalates when relative humidity remains above 60 percent for extended periods.
Document findings with dates, measurements, and visual evidence to guide targeted mitigation strategies.
Exterior Waterproofing: Barriers That Stand Up to Weather
Exterior waterproofing relies on weather-resistant barriers, proper soil-drainage interaction, and durable wall armor materials to maintain a dry basement.
You’ll evaluate how each barrier resists moisture, how drainage guides water away from foundations, and how armor materials withstand impact and weathering.
This discussion sets the framework for selecting systems that integrate barriers, drainage, and protective coatings for long-term performance.
Weather-Resistant Barriers
Weather-resistant barriers (WRBs) form the primary exterior defense against water intrusion. You install WRBs to seal the wall assemblies beneath siding or cladding, preventing vapor transmission and bulk water entry.
Select materials with compatible shear strength, weather resistance, and drainage channels that direct water to flashing. Ensure proper detailing at joints, penetrations, and terminations to maintain continuity under wind-driven rain.
Install over solid sheathing, with fasteners and flashing aligned to manufacturer specifications. Use a continuous air barrier to reduce pressure differentials that drive moisture inward.
Incorporate basement insulation planning alongside WRBs to minimize thermal bridging. Integrate moisture sensors in critical zones to monitor performance and detect leaks early, enabling rapid remediation before interior damage occurs.
Maintain documentation for inspection and future retrofits.
Soil-Drainage Interaction
Soil-drainage interaction governs how exterior waterproofing systems handle hydrostatic pressure and water runoff around the foundation. You assess soil stability to predict settlement risks that alter drainage paths and shear stresses on barriers. Effective drainage planning minimizes perched water tables and concentrates flow away from critical contact zones, reducing uplift and buoyancy forces on membranes.
You design with soil permeability in mind, selecting backfill blends and granular fills that promote steady, laminar drainage. You coordinate slope, trenching, and drainage lines to maintain continuous relief from the foundation edge, preventing stagnation.
You verify that subgrade moisture variations won’t compromise barrier adhesion or introduce differential movement. Finally, you document criteria for maintenance, inspection intervals, and performance metrics to sustain long-term exterior protection.
Wall Armor Materials
Wall armor, the exterior barrier system, relies on durable materials that resist moisture, temperature cycles, and physical impact while maintaining adhesion to the foundation. You select wall armor materials based on permeability, elongation, and UV resistance to endure outdoor exposure.
Fiber-reinforced polymers and modified asphalt membranes provide high tensile strength and resilience against cracking, while cementitious coatings offer rigid protection with capillary control.
Confirm compatibility with substrate primers to prevent delamination and preserve adhesion over time. Material durability hinges on low vapor transmission, resistance to freeze-thaw cycles, and sustained performance under shifting soils.
Apply continuous, defect-free layers with proper detailing at joints, edges, and penetrations. Maintain inspection schedules to verify cohesion, inspect for microcracking, and validate long-term moisture exclusion.
Wall armor delivers dependable, durable exterior defense against weather.
Interior Waterproofing Strategies: Stopping Moisture at the Source
Interior waterproofing focuses on stopping moisture before it penetrates finished spaces by treating the source at the interior. You implement a systematic approach that targets infiltration points, controls humidity, and isolates moisture paths.
Begin with air and vapor barriers integrated into walls and slabs, then install drainage castings and sump arrangements where necessary to manage hydrostatic pressure from within the basement envelope.
Closely monitor relative humidity and temperature to prevent condensation on cold surfaces. Install suitable coatings or interior paint compatible with the wall materials to form a durable vapor seal without trapping moisture.
Ascertain foundation vents remain clear to support passive drying in external-wall joints, and routinely inspect for gaps or breaches in sealants.
Document performance metrics and schedule periodic rechecks after weather events or remodels.
Crack Repair Methods for Concrete Foundations
You’ll evaluate crack injection options to seal foundations effectively, weighing hydraulic epoxy against polyurethane for long-term movement control.
You’ll compare foundation crack prep requirements, surface preparation, and application sequencing to guarantee a reliable bond.
You’ll approach the choice with a focus on site conditions, cure times, and compatibility with existing waterproofing systems.
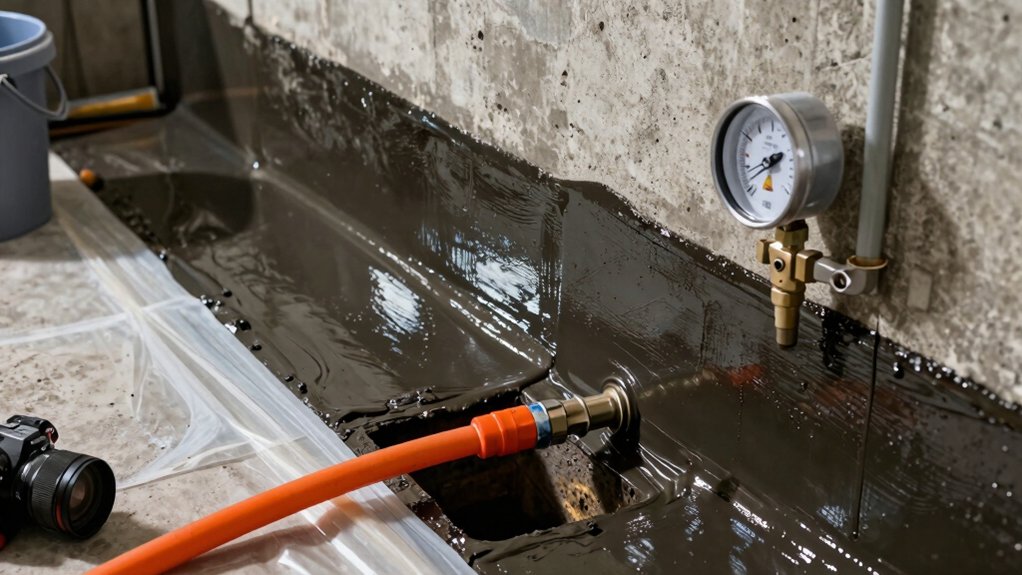
Crack Injection Options
Crack injection is a proven, minimally invasive method for restoring the continuity of concrete foundations. You apply targeted materials to seal and structurally restore cracks, preventing moisture ingress and future movement.
First, assess crack width, orientation, and access; select an appropriate sealing strategy. Crack sealing typically involves surface preparation, epoxy or polyurethane selection, and precise sealing passages to ensure a uniform bond.
Injection techniques vary by crack characteristics: low-pressure injection for fine seams, high-pressure for larger fissures, and dual-component systems when bond strength and stiffness are required.
Control joints, conduits, and voids are addressed to maintain integral continuity.
Execution emphasizes clean surfaces, proper mix ratios, and thorough cure planning to minimize rebound and guarantee long-term performance.
Hydraulic Vs Polyurethane
When choosing between hydraulic cement and polyurethane for crack repair in concrete foundations, it’s vital to match material properties to crack characteristics and service conditions.
Hydraulic cement reacts rapidly to form a rigid seal, excels in stopping active water flow, and resists hydrostatic pressure. However, it can be brittle under movement.
Polyurethane offers flexible sealing, bonds well to damp surfaces, and accommodates structural shifts without loss of seal. Though it relies on adequate surface preparation and sufficient access for injection.
Consider crack width, width variability, and exposure level; hydraulic cement suits small, consistently active leaks, while polyurethane foam adapts to wider, changing cracks.
Evaluate installation logistics, cure times, and downstream effects on drainage, ensuring compatibility with existing crack patterns and anticipated hydraulic pressure.
Foundation Crack Prep
Foundation crack prep sets the stage for effective repair by ensuring the substrate is ready for bonding and sealing. You assess crack geometry, temperature, and moisture, and establish a dry, clean surface compatible with selected repair materials. Remove loose concrete, dust, and old sealant, then degrease if needed to optimize adhesion.
For static cracks, assess movement potential; for dynamic cracks, plan for flexible backing. Use a moisture barrier where porosity is high, and prime with an appropriate bonding agent to improve cohesive strength.
Apply appropriate crack repair materials—epoxy or polyurethane injections for structural or non-structural restoration—following manufacturer guidelines. After curing, verify surface planarity and continuity with the surrounding slab.
This prep supports basement insulation and mold prevention by securing a uniform, sealed foundation.
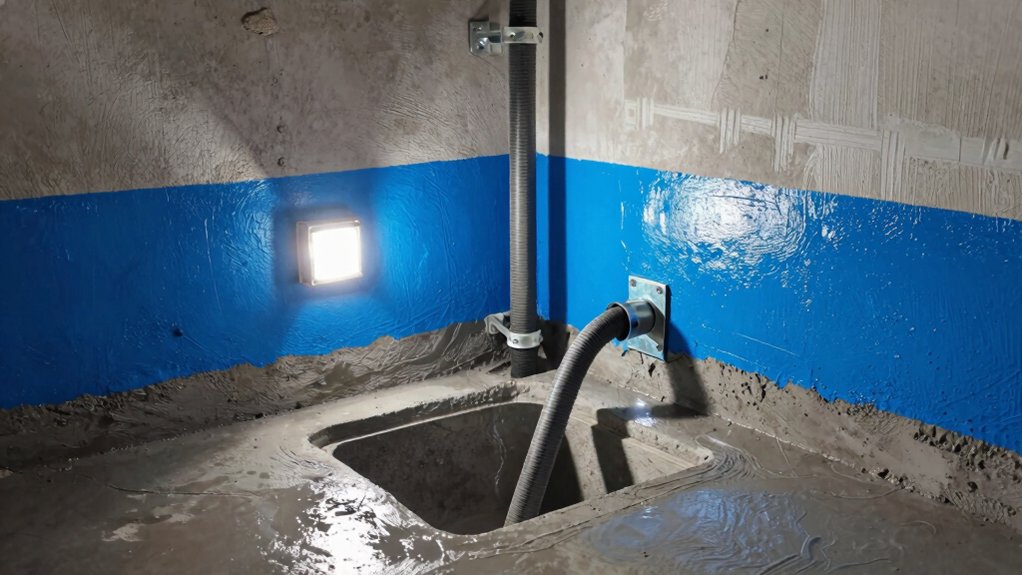
Drainage Solutions: Sump Pumps, French Drains, and Grading
Effective drainage is essential for protecting a basement, and a well-designed system combines sump pumps, French drains, and proper grading to keep water away from the foundation. You implement a centralized sump with an adequate pump capacity, check valves, and a reliable power source to remove groundwater quickly.
French drains collect subsurface water and divert it to the sump or exterior discharge, using perforated pipe set in a gravel bed with proper slope. Grading directs surface runoff away from the structure, maintaining a minimum vertical drop from foundation walls.
Design choices must consider soil permeability, drainage layout, and discharge location to minimize hydrostatic pressure. Address sewage backups risk with appropriate sewerage coordination, and prioritize mold prevention by maintaining continuous drainage performance and quick response to any system fault.
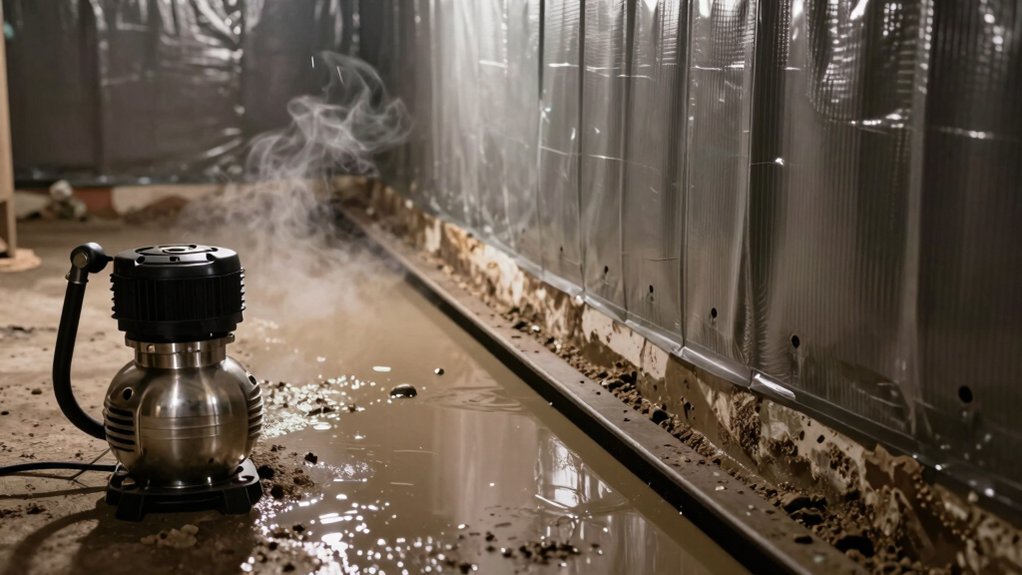
Membranes, Sealants, and Coatings: Choosing the Right Layer
Membranes, sealants, and coatings form the critical waterproofing barrier between the indoor space and subsurface moisture. You assess compatibility with substrate conditions, substrate preparation, and ongoing performance.
Select a waterproof membrane that matches hydrostatic pressure, environmental exposure, and installation method, whether sheet-applied or liquid-applied. Consider continuity at joints, penetrations, and terminations, and confirm adhesion testing results.
Sealants provide movement capacity and gap filling, but must remain compatible with the membrane and concrete.
Coatings offer additional protection and UV resistance where exposed, yet require proper curing and film formation.
Align your choice with drainage systems integration, ensuring drainage paths remain unobstructed and capillary break effectiveness preserved.
Document warranty terms, installer qualifications, and post-install inspection plans to verify long-term performance.
Avoid unnecessary redundancy and ensure precise specification.
Vapor Barriers and Humidity Control for Finished Basements
You’ll place vapor barriers at strategically chosen locations to block moisture paths while allowing for proper airflow where needed.
Implement humidity control strategies that balance indoor comfort with building science, using dehumidification, ventilation, and seasonal adjustments.
This discussion centers on placement considerations and practical humidity management for finished basements.
Vapor Barrier Placement
A vapor barrier should be installed on the warm side of all finished basement wall assemblies and at the top of the floor slab to control moisture migration from exterior soils into conditioned spaces.
You determine material type, perforation, and coverage based on cumulative risk, not aesthetics. Use a continuous, tight envelope to prevent vapor diffusion through joints, seams, and penetrations.
Seal joints with compatible tape or mastic and install overlapping seams that face the interior to mitigate moisture ingress. Reinforcement is required at corners, openings, and transitions to maintain continuity.
Guarantee fasteners and penetrations are properly sealed to avoid pinholes and gaps that enable vapor flow. Verify installation with a proactive inspection for contiguity, erosion, and edge bonding to sustain long-term performance.
Humidity Control Strategies
Humidity control in finished basements hinges on integrating vapor barriers with targeted humidity management strategies. You should assess moisture loads from walls and floors, then pair barrier integrity with active conditioning.
Dehumidifier placement matters: position units where airflow reaches corners and high-humidity zones, not behind furniture or tight gaps. Use continuous drainage and properly sealed seams to minimize condensate return.
Circulation improves even moisture removal; enable unobstructed air paths and avoid dead zones behind shelves. Combine sensible and latent load management by selecting a unit with appropriate capacity for your space and climate.
Monitor RH targets and adjust placement, duct routing, and venting accordingly. Regularly inspect for seal integrity, mold hotspots, and ventilation gaps that undermine the vapor barrier’s effectiveness.
Radon Mitigation and Indoor Air Quality Considerations
Radon intrusion and indoor air quality must be addressed together when waterproofing a basement, because soil gas can enter through walls and joints regardless of moisture control.
You assess passive and active mitigation options in tandem with drainage design to prevent sub-slab gas entry. Measure baseline Radon levels to establish a target reduction and monitor post-installation results.
Confirm bidirectional venting is considered, with sealed penetrations and proper gasketing around sump pits and utility conduits.
Implement continuous or intermittent monitoring to track fluctuations driven by weather, construction, or HVAC changes.
Integrate an active mitigation system with a shown performance specification, and test after sealing to confirm sustained indoor air quality.
Maintain documentation for compliance, and communicate ongoing protection needs to occupants and stakeholders.
Maintenance Essentials: Keeping Your System Working Year-Round
Regular maintenance keeps your basement waterproofing system effective year-round, preventing small issues from becoming major failures. You should establish a routine that targets key components and uses objective criteria to assess performance.
Inspect the exterior foundation drain and confirm that grates and weep holes remain clear, with no soil intrusion or plant buildup.
Inside, verify sump pump operation: test cycles, confirm battery backup readiness, and replace nonfunctional switches promptly.
Monitor interior surfaces for new damp spots, and log elevations of any water stains to detect trend shifts.
Schedule seasonal checks for ventilation and humidity control, ensuring basement insulation remains dry and uncompromised.
Document maintenance actions and timelines; this record supports warranty compliance and future troubleshooting, reducing downtime and preserving system integrity.
Finishing a Waterproofed Basement: Practical Tips and Pitfalls
Finishing a waterproofed basement requires careful sequencing: first protect the moisture barrier, then install finish materials that won’t trap moisture or impede drainage. You must guarantee framing, insulation, and gypsum are compatible with the existing waterproofing system and won’t create hidden pathways for moisture.
Use vapor-permeable finishes where appropriate and seal around edges to prevent capillary rise. Choose basement insulation that resists mold and maintains thermal performance without compromising drainage or air leakage control.
Install built-in channels or proper weep paths behind finish surfaces where needed, and maintain access to sump and vents for routine checks. Keep waterproofing warranties intact by documenting material compatibility, installation methods, and inspection checkpoints.
Avoid temporary patches; pursue continuous, durable detailing to minimize future voids and failure points.
Budgeting and Long-Term Planning for Basement Protection
Budgeting for basement protection starts with a clear lifecycle cost model that accounts for upfront investments, ongoing maintenance, and potential remedial work. You should quantify initial installation, system sizing, and contractor fees, then project annual operating costs, energy use, and inspection cycles.
Prioritize long-term reliability by budgeting for basement insulation where thermal losses drive humidity and condensation risks; include material and labor costs, Retrofit opportunities, and expected performance improvements.
Plan a preventive schedule for sump pump maintenance, battery replacements, and alarm tests to minimize failure risk and flood exposure. Build contingency reserves for unexpected repairs, such as drainage adjustments or waterproofing resealing.
Align funding with asset lifespans, warranty windows, and inflation, and document decision criteria for retrofits versus full-system upgrades. Maintain a living plan updated after major weather events or code changes.
Frequently Asked Questions
How Long Does Basement Waterproofing Typically Last?
Basement waterproofing typically lasts 10–20 years, depending on materials and installation quality. Durability expectations vary with climate and soil, while maintenance frequency should be minimal but regular inspections to preserve effectiveness and address any sealant degradation.
Can Waterproofing Worsen Existing Cracks if Not Done Properly?
Yes, improper waterproofing can worsen cracks as water pressure increases crack expansion and accelerates deterioration. If you ignore proper detailing, you trigger waterproofing failure, then you face recurring leaks, structural risk, and costly, reactive repairs you could have avoided.
Are There Environmental Impacts From Basement Sealants or Membranes?
Yes, there are environmental concerns you should consider: some basement sealants and membranes release chemical emissions during application and curing, potentially affecting indoor air quality and surrounding ecosystems if proper ventilation and disposal steps aren’t followed.
What Maintenance Schedule Is Recommended After Installation?
Immediately, you should follow a maintenance schedule: inspect Drainage maintenance and perform Ventilation checks monthly, after heavy rains, and annually. Confirm no leaks, test sump pump, clean weep holes, and reseal joints as needed to prevent moisture intrusion.
Do Waterproofed Basements Require Building Code Permits or Inspections?
Yes, you typically need building permits and inspection requirements for waterproofed basements; consult local codes, schedule reviews, and verify compliance before, during, and after installation to avoid penalties and ensure structural and waterproof integrity.
Conclusion
You stand at the door between damp fear and dry certainty. Think of your basement as a shield, each system a crucial hinge: exterior barriers, interior membranes, drains, and seals. When you align grading, sump pumps, and crack repairs, you’re not just chasing moisture—you’re anchoring a fortress. Regular maintenance is the heartbeat; neglect is the rust on hinges. Invest now, guard tomorrow, and let humidity bow to your precise, technical resolve.