

Did you know that a single weatherproofing fix can cut heating losses by up to 30%? You’ll start by setting clear winter goals and baselines, then seal gaps, insulate key areas, and tune your furnace with maintenance and a smart thermostat. You’ll also tighten up lighting and standby power, upgrade windows or doors where feasible, and implement simple monitoring to verify savings. The next steps show where to focus first and how to sustain momentum all season.
Define Your Winter Energy Goals and Metrics
To start, set clear winter energy goals and measurable targets. You’ll map current usage to concrete benchmarks, then define what “success” looks like for your home.
Begin with a baseline: gather monthly utility data, noting average electricity and heating fuel consumption per day. Translate these into energy benchmarks you want to beat by a specific date, such as reducing monthly usage by 10% or shaving thermostat-dependent hours.
Establish actionable metrics: target HVAC runtime, insulation improvements, and heat-recovery efficiency enhancements. Tie each goal to a timeline, so you can track progress weekly.
Document assumptions, like climate norms and occupancy patterns, to keep comparisons valid. Use Usage benchmarks to monitor how changes affect energy bills, comfort, and indoor temperatures.
Regularly review and adjust targets as needed.
Seal Gaps and Create a Quick Weatherproofing Plan
Start by spotting gaps quickly with a quick visual sweep and a simple draft detector, so you can quantify where air leaks are most concentrated.
Then outline a plan for fast weatherproofing tasks—targeting doors, windows, and outlets first—to maximize impact with minimal disruption.
We’ll use data-informed steps to confirm where sealing adds the most value and keep the plan concise and actionable.
Spot Gaps Quickly
Spot gaps quickly by doing a rapid, room-by-room skim to identify where air leaks originate, then seal with a fast, data-backed plan. You’ll start at entries and seams with the highest leakage potential, noting temperature differentials and draft directions as you go.
Use a simple checklist: windows, doors, outlets, baseboards, and attic hatchways. Observe for signs of wind-driven drafts or rattling curtains, and validate with a smoke test or fluttering tissue to gauge flow.
Prioritize caulking techniques for static gaps and apply weather stripping on movable joints. Record measurements and expected payback to guide decisions.
Keep your plan tight: target top 5 leaks first, then recheck. This approach minimizes wasted materials and time while delivering measurable comfort improvements.
Plan Quick Weatherproofing
Plan quick weatherproofing by prioritizing a fast, data-driven approach: identify the top leaks, seal static gaps with caulk, and install weather stripping on movable joints to block drafts within a few hours.
Start with a quick inventory: measure pressure points near doors, windows, and baseboards, then rank leaks by measured airflow or draft feel.
Use silicone or acrylic caulk for stationary cracks, applying a thin, continuous bead for reliable seals.
Fit draft stoppers on gaps under doors and thicker sash gaps where needed.
Consider storm windows for enduring glazing protection in exposure zones, evaluating cost versus comfort gain.
After sealing, recheck with a simple draft test and adjust seals as necessary.
Document savings estimates to guide future weatherproofing priorities.
Where to Add Insulation for the Biggest Return
If you want the biggest payback on insulation, focus on the places where heat leaks most in a typical home: attic, basement or crawl space rim joists, exterior walls, and ductwork.
Prioritize attic insulation first, because warm air rises and ceiling gaps drive heat loss. Measure current R-values and target at least an R-38 in attic zones, sealing gaps with airtight caulk before adding batting.
Next, address wall cavities with wall cavity sealing to curb air leakage through outlets, cracks, and framing gaps; supplement with dense-pack or spray foam where appropriate.
Don’t ignore rim joists; install high‑density insulation and airtight box mouches if accessible.
Finally, inspect ducts for leaks and seal with mastic. These targeted steps yield the strongest, data‑driven return.
Boost Heating Efficiency Without Spending a Fortune
Start by sealing air leaks efficiently to prevent heat loss and reduce furnace run time.
Next, optimize thermostat scheduling so your system runs only when you’re home and awake, using data-driven setpoints.
Finally, upgrade duct insulation to minimize losses along the supply and return paths, which improves overall heating efficiency without major upgrades.
Seal Air Leaks Efficiently
Leaking doors, gaps around windows, and cracked outlets can waste 10–30% of indoor heat; sealing these leaks is a quick, cost-effective way to boost comfort and cut energy bills.
You’ll start with targeted air leak detection to identify hotspots, using simple smoke pencils or open- and close-check tests to verify drafts.
Then choose weatherproofing materials that fit the gap size and surface: caulk for small cracks, backer rods for larger gaps, weatherstripping for doors and windows, and foam sealant where appropriate.
Prioritize continuous coverage over patchwork.
Apply with clean, dry surfaces, and cure per product specs before testing again.
Recheck after heavy use or seasonal temperature swings.
This approach minimizes heat loss, supports efficient HVAC operation, and compounds savings over time.
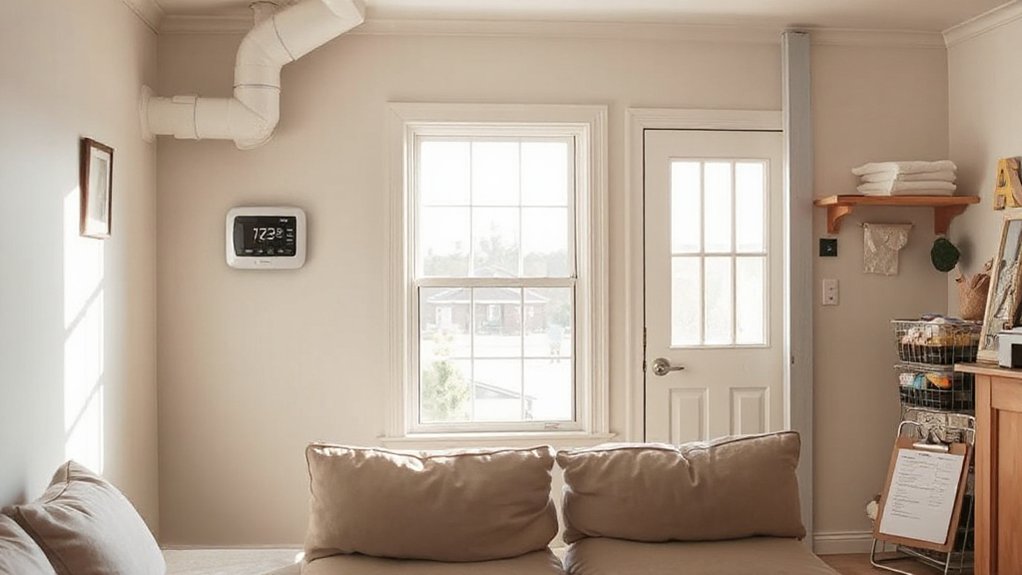
Optimize Thermostat Scheduling
Smart thermostat scheduling can trim your heating bill without upending comfort. You’ll map your home into Temperature zones, prioritizing high-occupancy areas and overnight bedrooms, then assign profiles that reflect actual usage. Use a programmable schedule or smart learning feature to align setpoints with occupancy, avoiding constant temperature drift.
Data shows staging temperature by zone can reduce energy use by 5–15% compared with single-setpoint controls. Keep daytime setbacks modest (3–4°C below comfort) and nightly setbacks to match sleep patterns.
Test response times, ensuring equipment reaches target temps before occupants return. Prefer shorter, frequent adjustments over long, drastic changes.
Regularly review weekly usage reports, tweaking timers for holidays or weather shifts. Maintain consistent calibration, verifying that sensors accurately reflect room conditions in each zone.
Upgrade Duct Insulation
Upgrading duct insulation reduces heat loss and boosts furnace efficiency without a major upfront investment. You’ll see measurable gains when ducts in unconditioned spaces are insulated and sealed, reducing supply air temperatures lost to attic or crawl spaces.
Start with duct sealing to pinpoint leaks using a smoke pen or negative-pressure test, then seal with mastic or UL-listed foil tape.
Next, install insulation upgrades around exposed ducts, aiming for R-6 to R-8 equivalents in attics and R-4 to R-6 in crawlspaces, depending on climate.
Verify airflow with a manometer or blower door assessment to confirm balanced pressure after work.
Result: lower auxiliary heating needs, steadier room temps, and improved system efficiency, all backed by post‑work energy modeling data.
Reduce Heat Loss With Better Windows and Doors
Windows and doors are common sources of heat loss, but you can cut drafts and boost comfort with targeted upgrades. You’ll measure performance by U-factor and airtightness, not feel alone.
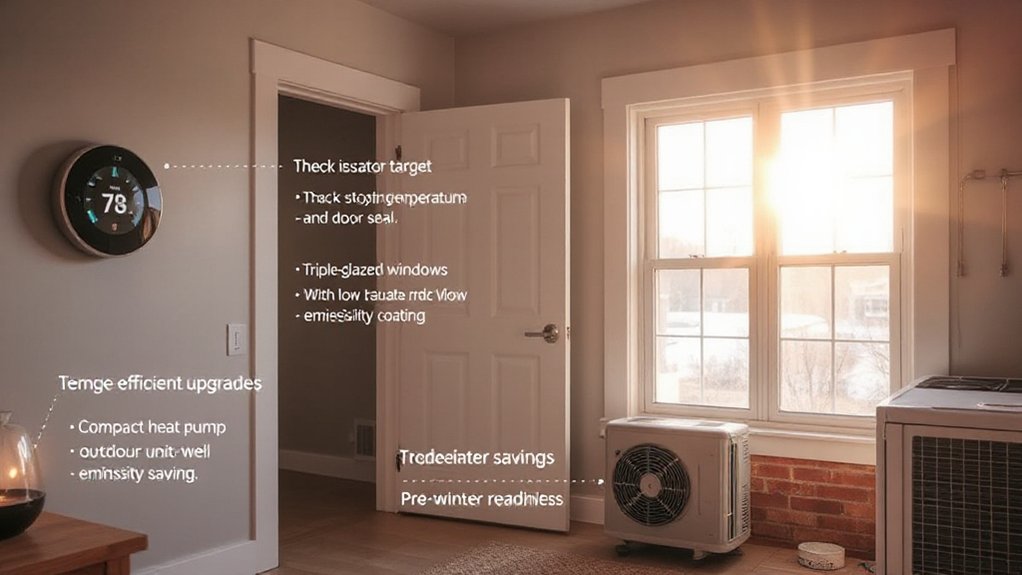
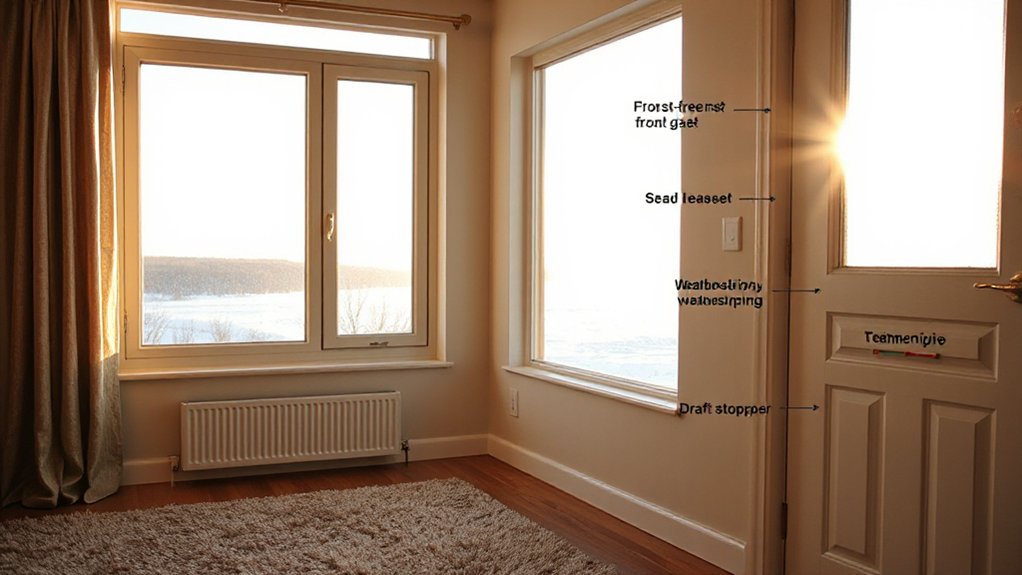
Start with window upgrades that reduce heat flow; look for double- or triple-pane units with low-emissivity coatings and proper caulk seals. Replace failing weatherstripping and install tight bottom sills to minimize drafts.
For doors, assess insulation value and threshold gaps; add door sweeps and improved weatherstripping where needed. Use air-leak tests or blower-door results to verify improvements.
Prioritize gaps around frames, junctions, and sills, aiming for a total air leakage reduction of 20–40% depending on baseline.
Track energy use, noting that Window upgrades and Door insulation yield measurable, ongoing savings.
Cut Standby and Lighting Costs With Smart Planning
Smart planning can cut standby and lighting costs quickly by targeting the biggest energy drains: devices left on when not in use and inefficient lighting. You should map nightly standby loads, identify high-consumption appliances, and set schedules that disable nonessential power at off-peak hours.
Implement standby management by using smart outlets, timers, or power strips to cut phantom draws and reduce idle consumption by up to 30–50% in many homes.
For lighting, adopt lighting automation with occupancy sensors and dimming where appropriate to maintain task lighting without excess. Calibrate settings to room use, not generic defaults, and monitor results weekly.
These steps deliver measurable savings, improve grid responsiveness, and require minimal ongoing effort beyond initial configuration.
Track Savings With Simple Home Monitoring
How much can you really save when monitoring energy use at home? With simple monitoring, you quantify where watts slip away and verify what cuts work. Track daily usage in kilowatt-hours and compare week over week to spot leaks or spikes.
Smart meters give real-time feedback, so you can see how adjustments affect your bill within minutes, not months. Map consumption by appliance and by room to prioritize upgrades or behavior tweaks.
Use a baseline to measure impact after a change, like dimming lights or tightening insulation. Home automation compounds savings by coordinating devices for off-peak charging or auto-scheduling heating.
Regular review keeps you honest, targets savings, and reinforces cost-effective habits rather than guessing which tweaks matter most.
Create a Simple, Long-Term Maintenance Routine
A simple, long-term maintenance routine keeps energy efficiency steady without daily effort. You implement a lightweight schedule that targets key components and tracks performance with minimal intrusion.
Begin with a Routine check every month: inspect insulation, seals, filters, and thermostats, noting any signs of wear or malfunction. Log readings from smart meters or energy apps to identify deviations—aim to keep monthly variance under 5%.
Quarterly, perform a Seasonal review of heating and cooling equipment: clean coils, verify blower airflow, and schedule professional service if efficiency drops. Use checklists to prevent omissions and set reminders for tasks before peak usage.
Document completion dates, costs, and observed improvements to measure ROI over time. This disciplined cadence sustains gains without overhauls.
Frequently Asked Questions
How Often Should I Recheck My Home’s Energy Goals After Winter Starts?
You should recheck quarterly after winter starts. Conduct an energy audit, compare results to your goal, and adjust promptly. If savings lag, tighten targets; if you exceed them, reset sharper goal adjustments to sustain efficiency gains.
What Small Habits Most Quickly Reduce Monthly Energy Use?
Small daily wins: you’ll cut energy use fastest by programming a Smart thermostat, and running quick Energy audits monthly. You’ll turn down heat when away, seal drafts, and monitor windows, appliances, and lighting for ongoing gains.
Can Temperature Setbacks Save More Than Insulation Upgrades?
You’ll feel the savings like a clear sunrise: темпераture setbacks can beat insulation upgrades in some cases. With Thermostat adjustments, you target comfort while cutting energy consumption, proving consistent Energy savings, especially when you optimize drift and deadband.
Which Room Should I Heat First for Best Efficiency?
You should heat the living room first to maximize comfort and efficiency. Prioritize spaces with high occupancy and heat loss, then move to bedrooms. This room prioritization improves heating efficiency by reducing overall boiler runtime and temperature swings.
Do Solar Gains Affect Winter Heating Needs in Cloudy Climates?
Yes, solar gains help even on cloudy days, reducing heating needs. In a case study, a 4 kW solar panel system cut winter furnace use by 15%. Expect smaller adjustments on overcast days, boosted by thermal mass.
Conclusion
You’ve got a concrete plan: goals, gaps, and quick weatherproofing, then targeted insulation and smarter heating. By sealing leaks, upgrading ducts, and trimming standby power, you’ll see real, measurable gains. Modernize windows and doors where it makes sense, install a smart thermostat, and automate lighting to cut waste. Track your savings like a daily weather report, and stick to a simple maintenance routine. With data as your compass, winter comfort becomes evolving efficiency, not a one-off sprint.