
You can slash heating costs by identifying leaks, sealing gaps, and upgrading insulation first, then tune your systems and ducts for efficient, dependable warmth. Start with quick air-sealing around doors, windows, and attic hatches, and add insulation in key areas like the attic and rim joists. Upgrade windows gradually and install door sweeps. Balance ducts and set up zoning to limit overuse. Track performance with smart controls and clean diagnostics—more practical steps await if you keep going.
Identify Heat Leaks and Insulation Gaps in Your Home

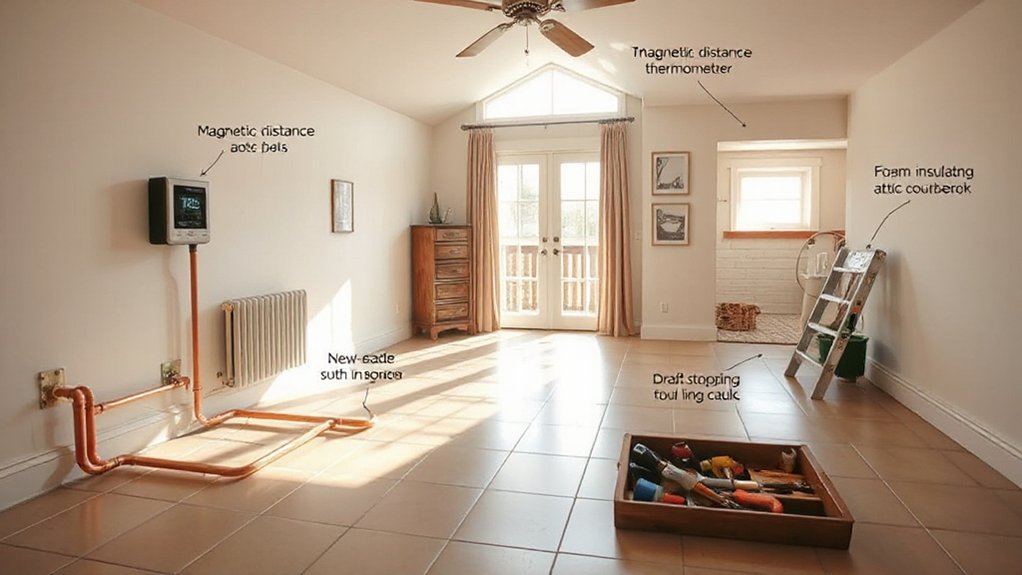
Start by pinpointing where drafts and cold spots show up. You’ll map these areas with simple tests, like feeling air movement near windows, doors, outlets, and attic hatches.
Expect air leakage to cluster around typical weak points—window frames, door sweeps, and ceiling-to-wall junctions. Note each location’s impact on comfort and monthly heating costs, then record findings in a quick log.
Pay attention to insulation gaps as well, especially where insulation thins or settles in walls, floors, and around penetrations. Use a flashlight and tissue to spot subtle drafts; if a tissue flutter occurs, you’ve found a leak.
Prioritize fixes that reduce air leakage and seal insulation gaps, boosting efficiency without overhauling your whole system.
Seal, Insulate, and Upgrade on a Budget
Now that you’ve mapped leaks and gaps, the next step is to seal, insulate, and upgrade on a budget. Start with air sealing around doors, windows, and attic access, then add insulation where heat loss dominates, prioritizing the attic and rim joists. Use affordable options with solid R-values and proper installation to minimize drafts and condensation.
Choose energy efficient windows where possible, but time-bound plans can stack savings by upgrading in stages aligned with seasonal demand. Install door sweeps and weatherstripping to reduce infiltration before costly HVAC changes.
Look for retrofits that offer quick payback, like insulation in existing walls or ceiling and duct sealing. Favor renewable energy incentives when budgeting long-term, ensuring you hit comfort without overspending.
Evaluate Heating Systems and Smart Controls for Your Home
Evaluating your heating system and smart controls starts with a clear baseline: know what you have, how efficiently it runs, and where it wastes energy. You’ll compare current fuel sources, boiler or furnace age, and thermostat capabilities against equipment labels and performance data.
Track monthly consumption, examine heat loss hotspots, and identify standby losses or oversized equipment. Smart thermostats offer actionable data: set schedules, monitor occupancy patterns, and reveal auto-changeover issues.
Consider heating zones to balance comfort and cost—vector your boiler output by room or area, reducing simultaneous high demand. Measure control lag, response time, and integration with smart devices.
Use these insights to target improvements that fit your home and community, fostering a sense of shared purpose and belonging in a more reliable, efficient system.
Optimize Ducts, Vents, and Zoning for Comfort
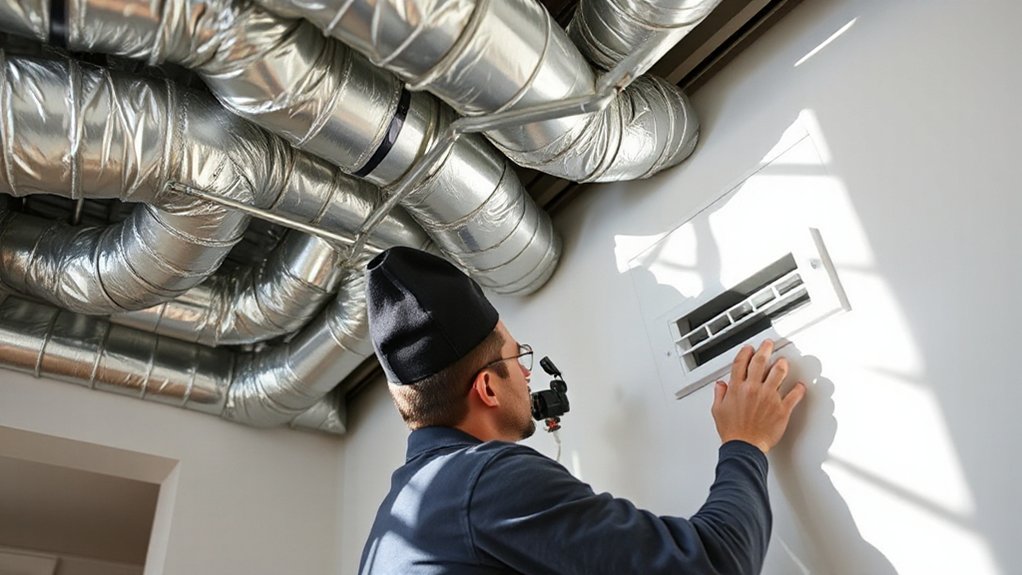
Optimizing your home’s ducts, vents, and zoning improves comfort while trimming energy use. You’ll systematically assess each zone’s demand, then adjust dampers to even pressure and flow.
Start with a room-by-room map showing supply and return paths, so changes reflect real usage rather than assumptions. Use airflow balancing to identify cold or hot spots, then calibrate dampers to equalize outputs without overcommitting to any single vent.
Keep pressures within manufacturer guidance to avoid whistling or leaks. Document settings for family members and future renovations, so everyone benefits from predictable comfort.
Track performance with simple metrics: temperature spread between rooms, runtime hours, and bill impact after adjustments. Prioritize incremental changes, validate improvements, and reuse proven configurations as your home’s occupancy shifts.
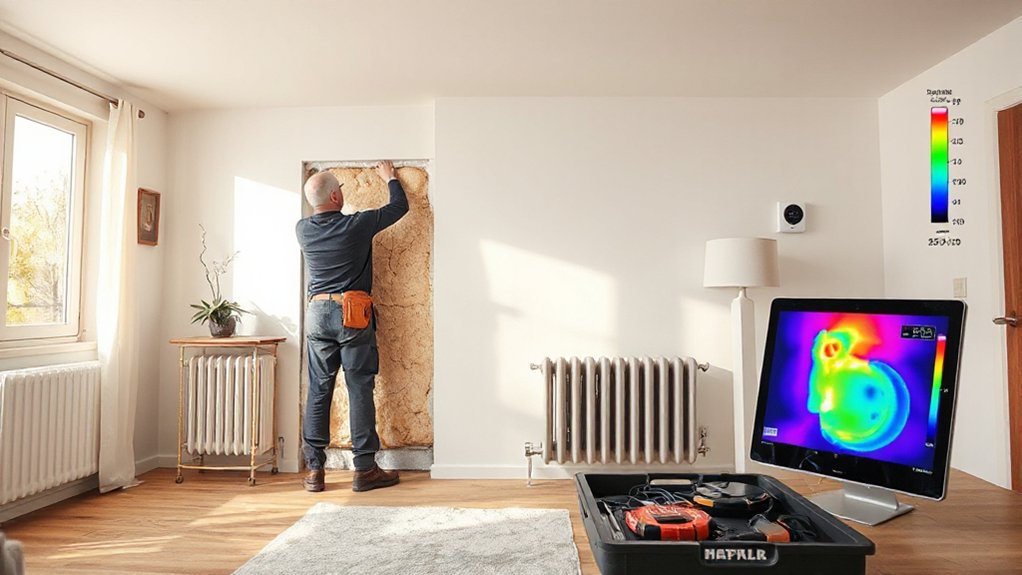
Tighten the Building Envelope and Use Thermal Mass
Tightening the building envelope and using thermal mass start with measuring where heat leaks occur and how fast heat is stored. You’ll map gaps with a blower door test, infrared scans, and door jamb checks, then quantify the impact of insulation level, gaps, and thermal mass capacity.
Prioritize reducing thermal bridging by detailing stud paths, corners, and mounts, and seal with airtight tapes and caulks before adding continuous insulation. Improve building airtightness first, then leverage thermal mass to stabilize indoor temperatures—think concrete slabs, brick, or water-filled storage walls that absorb daytime heat and release it at night.
Use densified materials and proper detailing at windows and doors to avoid localized drafts while confirming improvements with quick, repeatable measurements. Consistent ventilation and sensible defaults guarantee comfort and community.
Plan a Realistic Retrofit Timeline for Budget and Comfort
To plan a realistic retrofit timeline that fits both budget and comfort, start by inventorying all proposed upgrades and their dependencies. Then align them with seasonal windows, contractor availability, and cash flow.
You’ll map each task to a target completion date, estimate durations, and set milestones that reflect your priorities. Use data to sequence high-impact, low-disruption improvements first, then layer in larger projects when you have financing lined up.
Plan for retrofit financing options early, so cash flow stays steady and you avoid delays. Check renovation permits and permitting timelines now, building in buffers for reviews.
Communicate transparently with your team and neighbors, and track progress weekly to adjust as needed, ensuring comfort gains without overextending the budget.
Monitor, Maintain, and Fine-Tune for Peak Efficiency
Start by establishing system baselines so you can spot changes in fuel use, temperatures, and run times with real data.
Keep up with seasonal maintenance to maintain comfort while preventing efficiency losses, using documented service intervals and filter checks.
Then tune your metrics—adjust setpoints, monitor performance trends, and refine your controls to push peak efficiency without sacrificing comfort.
Monitor System Baselines
Monitoring system baselines is essential for spotting efficiency drifts before they escalate; start by establishing a clear baseline of current performance metrics and then track deviations over time.
You’ll capture energy consumption patterns across heating cycles, noting peak loads and shoulder periods.
Use simple, repeatable checks to verify system calibration and sensor responsiveness, recording any anomalies with timestamps.
Establish thresholds that trigger alerts when performance deviates beyond your acceptable range.
Regularly compare new data to the baseline, documenting causes and corrective actions.
Your goal is a living dashboard, not a one-off test, so keep it updated and accessible to your team.
With disciplined monitoring, you can act proactively, sustain comfort, and maximize cost savings through precise adjustments.
Maintain Seasonal Comfort
Seasonal comfort hinges on keeping your home responsive to changing outside conditions, so you’ll continuously monitor and fine-tune the system across the year. You’ll track performance data, adjust settings, and prioritize durable, community-focused choices that support Sustainable heating and Energy efficient windows.
- Observe seasonal variances in drafts and insulation impact, then tweak thermostats and zoning for consistent warmth.
- Schedule routine checks of filters, seals, and vents to sustain steady airflow and efficiency.
- Compare monthly energy use to the prior season, identifying small tweaks with meaningful savings.
- Align upgrades with comfort goals and shared spaces, reinforcing a sense of belonging through predictable, reliable warmth.
Fine-Tune Efficiency Metrics
To optimize HVAC performance, you’ll continuously collect and interpret key efficiency metrics, then act on the data to trim energy use without sacrificing comfort. You’ll set clear performance benchmarks for heating season goals and track progress against them.
Regularly review metrics like consumption per degree-day, system runtime, and indoor temperature stability to spot inefficiencies early. When a metric drifts, investigate causes—duct leaks, clogging filters, or aging components—and implement targeted fixes.
Maintain a log of seasonal comparisons so you can validate improvements and refine controls. Use the data to adjust setback temperatures, fan speeds, and scheduling for peak efficiency without compromising comfort.
This disciplined approach builds confidence, belonging, and consistent, measurable gains in efficiency metrics across your home.
Frequently Asked Questions
How Do I Budget for Unexpected Retrofit Costs?
You should build a 10–20% contingency into your retrofit budgeting to cover unexpected expenses. Track costs weekly, compare estimates, and document changes. Stay disciplined, ask for quotes in writing, and share budgeting updates to foster belonging and trust.
Which Rebates or Incentives Apply to My Project?
Did you know homes with energy audits show 5–15% lower energy bills on average? You’ll qualify for rebate programs and energy audits that target improvements, helping you cut costs and feel part of a smarter, savings-minded community.
Can DIY Fixes Affect Warranty or Safety?
DIY fixes can affect warranty and safety; you’ll want to verify with manufacturers and keep detailed records. If you proceed, consider warranty implications and Safety considerations, and document materials, tests, and compliance to foster trust and shared responsibility.
What Metrics Show Real-World Heating Savings?
A gentle glow hints at savings: measure after an energy audit, track month-to-month usage, and compare before/after bills. You’ll see real-world gains from insulation upgrade, with steadier temps and quantified, data-driven efficiency improvements.
How Long Before Benefits Become Noticeable?
Benefits become noticeable within weeks to a few months after upgrading, depending on your climate and usage. You’ll feel steadier temps as heating technology and insulation materials reduce losses, supported by energy data and comfort-focused, belonging-driven improvements.
Conclusion
You’ll save more than you spend—imagine that paradox as your new thermostat. You’ll identify leaks, seal gaps, and up your insulation game, all while spending wisely and avoiding heroic energy bills. Yes, you’ll tighten envelopes and tune ducts, then watch comfort rise and costs fall. It’s almost funny how simple facts beat guesswork: better insulation, smarter controls, better planning. Do the work, track the numbers, enjoy the warmth, and pretend you planned it all along. Irony: efficiency is your best budget strategy.