
To light garden paths effectively, keep it practical and even: run low‑voltage LEDs along the edges for a gentle boundary glow, and use subtle uplights to bring out textures without glare. Plan spacing, height, and tilt for uniform coverage, and aim light downward to protect night skies. Mix warm tones for a welcoming vibe with dimmers or timers for energy efficiency. Seasonal tweaks boost safety and beauty, and you’ll discover more tips as you continue.
What to Know Before You Light a Garden Path
Before you install garden-path lighting, take a step back and map out your goals. You want safe, inviting evenings that feel connected to your space, not harsh bling. Start with practical checks: assess traffic flow, plant heights, and existing hardscape. Consider the vibe you crave—soft, guiding light or brighter accents for entertainment.
Address garden pests and soil preparation first, since healthy beds support stability and curb crabby lighting glare. Choose low-watt, warm LEDs to reduce glare and energy use. Plan placement to illuminate steps, edges, and focal plants without washing out shadows.
Weather, maintenance, and bulb life matter, too. Finally, draft a simple wiring and power plan that keeps you within code and within your community. Belonging grows from thoughtful, doable steps you can trust.
Safety First: Essential Path Lighting Dos and Don’ts
You’ll tighten safety with clear pathway visibility, smart fixture placement, and proactive hazard awareness. Start by prioritizing visibility tips.
Then follow fixture placement guidelines to avoid glare or shadows, and keep every step well-lit.
Stay alert to trip risks and maintenance needs so your garden path stays safe, functional, and inviting.
Pathway Visibility Tips
To keep your path safe after dark, focus on clear visibility and consistent lighting levels along every step. You’ll minimize shadows, highlight obstacles, and reduce trip risk while harmonizing with your garden art and the wildlife landscape to limit wildlife impact.
Below, practical tips keep you grounded and connected to your space:
- Use uniform color temperature and lumen output across fixtures
- Aim light downward, not upward, to preserve night skies
- Choose glare-free fittings that illuminate risers and edges
- Schedule maintenance to prevent dimming from dust or corrosion
- Test paths after dusk, adjusting spacing for even coverage
With thoughtful placement and steady, respectful illumination, you’ll feel you belong in a safe, welcoming nocturnal garden.
Fixture Placement Guidelines
When placing path lights, prioritize safety and even coverage over decorative flair. You should map routes first, then space fixtures to illuminate every step without creating glare. Aim for low, steady levels that guide feet, not dazzle eyes.
Keep fixture placement consistent in height and type along a single line or gentle curve to preserve Garden aesthetics. Use shielded, diffused luminaires to minimize spill onto neighboring spaces and protect your nighttime ambiance.
For safety, avoid placing lights where they’ll be struck by mowing paths or furniture, and test switches and timers to guarantee reliable operation.
Remember to balance light with shadows, so the eye remains comfortable as you move. Finally, document placements for future adjustments and seasonal changes.
Hazard Awareness Steps
Hazard awareness starts with a quick, real-world check: walk the path at dusk with your planned lights to spot glare, shadows, and tripping hazards before you install. You’ll benefit from clear sightlines, even lighting, and predictable progressions, reducing accidents and building confidence in neighbors and guests.
Prioritize safety precautions by testing placements, wattage, and color temperature. Document issues, adjust layouts, and recheck after rain or shadows shift.
Stay mindful of glare protecting eyes and wildlife, and keep cords hidden to avoid trips. Your approach demonstrates care and invites others to follow.
- Verify even illumination along every step
- Eliminate bright hotspots and deep shadows
- Secure cables and weatherproof fixtures
- Test at dusk and after rain for consistency
- Note and adjust any trip risks or glare
Mood and Safety: Choosing Between Uplight and Downlight
Uplight creates mood by washing the path with ambient glow, so you’ll feel guided without harsh glare.
Downlight emphasizes safety by casting even visibility on steps and edges, reducing tripping hazards.
Together, weigh how mood and safety align with your garden layout to choose the right balance of uplight and downlight.
Uplight Mood Impact
Uplighting can transform garden paths by casting dramatic, sculptural shadows that guide your steps while highlighting textures and plant silhouettes. It also affects safety, since reveal and contrast matter as you walk. You’ll feel a stronger sense of belonging when the space reads welcoming, intimate, and purposeful, even at dusk.
- Creates a signature mood that enhances garden ambiance
- Emphasizes texture, form, and architectural lines
- Reveals pathways without glare, aiding confident movement
- Sets subtle drama without overpowering natural elements
- Supports social spaces with warm, inviting glow
Use warm, low-intensity sources to maintain balance; avoid harsh pools of light. Choose fixtures that blend with your landscape, ensuring the uplight mood remains harmonious and accessible to everyone who uses the path.
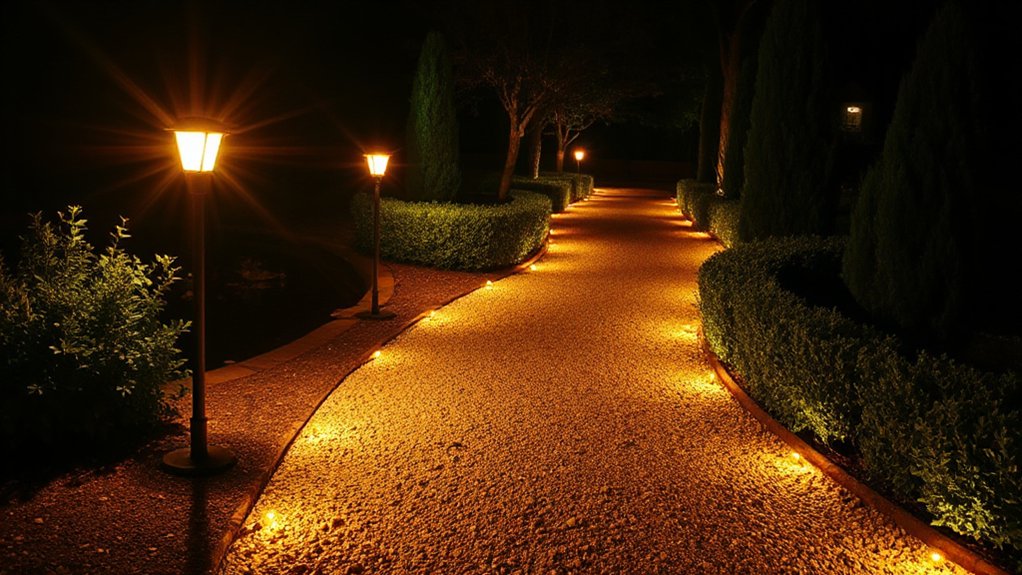
Downlight Safety Benefits
Downlights offer a measured approach to path lighting that prioritizes safety without washing out the scene. You’ll see your steps clearly while preserving the garden’s atmosphere, reducing glare that can startle guests at the door.
Downlight positioning minimizes shadowed hazards near a fire pit and along uneven edges, helping you navigate with confidence. This style also limits light trespass, so neighbors stay undisturbed and your landscape remains intimate.
When you spotlight features like a garden sculpture, aim for gentle, low-angle beams that emphasize texture without overpowering the space. The safer you keep paths, the more welcoming your yard feels.
Choose quality fixtures with good cutoffs, and you’ll enjoy reliable illumination that supports gatherings around a fire pit or quiet evenings outdoors.
Plan Your Lighting Layout: Spacing, Height, and Angles
To plan an effective lighting layout, start by mapping your path and identifying key features you want illuminated, such as edges, steps, and focal plants.
Then choose spacing, height, and angles that support lighting aesthetics and safe navigation. Balance function with atmosphere, ensuring fixtures blend with your garden’s style.
Aim for even coverage, avoid glare, and reserve bright spots for focal points.
- Determine spacing that creates a guiding rhythm along the path
- Set fixture heights to match walking comfort and scale
- Tilt angles for shadow control and facial illumination
- Group luminaires for depth without overpowering scenes
- Plan fixture selection to complement materials and color tones
Use these steps to build confidence and a sense of belonging in your outdoor space.
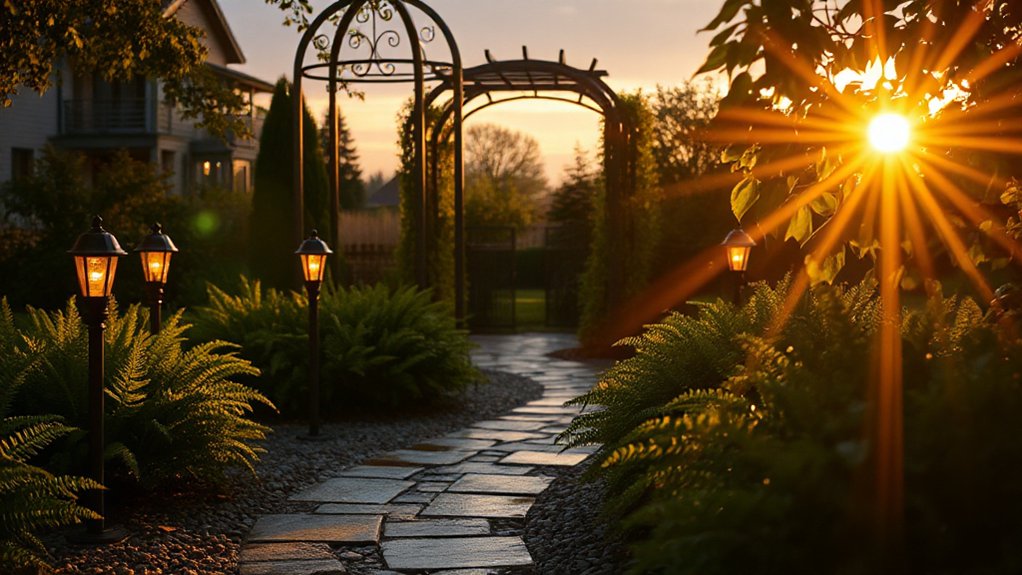
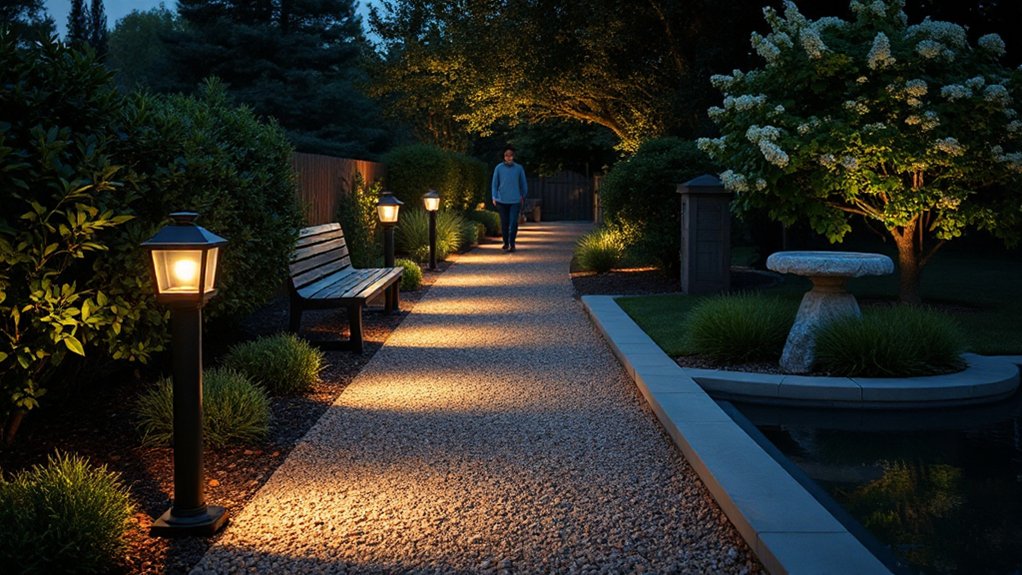
Edge Glow: Low-Voltage LEDs Along Path Edges
Edge glow from low-voltage LEDs along path edges provides a gentle, continuous seam of light that defines the route without overpowering plant textures. You’ll achieve a calm boundary that guides visitors with confidence.
Install stakes or recessed channels at ankle height to minimize glare while keeping maintenance simple. Use warm, 2700K to 3000K color temperatures for a welcoming feel that still reads as functional.
Choose low voltage LEDs for reliability and safety, and pair with a transformer that supports your total load plus a little extra for future edits.
Space fixtures evenly, and aim for a subtle overlap to avoid dark patches. Regularly clean lenses, protect cables, and test with your shoes on—you’ll feel a shared sense of belonging every evening.
Edge glow enhances pathways, not distractions.
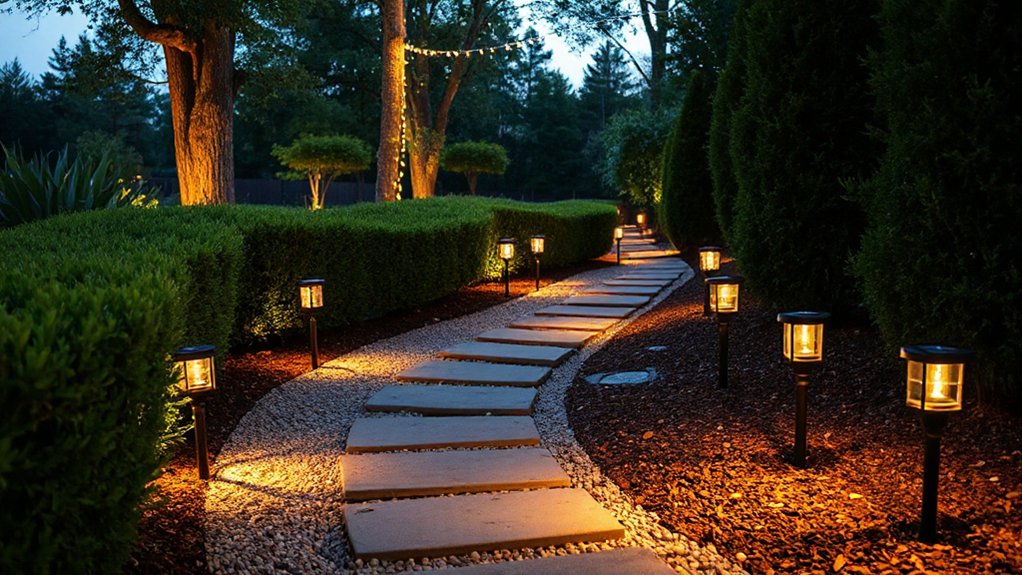
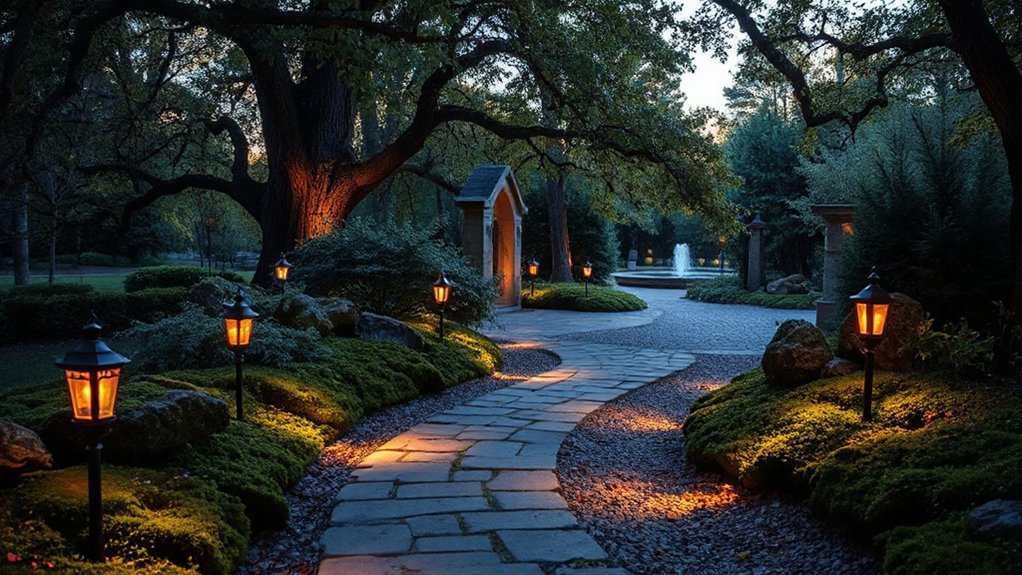
Solar-Powered Lanterns: Daylight-Driven Charm
Solar-powered lanterns capture daylight to glow after sunset, delivering Daylight-Driven Glow with minimal effort. You’ll notice warm, amber tones and steady illumination that enhances path visibility without wiring.
This Solar Lantern Ambiance blends practicality with charm, making your garden paths safer and more inviting.
Daylight-Driven Glow
- solar efficiency tips to optimize every sunny hour
- choosing bulbs with long bulb longevity for fewer replacements
- proper placement to guarantee even lighting and safety
- charging indicators and maintenance routines you can trust
- durable materials that endure weather without sacrificing charm
Solar Lantern Ambiance
As daylight fades, solar lanterns bring warm, welcoming glow to garden paths without wiring or fuss. You’ll set them along edges and thin borders, trusting daylight to charge and demand minimal effort from you.
Solar lanterns deliver steady light, helping you define turns and steps while preserving security and ambiance. Choose lanterns with warm temp LEDs and shaded housings to minimize glare, aligning with your garden aesthetics.
Position them at equal intervals for rhythm, or cluster near focal plants to create intimate pockets. Battery efficiency improves with moderate, consistent sun; clean lenses monthly to maintain brightness.
Their subtle presence blends with nature, inviting neighbors and guests to linger. With this practical approach, your path feels intentional, inclusive, and beautifully lit.
Highlighting Plants and Textures Without Glare
To highlight plants and textures without glare, position fixtures at a low angle—about 20 to 40 degrees from the ground—so light grazes foliage rather than shining straight into eyes.
- Use grazing light to reveal texture without dazzle
- Aim at stems and leaf edges for texture contrast
- Keep fixtures discreet to preserve the garden’s calm
- Balance shadows for depth, not drama
- Align with plant care needs and seasonal changes
This approach creates welcoming paths you can trust, where texture and form become part of your daily rituals.
You’ll feel ownership of the space, and neighbors appreciate the quiet, intentional glow.
Focus on uniform spacing, shielded glare control, and maintenance checks.
Preserve mood, order, and accessibility, so every stroll feels like belonging.
Color Temperature and Brightness: Aiming for the Look You Love
Color temperature sets the mood of your garden path, and brightness level shapes how usable the space feels after dark. You don’t need one-size-fits-all lighting: adjust color temperature to match your vibe, from warm, inviting amber to crisp, contemporary white.
For intimate evenings, choose warmer hues (2700–3000K); for clearer navigation, lean toward neutral to cool whites (3500–4000K). Balance is key, so set brightness levels to guide movement without glare.
Use layered lighting: low bollards for edges, brighter path accents, and a subtle wash to reveal textures. Test at night, then refine until the feel mirrors your vision.
Solar vs. Wired Options: Budgeting and Maintenance Trade-Offs
Solar lighting often saves on upfront costs but adds reliance on sun exposure and battery limits.
Wired options demand more installation but offer consistent performance.
Consider how solar savings trade off with potential maintenance for batteries and panels, versus the steady upkeep of wiring, transformers, and trenching.
Your budgeting should weigh long-term costs, energy use, and upkeep time to pick the option that fits your garden path and schedule.
Solar Savings Trade-Offs
Solar-powered options can cut upkeep and energy costs, but they come with limits that may affect performance and long-term savings. You’ll weigh solar savings against reliability, brightness, and placement flexibility as you plan your path lighting.
- Budget alignment: upfront costs, battery life, and return on investment
- Exposure realities: sun hours, shading, and seasonal performance
- Maintenance cadence: cleaning panels, refreshing batteries, and seasonal checks
- System limits: LED efficiency, controller quality, and dusk-to-dawn timing
- Long-term value: replacement cycles and potential incentives
If you crave consistent ambience, you’ll value predictable output and quick upgrades from wired options.
Yet, you’ll appreciate the simplicity, lower wiring footprint, and sense of belonging that solar lighting brings to your garden path.
Wired Upkeep Considerations
Wired options offer stable performance with predictable upkeep, making budgeting and maintenance easier to manage. When you choose wired lighting, you’ll enjoy consistent brightness and fewer sun-related fluctuations, which helps you plan garden maintenance around a reliable schedule.
Consider your plant placement carefully: low-growing borders and shaded paths benefit from subtle, evenly spaced fixtures that don’t compete with foliage. Depth, alignment, and protection from foot traffic matter, so route cables where they won’t be strained or tripped over.
Wiring costs upfront but reduce long-term battery replacements and recalibration. Compare lifetime costs against solar, accounting for possible outages and seasonal dimming.
With wired systems, you gain predictable illumination that supports safe navigation and a cohesive garden aesthetic, fostering belonging and confidence in your outdoor space.
Smart Lighting Ideas: Timed, Motion-Activated, and App-Controlled
Smart lighting for garden paths brings convenience and safety together through timed schedules, motion activation, and app control. You’ll craft a responsive setup that feels seamless, modern, and inviting, reinforcing a sense of belonging in your outdoor space. Rely on smart technology to facilitate transitions, greet guests, and guide steps without glare or guesswork.
Lighting automation ensures you get the right light when you need it, while conserving energy with sensible rules.
- Timed schedules that match your routines
- Motion-activated paths for welcome and security
- App-controlled adjustments from anywhere
- Scene options for ambiance and clarity
- Compatibility with existing smart home ecosystems
This approach keeps pathways visible and intimate, without fuss or clutter.
Energy-Saving Tricks: Zoning, Dimming, and Weather-Driven Scenes
Zoning, dimming, and weather-driven scenes slash energy use without sacrificing visibility or curb appeal. You design your path lighting around zones: entry, midwalk, and focal plantings, so you only illuminate where needed.
Dimming trims consumption while preserving depth, texture, and safety, letting you soften brightness during late evenings or cloudy days. Weather-driven scenes adapt automatically—smart sensors dim at high humidity or after rain, or brighten briefly for foggy dawns—balancing energy with landscape aesthetics.
You’ll notice smoother gradations between zones, reducing glare and waste. This approach respects plant integration, avoiding harsh lighting that disrupts nocturnal critters or fades colours.
Weatherproofing and Durability for Outdoor Fixtures
Weatherproofing and durability aren’t optional add-ons; they’re the foundation of reliable outdoor lighting. You’ll protect hours of ambiance by choosing Weatherproof materials and prioritizing corrosion resistance, ensuring fixtures withstand rain, sun, and humidity.
Build confidence with solid seals, gasketed housings, and reinforced cords. Opt for low-profile designs that resist impact, and select mounting hardware rated for outdoor use.
- Weatherproof materials that handle weather without fading
- Corrosion resistance to outlast seasons
- Sealed housings with gaskets and IP ratings
- Impact-tolerant bodies for footpath traffic
- Proper trenching, burial depth, and outdoor-rated connectors
Maintenance matters: inspect seals annually, clean debris, and replace worn parts promptly. When durability is built in, your lighting stays consistent, inviting, and safe for every passerby.
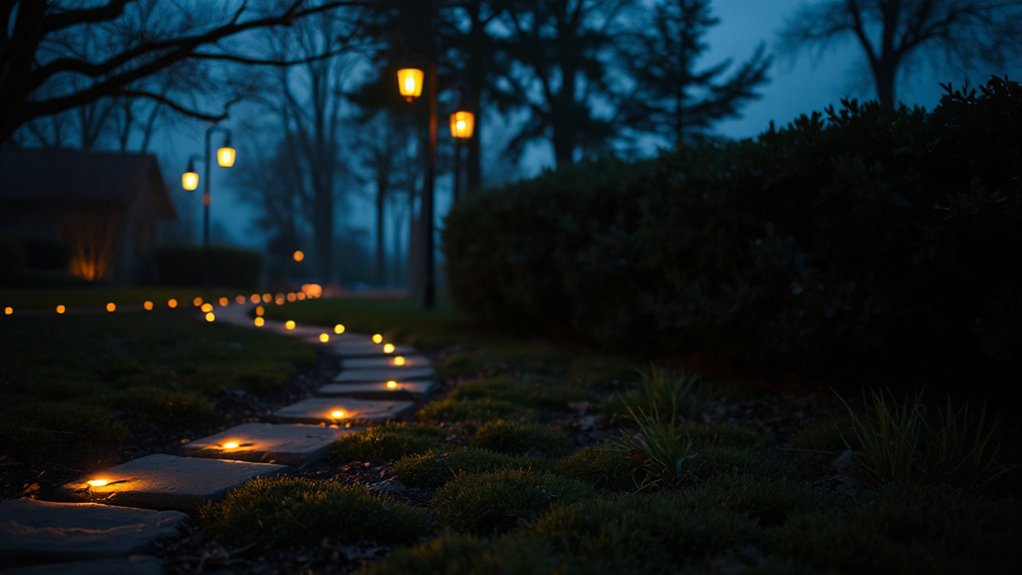
Seasonal Styling: Adapting Path Lighting Through the Year
Seasonal styling keeps your path lighting functional and inviting year-round. As seasons shift, adjust brightness, color temperature, and fixture placement to support mood and readability without overpowering nature.
In spring and summer, opt for warmer hues and softer uplighting to highlight garden art and bloom textures, creating an inviting sense of discovery.
In fall, integrate amber tones and subtle downlighting to guide guests along crisp paths and accent textures like leaves and stone.
Winter calls for higher contrast and glare-free illumination that remains welcoming during longer nights.
Favor adaptive fixtures with dimmers and motion sensors to conserve energy while maintaining safety.
Thoughtful timing enhances wildlife attraction, inviting nocturnal visitors to explore without disruption.
Your path stays purposeful, stylish, and part of a living landscape.
Budget-Friendly Ideas Under $100
You can transform your garden path on a tight budget with smart, practical picks under $100. These budget-friendly ideas prove you don’t need to overspend to create inviting lighting that feels personal and welcoming.
- Solar stake lights for flexible spacing
- Battery-powered string lights for easy ambiance
- LED path markers with warm tones
- Subtle solar spotlights for focal plants
- Garden art accents that double as glow-safe decor
With practical choices, you preserve atmosphere without excess cost, while reinforcing a sense of belonging in your outdoor space. Opt for soft, wildlife-friendly illumination to boost wildlife attraction, not glare. Choose warm whites and shielded fixtures to reduce light spill.
This approach keeps your path cozy, usable after dusk, and distinctly yours—crafted by you, for you, with budget-conscious, thoughtful design. Garden art joins function, creating charm that invites neighbors to linger.
Budget-Friendly Ideas Under $500
Ever wondered how to elevate a garden path without breaking the bank? You can rethink lighting with smart, budget-smart choices under $500. Start with solar-powered path lights to reduce wiring costs, selecting warm tones for a welcoming glow.
Layer illumination using low-voltage LEDs along edges to guide foot traffic while keeping energy use modest. Add garden art accents—stone sculptures, weatherproof metal markers, or ceramic toppers—to create focal points without overspending.
Consider color-temperature consistency to unify the scene and invite passerby to linger. Wildlife attraction comes from gentle, unobtrusive lighting that respects nocturnal creatures; place fixtures away from sensitive habitats and use dimmer options where you can.
Finish with timers to maximize efficiency and guarantee dependable, inviting curb appeal for every visitor.
DIY Installation Tips That Won’t Damage Your Garden

To install garden-path lighting without harming plants, plan around existing roots, bulbs, and irrigation first. You’ll protect flora and still get reliable glow by choosing shallow routes, non-invasive fasteners, and low-voltage systems that minimize soil disturbance.
Use edge-safe wiring, weatherproof connectors, and conduit where needed to deter garden pests and weather damage. Keep the plan coordinated with your outdoor decor so lighting feels intentional, not tacked on.
Install during dry, cool periods to reduce soil compression, and test before final burying. Maintain clear access for pruning and irrigation checks.
Regularly inspect for pests, corrosion, and wear, and replace batteries or transformers as needed.
- Choose low-voltage options for safer, gentler installation
- Map routes to avoid roots and irrigation lines
- Use non-invasive fasteners and conduit
- Test lighting before burying wires
- Schedule seasonal checks for pests and wear
Frequently Asked Questions
How Bright Should Garden Path Lights Be for Safety?
You should aim for about 10–20 lumens per pathway foot, ensuring subtle illumination for safety. Use even lighting, then consider lighting placement and power source options to keep the setup practical, inclusive, and energy-efficient for everyone.
Can I Mix Solar and Wired Lights on One Path?
Yes, you can mix solar and wired lights on one path. Guarantee proper solar wiring connections, avoid voltage conflicts, and use dimmer-friendly fixtures. This mixed lighting approach feels inclusive, practical, and secure for your welcoming outdoor space.
What’s the Best Color Temperature for Night Visibility?
Most people favor 2700–3000K for night visibility, hurting glare less and keeping a cozy vibe. Color temperature options influence mood; pick 2700–3000K for Lighting ambiance choices, ensuring practical, inclusive path lighting you’ll feel confident using.
How Often Should Low-Voltage LEDS Be Replaced?
You should plan replacement prior to LED lifespan drops; typically, check yearly and expect replacement every 5 to 15 years depending on quality. Track performance, adjust replacement frequency, and you’ll maintain consistent output and dependable garden-path lighting.
Do Path Lights Attract Insects or Wildlife?
Lights are a beacon, drawing only scarce insects; you’ll notice modest wildlife interaction. Path lights attract insects but not wildlife in large numbers, and careful placement minimizes disturbances while you enjoy safe, welcoming evenings along your garden path.
Conclusion
As you step into your garden at dusk, imagine a quiet lighthouse guiding your footsteps. Your path, once shy, now braids light and shadow into a safe, inviting river. Each glow bead along the edge and every subtle wash from above become small, dependable signals—stay, tread softly, enjoy. Like a captain steering home, you’ve mapped the course, balanced safety with mood, and kept costs reasonable. Your outdoor wayfinding shines, practical, durable, and ready for the seasons ahead.