
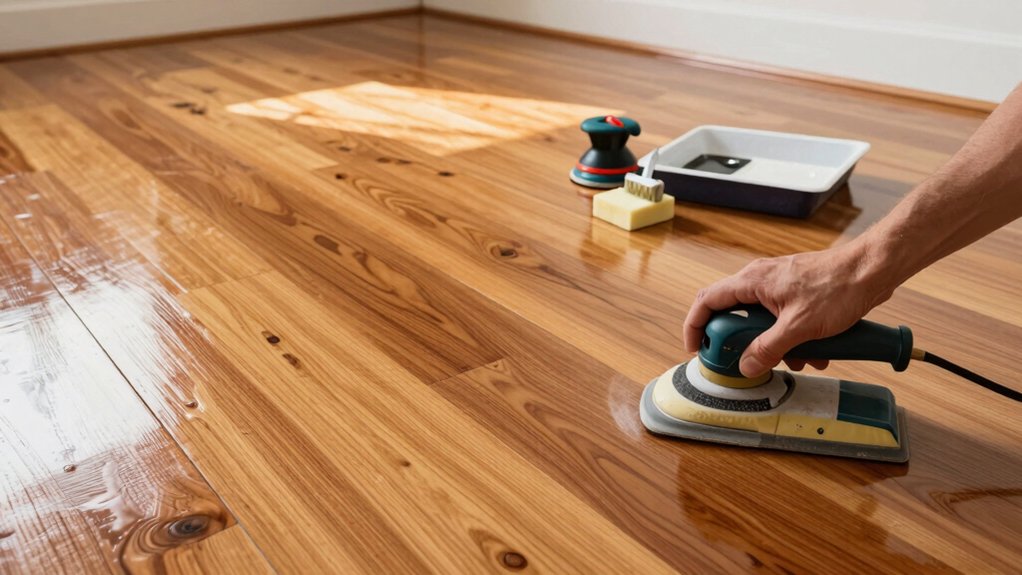
Refinishing hardwood floors yourself can trim thousands off the project, but it hinges on scope, budget, and your comfort with a few risky steps. Start by evaluating floor condition and deciding if you can salvage the surface or need full removal. Plan for dust containment, rent a sander, and stock respirators and finish materials. Follow a careful grit progression, apply a durable finish, and allow proper drying. If you stay disciplined, you’ll gain professional results—and more tips await if you keep exploring.
Is DIY Refinishing Right for You? How to Decide
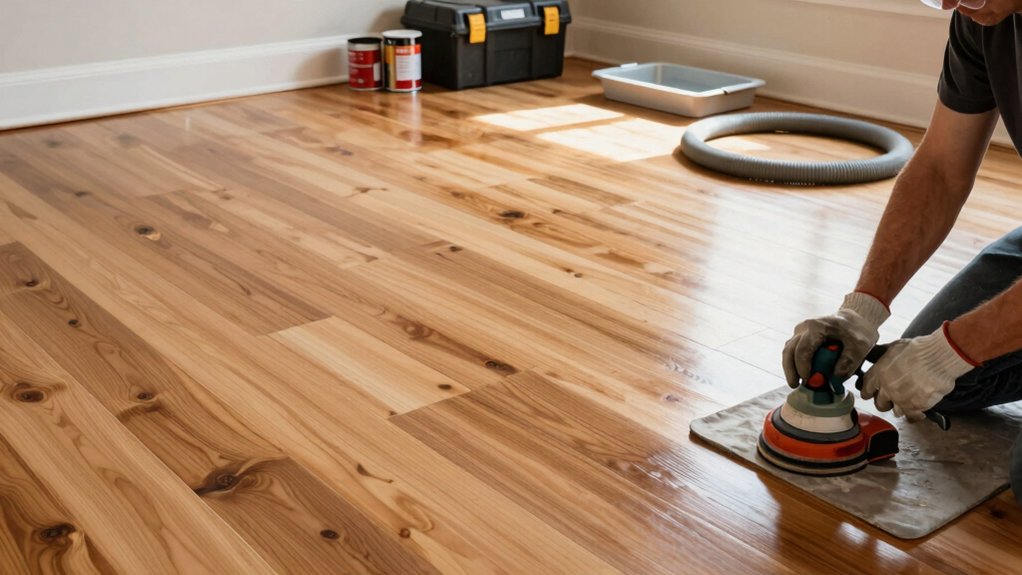
Deciding whether DIY refinishing is right for you comes down to scope, budget, and risk tolerance. You’ll weigh surface size, stain consistency, and potential floor damage against your time and tolerance for dust, fumes, and imperfect results.
If you crave a finishing that feels cohesive with your space, consider how much control you want over texture and color. DIY pitfalls exist, from patchy coatings to uneven sanding, but you can mitigate them with methodical planning and steady hands.
Seek professional advice early to set realistic expectations and gauge whether your experience matches the project’s demands.
If you value communal, shared ownership of the outcome, you’ll appreciate the learning process and the satisfaction of doing it yourself—or knowing when to call in help.
Your decision shapes the home you belong in.
Prep, Tools, and Budget for Hardwood Floors
Preparing hardwood floors starts with a clear plan: assess the space, choose the right materials, and lock in a realistic budget for prep, tools, and finish. You’ll map out essential elements: surface prep requirements, dust containment, and timing to minimize disruption.
Select flooring materials that align with traffic, climate, and aesthetics, balancing cost and durability. Clarify tool needs, from sander rentals to respirators and vibration precautions, and build a concise shopping list to avoid waste.
Establish a budget that covers prep supplies, equipment rental or purchase, finish products, and contingencies. Consider finish options, including stain or clear coats, and factor in paint options for accent details or alternatives where applicable.
With a clear scope and disciplined plan, you’ll move confidently toward a results-driven refinishing project.
Assess Feasibility: How to Tell If Refinishing Is Possible
To assess feasibility, start with a floor condition check to identify deep gouges, pronounced cupping, or severe wear that may limit refinishing options.
Next, examine the finish health indicator: a worn-through finish at high-traffic areas often signals the need for full removal rather than a simple topcoat.
If the floor generally shows solid structure and even, minimal damage, you can proceed with refinishing planning confidently.
Floor Condition Check
A floor that looks solid and even isn’t automatically a cue to refinish; instead, you need to verify the structural condition and finish integrity first. Begin with a light inspection: press test spots to detect deflection, listen for hollow sounds, and check for squeaks that signal subfloor movement.
Look for gaps, cupping, or warping along seams, which indicate underlying moisture or subfloor issues. Note finish wear patterns, especially around doors, thresholds, and high-traffic areas where area rugs and pet scratches concentrate stress.
Assess whether you can sand and recoat without exposing repairs or permanent damage. If you encounter widespread depth loss, cracking, or frequent repairs, plan for professional guidance.
This upfront check preserves your belonging—your home’s comfort, value, and future refinishing success.
Finish Health Indicator
Is the finish still serviceable, or has the wear pattern surpassed what a refinishing can restore? Your first check is finish health: surface scratches, dulling, and wear through to bare wood signal deeper issues.
If the existing finish is peeling in large areas or is highly uneven, consider whether sanding, staining, and sealing will yield a uniform result. Look for darkened patches, water rings, or candy-cane grain where repair isn’t practical.
Even if you can refinish, assess the environmental impact of sanding dust, solvents, and waste. Choose low-VOC finishes, proper containment, and efficient tools to minimize disruption.
If color consistency across rooms is unlikely, plan a coordinated approach. When finish health is solid, you’ll gain lasting beauty, community acceptance, and measurable environmental stewardship.
Room Setup and Safety Essentials for a Weekend Project

Before you start, map out a clutter-free workspace and establish clear boundaries to protect foot traffic and pets.
Equip yourself with essential safety gear—eye protection, hearing protection, respirator or mask, gloves, and sturdy footwear—and keep them within easy reach.
Set up proper ventilation, organize tools, and lay down drop cloths to cover floors and nearby surfaces, so you can proceed safely and efficiently.
Safety Gear Essentials
To set up safely for a weekend refinishing project, start by outlining a dedicated work area with good ventilation and clear containment to minimize dust spread.
In this zone, wear protective gear that shields you from particles and fumes. Put on protective goggles to guard your eyes from sanding dust, splinters, and chemical splashes. Pair them with respirator masks rated for organic vapors and fine dust, ensuring a snug seal and proper cartridge fit. Fit gloves designed for chemical resistance to protect your hands without sacrificing dexterity.
Keep hearing protection accessible for prolonged sanding sessions. Maintain a clean, organized space with a designated dump zone for waste and a quick-access kit for spill response.
With this gear, you’ll work confidently and safely, reinforcing a shared standard of care.
Workspace Preparation Rules
A well-planned workspace sets the foundation for a safe, efficient weekend refinishing project. Start by choosing a contained area with easy access to exits and plenty of light. Remove obstacles, then complete Furniture removal to clear walkways and protect others in your home.
Establish a dedicated zone for tools, dust containment, and waste, so setup and cleanup stay quick. Ventilation planning is essential: open doors, use a vent fan, and keep fresh air flowing while you sand and seal.
Protect surrounding floors and furniture with drop cloths and taped coverings. Label cords and place a fire extinguisher within reach.
Establish a simple sequence: prep, sand, stain or seal, and clean. Finally, communicate the plan with household members to ensure smooth, cooperative workflow.
Sanding Strategy: Choose the Right Grits and Techniques
Sanding the right way starts with selecting grit ranges that match your floor’s condition and finish goals, then applying techniques that minimize dust and gouges. You’ll map a smart grit progression, moving from coarser to finer levels to remove old finish without chewing into the wood.
Begin with a 36–40 grit for bulk leveling, then 60–80 for smoother foundations, and finish with 120–150 to ready the surface for finish. Practice steady, overlapping passes to avoid scratches, and use a random-orbit sander for even texture.
Dust control matters—tightly seal doors, wear a respirator, and utilize a sanding technique that keeps the pad flat. With grit progression and mindful sanding techniques, you’ll achieve a durable, beautiful result that invites belonging.
Stain or No Stain: Pros, Cons, and How to Decide
Choosing to stain or skip stain is a decision that sets the tone for your floor’s look and durability. You weigh color options against your home’s style, traffic, and resale goals, then decide if pigmentation enhances the character you want.
Staining can unify uneven boards and highlight grain, but it requires more prep and future maintenance. No stain preserves original color and hides fewer imperfections, offering a timeless, airier feel.
Consider how stain removal possibilities affect future changes: if you think you might switch tones later, going stain-free creates easier progressions.
For durability, choose a finish that protects regardless of stain choice. If you opt for color, test on a hidden spot first and compare results.
Either path should feel intentional, cohesive, and aligned with your belonging-seeking design.
Apply Finish Like a Pro: Steps for Even, Durable Coats
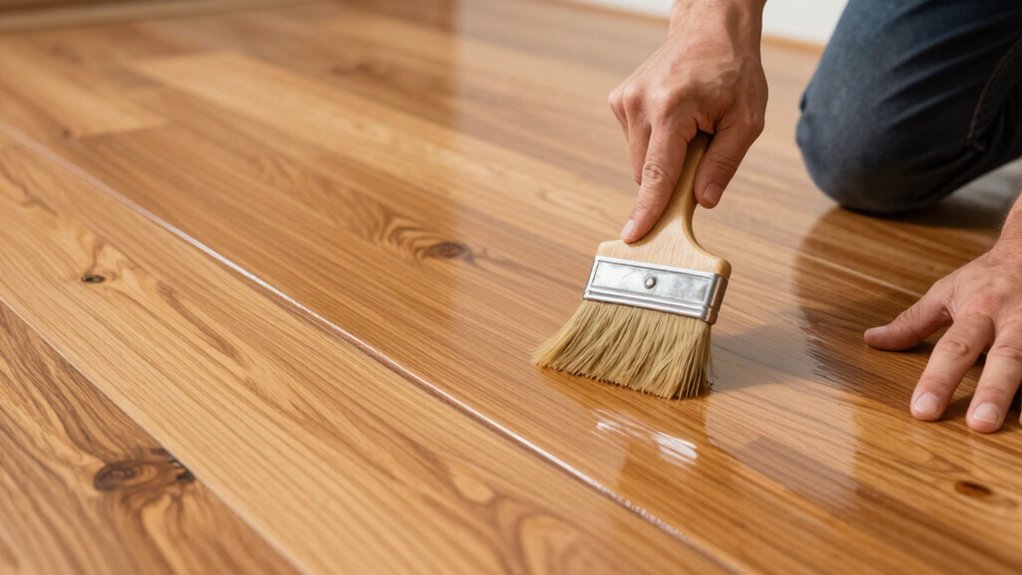
After you’ve decided on the finish approach, you’ll get the best results by applying coats evenly and with steady control. Begin with a primed surface, feathering edges to avoid lap marks, and maintain consistent brush or pad strokes. Use long, uninterrupted passes to promote coating consistency and minimize ridges.
Work in ambient conditions that suit the product’s guidelines, avoiding drafts that can cause dust nibs or uneven settling. Apply a light, even first coat and let it flow naturally, resisting the urge to overwork.
Before the next coat, inspect for dust, laps, or streaks and address them promptly. Maintain a rhythm you can sustain across the room, and establish a cadence your crew can follow.
With deliberate technique, finishing techniques translate into durable, professional results.
Drying, Curing, and Touch-Ups: Timing and Aftercare
Drying and curing aren’t interchangeable stages—they’re sequential, and both determine your final finish’s performance. After you apply the last coat, you’ll enter the drying process, followed by curing time. Respect these phases, because shortcuts show up later as luster loss or scratches.
You’ll know you’re ready for light traffic when the surface is hard, dry to the touch, and free of odor.
- Track ambient conditions: stay within recommended humidity and temperature to optimize the drying process and curing time.
- Avoid touching or placing items on floors until fully cured.
- Schedule a final touch-up window if needed, then reseal for durability and uniform sheen.
This approach reinforces belonging to a well-executed refinishing project and protects long-term results.
Troubleshooting, Quick Fixes, and Budget Hacks to Save Time
Sometimes, even with proper drying and curing, small hiccups pop up that can derail a refinishing project. You’ll approach them with calm, practical fixes that protect your budget and your floor’s integrity.
If you encounter sanding dust settled in grooves, vacuum thoroughly, wipe with a damp microfiber cloth, then re-sand only where needed to maintain uniformity.
When stain color looks uneven, test on a hidden cut line and adjust in small increments, avoiding over-application.
Quick fixes include tack cloths between coats, controlled ambient humidity, and pace-setting your workflow to prevent lap marks.
Budget hacks come from renting tools, buying closeout finishes, and choosing a versatile stain color that complements most planks.
Confidence grows as efficiency and results align. You belong in this refinishing circle.
Frequently Asked Questions
How Long Does Each Refinishing Step Take for a Typical Room?
A typical room: floor sanding takes about 2–4 hours, drying between coats adds 6–24 hours, and polyurethane application requires another 2–4 hours with full cure over several days. Plan for 3–5 days total.
Can DIY Refinishing Handle Warped or Damaged Boards?
Yes, you can tackle warped or damaged boards, but you should board replacement when needed and moisture testing before proceeding. If issues persist, consult a pro; you’ll still feel confident and belong, supported by careful, professional guidance.
Which Grit Sequence Yields the Best Finish Results?
Starting with 36-grit, then 60, 80, and 120 provides a balanced finish; progress slowly, like a craftsman telling a friend you belong here. Use sanding equipment carefully, evaluating dust. Choose finish types that match your floor’s character.
Is Staining Necessary for Darker Wood Tones?
Yes, staining is often necessary for darker tones; wood stain provides color enhancement and depth, letting you achieve richer shade while preserving grain. You’ll feel confident, connected, and earned-in, as your floor’s character strengthens through deliberate color enhancement.
What Are the Signs That a Recoat Is Needed Soon?
You’ll know a recoat is needed soon when finish wear becomes obvious: dull spots, micro-scratches, and bare-wood shine showing through. Assess wood condition regularly, and recoat before gaps widen to preserve even tone and lasting durability.