
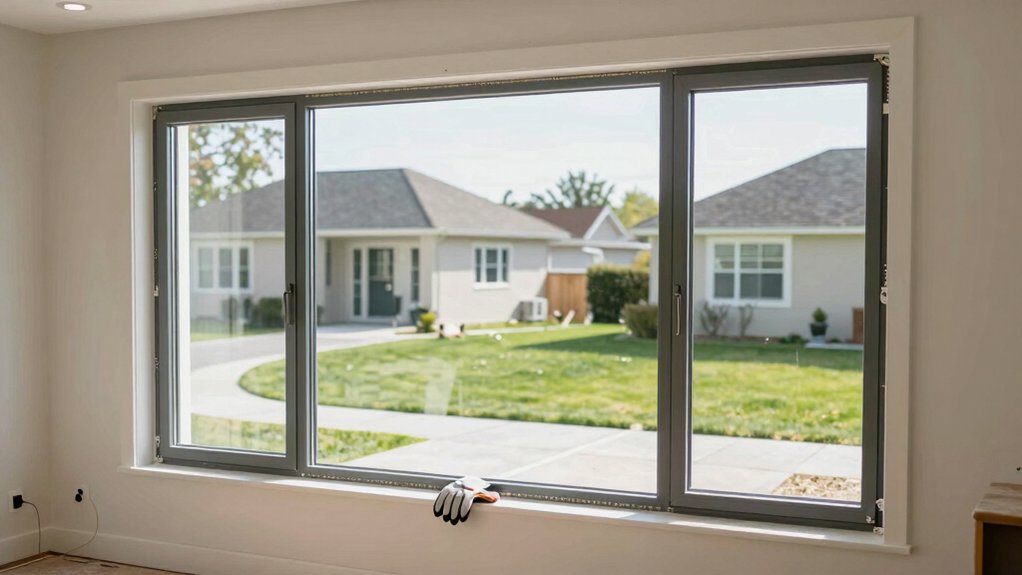
Replacing windows for energy efficiency lowers heating and cooling costs, improves comfort year-round, and reduces drafts when you pick the right glass, frame, and install method. Start by evaluating your current windows’ performance—look at U-factor, SHGC, air leakage, and visible defects. Choose efficient glass with low-E coatings and gas fills, and frames that minimize thermal bridging. Ensure a quality installation with proper sealing, alignment, and flashing. A well-planned process, budgeting, and contractor quality matter—more specifics await.
Why Replace Windows for Energy Savings (and When It Pays Off)
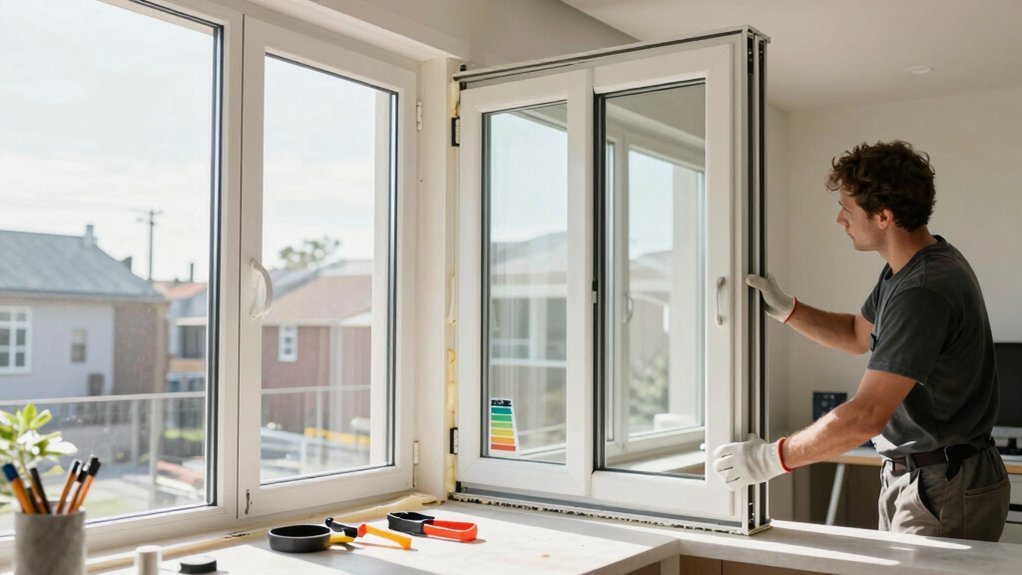
Replacing windows can reduce heat loss in winter and heat gain in summer, which lowers energy usage and utility bills. You’ll see the payoff when you compare annual heating and cooling costs before and after installation, then factor in installation quality and window performance ratings.
Energy-efficient units minimize temperature swings, maintaining steadier indoor conditions and supporting thermal comfort for occupants. You gain more than lower bills: a consistent interior climate enhances productivity, sleep, and overall wellbeing, creating a sense of belonging in a shared space.
Choose windows with high insulation values, low U-factors, and appropriate solar heat gain coefficients to align with your climate. Beyond function, you’ll notice improved aesthetic appeal that reinforces a cohesive, well-maintained home environment.
Assessing Your Current Windows: Performance Metrics and Needs
To assess your current windows, start by identifying key performance metrics, such as U-factor, SHGC, air leakage, and visible defects.
Then determine your insulation needs and how age, frame material, and glazing affect energy losses, comfort, and durability.
Finally, set clear energy efficiency priorities that align with your climate, utility costs, and budget before evaluating replacement options.
Window Performance Metrics
Evaluating your current windows starts with clear performance metrics that quantify heat loss, air leakage, solar gains, and overall comfort impact. You’ll compare U factor ratings to gauge insulation strength, and examine solar heat gain coefficient to understand summertime and sun exposure.
Air leakage measurements reveal draft paths that undermine efficiency, while visible condensation and surface temperature differences hint at thermal bridges. Glazing options influence daytime comfort and glare, so you assess inert gas fills, spacer design, and coatings for optimized performance.
Track window area relative to room usage to estimate energy load shifts. Document performance in a concise baseline, then align these metrics with your building’s climate and occupancy patterns.
Precise data empowers informed choices and fosters a sense of belonging in your efficiency journey.
Assessing Insulation Needs
Evaluating insulation needs starts with a clear view of how well your current windows prevent heat transfer. You’ll assess frame condition, glazing, and overall tightness to quantify performance gaps. Begin with simple indicators: visible drafts, uneven interior temperatures, and condensation patterns.
Then measure or estimate U-factors, solar heat gain, and air leakage by testing operability and seal integrity. Your goal is to identify where insulation fails, not to overcall issues; prioritize fixes that reduce heat flow and moisture risks.
Consider window materials and sash construction, as these strongly influence conductive paths and thermal bridging. Weather sealing quality should guide immediate improvements, including gaskets, weatherstrips, and caulking.
Document findings to align renovations with comfort, energy savings, and long-term home performance goals.
Energy Efficiency Priorities
Evaluating your current windows begins with identifying performance gaps that matter most for energy efficiency. You’ll map where heat leaks, drafts, or glare occur, then rank these issues by impact on comfort and bills.
Prioritize performance metrics like U-factor, solar heat gain coefficient, air leakage, and visible transmittance to align with your climate and occupancy.
Assess existing frames, glass, and seals for deterioration and compatibility with upgrades you’re considering.
Consider window design and how it complements your home’s flow and daylight needs, ensuring upgrades don’t compromise aesthetics or historical styles.
Align choices with energy codes and practical budgets, recognizing that modest improvements can yield meaningful savings.
Your final plan should blend efficiency with a sense of place, belonging, and authentic character.
Glass and Frame Options That Boost Efficiency
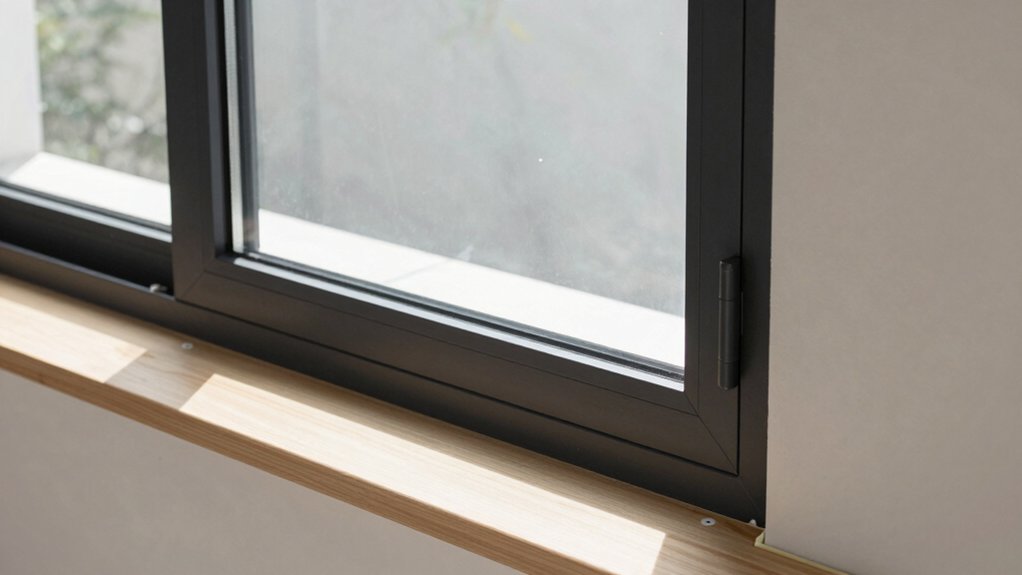
Glass and frame choices directly affect heat transfer and condensation performance. You’ll gain efficiency by selecting glass with low-emissivity coatings, inert gas fills, and appropriate thickness to reduce heat flow and minimize on-sight condensation.
Consider double pane glass for improved insulation, especially in climates with temperature swings. The air or gas gap between panes slows transfer and stabilizes interior comfort.
Frame materials matter too: rigid composites, vinyl, and wood-aluminum hybrids can minimize thermal bridging while offering durability and reduced maintenance.
Ideal frames pair with glazing for reduced solar gain or loss, depending on orientation and climate. Choose products rated for low U-values and high performance, ensuring consistent performance across seasons and maintaining a cohesive, energy-smart home aesthetic.
The Role of Installation Quality in Energy Comfort
Even with top‑tier glass and framing, energy performance hinges on installation quality. You’ll experience steady comfort when the process emphasizes alignment, level surfaces, and airtight junctions.
Installation precision matters from the moment the unit is set to its final trim; misalignment creates drafts, uneven cooling, and heat loss. Sealing techniques form the backbone of performance, ensuring gasket integrity, flashing continuity, and proper caulking connections at perimeters.
A meticulous fit reduces thermal bridging and wind infiltration, boosting both comfort and efficiency. You should expect durable operation, fewer callbacks, and long‑term value when installers verify nailing fin compatibility, shims, and shrouds, then test for air leakage.
Informed decisions rely on precise measurement, careful handling, and consistent quality control throughout the installation.
Budgeting, Incentives, and Contractor Selection
How should you approach budgeting, incentives, and contractor selection to maximize energy efficiency and value? Start with a clear cost baseline, outlining materials, labor, and contingencies. Compare financing options that minimize up-front pressure while preserving long-term ROI. Favor programs offering low-interest loans or rebates for high-performance windows, and integrate these incentives into your payback calculations.
Define criteria for contractor credentials, including licensing, warranty terms, and verifiable track records with similar projects. Require detailed proposals that itemize product choices, U-Factors, SHGC, and installation methods to guarantee performance goals. Prioritize vendors who demonstrate transparent pricing, references, and a responsible sequence plan.
Align your choice with a trusted, collaborative contractor who communicates progress, mitigates risk, and reinforces a shared commitment to energy efficiency and homeowner value.
Planning a Streamlined Window Upgrade Timeline
Planning a streamlined window upgrade starts with clear timeline milestones and a solid prep plan. You’ll map procurement, fabrication, and installation windows to minimize downtime while aligning with code checks and weather windows.
Prioritize prep and scheduling tasks now to avoid delays and keep the project on track.
Timeline Milestones
To establish a streamlined window upgrade timeline, define key milestones early and align them with project constraints, such as budget, permits, and supplier lead times. You’ll map phases from design review to procurement, installation, and QA, ensuring each step links to a measurable deadline.
Establish gate reviews to confirm scope, cost, and risk acceptance before moving forward. Track lead times for materials and accessories, factoring potential delays into buffer days. Historical trends inform contingency planning, while material innovations guide decision points about product selection and installation sequencing.
Maintain clear accountability by assigning owners and expectations for sign-offs at each milestone. Communicate progress transparently to foster belonging within your team, suppliers, and stakeholders, reinforcing confidence that the timeline remains realistic, adaptable, and aligned with energy-performance goals.
Prep and Scheduling
Effective prep and scheduling set the stage for a smooth window upgrade timeline. You’ll start with a clear scope: identify which rooms need upgrades, assess existing frames, and confirm energy goals.
Create a realistic calendar that accounts for permit timelines, material lead times, and contractor availability. Prioritize ordering components early, including storm windows if you live in a climate with seasonal swings, to avoid delays.
Build a coordinated sequence of tasks: removal, framing checks, installation, and sealant curing, then final inspections. Schedule a contingency buffer for weather and unexpected fixes.
Align window treatments with the retrofit plan so finishes and hardware remain consistent. Communicate milestones to your team and family, ensuring everyone understands responsibilities and timing for a seamless, on-budget upgrade.
After-Installation Care and Performance Checks
After installation, verify all systems are functioning as intended and establish a baseline for ongoing performance. You’ll document seal integrity, airflow, and operability of sashes, ensuring smooth operation without sticking or binding.
Monitor temperature differentials across the openings and confirm proper insulation at frames and flashing. Schedule a post-install inspection window to confirm hardware alignment, gasket compression, and drainage paths remain clear.
Establish a maintenance cadence that includes periodic cleaning, debris removal, and timely paint touch ups to protect exposed surfaces and preserve aesthetics. Keep a log of performance metrics and visual checks to track trends over time.
When issues arise, address them promptly to maintain energy efficiency. Regular maintenance reinforces belonging, trust, and confidence in your upgraded, efficient enclosure, including routine window cleaning.
Frequently Asked Questions
How Do I Compare Energy Savings Across Different Window Types?
You should perform a U value comparison and Solar gain analysis to compare energy savings across window types, focusing on frame performance, installation, and climate. This method delivers objective rankings, helping you feel informed, confident, and belonging in decisions.
What Is the Typical Payback Period for High-Efficiency Upgrades?
The typical payback period for high-efficiency upgrades is about 5–15 years, depending on climate and usage. You’ll perform a payback calculation to confirm, then set the upgrade timeline with near-term milestones and clear financial goals.
Do Existing Openings Need Structural Changes for New Windows?
Yes, you may need window frame modifications and wall reinforcement for new windows, depending on opening condition and framing. Guarantee proper structural assessment, compatible headers, and sealing to maintain integrity and energy performance.
How Long Does a Professional Window Installation Take?
A typical professional install takes 4–8 hours, depending on window count and frame materials. For example, vinyl frames speed installation. Expect total installation costs to include prep, trim, and sealing, with precision focused on window frame materials.
Do I Need a Permit for Window Replacement in My Area?
Yes, you likely need a permit for window replacement, depending on your area’s building codes and permit process. Check with your local building department, follow permits, and guarantee compliance to avoid fines or project delays.