
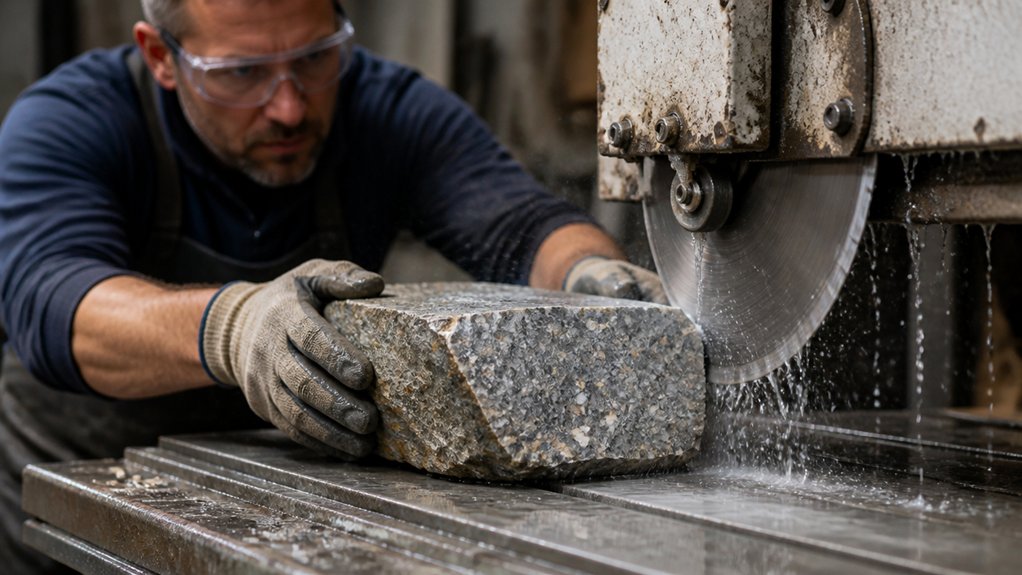
Confirm a Tile Saw Can Cut Your Rock
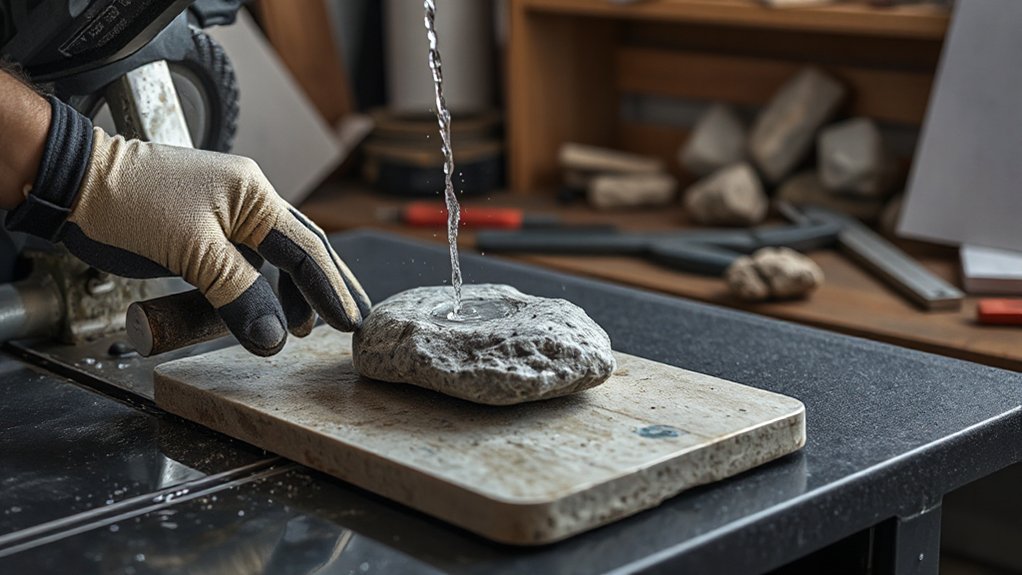
Before you power up a tile saw, confirm the rock’s hardness, size, and structure match what the saw can safely handle. Use basic geological analysis to identify material and defects: check Mohs hardness, grain size, and whether it’s brittle, layered, or porous. Reject rocks with deep fractures, vugs, or unstable laminations that could spall or bind in the cut. Measure thickness against the saw’s maximum cutting depth, and verify the rock can sit flat on the tray without rocking. Confirm your saw’s motor power and arbor speed aren’t exceeded by dense, fine-grained stones. Ascertain water delivery reaches the kerf continuously to control heat and silica dust. If your goal includes rock polishing, plan cuts that minimize chipping and leave stable faces for later grinding.
Pick the Right Diamond Blade for Rock
Once you’ve confirmed the rock fits your saw’s limits and the water feed can keep the kerf flooded, match the diamond blade to the stone and the cut you want. Choose a continuous-rim blade for smooth trims on softer rock and for minimizing edge chipping. Use a segmented or turbo rim when you need faster stock removal on harder, abrasive stone, but expect a rougher finish. Check the blade’s bond hardness: a softer bond exposes fresh diamonds for hard rock; a harder bond resists wear on soft, gritty material. Compare diamond composition and concentration, since higher-grade diamonds cut cooler and track straighter. Inspect rim thickness and arbor size for proper mounting. Replace blades with glazing, cracks, or wobble to protect blade lifespan and your hands.
Choose Tile Saw Size, Power, and Water Flow
Although a sharp blade does most of the cutting, your tile saw’s size, motor power, and water delivery determine whether you can slice rock safely without stalling, binding, or overheating the rim. Choose a saw with enough throat depth and table travel to support the stone fully; cramped capacity forces twisting and increases kickback risk. Prioritize motor power and torque over RPM—hard, high material durability rocks load the blade heavily, and an underpowered saw bogs down and grabs. Confirm blade compatibility: match arbor size, maximum blade diameter, and rim type to the saw’s rated speed. Use consistent water flow to cool the bond, suppress silica dust, and flush swarf; weak flow burns segments, while excessive splash can reduce visibility and control.
Set Up Your Tile Saw for Rock Cutting
Now you’ll set up your tile saw for rock cutting by installing the correct diamond blade for your material and confirming it’s rated for wet cutting. Set the blade depth and fence, then lock everything down so you don’t get binding or kickback during the cut. Adjust the water flow to keep the blade and rock continuously cooled and flushed, and verify the stream hits both sides of the blade before you start.
Choose Diamond Blade
Before you make the first cut, choose a continuous-rim diamond blade rated for wet cutting and compatible with your tile saw’s arbor size and RPM. For Diamond blade selection, match the blade diameter to the saw’s guard and maximum depth, and verify the arbor hole fits without adapters that can wobble. Pick a blade with a hard bond for softer, abrasive rocks (sandstone, limestone) so diamonds don’t shed too fast, and a softer bond for hard, dense material (agate, jasper, quartz) so fresh diamonds expose. Apply Rock type considerations: avoid segmented or turbo blades that can chip brittle specimens and overload small saws. Inspect for cracks, glazing, or missing segments, and replace damaged blades immediately. Never exceed the blade’s rated speed limits.
Adjust Water Flow
Once you’ve mounted the right diamond blade, set the saw’s water flow so a steady stream hits both sides of the rim at the point of contact with the rock. You’re aiming to cool the blade, flush grit, and suppress silica dust. Check the reservoir level, prime the pump, and clear the intake screen before you start.
Adjust water pressure so the stream doesn’t sputter or bounce off the blade guard. Then tune the flow rate: too low overheats the rim and can glaze the diamonds; too high can hydroplane the rock and reduce control. Run the saw for 10–15 seconds and verify continuous coverage while the blade spins. If the stream shifts, realign the nozzle or tray guides. Keep water away from cords and use a GFCI outlet.
Mark and Clamp the Rock for Stable Cuts
Mark your cut line clearly with a wax pencil or paint marker, and align it to the blade path before you power on. Clamp the rock to the saw’s tray or a stable jig so it can’t rotate, lift, or chatter under feed pressure. You’ll get straighter cuts and reduce kickback risk when the rock stays fixed and your line stays visible.
Accurate Cut Line Marking
How do you keep a rock from wandering into the blade and ruining an otherwise clean cut? You start with a precise cut line. Clean and dry the rock so ink or pencil bonds, then choose a high-contrast marker or wax pencil that won’t wash off under coolant. Use measurement tools—steel rule, calipers, or a square—to transfer dimensions and improve marking accuracy, especially on irregular faces. Scribe light reference ticks first, then connect them with a straightedge or flexible curve. For slabs, mark both the top and the leading edge so you can track alignment as the blade enters. Keep your hands clear while test-positioning the rock on the saw table, and confirm the line matches the blade path before powering on.
Secure Clamping Techniques
Even with a perfect cut line, the rock can twist or roll as the blade bites unless you clamp it down securely. Set the stone flat on the saw tray, then test for wobble by pressing each edge. If it rocks, shim with thin rubber, leather, or wet towel strips until it sits stable. Use a small bar clamp or C-clamp with padded jaws to avoid cracking; keep clamp hardware clear of the blade path and fence travel. Position the clamp so force pushes the rock into the fence, not away from it. For irregular pieces, build a V-block from scrap wood and clamp the block instead. Recheck alignment to your mark, then lock everything. This is clamping safety and smart securing rocks.
Cut Rock With a Tile Saw: Step-by-Step
Before you power up the saw, set up a controlled, water-managed work area and lock in your safety gear so the cut stays predictable. Verify the reservoir is filled, the pump flows to both sides of the diamond blade, and the GFCI is working. Mark the cut line with a wax pencil, then place the rock flat on the tray against the fence. Start the saw, let the blade reach full speed, and confirm steady water on the rim. Feed the rock forward with two hands, keeping fingers clear of the blade path. Use light, constant pressure; if the motor slows, back off and re-feed. Complete the pass, shut down, and wait for the blade to stop. Rinse the slab for Rock polishing later.
Prevent Chips and Cracks While Cutting
Once you’ve got a clean, water-fed pass down, the next priority is keeping the rock from chipping or spider-cracking as the blade enters, exits, and crosses weak zones. Mark fractures, then orient the cut so the blade doesn’t pry them open. Clamp the stone to a rigid sled or backer tile so vibration can’t flex it. Start with a shallow scoring pass, then deepen the cut in steady increments; don’t force feed pressure. Support both sides of the kerf as the piece separates, and slow slightly at the last 10–15 mm to prevent breakout. If you need decorative finishes, leave extra material for Rock polishing, since edge rounding removes micro-chips. Wear eye protection and gloves, and keep hands clear of the line.
Stop Blade and Motor Overheating
While you’re pushing a dense rock through a wet tile saw, heat can build fast at the blade rim and load the motor, so treat overheating as an immediate stop-and-correct issue. If you smell hot resin, see steam, or hear RPM drop, stop the feed, shut off power, and let everything cool. Verify constant water flow hits both sides of the blade; clean the pump screen, straighten kinked lines, and refill the tray. Reduce feed pressure and let the diamonds cut instead of forcing them. If glazing persists, do Blade sharpening with a dressing stone to reopen the segment. Keep Dust management tight by keeping the work wet and wiping slurry from vents so the motor can breathe. Inspect bearings and belt tension periodically.
Smooth Edges and Troubleshoot Bad Cuts
Even if your cut line looks clean coming off the saw, you still need to address sharp edges and any signs of a bad cut—chipping, wandering, or a burned/glazed kerf—because they point to blade setup, feed control, or cooling problems that can damage the rock and raise kickback risk. For smoother edges, knock down burrs with a diamond hand pad or wet sandpaper, then progress through finer grits for surface polishing while keeping the stone damp to control dust. If you see chipping, slow your feed, support the offcut, and use a sharper continuous-rim blade. If the cut wanders, square the fence, verify arbor runout, and keep steady pressure. A glazed kerf means poor water flow or dull diamonds—dress the blade on a dressing stone. Prioritize cutting safety.
Frequently Asked Questions
Is It Safe to Cut Rocks Indoors With a Tile Saw?
You can, but it’s only safe indoors if you manage Indoor ventilation and strict dust control. Use a wet-cut saw, HEPA vacuum, respirator, and barriers. Keep bystanders out, prevent slip hazards, and clean thoroughly.
Do I Need Respiratory Protection When Cutting Rocks With Water Cooling?
Yes—you should wear respiratory protection; better safe than sorry. Water cooling reduces airborne silica but doesn’t eliminate respiratory hazards. Use a P100 or N95, guarantee ventilation, and maintain dust control: splash guards, wet feed, cleanup.
How Do I Dispose of Rock Slurry and Wastewater Responsibly?
Collect slurry in a settling bucket, decant clear water, and let solids dry. Bag dried sediment for trash per local rules. Don’t pour into drains. These Disposal methods cut Environmental impact and protect waterways.
Can I Use a Tile Saw to Cut Gemstones for Jewelry Projects?
Yes—you can, but like glass in a storm, you must respect Gemstone fragility. Use a continuous-rim diamond blade, steady feed, and coolant for Cutting precision. Wear eye/respiratory protection; secure small stones.
What Maintenance Should I Do After Cutting Rocks to Prevent Rust?
You’ll prevent rust by draining, rinsing, and drying everything immediately. For Rust prevention, wipe metal parts with light oil, check fasteners, and store dry. Maintenance tips: clean slurry, inspect bearings, and replace worn seals.
Conclusion
With the right diamond blade and steady water flow, you can turn a rough rock into a clean, square blank. You’ll hear the motor settle into a smooth hum as the blade bites, and you’ll see a thin ribbon of slurry wash away heat. Keep your hands clear, feed slowly, and let the saw do the work—no twisting, no forcing. If you smell hot stone or see steam, stop and cool. Dress, sand, and inspect edges.