
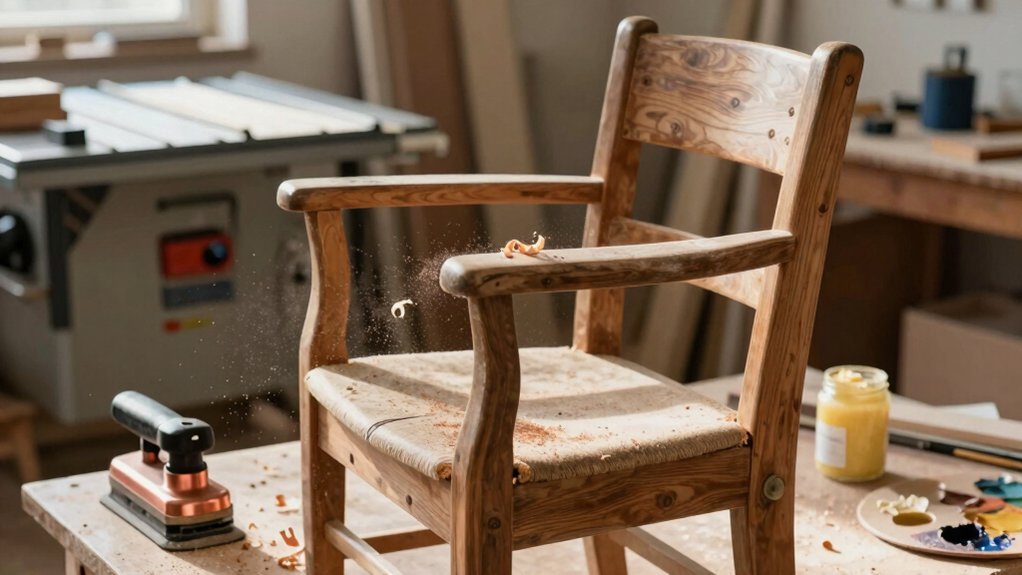
Furniture upcycling gives your old pieces a second life by transforming them into durable, stylish, market-ready items. Start with a careful assessment: check for damage, joints, moisture, and finish; prioritize pieces with solid foundations. Plan design, budget, and timelines, and choose versatile finishes and hardware. Use essential tools, proper safety gear, and sustainable methods to reduce waste. Focus on durability, storytelling, and clear maintenance routines to maximize value. Want more practical steps and project ideas? You’ll find them as you continue.
What Is Furniture Upcycling and Why It Works
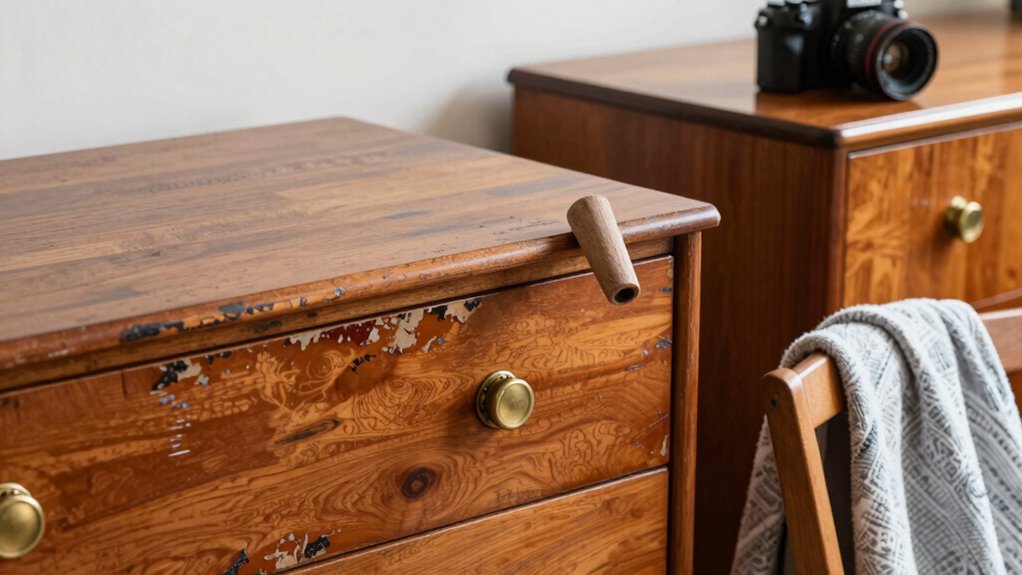
Furniture upcycling is the process of transforming old or discarded pieces into functional, higher-value items, often with materials and finishes that reduce waste and costs. You approach it with intent: you identify value where others see junk, and you leverage practical techniques to restore form and function.
By embracing eco friendly materials, you minimize environmental impact while maintaining durability and market appeal. Your work balances utility with design essence, delivering pieces that perform reliably in daily life and resonate with collectors or homeowners seeking character.
Artistic inspiration guides your choices, turning imperfections into narrative and texture into value. The result is a repeatable workflow that cuts waste, reduces sourcing risk, and builds trust with clients who want responsible, stylish transformations.
Assess Your Pieces: How to Decide What to Upcycle
Assess each piece by material condition first, identifying which items are structurally sound and worth the effort.
Weigh redesign potential against costs and time, prioritizing projects with clear, high-value outcomes.
Consider budget and timeframe upfront to filter options and keep the upcycling program focused and scalable.
Assess Material Condition
Before deciding what to upcycle, inspect each piece thoroughly to gauge its material condition. You’re evaluating more than looks; you’re forecasting longevity and cost efficiency. Check for core issues: warped panels, loose joints, cracks, and moisture damage.
Assess material durability by testing with deliberate, low-force pressure in key areas, noting flex and creak points. Examine finish wear, veneer separation, and hidden rot or pest signs that compromise value.
Confirm structural integrity by evaluating joinery, hardware alignment, and load-bearing potential. Document findings for informed decisions and accurate estimates.
Prioritize pieces with solid foundation and repairability, while flagging aspects that would undermine performance. This disciplined approach reinforces belonging—you’re choosing workpieces that you, your team, and clients can trust to endure.
Prioritize Redesign Potential
To prioritize redesign potential, you should scan each piece for likely transformation avenues—shape, function, and marketability—then rank by ease of alteration and return on effort.
You’ll assess whether a piece can be reshaped, repurposed, or reconfigured with minimal cost and disruption. Prioritize items with strong material versatility that support multiple finish or hardware options.
Consider design inspiration that aligns with current interiors while preserving signature character, enabling a compelling before-and-after narrative.
Rank opportunities by impact, feasibility, and time to completion, ensuring you can deliver a polished result within your workflow.
This disciplined approach protects your brand and builds belonging by signaling deliberate craftsmanship.
Focus on scalable changes that elevate value, not just momentary trends, and document outcomes for future reuse.
Budget and Timeframe
After identifying redesign potential, you’ll pin down what you can actually fund and schedule. Here, budget and timeframe matter as you Assess Your Pieces: How to Decide What to Upcycle.
Start with cost considerations that set boundaries without stifling creativity. Prioritize pieces with the strongest return in function and style, then map legitimate material and labor costs against your overall budget.
Time management isn’t just about a clock; it’s about sequencing tasks to avoid bottlenecks and delays. Establish a realistic cadence: estimate drop-in tasks, sourcing, and finishes, and build buffers for setbacks.
Communicate boundaries clearly to your team or partner vendors so expectations stay aligned. With disciplined budgeting and scheduling, you’ll move confidently from idea to finished piece that feels like belonging.
Essential Tools You Need for Beginner Upcycling
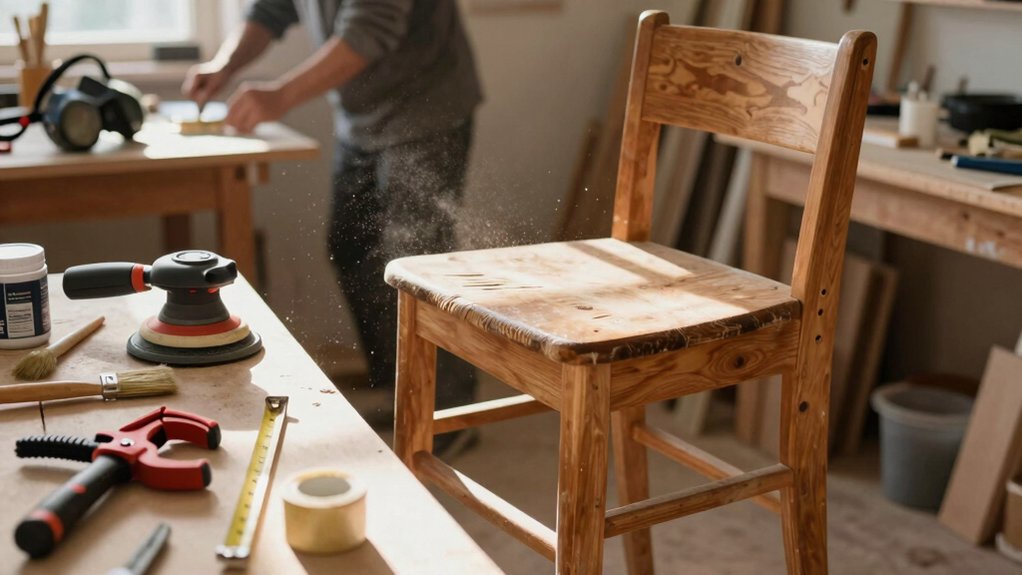
Getting started in upcycling means gathering a core set of tools you’ll actually use, not a warehouse full of gadgets you’ll rarely reach for. You’ll want a solid selection: a versatile drill/driver, a basic custom-fit bit kit, and a quality multi-tool for tight spots. A straightedge, carpenter’s square, and a sharp utility knife keep lines precise and work clean.
Include clamps, a small sander, sandpaper in grits for prep, and a reliable bradawl or awl for marking. Safety matters: goggles, ear protection, and a dust mask protect your momentum. For finishes, invest in a brush set, a foam roller, and a microfiber cloth.
Choose DIY decor staples and eco friendly materials to align with your craft values, signaling belonging to a practical, professional community.
Surface Prep Like a Pro: Sanding, Cleaning, and Primers
Sanding, cleaning, and priming are the three pillars of a durable finish, so you’ll tackle them in sequence to guarantee adhesion and appearance. When you prep, you set the standard for finishing techniques and long-lasting results.
Start with a thorough cleaning to remove grime and oils, then sand to create a tooth for the primer. Choose the right grit, stay even, and avoid gouges that trap air or moisture. Wipe down again, then apply a compatible primer that seals and bonds to the surface.
- Clean and degrease: remove residue for true adhesion
- Sand evenly: feather edges, maintain flat surfaces
- Prime appropriately: pick a sealer or bonding primer
- Final wipe: ensure a dust-free, ready-to-coat surface
Color, Finish, and Protection: Paints, Stains, and Coats
Now that you’ve prepped the surface, it’s time to choose the paints, stains, and protective coats that deliver the look you want while guarding against wear.
Your color selection guides mood, depth, and cohesion with adjacent pieces, so start with a practical palette that matches your room’s lighting and style.
Consider finish types for durability and feel; matte offers soft suppression of imperfections, satin balances sheen and wipeability, and gloss elevates contrast and detail.
Apply stains to highlight grain or use paints for solid coverage, then seal with a compatible topcoat that resists chips and moisture.
Follow manufacturer recommendations for drying times, recoil, and recoat windows.
This disciplined approach guarantees a durable, cohesive, and personally expressive result.
Hardware Makeover: Handles, Knobs, and Brushed-to-Matte Finishes
Hardware isn’t complete without the right hardware. You’ll elevate every piece with carefully chosen decorative hardware and thoughtful finishes that read as intentional. In this makeover, you aim for cohesive scarcity—subtle, durable, and on-brand.
- Select handles and knobs that echo your piece’s lines and era
- Opt for brushed finishes to unify metal tones and reduce glare
- Mix textures sparingly to add depth without clutter
- Prioritize quality over trend to ensure lasting value
Brushed finishes resist fingerprints and wear, making daily use feel premium. Fit hardware precisely to avoid gaps that ruin the line of the piece. When you swap fasteners, keep hardware labeled for future projects.
5 Budget-Friendly Upcycling Projects to Start Now
Turn useful pieces into standout finds with a few budget-friendly upcycling projects you can start today. You’ll transform furniture efficiently by prioritizing sustainable materials and simple techniques that deliver professional results.
Begin with a magnetic refresh: swap hardware, sand lightly, and apply a durable finish to elevate vintage charm while keeping costs low.
Repurpose a table into a console by trimming legs or adding a new storage tray, then seal for longevity.
Upgrade seating with reclaimed fabric or a bold, low-cost upholstery solution to reinforce a sense of belonging in your space.
Create wall-mounted shelves from salvaged boards, emphasizing clean lines and functionality.
These approaches deliver durable, stylish updates without heavy investment, aligning with industry standards and consumer desire for sustainable, connected interiors.
Safety First and Budget Better: Planning Without Waste
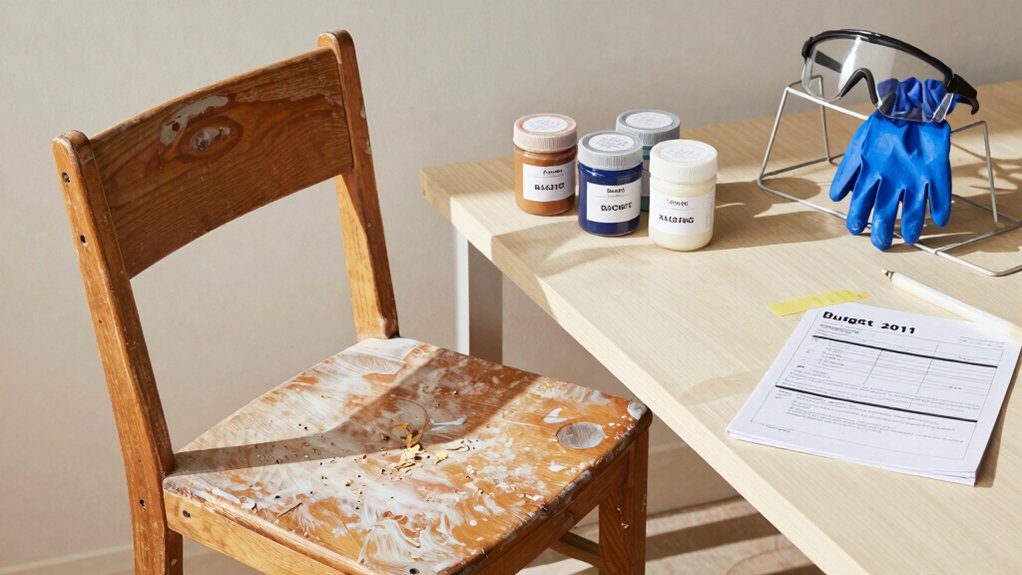
Safety should come first when planning upcycling projects, so set a clear budget, identify reusable materials, and map out a waste-minimizing workflow before you cut a single board.
You’ll protect yourself with solid safety precautions and keep costs predictable through disciplined budget planning. Prioritize materials with minimal processing to reduce waste, time, and risk.
Establish a stepwise plan that aligns tooling, ventilation, and finish choices with your timeline and skills. Stay focused on value over impulse, and invite collaborators to share best practices.
Downstream, you’ll gain confidence, reduce scrap, and finish with professional polish.
- Define safety precautions and PPE
- Create a budget ladder with contingencies
- Audit materials for reusability
- Chart a waste-minimizing workflow
Troubleshooting Common Issues and Quick Fixes
When you spot a snag or misfit in upcycled pieces, start with quick audits: check joints, hardware, and fitment before you adjust finishes.
Common fixes—tightening screws, realigning panels, and patching minor scratches—get you back on track without a full redo.
If issues persist, isolate the cause (structure, finish, or upholstery) and apply targeted solutions, documenting what worked for future projects.
Quick Fixes For Issues
Common issues in furniture upcycling crop up quickly, but you can handle them with straightforward fixes. You’ll stay efficient by targeting root causes and applying proven methods. Consider these quick wins to keep projects on track and your workshop cohesive.
- DIY upholstery touch-ups: tighten seams, seal loose threads, and refresh fabric with minimal material.
- Surface prep perfection: sand evenly, wipe dust, and repair small nicks before finish coats.
- Color consistency: mix eco friendly paints in batches to avoid shade drift across panels.
- Hardware hacks: tighten screws, replace worn hinges, and swap aged pulls for a cohesive look.
With these fixes, you reinforce quality, save time, and reinforce your identity as a capable maker.
Common Troubleshooting Tips
Ever stumbled on a stubborn flaw while upcycling a piece? Here’s your concise troubleshooting playbook.
Start by evaluating surface prep: dull edges invite peeling, so sand thoroughly, wipe clean, and test adhesion with a quick tack rag before any paint application.
If you see bubbling, stop, dry, and re-sand; moisture is the culprit, not the finish.
When hardware misaligns, don’t force it—verify hinge placement, screw size, and backplate compatibility, then replace hardware where needed.
For stubborn joints, apply a minimal amount of wood glue and clamp until dry, avoiding over-wetting.
If color streaks appear, apply a targeted touch-up after a light, uniform base coat.
Always document steps, so teammates can replicate success and maintain quality across projects.
Maintaining and Extending the Life of Your Upcycled Pieces
Maintaining and extending the life of upcycled furniture starts with proper assessment and routine care. You’ll protect value by inspecting joints, finishes, and hardware, then planning targeted care.
Focus on longevity through sustainable practices and DIY maintenance that fits your space and skills.
- Assess wear, tighten hardware, and refresh surfaces with appropriate finishes
- Clean with mild cleaners, test spot reactions, and avoid harsh solvents
- Use protectors, mats, and climate control to minimize stress on materials
- Schedule periodic reviews and proactive repairs to prevent costly failures
Adopt a disciplined routine, document treatments, and reuse or recycle components when possible. This approach keeps pieces cohesive with your environment, reinforces belonging, and supports a professional, industry-aligned standard.
Frequently Asked Questions
Can Upcycling Increase a Piece’s Resale Value?
Yes, upcycling can boost resale potential and value enhancement, especially when you highlight quality, originality, and market-ready finishes. You’ll attract buyers who crave belonging, trust craftsmanship, and see the piece as a curated, sustainable investment.
How Long Does Upcycling Typically Take per Item?
Upcycling typically takes a few hours to a couple days per item, depending on scale. You’ll want realistic time estimates and assess skill requirements upfront, then pace your project to maintain momentum and a professional, belonging-focused finish.
What Budget Mistakes Should Beginners Avoid?
Avoid underestimating costs, because budget planning matters. Track material costs, shop smart, and compare suppliers. Don’t skip margins for tools, finishes, or waste. Plan contingencies, set limits, and stay consistent to join the upcycling community.
Are Eco-Friendly Finishes Worth the Extra Cost?
Yes, eco friendly finishes are worth it when you compare long-term durability and health impacts. Do a cost comparison, weigh maintenance needs, and choose products that align with your values and long‑term furniture quality goals.
Can Upcycled Furniture Be Repaired if Damaged Later?
Yes, you can repair upcycled furniture; you just choose restoration options that suit the piece and your skills. Prioritize damage prevention, inspect joints, finishes, and hardware, then apply restoration options for lasting, communal-quality results you can trust.