
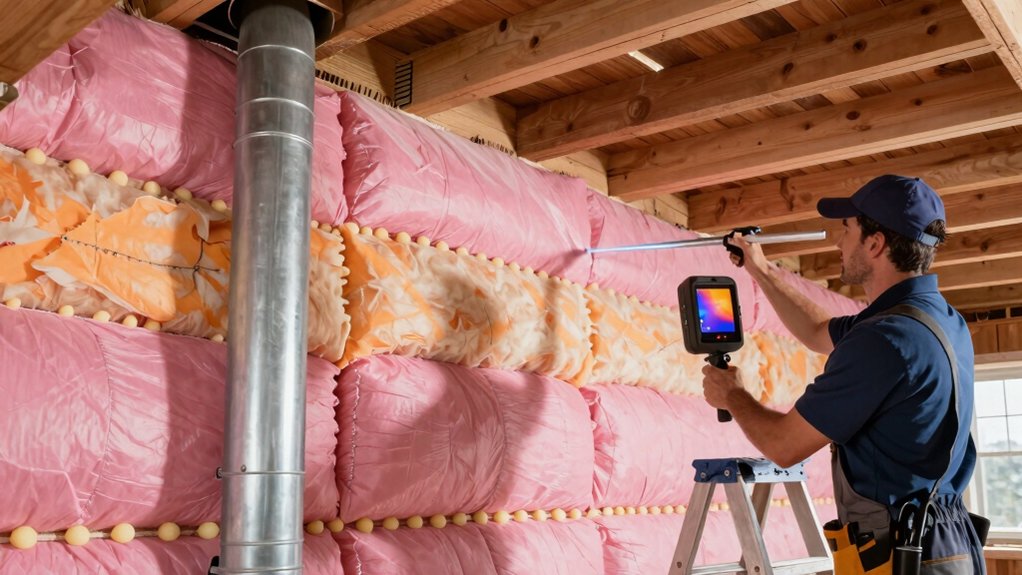
To cut energy bills, start by locating and sealing air leaks before adding insulation. Inspect penetrations, ducts, and the attic hatch, then apply low-odor, paintable sealants around gaps and joints. Measure insulation depth at multiple points and target climate-based R-values, upgrading where thermal bridging exists. Use a balanced ventilation approach to control moisture. Prioritize airtight detailing with insulation in mind, then verify gains with simple tests and photos. Want more step-by-step guidance and practical tips? Continue, and you’ll gain a full, data-driven plan.
Assess the Attic: Find Leaks Before You Seal
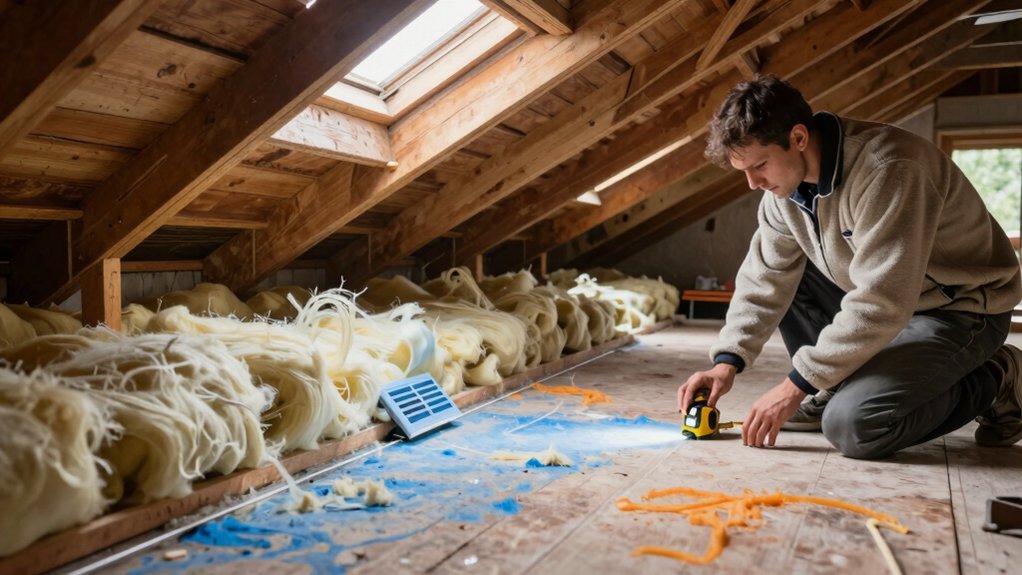
To assess the attic, start by locating drafts and moisture issues with a quick, systematic check: look for gaps around penetrations, poorly sealed ducts, and obvious air leaks. You’ll map where heat escapes and moisture condenses, then prioritize fixes that yield measurable gains.
During attic inspection, rely on solid data: feel for drafts, count visible gaps, and note insulation consistency. Use a flashlight to reveal light through joist bays, and test with a smoke pencil or cotton ball to confirm leak paths.
Document findings with photos and simple measurements so you can compare before and after. This approach builds confidence, fosters belonging, and aligns with practical design standards: targeted leak detection reduces energy loss and guides effective sealing.
Choose Attic Sealants: Where, Why, and How Much
Choosing attic sealants comes down to where they’re used, why they’re needed, and how much material you’ll actually use. You’ll balance performance, compatibility, and visual cleanliness while you plan insulation selection and air sealing.
For most gaps, you’ll choose low-odor, paintable options that adhere to framing and joists without staining. Consider solvent-free products for living spaces and humidity-rated formulas for kitchens or baths.
Matching sealants to insulation selection ensures long-term performance, reduces moisture risk, and helps maintain a tight envelope. Think about substrate, temperature during application, and cure time to avoid setbacks.
Your goal is a cohesive, durable result you can feel confident about in every room.
- Where to apply and how to prep
- Material type and cure timelines
- Compatibility with existing insulation
- Budget, coverage, and waste reduction
Prep the Attic Safely: PPE, Access, and First Steps
If you’re going to seal and insulate, start with safe, controlled access and the right PPE, because a solid plan reduces risk and speeds up work. You’ll map attic access points, prioritize stable entry, and keep airflow clear to minimize dust and debris.
Wear Personal protective equipment—goggles, gloves, respirator or P100 mask when needed, and sturdy footwear with good tread. Inspect ladders, boards, and joists for wobble; secure loose boards before stepping.
Establish a clean, organized workspace near the access, with containment for insulation debris. Maintain lighting, ventilation, and a clear exit path.
Plan sequence logic: seal, then insulate, using data-driven checks to verify gaps and insulation depth. This approach supports safe progress and a confident, belonging-driven DIY routine.
Seal Attic Leaks: A Step-by-Step DIY Guide
Start by identifying where leaks are most likely and testing for air movement to validate promises you made earlier about safety and containment. You’ll methodically chase drafts, focusing on attic hatches, vent gaps, and knee walls. Then confirm with a smoke test or simple incense sticks to see airflow.
This practical approach reduces heat loss and guards against unintended moisture intrusion, including attic moisture that can damage framing. Use durable sealants and compatible tapes, prioritizing long-term performance over quick fixes. When you seal, plan for future accessibility and ongoing inspection, not just today’s fix.
Include insulation recycling considerations where appropriate to avoid waste.
- Map leak hotspots
- Choose compatible sealants
- Seal before adding new insulation
- Schedule a follow-up check for tightness and moisture buildup
Measure Attic Insulation Depth and Target R-Value
To meet your attic’s insulation goals, start by measuring how deep your current insulation sits. Compare this measurement to the target R-value for your climate.
Use the depth-to-value relationship as a quick guide: thicker isn’t always better if your base materials differ or you’ve gaps. So adjust based on actual performance data.
Align depth measurements with the prescribed R-value guidelines to design a precise, performative upgrade plan.
Measuring Insulation Depth
Measuring attic insulation depth is essential to determine whether you’ve reached your target R-value. You’ll document current thickness at multiple stations, then compare against installed material specs and climate-based benchmarks.
Look for gaps, compression, and areas where depth varies with joist spacing, as these reveal thermal bridging and potential moisture issues. Use a laser measure or a calibrated ruler to keep values precise, and record depth in inches or centimeters for consistency.
Align measurements with existing moisture barriers and ensure any signs of moisture are noted for later assessment. This practical check helps you design smarter fixes and maintain a cohesive, energy-efficient attic space.
- Establish baseline measurements at key zones
- Note variations around joists and penetrations
- Check alignment with manufacturer and code specs
- Track changes over time to spot degradation
Target R-Value Guidelines
Achieving a target R-value begins with translating insulation depth into a specific performance goal for your attic. You’ll translate those measurements into measurable targets, guided by R-value standards and practical insulation guidelines.
In practice, you’ll choose a target R-value based on climate, attic layout, and existing assemblies, then map it to the required depth for the chosen material. This isn’t guesswork; it’s a data-driven approach that balances comfort, energy bills, and building science.
Use standardized benchmarks from credible sources to validate your plan, then document the depth you’ll install in each area. As you implement, verify progress with simple checks and adjust to maintain a cohesive, high-performance attic.
You’re building a space that meets expectations and strengthens your home’s belonging.
Depth-to-Value Relationship
Depth and value go hand in hand: by measuring attic insulation depth and linking it directly to the target R-value, you create a clear, actionable path from install depth to performance. You’ll see how depth translates to resistance, and how gaps or thin spots can undermine overall efficiency. This relationship helps you spot thermal bridging and air exchange risks before they grow, so designs stay tight and predictable.
- Align depth measurements with exact R-value targets
- Identify thermal bridging hotspots and patch them early
- Close air exchange paths without sacrificing ventilation balance
- Verify performance through simple tests after installation
This approach gives you a confident, design-forward path that blends data with practical, belonging-focused action.
Attic Insulation Options: Fiberglass, Mineral Wool, and Spray Foams
When selecting attic insulation, you’ll compare fiberglass, mineral wool, and spray foams for performance, cost, and installation practicality. You’ll evaluate R-values, air-sealing potential, and long-term stability to pick insulation materials that fit your home’s design and budget.
Fiberglass offers affordable bulk fill and moisture resistance, but installation requires care to avoid gaps.
Mineral wool provides fire resistance and sound control with resilience in moisture-prone spaces.
Spray foams deliver superior air sealing and high R-values in tight cavities, yet demand skilled application and higher upfront costs.
Consider how each option coordinates with existing attic ventilation and future retrofits.
Decide based on measured heat loss, crew capability, and the home’s aesthetic.
Your informed choice strengthens comfort, energy efficiency, and a sense of belonging in the design community.
Ventilation, Gaps, and Energy Savings for Attics
You’ll benefit from tight ventilation practices, targeted sealant gaps, and solid insulation savings that work together to lower energy use.
Start with proven ventilation strategies, then plug leaks with effective sealants, and quantify savings with site data and performance metrics.
This approach keeps attic design practical, measurable, and focused on real-year results.
Ventilation Best Practices
Proper attic ventilation, gaps, and overall air-sealing strategy directly affect energy savings and long-term comfort. You’ll use a balanced approach: intake vents near the soffits, exhaust vents at the ridge, and airtight detailing around penetrations to prevent moisture buildup.
Focus on predictable airflow, not just more holes, to optimize attic performance and indoor air quality. Prioritize moisture control by minimizing humid influx and directing interior condensation away from insulation. Measure airflow with simple checks and adjust baffles to keep mats dry and effective.
Pair this with continuous insulation where possible, so you don’t trade comfort for efficiency.
- Optimize intake and exhaust balance for consistent airflow
- Seal around penetrations while preserving vent function
- Use baffles and proper insulation to avoid convective leaks
- Monitor moisture indicators and adjust seasonally
Sealant Gap Strategies
Sealant gap strategies focus on airtight detailing around penetrations, joints, and shifts to cut convective heat loss without hindering ventilation. You’ll prioritize continuous seals at chimney backs, electrical penetrations, attic hatch edges, and vent pipes, then verify with a blower door test for pinpoint accuracy.
Use caulking techniques that suit each substrate—silicone for metal, acrylic for wood, polyurethane where gaps are large. Apply foam sealants to bigger voids, but trim excess once cured to avoid squeeze-out that traps moisture.
Maintain ventilation pathways by only sealing what causes leakage, not airflow. Document your results with before/after measurements and photos to share with your crew, reinforcing a design-centered approach that values comfort, efficiency, and community trust.
Attic Insulation Savings
Ventilation, gaps, and energy savings in attics hinge on combining airtight detail with mindful insulation strategy. You’ll optimize comfort by balancing airflow and materials, ensuring you don’t trap moisture or waste heat.
Track attic moisture trends to prevent mold risk and preserve insulation performance. Prioritize high R-value where it counts, and plan for future upgrades with insulation recycling in mind.
Small changes compound into real bill reductions when aligned with ventilation and air-sealing discipline. Leverage data on for-the-climate performance to choose products that fit your home’s envelope, not just trends.
Your attic becomes a disciplined system, where design meets function and you belong to a community of efficient homeowners.
- Prioritize moisture-aware sealing and vent placement
- Match insulation choice to climate and roof design
- Plan for recycling and material reuse
- Monitor performance with simple, repeatable checks
Budget, Time, and Expected Payoff for Attic Projects
Budgeting an attic project isn’t guesswork—you should expect a clear tradeoff between cost, time, and payoff, with numbers driven by your home’s size, insulation levels, and air-sealing needs.
A practical cost analysis ties payback to energy savings, climate, and existing performance, so you can forecast ROI within a 1–5 year window.
Material selection matters: choose proven sealant systems and insulation types that balance upfront expense with long-term durability.
Time scales hinge on scope—taps into a single weekend or stretches across a season with staged work.
Prioritize airtight detailing and consistent thickness for dependable results.
Your belonging comes from informed choices, sensible budgets, and a plan you can defend with data and design intent.
Troubleshoot Common Attic Sealing and Insulation Pitfalls
Common sealing and insulation pitfalls can derail even well-planned attic upgrades, so start by identifying the most likely trouble spots—air leaks around soffits, penetrations, and junctions—and tackle them with targeted, data-backed strategies.
You’ll improve performance by verifying gaps with air leak detection, then selecting appropriate insulation materials to fill guaranteed voids without compressing existing layers. Prioritize continuous barriers, sealed fasteners, and properly flashed penetrations to avoid thermal bridges.
Use measured airflow, R-values, and material compatibility to guide decisions, not guesswork.
- Identify leaks with simple smoke tests and IR surveys
- Seal around penetrations before adding insulation
- Choose non-penetrating fasteners and compatible materials
- Air seal and insulate in staged, data-driven passes
Frequently Asked Questions
How Long Does Attic Sealing Take for a Typical Home?
Attic sealing for a typical home takes about half a day to a day, depending on access and insulation types. You’ll improve attic ventilation planning, compare installation steps, and feel like you belong in a data-driven, design-focused project.
Can DIY Sealing Cause Moisture Problems in Roofs?
You risk moisture accumulation and roof damage if you DIY seal without careful inspection, testing, and proper ventilation; treat sealing like a controlled art, measuring humidity, airflow, and materials, so your attic becomes a safe, connected system, not a trap.
Is There a Difference Between Vapor Barriers and Air Sealing?
Yes, there’s a difference: a vapor barrier controls moisture diffusion, while air sealing stops drafts. Use vapor barrier where appropriate and apply air sealing techniques around junctions to improve comfort, efficiency, and your sense of belonging in a well-designed home.
What Are Signs of Improper Insulation Compression?
Improper insulation compression shows gaps, uneven thickness, and reduced R-value, harming comfort. You’ll notice drafty spots and cold floors. Maintain air seal integrity by checking for uniform compression, avoiding gaps, and ensuring complete, continuous coverage throughout the attic.
Should I Replace Existing Insulation or Layered Add-Ons?
You should layer add-ons rather than a full replacement, prioritizing insulation layering for enhanced airflow and coverage, because the effectiveness comparison shows incremental gains; monitor performance, guarantee compatibility, and keep the attic cohesive to preserve a belonging, data-driven design.