
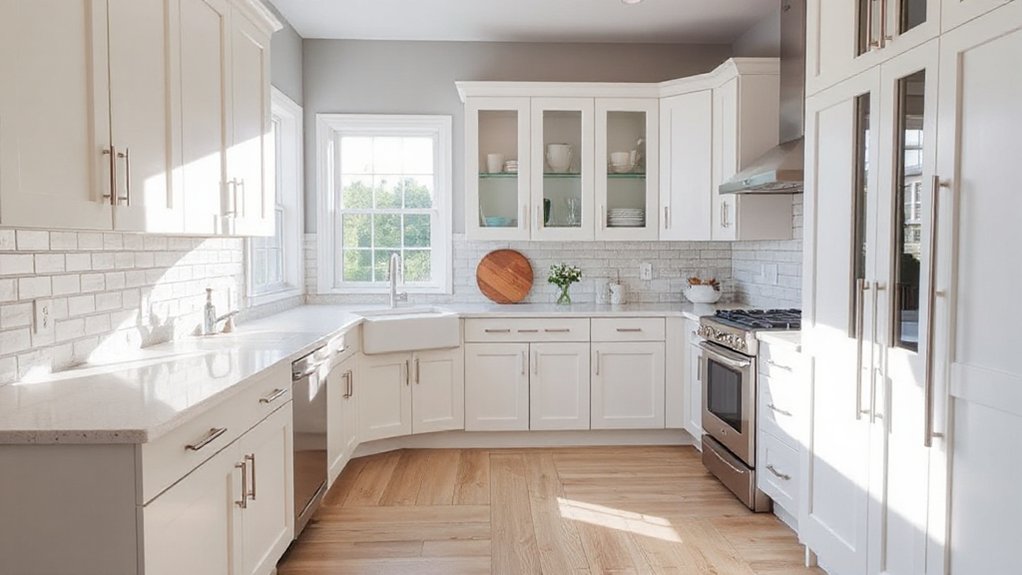
Revitalizing your kitchen with new doors starts with a clear plan: define style, storage needs, and budget, then inventory and measure your current setup to confirm exact dimensions. Decide between stock, semi-custom, or custom doors, and choose door styles that fit your vibe. Consider frame vs. frameless, hinge type, and finishes for a cohesive look. Install precisely, test alignment, and fine-tune. Ready to tackle precise steps and snag-free results? You’ll learn more as you continue.
Define Your Cabinet-Door Goals: Style, Storage, and Budget
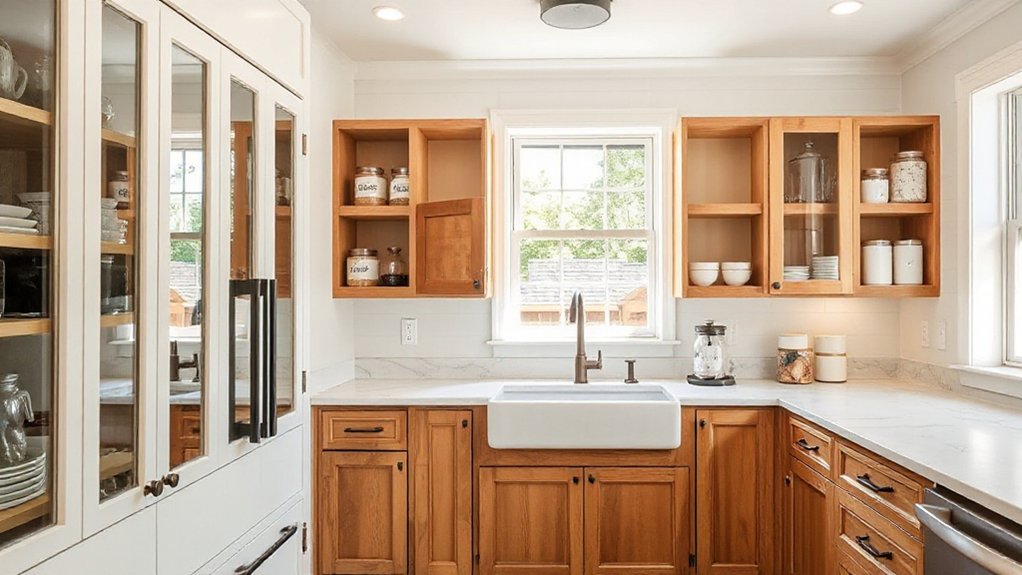
How you approach cabinet doors sets the tone for your refresh. Start by defining three pillars: style, storage, and budget.
Choose a cohesive style that matches your overall vibe—modern, traditional, or transitional—so you feel confident every update belongs.
For storage, map your priorities: do you need more vertical space, deep drawers, or concealed organizers?
Let Cabinet lighting guide illumination and ease of use, ensuring tasks are efficient and mood is right.
Budget responsibly by prioritizing high-impact changes, like door profiles and finishes, before hardware or specialty pulls.
Assess current kitchen organization; select solutions that streamline daily routines, reduce clutter, and promote accessibility.
Finally, document decisions and measurements to keep your plan clear, achievable, and inclusive for every household member.
Inventory and Measure Your Current Cabinet Setup
Before you immerse yourself in updates, inventory what you have and measure carefully. You’ll map cabinet dimensions, swapping patterns, and hinge placements with precision. Record each opening width, height, and depth, noting any obstructions like drains or moldings.
Sketch a simple layout to reveal mismatches between existing boxes and new doors. Check interior shelves, drawer fronts, and pull hardware—these details affect ordering and installation. Take photos and keep a labeled spreadsheet so you don’t guess later.
Consider door-styles that relate to your current frame size to simplify measurements. While you tally, think about cooking tips you want to support with better layouts, and plan for appliance maintenance access.
Accurate data now keeps updates smooth, affordable, and aligned with a welcoming, shared kitchen experience.
Frame vs Frameless: How the Choice Changes Doors and Hinges
Choosing between framed and frameless cabinets changes more than looks; it alters how doors hang, how hinges mount, and how the box width gets used.
- Framed cabinets guide hinge placement and provide a fixed reveal for a sturdy feel.
- Frameless cabinets maximize interior space but demand precise edge tolerances and hardware compatibility.
- Door gaps, alignment, and adjustment are more predictable with frames; frameless relies on precise installation.
Consider hardware trends and color palettes to unify the finish with your space.
Frames often suit traditional aesthetics, offering a grounded vibe; frameless suits modern, sleek lines and openness.
Your choice shapes installation steps, cabinet longevity, and future updates.
Prioritize square, clean reveals for both styles and verify hinge compatibility before purchase to avoid surprises.
Decide Between Stock, Semi-Custom, and Custom Doors
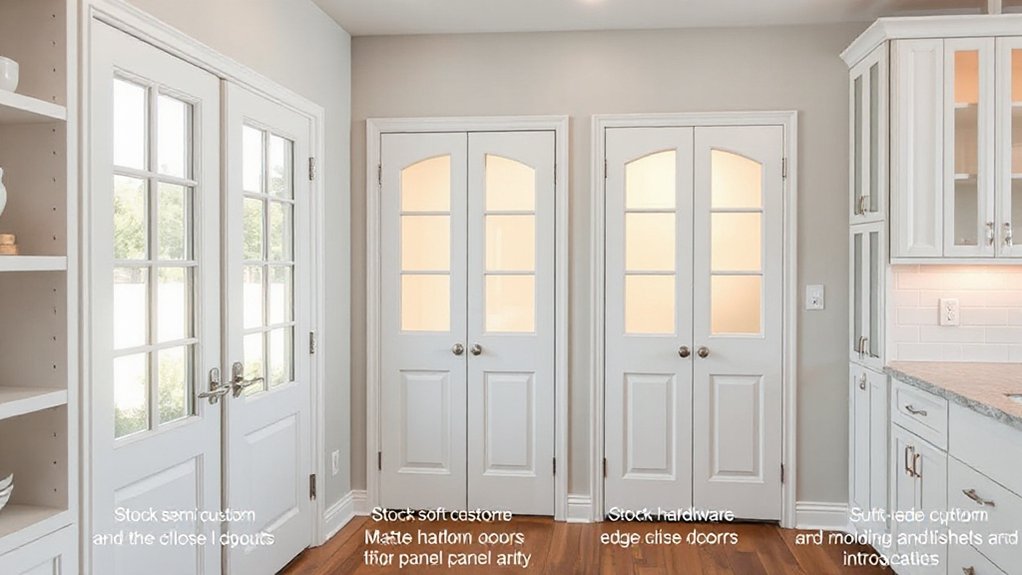
Stock doors keep costs down and install fast, but semi-custom and custom options let you tailor size, style, and finish to your kitchen.
You’ll want to weigh price and lead times against fit, function, and long-term look, using the three points—Stock Door Options, Semi-Custom Fit Choices, Custom Door Advantages—as your guide.
Let’s compare practical trade-offs now so you pick doors that align with your goals and budget.
Stock Door Options
When choosing between stock, semi-custom, and custom doors, start by weighing cost, lead times, and fit.
Stock doors offer quick results and predictable pricing, ideal if you want a confident, efficient refresh. They’re straightforward to install, especially when paired with solid door framing and standard hardware.
Expect fewer customization options, but you’ll gain reliability and ease of replacement if needed. For a cohesive look, focus on matching thickness and dimensions to your cabinetry and walls, and plan decorative hardware that complements your kitchen’s style.
- Quick turnaround, budget-friendly
- Standard sizes, reliable fit
- Easy pairing with existing door framing
- Limited customization, simpler maintenance
Semi-Custom Fit Choices
Semi-custom doors strike a balance between stock speed and fully custom control, giving you better fit without the long lead times. You’ll choose door profiles, materials, and finishes that align with your kitchen’s vibe while avoiding the delays of full custom work.
This option delivers precise measurements and fewer compromises on style, so your cabinets feel cohesive rather than patched together. Eco-friendly options are common, letting you select sustainably sourced woods or low-VOC finishes without sacrificing durability.
If you love historical styles, semi-custom can mimic period details while meeting modern standards for fit and function. You get a tailored look, quicker installation, and practical reliability, reinforcing a sense of belonging in a space that reflects your tastes.
Custom Door Advantages
Choosing between stock, semi-custom, and custom doors gives you control over fit, style, and timeline. Custom doors offer you precise measurements and unique profiles, ensuring a seamless look with your kitchen’s lines. You’ll gain durability and consistent quality, plus easy integration with existing hardware and cabinetry.
With custom doors, you can tailor panel details, edge profiles, and square or rounded corners to echo your space’s personality, strengthening a sense of belonging in your home. Expect longer lead times, but fewer compromises on fit.
Consider how custom choices support Kitchen accessories and appliance upgrades, creating a cohesive upgrade. You deserve doors that feel made for you, not just a generic fit.
- Precise fit that mirrors your layout
- Tailored panels and profiles
- Seamless hardware integration
- Long-term value and consistency
Select Door Styles That Fit Your Kitchen Vibe
Your kitchen vibe starts with matching style to your space, so pick cabinet doors that echo your overall look—modern, traditional, or evolving.
Then consider door materials that align with durability and feel, from solid wood for warmth to MDF for a sleek, budget-friendly finish.
Keep the pairing simple and cohesive, and you’ll set a clear direction for the rest of your refresh.
Match Your Kitchen Style
To match your kitchen style, start by identifying the overall vibe you want—modern, traditional, or seamless—and then pick door profiles, finishes, and hardware that reinforce that mood.
- Choose profiles that mirror your preferred era or vibe
- Pair finishes with your appliances and cabinets for cohesion
- Incorporate hardware that quietly reinforces the style
- Layer in kitchen accessories and appliance upgrades for a complete look
With a clear vibe, you’ll avoid missteps and create a unified space. Modern reads clean and minimal; traditional earns warmth through detail; seamless prioritizes flow and simplicity.
Use contrast sparingly to highlight features you love. Lean on door shapes, textures, and color to reinforce mood. This approach makes you feel at home, confident in every design choice, and excited to cook in a space that truly fits you.
Consider Door Materials
Matching the vibe you’ve chosen means picking door materials that not only look right but stand up to daily kitchen use. Think about durability, moisture resistance, and cleaning ease as you compare options.
For a cohesive feel, choose finishes that harmonize with your cabinet hardware and hardware style; you’ll keep upkeep simple and consistent. If your kitchen gets a lot of action, favor solid-core or plywood doors over hollow options, and consider paints or veneers that resist chips.
Wood doors bring warmth, while thermofoil or laminates offer lower maintenance and budget-friendly options. Don’t overlook the impact of kitchen lighting—it can change how material tones read.
Finally, select profiles that echo your cabinet hardware and fit your space, so every detail feels intentional.
Choose Door Materials and Finishes for Durability and Look
Choosing the right door materials and finishes is essential for durability and the look you want. You’ll pick options that balance everyday use with style, ensuring long-lasting performance in a busy kitchen. Focus on moisture resistance, mechanical wear, and easy maintenance while shaping your home’s cohesive vibe.
Innovative hardware and eco-friendly finishes aren’t afterthoughts—they elevate function and ambiance without compromising sustainability.
- Material choice guides longevity and washability
- Finishes protect, accent, and simplify cleaning
- Innovative hardware adds grip, soft-close, and flair
- Eco-friendly finishes reduce fumes and environmental impact
Choose doors that feel solid, look cohesive, and stay true with minimal upkeep. Your kitchen will read as intentional, welcoming, and durable, inviting family and guests to linger.
Pick Color, Stain, or Paint for Your Doors
Color, stain, or paint sets the tone and ties your kitchen together, so pick a finish that complements cabinets, countertops, and flooring while standing up to daily wear.
When choosing, consider color psychology: soft neutrals create calm, bold tones energize spaces, and deeper hues hide fingerprints.
If your cabinets are light, a slightly darker door adds contrast without overwhelming.
Stain preserves grain for a warm, built-in feel, while paint delivers clean, lasting clarity and easier touch-ups.
Matte or satin sheens minimize glare and reveal texture; semi-gloss stands up to fingerprints in high-traffic areas.
Don’t overlook door hardware—brushed nickel or matte black can shift the vibe with minimal effort.
Opt for a cohesive palette that welcomes you and supports family rhythms.
Determine Door Thickness and Panel Profiles
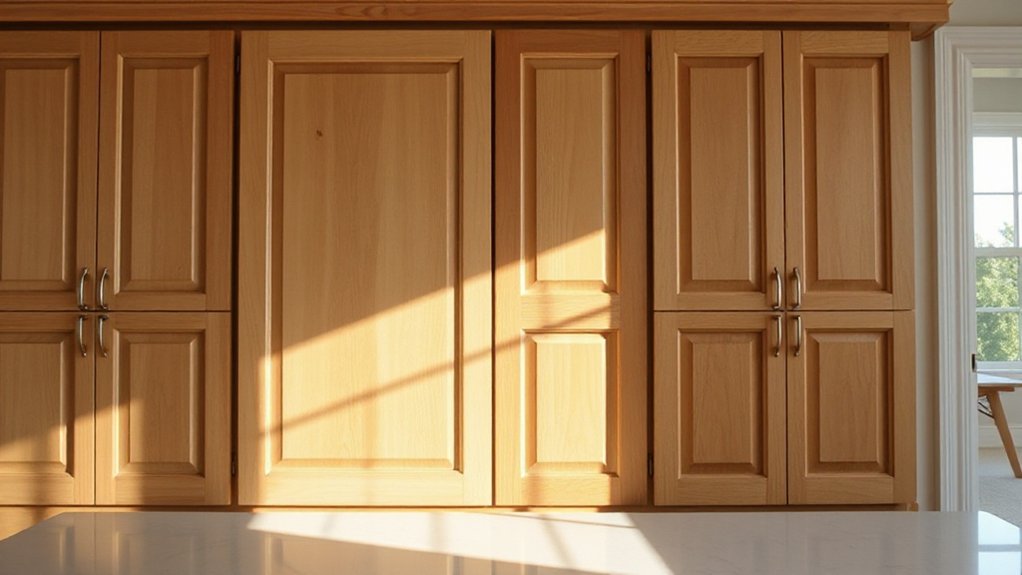
Door thickness and panel profiles aren’t just detail — they define durability, fit, and the kitchen’s visual rhythm.
- Choose a standard, stable thickness that suits your frame and hinges.
- Match panel profiles to door style for a cohesive look.
- Consider edge treatments that support usage and cleaning.
- Plan around cabinet lighting and backsplash coordination to avoid glare or mismatches.
Matching thickness to cabinet hardware ensures a snug, gap-free fit.
Panel profiles should echo existing accents for harmony while allowing a subtle contrast if you want depth.
Thicker doors feel solid and reduce flex, but require compatible frames and hinges.
Keep sightlines in mind so light reflects evenly, enhancing cabinet lighting without harsh shadows.
For new doors, test samples in your space and verify how profiles catch light to maintain a balanced, welcoming kitchen.
Choosing Molds, Trim, and Decorative Details
To pick molds, trim, and decorative details that elevate your kitchen, focus on consistency with the door profiles and the overall design motif. Start by selecting mold patterns that echo the cabinet shapes you chose, avoiding overly ornate options that clash with a modern look.
Choose decorative trim sparingly, using it to highlight key features like ends or soffits without crowding the space. Consider a cohesive finish—gloss, matte, or satin—that aligns with your door surface for a unified feel.
Measure clearances to prevent crowding at corners and drawers. Test samples in your lighting, ensuring they read as intentional accents rather than competing elements.
When in doubt, opt for subtle, refined details that reinforce belonging and restraint.
Pick Hinges Types: Overlay, Inset, and Mounting Considerations
Choosing between overlay and inset hinges sets the baseline for door fit, so you’ll want to confirm the overlay amount to match your panel and cabinet gap.
I’ll share straightforward tips for overlay door fits, plus practical inset assembly steps to keep gaps even and doors square.
We’ll also cover mounting considerations that coordinate hinges with your hardware and door style for smooth operation.
Overlay Door Fits
Which hinges work best for overlay doors? You’ll choose hinges that let the door sit proud, aligning cleanly with your cabinet face and showcasing decorative hardware.
For durable performance, pick 2- or 3-way adjustable overlays and verify full blade clearance with the frame. Guarantee the overlay door fits within the existing cabinet opening without rubbing, and account for door thickness to avoid binding.
Sharp alignment matters: keep spacers consistent and test swing before final mounting. Precision here prevents gaps and sag over time, preserving your kitchen’s cohesive look.
- Confirm overlay compatibility with your cabinet style
- Check door thickness and hinge mounting positions
- Test fit and adjust for clean, even gaps
- Match hinges to decorative hardware for cohesion
Inset Assembly Tips
Inset doors require careful hinge selection and mounting geometry to sit flush with the cabinet face. When you pick hinges, choose types that match inset panels: full-swing or 3/8-inch inset profiles work best for consistent gaps and predictable closing.
Align mounting plates precisely on the hinge edge, then verify door alignment in multiple positions before final screws. Keep hardware clean and dry during installation to prevent torque changes from grime.
Cabinet cleanliness matters here: wipe surfaces before mounting and recheck after any adjustment. As you test, don’t overtighten; slight rubbing means a trim tweak, not a replacement.
Inset assemblies reward patience—small offsets become invisible with proper screws, spacers, and hinge cups. Regular hardware cleaning afterward extends the look and feel of your refreshed kitchen.
Mounting Considerations Coordinated
When you plan door installation, align hinge types with your cabinet face geometry to guarantee consistent gaps and smooth operation. Choosing overlay, inset, or hybrid hinges shapes how doors sit and how reliably they close, so map them to your cabinet box and face frame.
Coordinate mounting depth with hinge spread, and account for existing reveals to preserve a cohesive look. Consider color palettes and lighting fixtures as you position doors to keep the overall mood balanced and inviting.
Precision here reduces misalignment and keeps you feeling confident about the update.
- Overlay vs inset: pick for your cabinet style and visible edge rhythm
- Mounting depth and screw placement to maintain even gaps
- Face frame alignment for a clean line across doors
- Lighting and color decisions that harmonize with hinges
Hardware Finishes That Tie the Kitchen Together
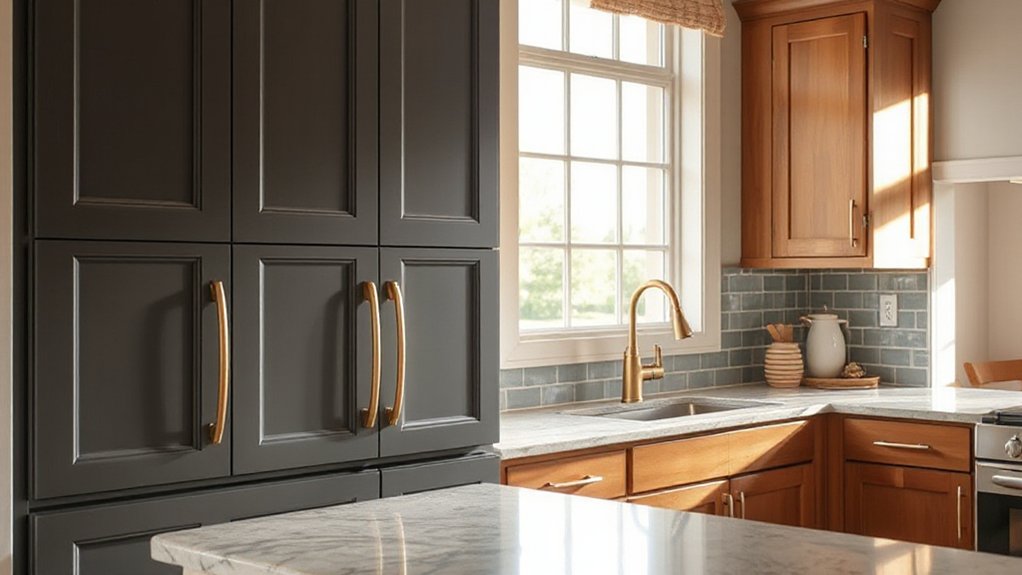
Hardware finishes are the finishing touch that unify your kitchen’s look without stealing the show. When you pick finishes, aim for color coordination that complements cabinet tones and countertop veining, not competes with them.
Matte black, brushed nickel, or warm brass set distinct moods—choose one as your anchor and carry it through handles, hinges, and pulls. Consistency matters: mix finishes only if you’re doing a deliberate, small accent.
Consider hardware styles that echo your cabinet profile—sleek bar pulls for flat-panel doors, classic knobs for shaker fronts. Test scale against door sizing; too tiny feels fiddly, too large overwhelms panels.
Plan the Layout: One-Door Swap vs Full Cabinet Refresh
If you’re upgrading your kitchen doors, decide early whether a single-door swap or a full cabinet refresh best fits your budget, timeline, and goals.
- Color coordination guides choice, ensuring harmony with countertops and walls.
- Space optimization informs whether to keep shallow profiles or switch to deeper, more efficient options.
- Budget clarity prevents overbuying by weighing routine swaps against a complete refresh.
- Timeline realism helps you schedule finishes, delivery, and installation without disruption.
Choose one path and map the sequence: order samples, confirm cabinet box compatibility, and plan hinge and handle consistency. A focused plan reduces guesswork, supports cohesive style, and makes you feel part of a purposeful, belonging-driven upgrade.
Measure Doors Accurately: A Step-by-Step Guide
Measure twice, fit once by locking in exact window- and door-face dimensions, plus reveal of any molding or trips.
Use a proven checklist: precise lengths, widths, and depths, then note discrepancies that affect hardware and hinges.
Keep your toolkit handy—a tape, square, and nibble-free calipers help avoid common sizing mistakes and guarantee you’re ready for the install.
Measure Twice, Fit Once
Getting door measurements right is the starting line for a flawless install. You’ll measure twice, cut once, and avoid costly mistakes down the road. Precision matters for gaps, reveals, and alignment with cabinetry. Keep your tape level, plumb, and horizontal, noting any wall irregularities before you mark.
Double-check hinge placement and door swing to prevent binding or rubbing. Don’t rush the process—pause to confirm measurements against the door stock and chosen frame. This approach supports seamless kitchen lighting and appliance integration, letting you align hardware and panels cleanly.
- Measure verticals at multiple points and record the smallest height
- Verify widths with doors in place, accounting for reveal and hinge placement
- Check plumb of doors after hanging, adjust as needed
- Reconfirm clearances with surrounding cabinets and appliances
Tools For Accuracy
Do you want precise door measurements every time? Start with a clean setup: use a sturdy tape, a small spirit level, and a pencil. Measure at three points per side—top, middle, bottom—to catch any warp.
Record width, height, and depth in both inches and millimeters, then cross-check against your chosen door stock. Use a straightedge to verify edge alignment and note any frame irregularities before you cut.
Double-check hinge placement with a template, so swing and clearance stay consistent. Choose materials with proven durability, prioritizing material durability and color coordination for a cohesive look.
Calibrate your tools regularly, keep a dedicated measuring notebook, and remeasure after any handling. Accuracy builds confidence, and confidence builds a welcoming, belonging-filled kitchen.
Common Door Sizing Mistakes
You measure once, and you’re unsure? Here’s how to lock it in: start with the rough opening, then confirm the hinge side, and note any room for expansion. Use metric and inches, and record the smallest width and height at three spots. Don’t assume jambs are plumb—check both sides. Remember how a door hinges on a cabinet frame—adjust for door hinge clearance and hardware thickness. Account for cabinet paint or trim that can alter fit. Double-check for swing direction that suits traffic flow.
- Measure width, height, and depth at multiple points
- Check hinge side clearances and strike gaps
- Include hardware and cabinet paint thickness
- Verify swing direction and fit before ordering
Assess Frame Construction and Mounting Requirements
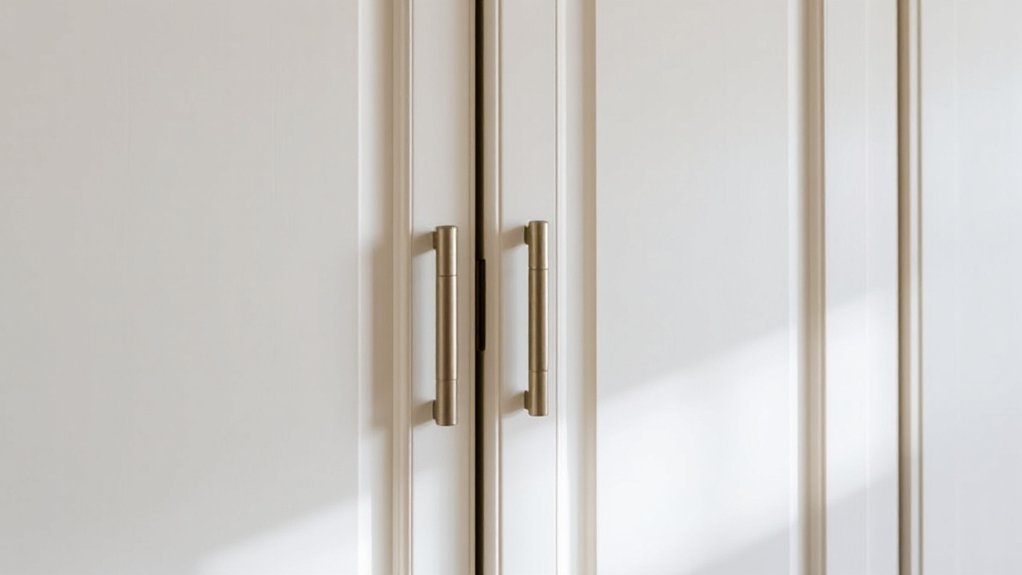
Evaluating frame construction and mounting requirements is the essential first step before replacing doors. You’ll inspect how your cabinet frames support new hinges and panels, ensuring compatibility with the door materials you choose.
Check the frame’s thickness, nailed or screwed joints, and any warp or flex that could throw alignment off. If the existing frame isn’t square, plan for shims or minor framing adjustments to preserve stable operation.
Confirm hinge templates match your cabinet style—face-frame, full overlay, or inset—and verify clearances for opening doors without snagging drawers.
Measure mounting heights and hole spacing precisely, then select cabinet hinges that align with those specs. This groundwork prevents misalignment, gaps, or binding, delivering a confident, clean result you’ll be proud to show off.
Budget Smartly: Costs, Installations, and Contingencies
With a clear sense of your project scope from the prior frame and hinge checks, you’ll map out costs, installations, and contingencies upfront.
- Estimate upfront: budget for decorative hardware, door insulation, and standard labor
- Compare options: weigh midrange vs premium finishes to balance style and value
- Plan contingencies: reserve 10–15% for unexpected framing or fit issues
- Schedule with care: align delivery, installation, and warranty windows to minimize downtime
You’ll keep decisions grounded in value and belonging, choosing finishes that feel inviting and cohesive with your kitchen’s mood. Track line items closely, avoiding surprises as you proceed.
Prioritize durable materials and energy efficiency, then verify measurements and fit before committing. This disciplined approach protects budget while delivering a refreshed, unified look.
DIY Swap Steps: Removing Old Doors and Prepping Frames
Removing old doors and prepping the frames is your first concrete step. You remove doors carefully, labeling hardware and noting hinge positions so you can reassemble if needed.
Clean the frame edges, check for warping, and repair any small gaps with wood filler. Sand rough spots lightly to create a smooth base for primer.
Remove trim where necessary, avoiding wall damage, and store it for reuse. Measure all openings precisely, documenting existing clearances and hinge placements.
Plan for alignment by marking a level line across frames. As you prep, consider how Kitchen lighting will interact with the new doors and how appliance upgrades might fit within the revised profiles.
Keep tools organized, and maintain a steady pace to preserve quality and a sense of shared progress.
Safe, Efficient Installation Tips and Common Pitfalls
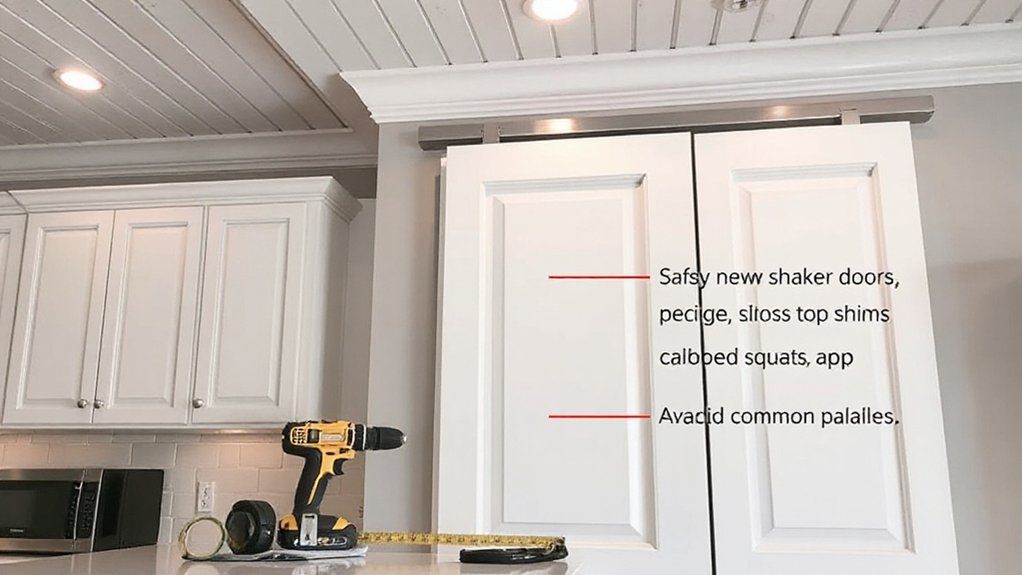
Getting the doors in place safely starts with precise measurements and careful handling. You’ll install with a steady pace, checking plumb, level, and squareness as you go. Quick, clean prep prevents rework: cabinet cleaning helps you spot hinges and frames that need adjustment, and paint removal reveals true surfaces.
Keep fasteners hand-tight until alignment is confirmed to avoid gaps. Use shims where needed, then recheck reveals and gaps after final seating. Watch for binding hinges or sagging doors, and correct before final securing.
Avoid rushing; mistakes cost material and time. Plan for airflow, dust control, and safe power-tool use to protect your space and your payoff.
- Measure twice, cut once; verify with a square
- Clean routinely; check for binding and bite
- Use shims, then tighten in stages
- Mind safety, dust, and tool handling
Finishing Touches: Align, Calibrate, and Test Doors
Now that the doors are hung, fine-tune their alignment, calibrate hinges and catches, and run quick tests to guarantee smooth operation. You’ll check gaps at edges, adjust latch height, and confirm doors close without binding.
Use a level to verify plumb and plop a tactile shim where needed, then re-tighten fasteners. Test opens with a full range of motion, listening for binding or rattle.
Note consistency with your chosen color palette as you polish gaps—avoid over-tightening that could distort frame integrity. Consider material durability; you want seams and joints that hold under daily use.
If doors feel sticky, re-check hinge screws and strike plate depth. Finally, wipe surfaces to reveal true finish; the result should feel precise, dependable, and welcoming to every kitchen guest.
Maintenance Tips to Keep Doors Looking Fresh
- Wipe, rinse, and dry: prevent streaks and moisture damage
- Check hinges and hardware: tighten screws, lubricate joints
- Dust and wipe frames weekly: preserve color and finish
- Use eco friendly materials: opt for non-abrasive solutions and water-based cleaners
You’ll notice how historical trends influence finishes and care. Choose durable, timeless tones that age gracefully, while embracing eco friendly materials that reduce impact.
With consistent upkeep, your doors feel clean, cohesive, and inviting—a subtle signal of care shared with guests and family. This practical routine respects tradition and modern needs, reinforcing a sense of belonging within your refreshed kitchen.
When to Hire a Pro vs DIY for Door Installation
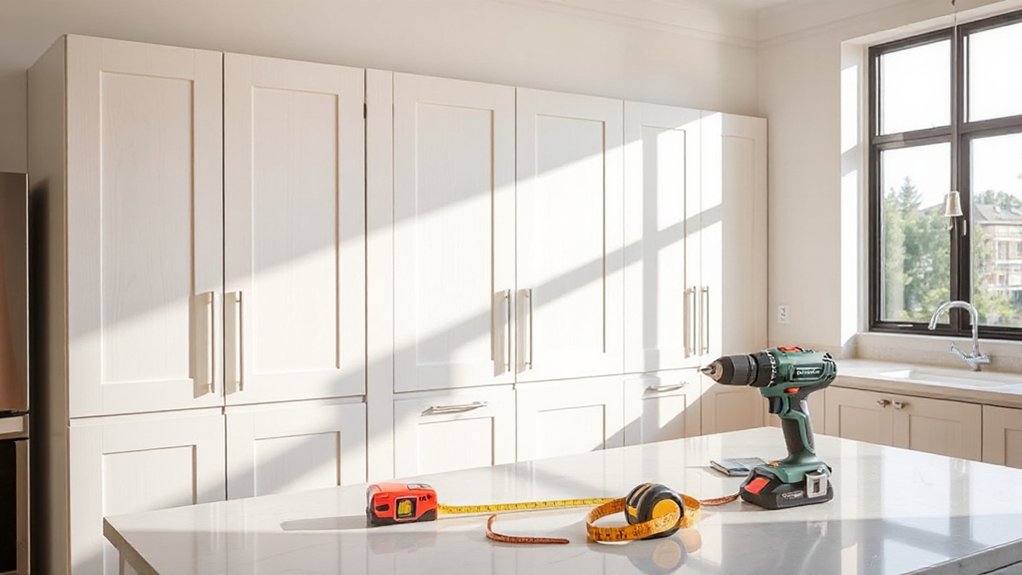
When deciding between DIY and hiring a pro for door installation, consider the scope, timing, and tools required. If your project involves standard prehung doors, basic framing, and precise shimming, DIY can save money and teach you valuable skills.
However, if you’re tackling warped frames, structural adjustments, or integrating eco-friendly materials, a pro guarantees accuracy, safety, and a tight seal. Time constraints matter: rushed installs invite gaps and headaches, while a pro can optimize lead times and finish quality.
For those drawn to vintage door styles, a pro can blend authentic hardware with proper alignment and weatherproofing. Prioritize solid cores and sustainable finishes to align with an eco-conscious mindset, and communicate your preferences early to achieve a cohesive, inviting kitchen.
Frequently Asked Questions
Do Doors Affect Cabinet Resale Value Significantly?
Yes, doors can boost resale value, but hinges on cabinet material and door hardware. You’ll maximize impact by matching high-quality materials and updated hardware, creating cohesive aesthetics that buyers see as durable, stylish, and belonging to a well-loved home.
How Long Does a Full Door-Refresh Typically Take?
A full door-refresh typically takes 1–3 days, depending on material and complexity. You’ll want door material and hardware upgrades ready, plan schedules, and coordinate with pros to minimize disruption while enjoying a refreshed, cohesive kitchen.
Can Mismatched Hinges Cause Binding or Misalignment?
Yes, mismatched hinges can cause binding or misalignment. Check hinge durability and perform precise hinge adjustment to restore smooth operation, guarantee door alignment, and maintain consistent gaps for a cohesive, belonging-feel kitchen refresh.
What Are Hidden Costs Beyond Door Prices?
Hidden expenses can surprise you: consider a contractor’s site cleanup charge. You’ll face unexpected fees like disposal, finishing touches, and permit delays, plus hinges, hardware, and warranty gaps. Plan a cushion so you feel supported throughout.
Is Professional Installation Worth It for Inset Doors?
Yes, professional installation is worth it for inset doors; it guarantees hinge compatibility and precise alignment, preventing misfit gaps. You’ll know your door material choices work behind your cabinetry, delivering durable, polished results you can confidently live with.
Conclusion
Ready to refresh your kitchen doors? You’ve mapped goals, measured precisely, and picked a style that sings with your space. Frame or frameless, stock or custom, you’re choosing to transform, not just replace. As you install, align and test, you’ll hear the quiet click of confidence. Treat finishing touches like the last brushstroke on a portrait—bold, intentional, lasting. When questions pop, you’ll decide DIY gusto or pro help, and your refreshed doors will glow with purpose.