
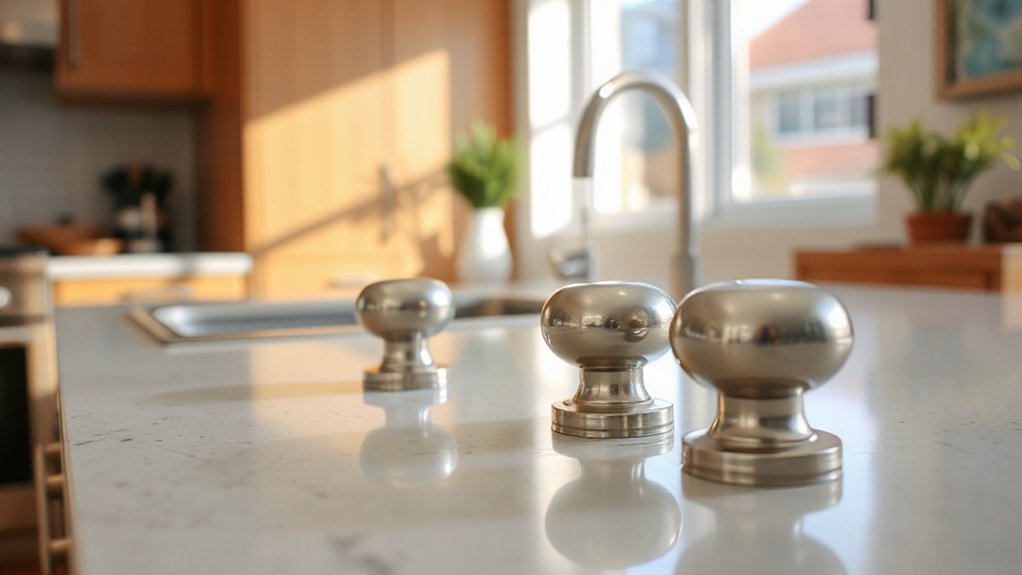
To refresh your kitchen with new hardware, start with a clear goal and budget, then plan a cohesive finish set that fits your cabinets and lifestyle. Measure door and drawer centers precisely, confirm screw diameters, and use templates to mark mounting lines. Choose styles and finishes that reflect your space—brass, brushed nickel, or oil-rubbed—keeping durability in mind. Install in six steps, align carefully, and test operation. When you’re finished, you’ll see how small changes boost big impact, and there’s more to explore.
Define Your Kitchen Hardware Goal and Budget
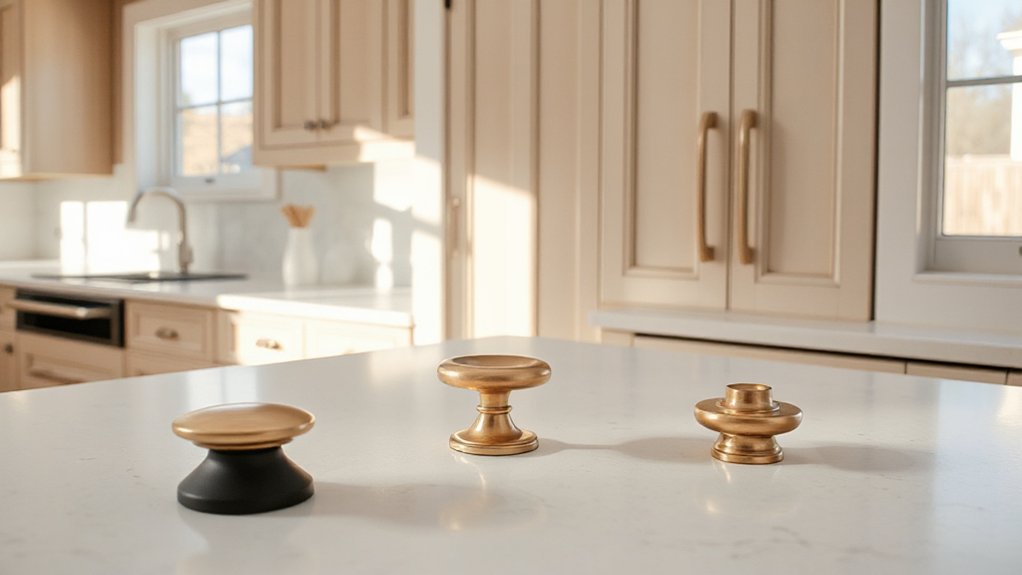
Before you touch a screw or measure a drawer front, decide what you want to achieve and how much you’re willing to spend. You’ll want a clear goal, whether it’s cohesive design, improved function, or a fresh look, and a realistic budget that covers hardware, tools, and installation time.
Define your priorities: finishes, styles, and durability. Establish a cap for each category to prevent scope creep and to guide your design coordination.
Map out where hardware will live to confirm hardware placement aligns with flow and usage.
Research reliable brands and warranties, then compare per-item costs to total, so you don’t overshoot.
With a grounded plan, you’ll install confidently and enjoy a refreshed kitchen that feels like it belongs.
Measure Precisely for Knobs and Pulls: Size, Spacing, and Mounting
To guarantee a perfect fit, measure each cabinet door or drawer face for knob or pull locations and confirm standard spacing before you buy.
Plan mounting like a pro by marking center lines, noting screw diameter, and choosing a stud-free or stud-fixed path that won’t shadow or clash with edges.
Then, double-check every measurement against your chosen hardware’s instructions to prevent misalignment and ensure smooth operation.
Measure For Fit
Measure precisely for knobs and pulls by confirming size, spacing, and mounting against your cabinet dimensions to guarantee a seamless fit.
First, verify the diameter or square profile of knobs and the length of pulls to match existing or planned openings.
Next, map center-to-center spacing on doors and drawers, using a caliper or a ruler for accuracy, and note any obstructions like hinges or pilasters.
Then, plan mounting depth by measuring door thickness and ensuring screws won’t protrude or collide with interior hardware.
Test fit with temporary templates to confirm clearance and operation.
Choose decorative accents that harmonize with your hardware durability goals, ensuring a cohesive, lasting look.
Finalise measurements, label each piece, and keep a precise reference for future updates.
Spacing And Mounting
Ensuring precise size, spacing, and mounting is essential for knobs and pulls to perform smoothly and look correct. Start by measuring door and drawer widths, then decide on a consistent centerline. Use a template or painter’s tape to mark hole locations, aligning handles with the top edge or center of the drawer for a cohesive look.
Consider the spacing between hardware pieces: 2 to 3 inches apart on larger drawers, slightly closer on doors. Drill pilot holes straight to avoid wobble, and countersink if needed for flush mounting.
Select hardware that supports hardware durability and ergonomic design, ensuring a comfortable grip and operation. Recheck alignment after installation, and test open-close cycles.
Finish with a clean, even seal to preserve longevity.
Choose Styles That Refresh: What Knobs and Pulls Say About Your Space
Knobs and pulls aren’t just hardware; they set the tone for your kitchen. Your choice signals your taste and how you want to feel when you cook, entertain, or unwind.
Start with style coordination: pick shapes that echo your cabinetry, faucet lines, and lighting so everything reads as one room. If you favor clean lines, go for cylindrical or square pulls in a matte finish; if you love warmth, opt for rounded knobs with subtle brass undertones.
Prioritize hardware durability without sacrificing look—sturdy screws, solid metal, and well-seated hardware prevent wobble and wear.
Don’t overapply trends; timeless silhouettes adapt. Test grip and spacing during installation, and keep an extra set for future updates.
A cohesive, durable selection reinforces belonging in your refreshed kitchen.
Pick Finishes by Cabinet Material: Brass, Nickel, Oil-Rubbed, and Painted Surfaces
When choosing finishes, match them to your cabinet material to guarantee cohesion and durability. You’ll guide the look by pairing finishes with the underlying wood or laminate, not just trend.
Brass accents sing with warm oak or painted cream for a timeless glow, while nickel aligns with cooler gray tones or white cabinets for a modern edge.
Oil-rubbed finishes add depth to espresso or cherry, creating a rustic, tactile feel.
Painted surfaces benefit from high-contrast metals for visibility or subtle, matching tones for calmness.
Consider finish pairings that promote material durability with everyday use—satin or matte sheens resist fingerprints on busy kitchens.
Balance proportions so hardware doesn’t overwhelm, ensuring a cohesive, intentional space that invites return visits.
Install Hardware in Six Steps: Doors, Drawers, Alignment, and Security
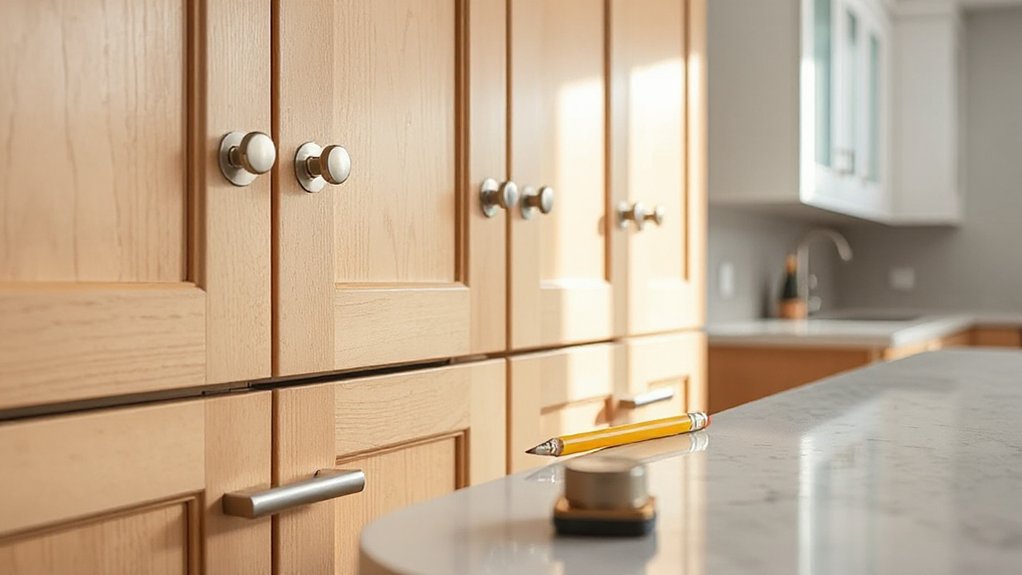
Start by gathering your doors and drawers, then follow the six-step sequence to install hardware with precise alignment and secure finishes.
You’ll align doors and drawers first, check gaps and plumb, and adjust until each piece sits flush.
Then review the security details and finish options to guarantee a durable, smooth, and cohesive look.
Doors Assembly Tips
You’ll want to approach door hardware installation methodically: measure, align, and secure each component so doors hang true and operate smoothly.
In this section, you’ll apply precise steps to ensure durable results and a cohesive feel with the rest of the kitchen.
- Prepare hinges and mounting plates, cleaning surfaces and removing old residue for cabinet painting consistency.
- Mark hinge positions with a pencil and verify door alignment before drilling, ensuring even gaps.
- Install hinges, then test door swing, adjusting screws to achieve quiet, smooth operation.
- Attach handles or knobs, tightening by hand first, then with a torque-limiting driver for uniform feel and lasting hardware cleaning.
Drawer Alignment Guide
Sitting at your workbench, you’ll align drawers with the same precision you use for doors, because smooth operation depends on exact placement and secure fasteners. Begin by checking the cabinet sides for square; loosen and reposition slides if needed.
Use a level to verify that both halves sit plumb, then attach with minimal gaps, keeping screws snug but not overdriven. Test opening and closing, note any binding, and adjust with minor shims or by nudging the drawer front.
For consistent drawer fronts, align the fronts first, then the slides, ensuring equal gaps around doors.
Regular hardware maintenance includes cleaning runners and lubricating moving parts to prevent sticking. With careful drawer alignment, you’ll preserve function and enhance the kitchen’s cohesive, welcoming feel.
Security and Finishes
When you install the hardware, prioritize security and durable finishes as you go: doors, drawers, alignment, and security all hinge on careful prep and precise execution. You’ll choose lock mechanisms that suit your cabinet style and daily use, then pair them with hardware durability to withstand humidity and wear. Plan finishes that resist fingerprints and chips, so the look lasts.
- Inspect all mounting points and predrill holes for clean screws and straight lines.
- Select secure lock mechanisms that balance ease of use with tamper resistance.
- Tighten hardware evenly to avoid door bind and misalignment.
- Test doors, drawers, and catches, and reseat any loose components for lasting security.
Finishing Touches and Troubleshooting for a Polished Look
To finish with a polished look, start by checking that all hardware is secure, aligned, and evenly spaced. Then inspect hinges, pulls, and latches for smooth operation, tightening screws as needed.
If you notice misalignment, adjust mounting plates and level mounts to restore symmetry across drawers and doors.
Clean hardware with a gentle, non-abrasive solution to remove fingerprints and residue that can dull the finish.
Consider subtle aesthetic enhancements, like matching finishes or contrasting accents, to elevate the overall vibe.
Document any recurring issues for future hardware maintenance, and schedule periodic checks to prevent wear from becoming noticeable.
Use this time to confirm your selections meet function and form goals, ensuring a cohesive, confident kitchen you’ll enjoy daily.
Frequently Asked Questions
How Long Does It Take to Refresh With New Hardware?
Answer: It typically takes 1–3 days, depending on scope. You’ll coordinate hardware materials and finish selections, ensuring design coordination across cabinets and drawers, trim, and hinges. You’ll plan downtime, measure precisely, and schedule professional installation for best results.
Can I Mix Knob and Pull Styles on One Cabinet?
Yes, you can mix knob and pull styles on one cabinet. Start with matching finishes for unity, then vary shapes for interest, maintaining style coordination. You’ll feel intentional, connected, and confident as the whole kitchen reads cohesive.
Will New Hardware Affect Cabinet Warranty or Integrity?
Yes, new hardware can affect cabinet warranty and hardware integrity; you’re responsible for using manufacturer-approved components and proper installation. You’ll protect cabinet warranty by following guidelines, and maintain hardware integrity through correct torque, alignment, and compatible finishes.
Do I Need to Hire a Professional for Installation?
Yes, you can DIY install if you’re confident; you’ll assess hardware compatibility and follow instructions carefully, but hire a pro if mounting requires precision to avoid misalignment or warranty issues.
Which Budget Yields the Best Hardware Upgrade Results?
Choose a mid-range budget; it consistently delivers solid Hardware material quality and Design consistency, balancing style and durability, while still letting you feel confident, connected, and part of a coordinated kitchen upgrade you’ll enjoy every day.
Conclusion
You’ll breathe new life into your kitchen, like sunlight sliding across a refreshed countertop. With the right goal, precise measurements, and a confident pick of finishes, your cabinets will tell a better story. Install with steady hands, align every door, and secure each drawer, then pat yourself on the back as the space shines. Think of hardware as the final brushstroke on a well-loved canvas—practical, sturdy, and forever ready for daily delight. You did this.