
How to Choose a Tile Leveling System (Fast Checklist)
Whether you’re fitting porcelain on a kitchen floor or large-format wall tiles in a wet room, you’ll pick the right tile levelling system faster if you match it to your tile thickness, format, and substrate tolerance. Check the substrate first: if your SR rating or flatness is poor, correct with smoothing compound or backer-board before relying on clips. Choose a system type you can tension consistently—wedge, cap, or strap—based on access, working time, and whether you’re tiling vertically. Confirm it’s compatible with your adhesive bed (standard, rapid, or medium-bed) and your tile finish so you don’t mark polished edges. Plan Tile maintenance: systems that snap cleanly reduce lippage traps. Balance aesthetic considerations by keeping faces flush and cuts tight at perimeters and drainage falls.
Tile Leveling Clip Sizes and Grout Joint Width (What Matches What)
Although clip packs are often labelled by tile thickness, you should match the clip’s spacer size to your intended grout joint width first, because the spacer sets the joint and the strap simply applies levelling tension. In the UK, common spacer sizes are 1.0, 1.5, 2.0, and 3.0 mm; pick the one that matches your spec and the tile edge quality (rectified tiles suit tighter joints). Then confirm the clip’s strap height suits your tile thickness and expected Tile adhesive bed; too short can bind in the adhesive, too tall can rock. Keep joints consistent so grout colour reads evenly—wider joints darken and show variation more. Don’t force clips into undersized joints.
Clip-and-Wedge Tile Leveling Systems (Best Uses + Tradeoffs)
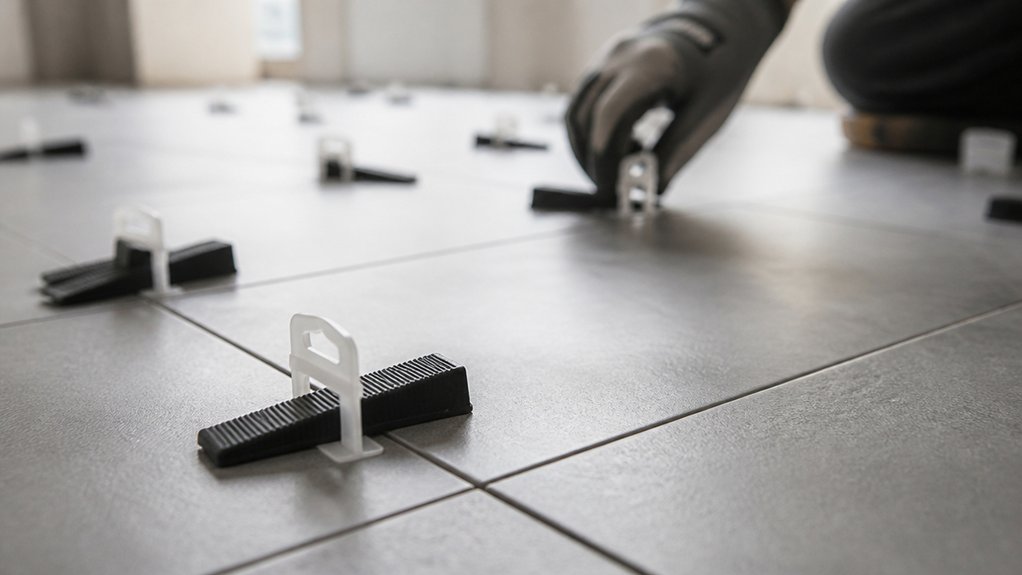
Once you’ve matched the clip’s spacer to your grout joint width and confirmed the strap height suits your tile and adhesive bed, you can choose a clip-and-wedge system with confidence. You’ll push the clip under the tile edge, then drive the wedge through with hand pressure or pliers to pull adjacent tiles into plane. It’s ideal for UK porcelain floors and large-format wall tiles where lippage shows under downlights. You must still control your Tile adhesive: use the right notch, back-butter if needed, and keep the bed consistent or you’ll “lock in” hollows. Tradeoffs include slower cleanup, more waste, and potential chipping if you over-tension. After curing, kick off clips cleanly, then proceed with grout sealing as specified.
Spin-Cap Tile Leveling Systems (Best Uses + Tradeoffs)
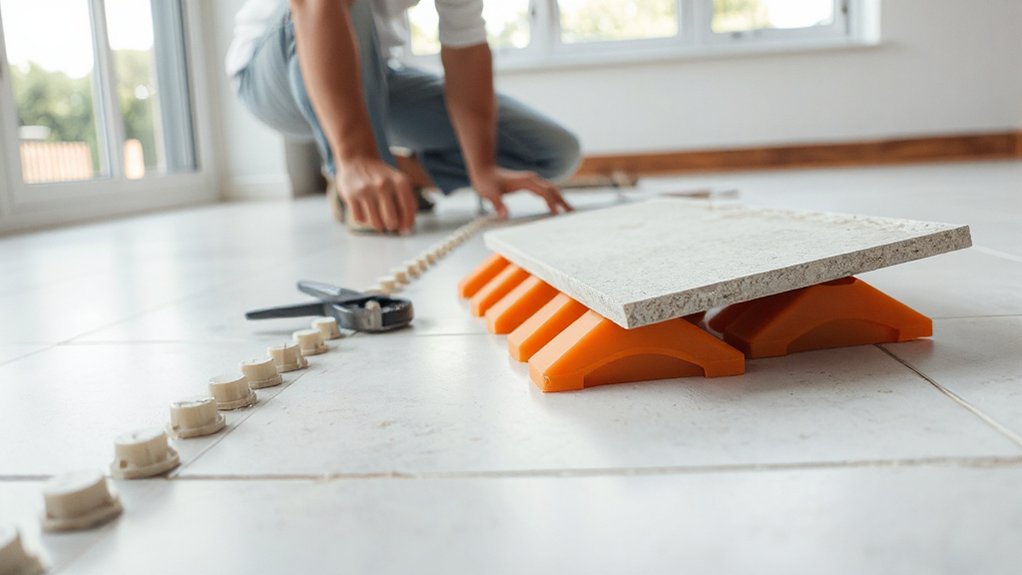
If you need fast, repeatable height adjustment on large-format porcelain, a spin-cap tile levelling system gives you tight control without pliers. You seat the clip under the edge, thread the cap down, and micro-adjust to pull adjacent tiles flush, which suits rectified edges and modern Tile design. It performs well on UK substrates like cement boards and well-primed screeds where flatness varies but you can’t risk over-tensioning.
Tradeoffs: you must keep threads free of adhesive, or caps bind and you’ll twist the clip instead of lifting the tile. On thinner wall tiles, cap pressure can bruise edges, so back off and confirm coverage. For installation safety, tighten by hand, watch finger pinch points, and remove caps only after initial set to avoid shear.
Reusable vs. Disposable Leveling Systems (Cost vs. Speed)
Whether you’re laying a few square metres in a UK bathroom or pushing through a whole kitchen floor, the reusable-versus-disposable choice comes down to what you’re optimising: upfront kit cost and waste, or pure speed and predictable output. Reusable systems (caps and straps you reset) cost more at purchase, but you amortise them over multiple jobs if you don’t lose parts. You’ll care about material durability: tougher nylon caps and metal-threaded spindles survive repeated tightening without rounding. Disposable clip-and-wedge setups usually fly on site: you load clips, tap wedges, and snap off cleanly once cured, with less cleaning and fewer callbacks from inconsistent torque. The trade is Environmental impact—single-use plastic clips add waste—versus labour time saved under UK day rates.
Best Tile Leveling Systems for Large-Format Tile (Top Picks by Use Case)
Three things matter most when you’re levelling large-format tile (say 600×600 up to 1200×600 and beyond) on a UK site: clamp force that doesn’t relax as adhesive cures, consistent height control across long edges to prevent lippage, and parts that fit your tile/thinset stack (typically 8–12mm porcelain on a 6–10mm bed). For floors with slight undulation, you’ll get best results from screw-cap or ratchet systems with wide bases to spread load and protect rectified edges. On walls, choose wedge-and-clip kits with rigid clips to stop creep on 2.4m lifts. If you’re chasing Design Trends like ultra-thin grout lines, pick 1mm–1.5mm spacer clips. Prioritise Material Durability: UV-stable caps, stainless pins, and spare straps.
How to Use a Tile Leveling System (Tools, Placement, Steps)
Once you’ve got a flat, keyed bed and the right clip size for your tile/thinset stack, a tile levelling system lets you control lippage by mechanically pulling adjacent edges into plane while the adhesive cures. Gather clips, wedges/caps, tensioning pliers, a 2 mm cross, and a straightedge. Spread Tile adhesive with the specified notch, then back-butter large-format pieces. Bed the first tile, then slide clips under edges, positioning them 50–100 mm in from corners and at 200–300 mm centres along the run, adjusting for tile size. Set the next tile, insert wedges/caps, and tension evenly with pliers until the faces align. Leave undisturbed to cure, then kick off clips at the grout line. Finish with appropriate Grouting techniques.
Tile Leveling Mistakes That Cause Lippage (and Fixes)
If you’re still getting lippage with a tile levelling system, you’ve usually missed a critical control point: substrate prep, adhesive bed consistency, or clip positioning. You can’t level over a high/low subfloor, you can’t compensate for incorrect thinset trowelling and coverage, and you won’t hold adjacent edges flush if clips are spaced too far apart or set off-line. Next, you’ll pinpoint how each mistake shows up on site and what to change to bring your finish back within expected UK tolerances.
Skipping Substrate Prep
Why does lippage show up even when you’ve used a tile levelling system correctly? Because the clips can’t compensate for a poor base. If you skip substrate preparation, tiles mirror every hump, dip, and joint line, and the system simply locks that error in place. In UK work, check flatness to BS 5385 guidance and aim for no more than 3mm deviation under a 2m straightedge (or tighter for large-format). Verify the subfloor is sound, dry, and rigid; remove laitance, paint, and contaminants. Then carry out surface leveling: fill hollows, knock down high spots, and feather edges so tiles bed on a consistent plane. Prime where required and allow curing before setting out and clipping.
Incorrect Thinset Application
Even with a levelling system fitted, lippage creeps in when you apply thinset inconsistently across the tile’s footprint. If your trowel angle varies, ridges collapse unevenly and the tile rocks, especially on large-format porcelain. Mix your tile adhesive to the manufacturer’s water ratio, then let it slake and re-mix so it holds a notch. Use the correct UK notched trowel (often 10–12 mm), comb in one direction, and press the tile with a slight slide to fully bed it. Back-butter as needed for 95–100% coverage in wet areas. Keep bed thickness consistent; don’t “spot” with blobs. Good surface preparation keeps suction predictable and avoids hollow spots too.
Poor Clip Placement
Consistent thinset coverage gives you a stable bed, but poor clip placement can still let a tile edge lift and create lippage. If you set clips too far from the edge, or miss the high point on a warped tile, the wedge won’t pull the faces flush. Place clips 50–75 mm from corners and 100–150 mm apart on larger formats, adjusting for tile size and manufacturer guidance. Keep them square to the joint so the strap loads evenly and doesn’t twist. Your clipping technique matters: push the clip base fully into the adhesive and keep the joint clear of thinset. Don’t reuse straps; reduced clip durability leads to snap-offs and uneven tension. Check alignment with a straightedge as you go.
Frequently Asked Questions
What Minimum Cure Time Before Removing Tile Leveling Clips and Wedges?
You should wait at least 24 hours before removing clips and wedges; allow longer in cool UK conditions. Tile adhesive must cure fully after proper surface preparation. Follow manufacturer data; remove by kicking sideways, not upwards.
Do Tile Leveling Systems Work Effectively With Heated Floor Installations?
Yes, you can use them effectively with a Heated floor if you manage Tile adhesion carefully. For example, on a London underfloor heating retrofit, you’ll keep heat off during curing, and follow adhesive specs.
Can a Tile Leveling System Be Reused Across Different Tile Thicknesses?
Yes, you can reuse some Reusable components, but cross thickness compatibility depends on the clip’s rated range and wedge/tensioner design. You’ll replace single-use straps, verify mm limits, and avoid distortion under load.
Are Tile Leveling Clips Compatible With Epoxy Grout or Urethane Grout?
Yes, you can use clips with epoxy or urethane grout—like a scaffold beside wet concrete. Remove clips before grouting; grout type won’t matter. Your tile material and installation techniques must keep joints clean, UK-spec.
How Do You Remove Broken Clip Bases Without Damaging Waterproof Membranes?
Start clip removal by scoring grout and lifting the base with a plastic scraper; don’t dig. Warm residual adhesive with a low heat gun, then peel carefully. Maintain waterproof protection by avoiding blades and solvent contact.
Conclusion
Choose your tile levelling system like a seasoned surveyor: check clip size against grout joint width, match clip-and-wedge or spin-cap to tile format, then decide whether reusable speed or disposable simplicity suits your budget. For large-format tiles, you’ll want consistent tension and predictable break-off. Place clips correctly, tighten evenly, and remove at the right cure time to avoid lippage. Do it well, and your floor reads true—straight as a Roman road.