
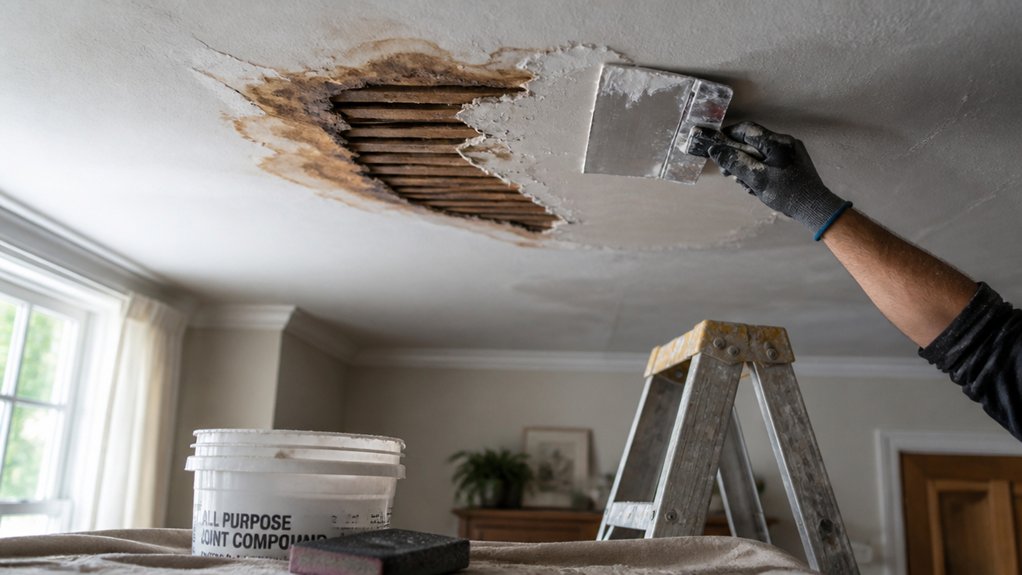
Decide If Your Ceiling Plaster Is Repairable
Before you pick up a trowel, you need to work out whether the plaster can actually be saved. Start by pressing the ceiling with a fingertip or broad scraper: firm plaster that doesn’t flex is usually repairable, while spongy areas suggest failure beyond a patch. Tap around the stain; a dull thud can mean delamination from laths or plasterboard.
Check for cracking patterns. Hairline crazing and small blisters often clean up, but long sagging cracks, bulges, or a “drummy” sound indicate compromised Structural integrity. If the ceiling bows, drops, or you see loose keys or exposed board, plan for replacement.
Finally, assess Ceiling aesthetics: stains and tide marks are cosmetic, but repeated staining may signal wider damage.
Stop the Leak and Dry the Ceiling Plaster (Fast)
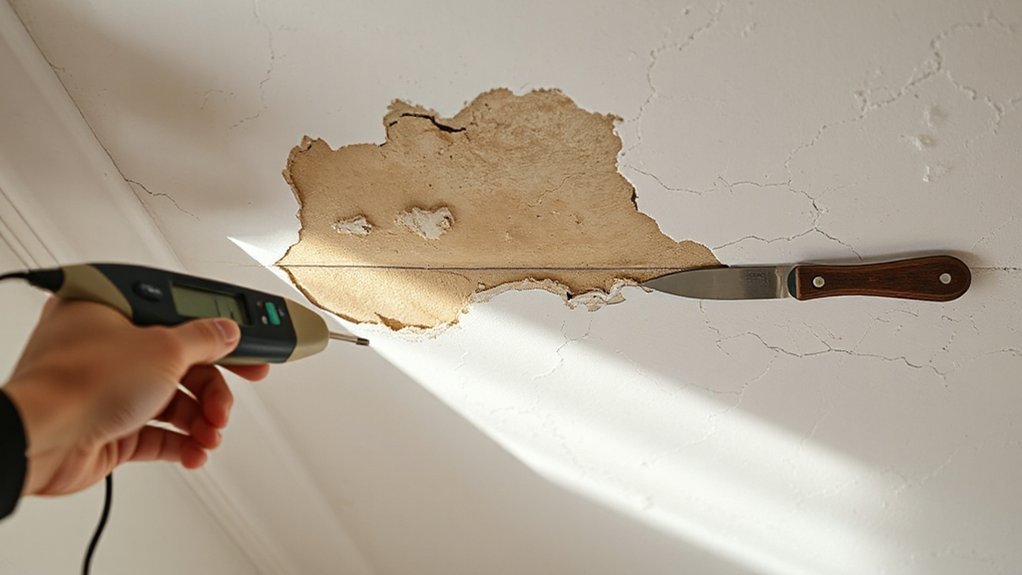
Now you need to find the source of the leak and stop it at the mains or local isolation valve before any more water hits the plaster. Mop up standing water straight away and protect floors and electrics, then clear the area so air can circulate. Get the ceiling dried fast with heating and strong ventilation (and a dehumidifier if you’ve got one) to limit staining, mould, and further plaster failure.
Locate And Stop Leak
Although it’s tempting to jump straight to patching, you’ll only get a lasting repair if you locate the source of the water and stop it at the point of entry. Trace the stain uphill: check the loft for slipped tiles, failed flashing, torn felt, or blocked gutters, then inspect pipework and radiator valves on the floor above. Use Moisture sensors to map the damp edge and pinpoint the highest reading, not the darkest mark. Isolate the water: shut the stopcock, close the feed to the cylinder, or turn off the heating circuit, then repair the fault (replace a washer, tighten a compression joint, or reseal a waste trap). If it’s roof-related, reinstate Waterproof membranes and sound underlay before re-plastering later.
Remove Standing Water
Once you’ve stopped the leak at source, deal with any standing water straight away so it doesn’t keep wicking into the plaster and joists. Put on gloves and safety specs, then lay a dust sheet and old towels under the drip line to protect carpets and electrics. Use a bucket and sponge or wet/dry vac (shop vac) to lift pooled water from the surface; don’t rub hard or you’ll break softened plaster. If water’s bulging behind paint, catch drips with a tray and gently pierce the lowest point with a small screwdriver to relieve pressure, then let it drain into a bucket. Wipe surfaces, bin soaked insulation, and bag waste. This limits Water leakage spread and supports Moisture prevention.
Dry Plaster Quickly
After you’ve dealt with standing water, dry the ceiling plaster fast to stop mould, staining, and further loss of adhesion. First, stop the leak at source (pipe, roof, shower tray) and switch off electrics to that circuit at the consumer unit if there’s any doubt. Lift nearby light fittings only if you’re competent; otherwise call an electrician.
Next, ventilate hard: open windows, run an extractor, and set up a dehumidifier beneath the wet area. Add a fan heater on a low setting to warm the room, not the plaster surface. Check Ceiling insulation above; wet mineral wool holds litres and must be removed and dried or replaced. Keep airflow going for 24–72 hours, then test dryness with a moisture meter. Once fully dry, seal stains and later finish with Water resistant paint.
Tools and Materials for Ceiling Plaster Repair
Before you start cutting out loose plaster or sealing stains, gather the right tools and materials so you can work cleanly and meet UK plastering standards. You’ll need a sturdy step ladder, dust sheets, safety specs, gloves, and an FFP3 mask for fine plaster dust. Keep a utility knife, bolster chisel, hammer, scraper, and a stiff brush ready, plus a vacuum for tidy edges. For patching, use PVA bonding agent or a proprietary plaster primer, setting-type filler, and multi-finish plaster; add scrim tape for cracks. To block residual marks, pick a stain block (shellac or water-based) and consider moisture barriers where damp may recur. Finish with fine sandpaper, corner trowel, and paint matched to decorative finishes.
Scrape Out Loose, Swollen Ceiling Plaster
With your tools and PPE to hand, start by removing any plaster that’s lost its key to the ceiling joists or laths. Tap around the stain with a hammer handle; hollow sounds mean it’s blown. Use a bolster or filling knife to scrape back to firm edges, working from the centre out so you don’t delaminate more. Bag debris as you go and keep the room ventilated. If artex or other Ceiling texture is present, score lightly first and avoid aggressive levering that could tear paper-faced board. Check for lingering damp; effective Moisture control means the leak’s fixed and the area’s dry before you rebuild. Finally, brush off dust and crumbly fines so your repair bonds to sound substrate.
Prime Stains and Bond the Plaster (PVA + Stain-Block)
Before you prime, check the ceiling’s fully dry and identify any brown tide marks or soot stains that could bleed through. Brush or roll on a PVA bonding coat (usually 1 part PVA to 3–5 parts water) to stabilise the surface and help new plaster key properly. Once it’s tacky, seal the stained areas with a stain-block primer so the marks won’t reappear under paint.
Assess Stains And Dryness
Once the leak’s fixed and the ceiling feels dry, check the plaster for yellow-brown tide marks, powdery patches, or soft edges, because these signs tell you what needs sealing and what needs bonding. Run your hand over the area: it should feel firm, not chalky. If your fingers pick up dust, you’ve got surface breakdown that’ll need stabilising before you paint.
Look for stain discoloration that bleeds through existing emulsion, especially around joists and along cracks. Use a torch held low to spot swelling or slight sagging. Test dryness with a moisture meter if you’ve got one; otherwise tape a square of foil up for 24 hours and check for condensation. Any lingering damp means ongoing water absorption, so wait and ventilate.
Apply PVA Bonding Coat
Dry plaster that still shows tide marks or feels slightly dusty needs sealing and a bonding coat so your filler and paint don’t peel or flash. Mix PVA with clean water (about 1:4 for first coat), then brush it on with a 4″ emulsion brush, working it well into the surface. Keep coverage even and don’t flood joints or cracks.
Let it go tacky, not fully dry, then apply a second coat at roughly 1:3 where the ceiling feels porous. This improves adhesion for patching compound and reduces suction, giving you a flatter finish. If you’re in a kitchen or bathroom, combine good ventilation with Mold prevention steps: kill any remaining spores first and avoid trapping damp. Waterproof coatings belong later, not now.
Seal With Stain-Block Primer
Two quick coats of stain-block primer stop old water marks bleeding through and lock down any remaining chalky plaster, so your topcoat doesn’t discolour or peel. Once your PVA bonding coat is fully dry, lightly de-nib with 180 grit and dust off. Use an oil-based or shellac stain-blocker for stubborn brown tide marks; a water-based block is fine for lighter staining. Cut in around coving, then roll with a short-pile mini roller to avoid texture differences and help Color matching later. Keep coats thin and even, and let each coat cure to the tin’s timings in UK conditions. This step boosts Moisture resistance and stops patchy sheen. If marks still ghost, add a third coat. Check for drips before they set.
Patch Ceiling Plaster in Thin Layers (What to Use)
Although it’s tempting to fill the whole area in one go, you’ll get a flatter, longer-lasting repair if you patch ceiling plaster in thin layers using the right materials. Start by choosing the right option for your Plaster types: use setting-type filler (powder) for deeper voids, and fine surface filler for shallow skims. If the original is lime plaster, use a compatible lime repair or a breathable basecoat, not hard cement-based filler. For gypsum plasterboard ceilings, a gypsum filler works well. Press the first coat firmly into the edges with a 4–6 inch filling knife, keeping it slightly proud. Let it set, then add a second thin coat to refine the shape and blend the Ceiling texture. Build up until level. Avoid overworking.
Sand, Prime, and Paint to Match the Ceiling
Once your final filler coat has set hard and feels level to the touch, finish the repair so it disappears into the rest of the ceiling. Lightly sand with 120–180 grit on a sanding block, feathering 150mm beyond the patch. Vacuum dust, then wipe with a barely damp cloth and let it dry fully.
Seal the area with a stain-blocking primer suitable for UK plaster (water-based for most, shellac if there’s discolouration). This stops flashing and gives an even key. Match the existing Ceiling texture: for smooth ceilings, roll with a short-pile sleeve; for light stipple, dab with a sponge or use a medium-pile roller. For historical preservation, use breathable matt emulsion on older lime plaster, and blend into the surrounding paint with two thin coats.
Keep Ceiling Plaster Water Damage From Coming Back
Before you put the ladder away, tackle the cause of the leak and the conditions that let moisture linger, or the stain and plaster failure will return. Trace the source: check roof tiles and flashing, loft pipework, overflowing gutters, and bathroom extractors venting into the loft. Fix defects, then dry the area fully with ventilation and a dehumidifier; don’t seal damp plaster. Improve airflow: fit a humidistat extractor in bathrooms, keep trickle vents clear, and insulate cold loft tanks and pipes to stop condensation. If you’ve got an older lath-and-plaster ceiling, keep repairs breathable for historical preservation: use compatible fillers and vapour-open paint. Finally, monitor after heavy rain, and touch up promptly to protect ceiling aesthetics.
Frequently Asked Questions
Will Homeowners Insurance Cover Water-Damaged Ceiling Plaster Repairs?
Yes, your homeowners insurance often covers water-damaged ceiling plaster if water damage is sudden, like a burst pipe. You’ll need photos, a plumber’s report, and prompt insurance claims. It won’t cover gradual leaks or poor upkeep.
How Long Should I Wait Before Repainting After a Ceiling Plaster Repair?
You should wait 7–14 days before repainting, or until plaster’s fully dry. Monitor the drying process with a moisture meter or touch test. Start paint application only after mist-coating new plaster and ventilating.
What Are Signs of Hidden Mold Behind the Ceiling Plaster?
As you switch on the light, you spot musty odours, persistent stains, bubbling paint, and crumbly plaster—classic signs of hidden mold. You’ll also notice cold damp patches via moisture detection, and increased allergies or condensation around loft.
Can I Repair Water-Damaged Plaster Myself or Hire a Professional?
You can attempt DIY repair for minor staining or small cracks once you’ve fixed the leak and the plaster’s dry; otherwise, get professional help for sagging areas, wide cracks, electrics nearby, or suspected mould.
How Much Does Ceiling Plaster Water Damage Repair Typically Cost?
You’ll typically pay £150–£600, but severe damage can reach £1,200+. For cost estimation, you’ll factor area, access, and drying time. Repair techniques like patching, skimming, or full re-plastering raise labour and materials.
Conclusion
Once you’ve stopped the leak and dried the ceiling, you’re on the home straight. Scrape back to sound plaster, seal stains with a proper stain-block, and use PVA to help new plaster or filler bond. Build your patch in thin coats, let each one dry, then sand flush. Finish with mist coat and topcoat to match. Treat any leftover damp like a ticking time bomb—sort ventilation and check pipework.