
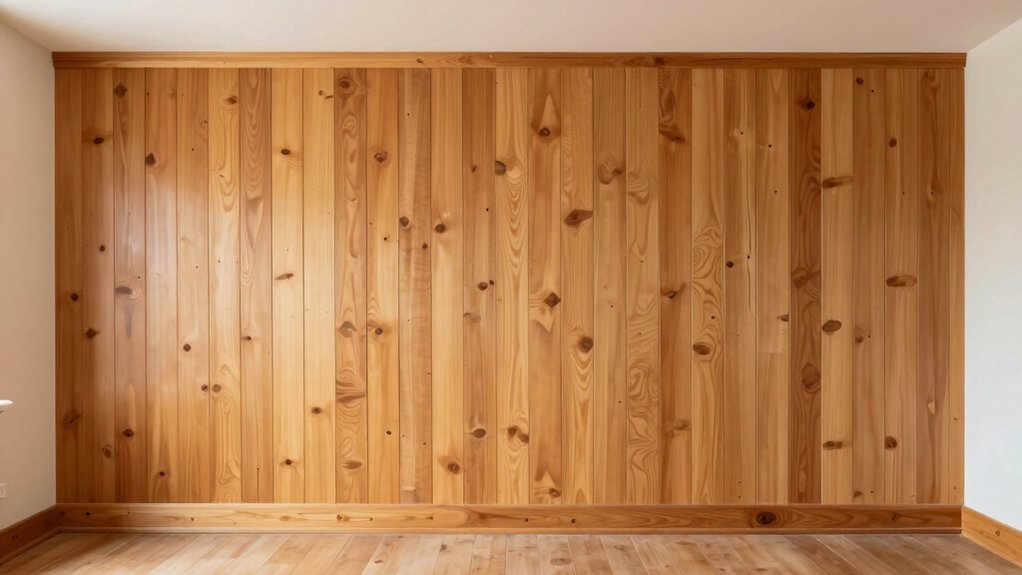
You can create a polished board-and-batten accent wall for under $100 by using affordable, repurposed materials and a clean plan. Source unfinished boards and trim from clearance sections, salvage yards, or discontinued stock, then cut precisely and plan spacing with a simple grid. Attach battens to studs with corrosion-resistant screws, seal gaps, and finish with a affordable paint in matte or eggshell. Stay consistent with plumb lines and gaps—small fixes early save big headaches, and you’ll disclose more tips as you continue.
What You’ll Achieve: A Budget-Friendly Board-and-Batten Wall Under $100

For a budget-friendly board-and-batten wall under $100, you’ll reuse common materials, plan efficiently, and execute with clean, precise cuts. You’ll start with a clear layout, measuring twice to minimize waste and maximize impact. This approach reinforces DIY Inspiration by showing you how thoughtful optimization can deliver striking results without overspending.
You’ll target a smooth, uniform reveal between battens, ensuring a polished, professional look that fosters belonging within your space. By choosing economical materials and simple fastening methods, you stay aligned with current Style Trends while maintaining durability.
You’ll document your progress and adjust as needed, building confidence with each accurate cut. The outcome is a cohesive backdrop that elevates rooms, invites compliments, and reinforces your hands-on, resourceful identity.
Where to Source Affordable Materials for a Board-and-Batten Job
You’ve budgeted for a budget-friendly project, so start by locating affordable materials without sacrificing quality. Begin with practical sources that reliably stock board-and-batten components or compatible substitutes. Check local furniture stores for unfinished boards, moldings, and primed panels sold at clearance prices, and inquire about discontinued or shelf-cleared stock you can repurpose.
Visit salvage yards to find reclaimed trim, beadboard, or battens with character, often at a fraction of new material costs. Compare prices and condition, prioritizing straight stock free of warps or splits. Bring measurements, rough plans, and a mental list of essential widths to stay focused.
Ask about delivery options or pickup arrangements to minimize freight charges. Build relationships with staff; they can flag forgotten inventory and ongoing sales.
Planning the Layout: Measurements, Spacing, and Height
To plan the layout, start with exact measurements and a clear design plan. You’ll determine wall proportions, identify focal points, and translate them into repeatable steps. Begin by marking baseboard height, ceiling height, and desired batten width to establish a baseline grid.
Calculate spacing templates so each vertical batten aligns with consistent intervals, avoiding uneven gaps. Consider doorways, electrical outlets, and crown molding to preserve visual balance. Use a level and a laser line to project your grid, then verify with a tape measure at multiple points.
Ensure the verticals and horizontals maintain proportional relationships across the entire wall. Record measurements, margins, and cut lengths for future reference. Clear planning reduces surprises and reinforces a shared sense of design belonging in your space.
Tools, Safety, and Prep for a Clean Install
With the right tools and a focus on safety, you’ll set the stage for a precise, clean install. Before you begin, gather essential power tools, safety gear, and basic clamps to keep boards steady.
Inspect blades and bits for wear, replacing as needed to prevent splinters and miscuts. Measure twice, cut once, and use a sharp straightedge to guide every pass.
Wear safety gear: eye protection, hearing protection, gloves, and a dust mask to guard against debris. Prepare your workspace by clearing clutter and securing ladders on level ground.
Keep a cordless drill charged and a spare battery nearby. Maintain a clean, dry surface to prevent slips.
Finally, plan a quick-clean routine to manage dust and offcuts, ensuring a safe, confident start.
Step-by-Step Installation: Wall Prep and Batten Placement
Before you start fastening battens, make certain the wall is clean, dry, and structurally sound; inspect for loose studs or warped drywall and address them before proceeding.
Begin with wall surface prep that ensures full contact and straight alignment. Choose appropriate paneling options based on your room’s moisture and lighting; install a thin furring strip if needed to create a true reference plane.
Mark vertical batten lines with a level and pencil, spacing them according to your design. Secure battens first to studs; use corrosion-resistant screws and a cordless driver for crisp, even penetration.
Check for plumb after each row, adjusting as necessary before continuing. Maintain consistent gaps at corners and outlets, and avoid hiding imperfections—correct them now for a flawless, cohesive board and batten installation.
Finishing Touches on a Budget: Caulk, Paint, and Sealants
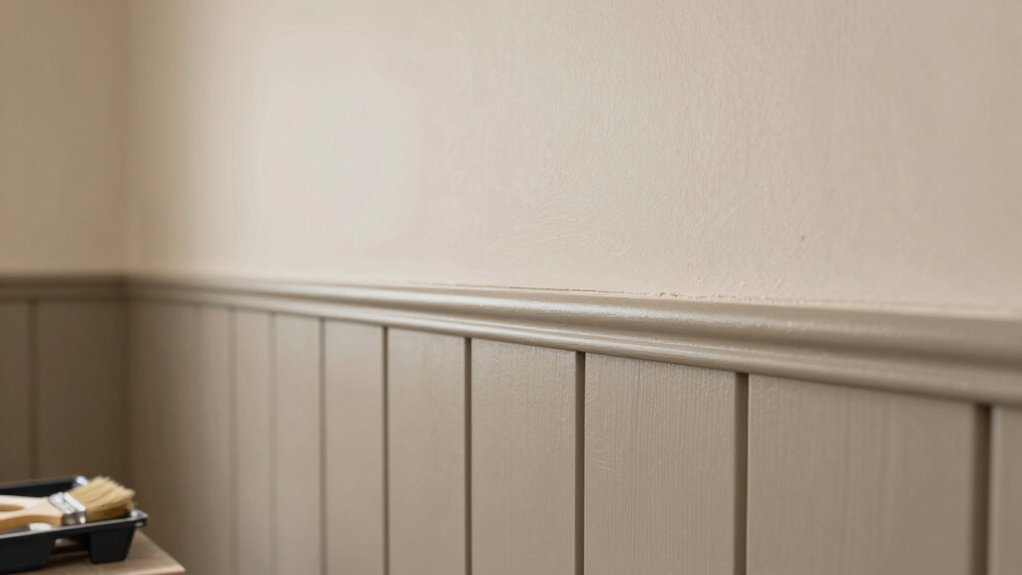
Ever wonder how to finish a board and batten project without blowing your budget? You’ll seal gaps with careful caulk application, choosing a lightweight, paintable sealant that flexes with seasonal shifts. Apply a thin, even bead along seams and trim edges, then smooth promptly for a clean edge.
Next, select paint with a durable, matte or eggshell finish that hides minor imperfections and minimizes glare. For color, opt for a restrained palette that enhances the battens without overpowering the room. Use painter’s tape to protect adjacent walls, and prime bare wood if needed to improve adhesion and uniformity.
Budget-conscious shoppers can leverage leftover sample sizes for small sections. In the end, precision in caulk and thoughtful paint selection yields a polished, cohesive look.
Common Mistakes to Avoid During Installation
Avoid rushing measurements or skipping prep, and you’ll save time and headaches later. As you install, commit to accuracy at every step. Double-check wall dimensions before cutting studs or battens, and set a reliable baseline line to align your panels.
Poor technique shows in several common mistakes: incorrect measurements leading to gaps, joints that don’t meet cleanly, and uneven spacing that disrupts the rhythm of the wall. Measure twice, cut once, and treat your layout like a blueprint you must defend.
Use a level and a straightedge for each row, and clamp pieces for precise nailing. Step back often to confirm alignment, spacing, and finish consistency. By prioritizing exactness, you prevent rework and preserve a cohesive, professional look.
Quick Fixes and Troubleshooting on the Job
When a board doesn’t line up right or a seam shifts, quick, targeted fixes keep the project on track. You’ll address misalignment with a straightedge and a light tap, then re-seat panels and relevel as needed.
For small gaps, use a minimal amount of wood filler or paintable caulk to blend edges without creating bulky seams. Paint touch ups should be precise and quick, matching the existing finish to avoid noticeable patches.
Adhesive issues must be diagnosed: check for proper cure time, surface cleanliness, and appropriate adhesive type; reapply if necessary and clamp until set. If a seam reopens, reinforce with a restrained fastener pattern and re-seal.
Stay deliberate, test fit before final nailing, and document fixes for future maintenance.
Frequently Asked Questions
How Long Will a Budget Board-And-Batten Wall Last?
Sure thing: your budget board-and-batten wall will last years with proper care. Wall durability hinges on moisture control and fastener quality. Inspect quarterly and perform maintenance tips like sealing seams and repainting where needed. You’ll stay confident and connected.
Can I Remove Battens Without Damaging Drywall?
Yes, you can remove battens without major damage if you work carefully; expect minor drywall repair. When removing battens, you’ll protect surrounding drywall, pull nails cleanly, and fill voids with compound, then sand, prime, and repaint for a seamless result.
Do I Need a Primer for All Budget Paints?
Primer necessity is nuanced; you don’t always need it with budget paint, yet it boosts durability. If surfaces are chalky or stained, apply primer. Otherwise, replicate primer-like sealer, maximize budget paint durability, and feel confident.
What’s the Best Spacing for Narrow Walls?
For a narrow wall, use careful spacing: aim for narrow wall spacing of about 8–12 inches between battens and an ideal batten width around 3–4 inches. This balance ensures proportional, cohesive visuals.
Are Pre-Cut Battens Worth the Extra Cost?
Prospective purchaser, pre-cut battens pace pricey panic—but practically, pre-cut battens aren’t worth it. You’ll save with simple cuts. Consider cost comparison and material options; you’ll feel confident, connected, and craftily capable choosing cost-effective, quality choices.