
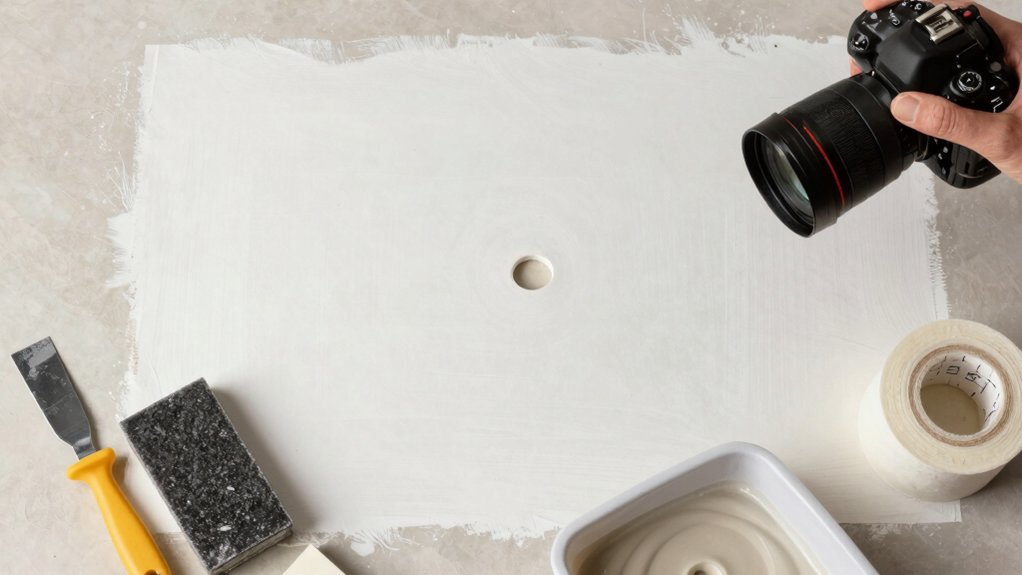
To repair drywall like a pro, start by evaluating damage and moisture risks, then gather a simple kit: utility knife, drywall knife, mud, tape, a sanding block, screws, and primer. For small holes, clean, prime, skim with feathered coats, and sand smooth. For large cracks, embed mesh, apply multiple mud coats, and reinforce with backing if needed, then prime and paint to match. Maintain safety, ventilation, and a clean workspace, and you’ll master patches from start to finish. You’ll pick up more details as you continue.
Set Drywall Repair Goals (What You’Re Aiming to Fix and Finish)
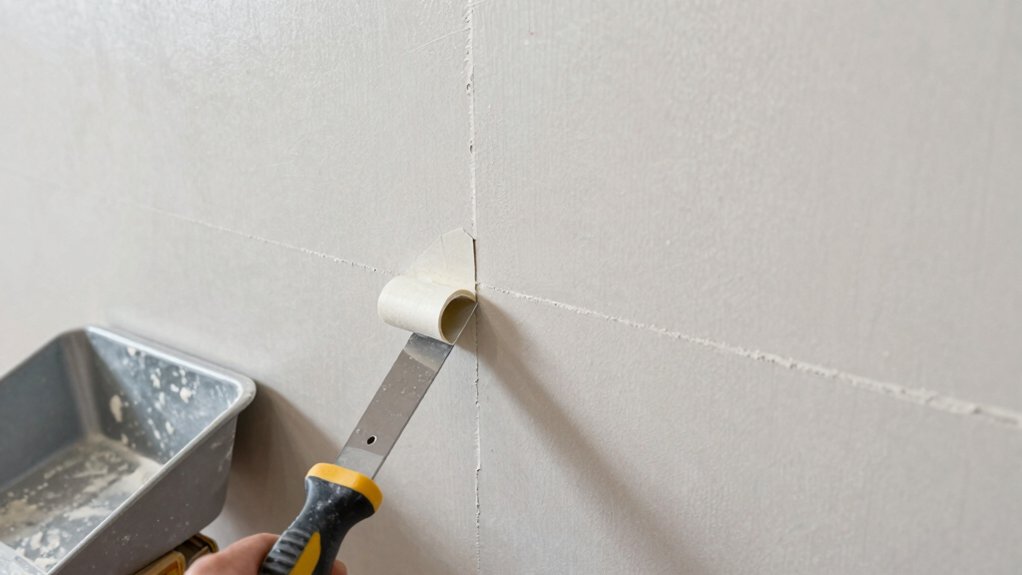
Setting clear goals keeps your drywall repair focused and efficient. You define what success looks like before you touch a tool, so you stay on track and avoid scope creep.
Start by listing the exact spots to fix, the finish you want, and the timeline you’ll meet. Then translate those targets into practical steps: selecting materials, choosing painting techniques for texture and color, and planning any drywall anchoring you’ll need for stability.
Decide whether you’ll skim or mud smooth, how many coats, and the drying times you’ll observe. Measure twice, cut once, and confirm compatibility with surrounding surfaces.
With goals set, your approach stays disciplined, confident, and collaborative, inviting others to trust your process as you complete clean, professional results.
Identify Drywall Damage: Holes, Cracks, and Moisture Risks
You’ll start by spotting common drywall damages like dents, holes, and hairline cracks.
Then, assess moisture risks by checking for discoloration, musty smells, or soft, damp spots that hint at hidden issues.
Addressing both visible damage and moisture today sets the stage for a solid, lasting repair.
Identify Common Damages
Common drywall damage falls into three main categories: holes (from nails, doorknocks, or impacts), cracks (caused by settling or stress), and moisture-related issues (delamination, staining, or soft spots).
You’ll spot holes as dents or pockmarks, cracks as hairlines to wider splits, and moisture signs as warped panels, musty odors, or discoloration near rooms with plumbing or poor ventilation. Recognize that decorative finishes can reveal defects differently than plain paint, so assess texture consistency and edge sharpness.
Consider furniture placement and wall loads—unsafe spots or bulges may indicate hidden damage. Document patterns, then prioritize repairs by risk and visibility.
This awareness keeps your space cohesive, supports durable results, and reinforces your belonging in a home DIY community.
Assess Moisture Risks
Moisture risk is the silent culprit behind drywall damage, so start by checking for telltale signs like soft spots, staining, and warped panels near bathrooms, kitchens, or water lines. You’ll identify moisture sources by tracing leaks, condensation, or high humidity to the wall’s interior.
Inspect ceilings and adjoining rooms for mushrooming mold or peeling paint, which signal hidden dampness. Use a moisture meter to quantify moisture content and establish safe thresholds before repairs.
Prioritize humidity control through ventilation, dehumidifiers, and bathroom exhausts, then record findings to guide patching decisions. If moisture persists, address the root cause first—water intrusion, poor sealing, or faulty plumbing—before repairing drywall.
This proactive approach protects structural integrity and fosters a confident, belonging-driven restoration process.
Tools and Materials You’Ll Need for Drywall Repair
To repair drywall effectively, you’ll need a straightforward set of tools and materials that cover prep, patching, and finishing. You’ll gather a sharp utility knife, a 6- or 8-inch drywall knife, and a mud pan for clean, controlled application. A sanding block or pole sander with varying grits keeps edges smooth without overdoing it.
For structural patches, keep drywall screws, a drywall saw, and tape suitable for quick, secure fixes. In materials, stock joint compound for feathered blends and drywall tape for strength, plus a primer and compatible finishing paint. A lightweight sheetrock mud helps with feathering, while a rasp sets rough edges.
With these essentials, you’ll approach repairs with confidence and a sense of belonging to a professional-ready toolkit.
Patch Small Holes and Dents With a Simple Skim Coat
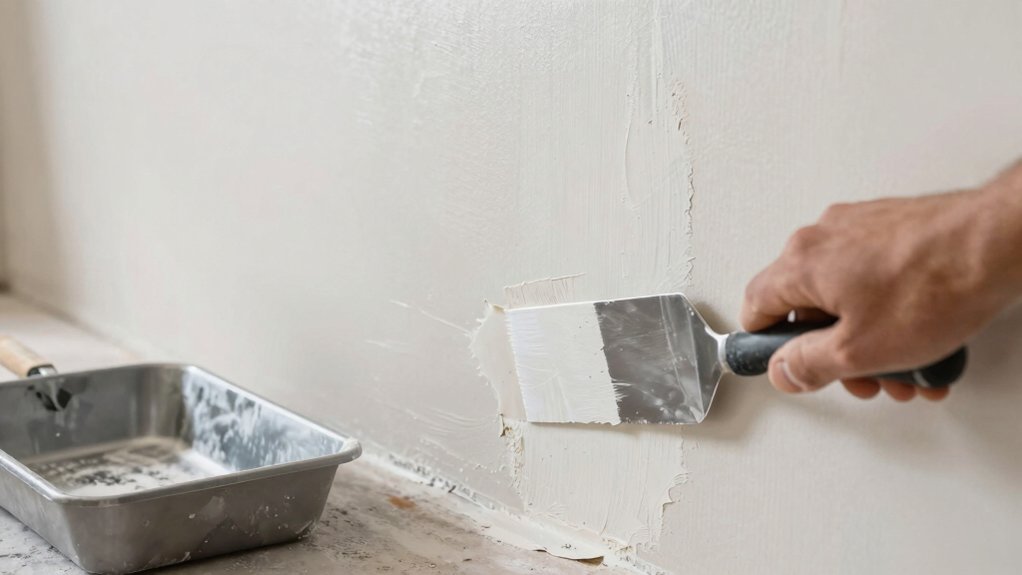
To patch small holes and dents, you’ll first prepare the surface so any imperfections are clean and tightly sealed.
Then you apply a skim coat smoothly, keeping the layer thin and feathered to blend with surrounding drywall.
Focus on consistent pressure and uniform strokes to guarantee a seamless, durable finish.
Prepare Surface Properly
Small holes and dents in drywall can ruin a smooth finish, but you can fix them quickly with a simple skim coat. To prepare properly, you focus on a clean, dry surface and solid bonding. Remove loose material, dust, and debris, then lightly wipe with a damp cloth.
Inspect for moisture damage; if present, address it before proceeding. Apply primer preparation to ensure even adhesion and color consistency, especially on patched areas.
Sand surrounding textures to create a seamless blend, using gentle, even strokes with fine-grit sandpaper. Set the repaired area with a tack cloth, then you’re ready to skim.
Precision now guarantees rework later, so maintain steady pressure and consistent motion for a professional, integrated finish that invites ownership and pride.
Apply Skim Coat Smoothly
Once you have a clean, primed surface, apply a thin layer of joint compound using smooth, even strokes, keeping your motion consistent to avoid ridges. You’ll feather from the patch outward, maintaining a light touch to preserve the surrounding texture.
After the skim coat sets briefly, check for low spots and gently rework them with additional passes, using small, circular motions to blend edges. Prioritize smoothing techniques that build a seamless *gradual* into the wall, not thick buildup.
Allow sufficient drying between coats, then sand lightly with a fine-grit paper for a glassy finish. Confirm primer application appears uniform under light, and address any remaining imperfections.
This method creates a professional, cohesive surface you can trust for paint and texture. You belong in the repair process.
Fix Large Cracks and Patches: Mesh, Mud Coats, and Reinforcement
When large cracks appear, you’ll need to reinforce the wall and build a solid patch, not just skim the surface. Start by measuring the crack, cutting a strip of mesh reinforcement, and embedding it into a thin mud coat. This creates a durable anchor that prevents future movement.
Apply a second mud coat over the mesh, then feather edges beyond the crack so the patch blends with the surrounding drywall. Allow each coat to dry fully before sanding lightly to a smooth connection.
For wide gaps, install a drywall patch or backing behind the wall with screws, then cover with mud coats until flush.
Finish by priming; solid reinforcement means lasting repair and a seamless, trusted result.
Texture Match and Finish for a Seamless Wall
Achieving a seamless texture starts with matching the existing drywall finish precisely, then applying the right combination of compounds, tools, and techniques. You approach texture match by evaluating the current wall’s pattern, sheen, and depth, then plan a controlled sequence to avoid overworking the surface. Use light coats and feathered edges, preserving the original texture context rather than masking it.
For texture blending, vary mud thickness and brushing or sponge techniques to mimic the surrounding finish, ensuring transitions are invisible. Finish techniques emphasize even color and consistent sheen, so sand lightly between coats and test with a small area first.
Maintain steady hand pressure, work in calm, overlapping sweeps, and cure properly to prevent cracking. Your goal: a seamless, durable, indistinguishable wall.
Safety, Cleanup, and Maintenance for Lasting Results
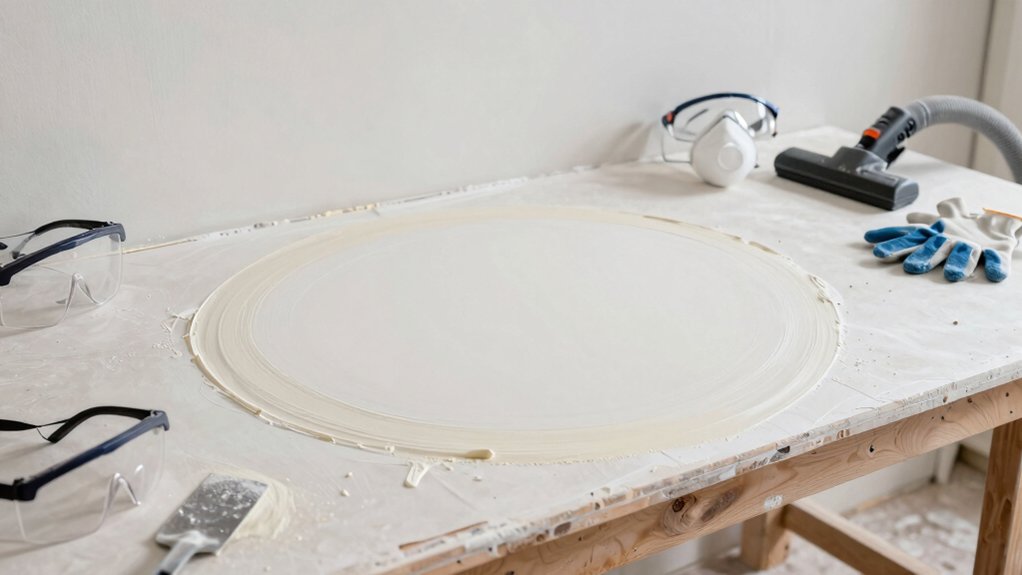
To protect your work and your health, start with a safety plan that covers ventilation, personal protective gear, and proper handling of sanding dust and compounds. You’ll create a safer workspace by ventilating continuously, using a respirator or masks, eye protection, and gloves, and by keeping doors and vents clear.
Follow disposal procedures for debris, dust, and old materials, and store materials securely to prevent spills. Clean as you work to minimize dust spread, then seal and label containers for easy future access.
Maintain tools and surfaces with regular checks, and plan a final cleanup routine that includes sweeping, damp mopping, and air filtering. This disciplined approach protects you, supports consistent results, and fosters a sense of belonging in a careful, professional home repair community.
Frequently Asked Questions
How Long Does Drywall Repair Typically Take From Start to Finish?
Drywall repair generally takes a few hours for small fixes, longer for bigger patches. You’ll plan drywall finishing around surface prep, skim coats, and drying times, using patch materials that suit your project and keep you moving confidently.
Can You Repair Drywall Without Sanding or Dust?
You can repair drywall without dust, but you’ll still need a light touch and proper technique. Dust free repairs are possible with eco friendly patching, sanding-free tools, and sealing; you belong to a cleaner, safer home.
What Budget Range Should I Expect for Small Repairs?
For small repairs, budget roughly $20–$60, depending on materials and tools. Consider cost considerations and material options, choosing ready-made patch kits or joint compound. You’ll save by DIYing, still achieving a seamless, professional finish you’ll be proud of.
When Is a Professional Better Than DIY for Patches?
Like a sturdy bridge you cross with confidence, you should call professional assistance when patches exceed DIY limitations. You handle basics, but complex damage, uneven surfaces, or moisture issues demand expertise beyond your toolkit.
Do Repairs Affect Home Resale Value or Insurance?
Yes, repairs can affect home appraisal and insurance claims, so you should document fixes, keep receipts, and disclose improvements; timely, quality patches preserve value and may lower claim costs, helping you feel secure and supported.