
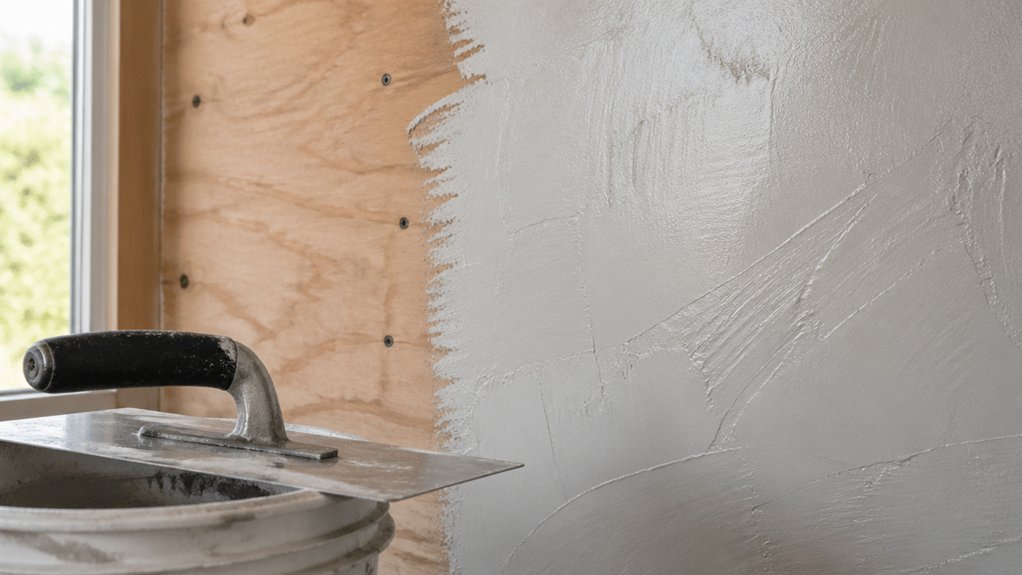
Can You Plaster Over Plywood Safely?
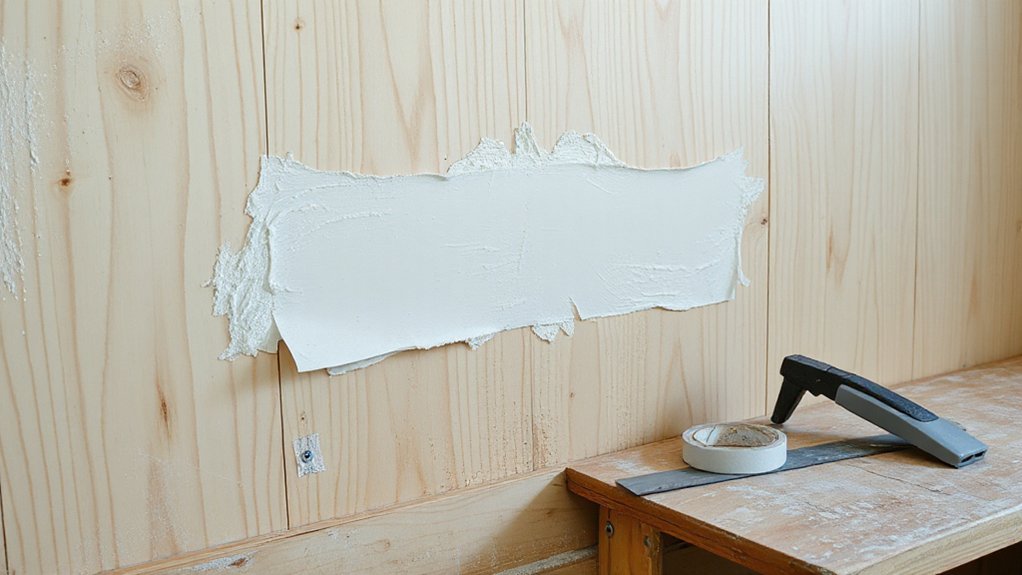
Although you can plaster over plywood, you can’t do it safely or reliably without the right preparation because plywood flexes, moves with moisture, and doesn’t offer much key for plaster to grip. Start by checking the boards are exterior-grade, securely fixed to studs at proper centres, and deflection-free. Seal knots and resin, then apply a suitable bonding agent or a grit primer (e.g., blue grit) to create a mechanical key and improve surface durability. Tape all joints with scrim and use a reinforced basecoat or plasterboard-style jointing approach where needed to bridge movement. Keep moisture control tight: limit suction with the correct primer, avoid over-wetting, and ensure ventilation and stable heating while it cures. Finish with a thin, even skim.
When Should You Avoid Plastering Over Plywood?
Good prep and the right primers can make plaster stick to plywood, but you shouldn’t use it where the substrate’s likely to move or stay damp. Avoid it on external walls, unheated outbuildings, cellars, or bathrooms without proper tanking and ventilation, as moisture will swell the sheet and crack the skim.
Don’t plaster over thin, poorly fixed, or spanning plywood; flexing from door slams, joist bounce, or thermal change will telegraph through, especially under Decorative finishes like polished plaster. Skip boards with knots, delamination, raised grain, or contaminated faces (oil, wax, old adhesive). If you can’t guarantee stable fixings, movement gaps, and dry service conditions, choose Alternative wall materials instead.
Best Alternatives to Plaster Over Plywood
If plaster’s a poor match for your plywood surface, what should you use instead? Start by fixing 12.5mm plasterboard over the ply on timber studs or battens; you’ll get a stable finish for skimming and easier compliance with UK drylining practice. For small areas, choose a cement-based tile backer board, then skim with a suitable finish coat or tile directly. Where you need a robust base for patching, use surface bonding compound on a mesh-reinforced layer rather than standard multi-finish. In wet zones, fit a waterproof backer board and tanking system before tiling. Whatever route you pick, do adhesion testing on primers, screws, and tapes to confirm your build-up holds, and follow manufacturers’ data sheets throughout.
Why Plaster Cracks or Debonds on Plywood
Plasterboard, tile backer, or bonding systems often outperform plaster straight onto ply because plywood moves and plaster doesn’t tolerate that movement. In UK homes, ply expands and contracts with humidity and temperature, so you’ll see hairline cracking where sheets meet or at fixings. It also flexes between joists, especially on ceilings, so the plaster can shear and debond.
You can worsen it with poor drywall installation: wide fixing centres, uneven framing, or joints that aren’t supported let the substrate deflect. Ply’s smooth, resin-rich face can also limit key, so any vibration or impact pops the finish. Watch insulation compatibility too: warm, well-insulated rooms reduce drying time, but vapour drive can still push moisture into ply and trigger movement.
Materials to Plaster Over Plywood (Primer, Mesh, Base Coat)
Although you can’t stop plywood moving, you can build a system that tolerates it by using the right primer, reinforcement, and base coat. Start with a bonding primer made for dense timber or multi-surface backgrounds; you’re aiming for a keyed, polymer-rich film that grips and isolates tannins. Where you’ve got wall insulation behind the sheet or fluctuating humidity, choose primers compatible with moisture barriers so vapour control layers aren’t compromised.
Reinforce the whole area with alkali-resistant glassfibre mesh bedded into a base coat, not just the joints. Use a polymer-modified basecoat plaster (or cementitious leveller rated for timber) to spread movement and resist impact. Finish with a compatible skim once the base is cured.
How to Prep Plywood for Plaster (Clean, Roughen, Seal)
Even the best primer, mesh, and base coat won’t perform properly unless the plywood is clean, keyed, and sealed to control suction and staining. Start by checking the sheets are structurally sound, dry, and firmly fixed; movement kills surface adhesion. Vacuum off dust, then degrease with sugar soap solution and rinse lightly; let it dry fully. Knock back raised grain and any glossy factory face with 60–80 grit to give a mechanical key, especially on shuttering ply. Fill voids, punch down proud fixings, and feather edges so you don’t telegraph ridges. Seal knots and resin bleed with knotting or stain-blocker for material compatibility, and lightly sand once cured. Mask adjacent finishes and protect floors.
How to Plaster Over Plywood (Step-by-Step)
Once you’ve cleaned, keyed, and sealed the plywood, you need to confirm it’s stable, dry, and properly fixed before you start plastering. You’ll then apply your chosen plaster system in the right order—bonding or base coat (if needed), mesh where required, then a skim finish—keeping to UK drying times and coat thicknesses. Follow these steps and you’ll get a flat, crack-resistant surface that’s ready for paint.
Prepare Plywood Surface
Before you mix any plaster, you’ll need to prep the plywood so it doesn’t flex, suck the moisture out of the coat, or shed dust into the bond. First, check the boards are exterior-grade and firmly fixed to studs at 150mm centres, adding screws where there’s any movement. If edges aren’t supported, fit noggins to stop bounce.
Next, create the right surface texture: sand any glossy faces, remove paint or wax, and vacuum thoroughly. Degrease with sugar soap if it’s been handled or stored in a garage. Seal knots and resinous patches.
For moisture control, keep the room above 10°C, stop draughts, and avoid soaking the plywood; lightly damp-wipe only if dusty. Mask trims and protect floors.
Apply Plaster System
With the plywood solid, clean, and keyed, you can build a plaster system that locks on mechanically and controls suction. First, brush on a compatible primer/sealer (PVA or bonding agent) to stabilise the surface and improve moisture resistance; let it go tacky. Next, fix galvanised expanded metal lath or a fibreglass mesh, keeping fixings into studs and overlaps of 50 mm for Surface bonding. Apply a polymer-modified basecoat (or bonding plaster where suitable), pressing it through the mesh to embed and level; rule off and scratch lightly for key. After initial set, skim with finishing plaster in two tight coats, keeping edges wet. Control drying: avoid heaters, ventilate, and mist if needed. Allow full cure before painting.
Plaster Over Plywood Problems (and Fixes)
Even when you’ve prepped plywood properly, you can still get cracking at joints, hollow spots from poor keying, or debonding where movement and suction aren’t controlled. You’ll spot these failure modes early by tapping for drummy areas, checking for hairline cracks, and watching for edge lift around fixings. Next, you’ll apply proven UK repair techniques—local cut-outs and re-screwing, re-priming with PVA/SBR, scrim taping, and patch re-skimming—to restore a sound finish.
Common Failure Modes
Although plaster can go onto plywood, most problems trace back to movement, poor key, or moisture getting where it shouldn’t. You’ll typically see hairline cracking along board joints as the sheet flexes, especially on ceilings and in unheated rooms. Debonding can follow if the surface was too smooth or dusty, leaving you with hollow-sounding patches and localised drumming. Moisture drives blistering, soft spots, and mould staining where ply swells under the skim, often near external walls or bathrooms. You may also notice crazing where the plaster dries too fast over suctiony primers. Even if it stays stuck, poor finishing shows as uneven Texture patterns under raking light and obvious joins from weak Color matching between coats or batches. Edges chip easily on impact too.
Proven Repair Techniques
Before you patch anything, you need to work out whether you’re dealing with movement, loss of key, or moisture, because each failure needs a different fix. If the board moves, screw off into studs at 150mm centres, add noggins, and tape joints with scrim before you re-skim. For loss of key, rake back loose plaster to sound edges, prime plywood with an SBR slurry or bonding agent, then apply a basecoat with fibreglass mesh embedded. Where moisture caused debonding, stop the source, dry the substrate, and seal with a stain-blocking primer before replastering. Borrow Historical techniques by adding expanded metal lath for a mechanical key. For Artistic applications, finish with fine skim or limewash-ready coat.
Pro Tips to Prevent Cracks Long-Term (Movement, Moisture, Joints)
Because plywood moves with humidity and temperature, you’ll prevent long-term cracking by controlling movement, moisture, and joint lines from the outset: keep the sheets dry and acclimatised, stiffen and brace the substrate so it can’t flex, and treat every board edge and fixing point as a potential crack starter by taping joints, isolating junctions, and using a suitable bonding/mesh system rather than relying on plaster alone. Prioritise moisture control: seal faces and edges, avoid wet trades nearby, and keep RH stable until cured. Use surface bonding: apply an acrylic primer/bonding agent, then embed alkali-resistant mesh over joints, corners, and screw lines. Stagger joints, leave 3mm gaps, and fill with flexible polymer filler before skimming. At abutments, add scrim and a movement bead so seasonal shifts don’t telegraph through.
Frequently Asked Questions
Can I Plaster Over Plywood in a Bathroom or Shower Area?
You can’t plaster directly over plywood in a bathroom/shower; it’ll fail. Use cement backer board or tanking. For Plywood surface prep, prime and mesh. Apply Moisture resistance tips: waterproof membrane, tiles, ventilation, sealed penetrations.
How Long Should Plaster Cure Before Painting or Tiling Over It?
Let plaster cure 7 days before painting and 14–28 days before tiling, depending on thickness and ventilation. Do Plywood surface preparation to prevent Plaster adhesion issues; keep it dry, stable, and fully carbonated.
What Plaster Finish Looks Best Over Plywood: Smooth, Textured, or Venetian?
Venetian looks absolutely unbeatable, if you’ve nailed Surface preparation and Material compatibility. You’ll get a durable, premium sheen suited to UK interiors. Smooth suits minimalist schemes; textured hides flaws, but can trap dust.
Is Plastering Over Plywood Cheaper Than Drywall or Cement Board?
Plastering over plywood usually isn’t cheaper than drywall; cement board costs more upfront. For cost comparison, you’ll pay extra for primers, mesh, and labour. Material durability can suffer with movement unless you detail joints properly.
Can I Plaster Over Plywood That Already Has Paint, Varnish, or Laminate?
Yes, you can, but you’ll need thorough Plywood preparation to guarantee Plaster adhesion. You must de-gloss, key the surface, remove loose coatings, and prime with PVA or bonding agent before applying a suitable base coat.
Conclusion
Yes, you can plaster over plywood, but you’ll only get a durable finish if you control movement and moisture. You’re on thin ice if you skip sealing, reinforcement, or the right base coat. Prime and seal the board, fix it firmly, tape joints, and bed alkali‑resistant mesh into a suitable bonding/base coat before finishing. Keep coats thin, allow proper drying, and ventilate well. Done right, you’ll reduce cracking and debonding long-term.