
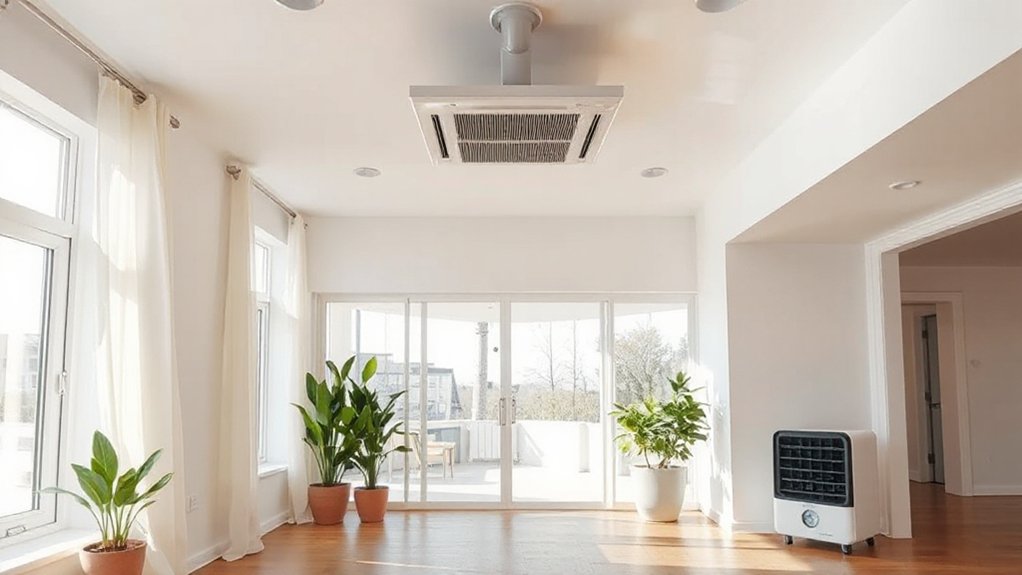
To renovate for better ventilation, start by defining clear air-quality goals with measurable targets like CO2, humidity, and PM2.5, then audit your current airflow with simple tests and spot fixes. Prioritize sealing gaps before upgrading to mechanical systems, or craft a phased plan if you need it. Use targeted improvements around kitchens, baths, and living areas, plus filtration and balance strategies. Maintain performance with regular checks—and if you keep going, you’ll gain deeper, practical controls.
Clarify Your Ventilation Goals: Define Measurable Air-Quality Targets
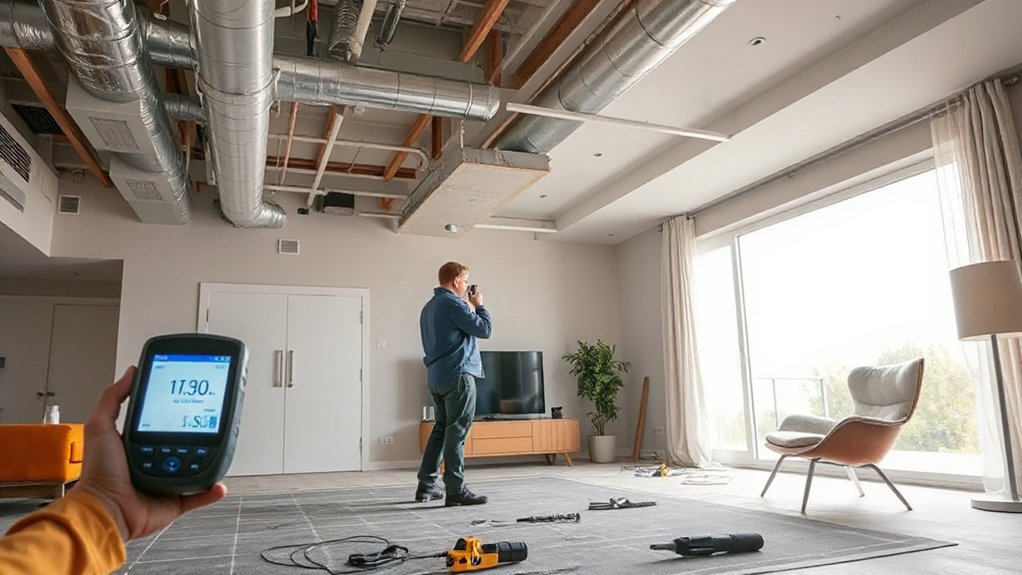
To set effective ventilation goals, start by specifying clear, measurable targets for air quality. You’ll define acceptable ranges for key metrics like CO2 levels, VOCs, PM2.5, humidity, and odor indicators.
Set time-bound milestones—daily averages, weekly improvements, seasonal adjustments—to keep you on track.
Translate targets into concrete actions: optimize outside air intake, balance exhaust, and monitor performance with simple sensors.
Integrate practical design cues that support belonging: choose indoor plants to complement filtration, and leverage natural lighting to reduce humidity spikes and promote occupant comfort.
Document baseline conditions, update targets after renovations, and review quarterly with your team.
When goals are transparent and tied to daily routines, you stay motivated, informed, and aligned with healthier, shared spaces.
Assess Your Current Airflow: Quick Tests and Trouble Spots You Can Fix
Evaluating your current airflow is a practical first step to pinpoint weak spots and quick fixes. You’ll quickly identify where drafts weaken comfort and where stale air lingers, separating real issues from Airflow myths and ventilation myths. Focus on actionable checks you can do today.
1) Test door and window gaps with a simple candle or tissue; note inconsistent drafts and seal where needed.
2) Observe airflow at vents and registers; feel for push or pull and address obstructions or improper balancing.
3) Monitor humidity pockets in corners and closets; flag stagnant zones and plan targeted airflow improvements.
Keep documentation tidy, compare before/after changes, and rely on proven methods over myths. This builds confidence and belonging as you renovate.
Ventilation Basics: Air Exchanges, Humidity, and Filtration Explained
You’ll start with the basics: how air exchanges work, why humidity matters, and how filtration shapes indoor air quality.
We’ll cover practical targets for air turnover rates, effective humidity ranges, and filter ratings that balance performance with cost.
This sets the foundation for choosing ventilation strategies that fit your space and renovation goals.
Air Exchange Basics
Air exchange is the process of replacing indoor air with outdoor air to control humidity, odors, and contaminants. You’ll quantify exchange by air changes per hour (ACH) and tailor it to room use, occupancy, and filtration. Modern design uses deliberate ventilation paths, balanced flow, and checkable performance metrics.
1) Assess baseline leakage and establish target ACH based on activity level and occupant comfort.
2) Implement controllable exhaust and supply routes, pairing with filtration and, where possible, heat recovery for efficiency.
3) Integrate indoor plants and air purifiers as supportive, not sole, strategies to maintain perceived freshness.
This approach keeps you comfortable, informed, and aligned with best practices, fostering belonging in a well-ventilated home.
Humidity Control Methods
Humidity control is a practical, technical concern that directly affects comfort, indoor air quality, and system performance. You optimize humidity by balancing intake, exhaust, and reuse paths to maintain stable moisture levels.
Start with sensible targets: keep typical residential spaces near 40–60% relative humidity for comfort and mold prevention. Use humidity sensors to monitor fluctuations and trigger adjustments before conditions drift. Rapid changes signal a need for better air exchange or dehumidification, not brute force.
For room-specific needs, consider localized controls near kitchens, bathrooms, and plant areas. Indoor plants can influence humidity gently, but avoid overwatering as a false sense of air improvement.
Pair sensors with automated controls, ensuring feedback loops don’t overshoot. Fine-tune setpoints seasonally to sustain consistent comfort and system efficiency.
Filtration and IAQ Basics
1) Monitor air exchange rates and humidity to balance comfort with energy efficiency.
2) Choose filters by MERV rating appropriate for your space and replace them regularly.
3) Combine sources like indoor plants and air purifiers to support IAQ while avoiding over-reliance on any single solution.
Indoor plants add mild filtration benefits and aesthetic value, while air purifiers target fine particles and odors.
Implement a simple IAQ plan, document results, and adjust based on real measurements for lasting belonging and healthier air.
Audit the Building Envelope for Drafts and Leaks
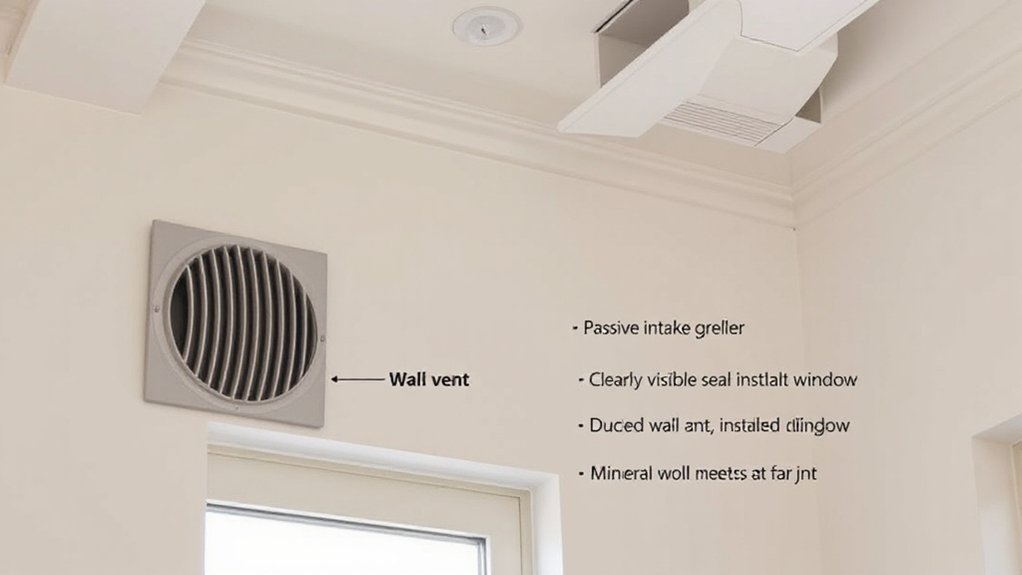
To identify where drafts and leaks are entering, start with a systematic audit of the building envelope. You’ll map exterior walls, roof edges, doors, and windows, looking for gaps, misses, and misalignments.
Use a flashlight and a smoke pencil to reveal airflow paths, then confirm with a blower door test if available.
Document dated construction details and observe junctions where materials meet, noting thermal bridges that undermine efficiency.
Check attic and basement access points for air leakage and verify weather barriers remain intact.
Focus on practical fixes: reinforce joints, seal seams, and upgrade troublesome building material interfaces.
Consider insulation techniques that complement existing structure without overloading it.
This is a collaborative step, part of a shared goal for comfortable, energy-efficient living.
Decide: Seal Gaps First or Upgrade to Mechanical Ventilation
After auditing drafts and leaks, you must decide whether to seal gaps first or install mechanical ventilation. Your choice shapes comfort, cost, and future upgrades, so stay practical and precise.
Consider how sealing gaps reduces heat loss and helps control moisture, setting a solid base for any mechanical upgrades. If gaps are extensive, sealing first is often faster and less disruptive than complex retrofits.
On the other hand, if you’ve already planned robust mechanical upgrades, you may prioritize air change efficiency now and finish sealing later.
- Weigh durability and return on investment for each path
- Align the plan with long-term comfort goals and building codes
- Validate with a targeted air-tightness test before proceeding
Pick Energy-Efficient Mechanical Ventilation Options
You’ll compare heat recovery ventilators, whole-house systems, and other energy-efficient options to balance fresh air with energy use.
Consider how each method handles moisture, filtration, and installed cost, then assess compatibility with your home’s layout and insulation.
This discussion kicks off by outlining practical criteria to evaluate performance, efficiency, and long-term reliability.
Heat Recovery Ventilators
1) Sizing and placement: select models appropriate for your home’s airflow needs and install near high-occupancy zones.
2) Maintenance: clean filters and the heat exchanger regularly to sustain performance.
3) Complementary options: pair with indoor plants and air purifiers to reduce pollutants and maintain a breathable environment.
HRVs fit a practical, belonging-focused lifestyle, supporting clean air without compromise.
Whole-House Mechanical Ventilation
Choose a system that fits your home’s layout, ducting, and noise tolerance, prioritizing quiet operation and straightforward commissioning. In practice, pair the core unit with properly sized supply and exhaust pathways to balance pressure and minimize infiltration.
Consider how indoor plants contribute aesthetic and micro-climate benefits, yet recognize they don’t replace mechanical control.
For air purifier selection, select compact, low-maintenance models integrated near high-occupancy zones for supplemental particulate removal without overburdening the system.
Regular filter checks and fan maintenance ensure reliable, long-term performance you can trust.
Energy-Efficient Ventilation Options
Are there energy-efficient options that still deliver reliable ventilation? Yes—you can balance performance with efficiency by selecting purpose-built systems and optimizing controls. Focus on measurable outcomes: continuous outdoor air delivery, heat recovery, and low energy use. Here are practical options:
1) Heat Recovery Ventilators (HRVs) or Energy Recovery Ventilators (ERVs): recover heat or moisture to reduce losses while supplying fresh air.
2) Demand-Controlled Ventilation (DCV): adjusts ventilation based on occupancy and air quality, preventing over-ventilation.
3) Small, well-sealed ductwork with high-efficiency fans: minimizes leakage and running costs, improving overall air quality.
Indoor plants support air quality passively, while not replacing mechanical systems. Use them to complement, not substitute, proper ventilation.
Plan Filtration and IAQ Upgrades
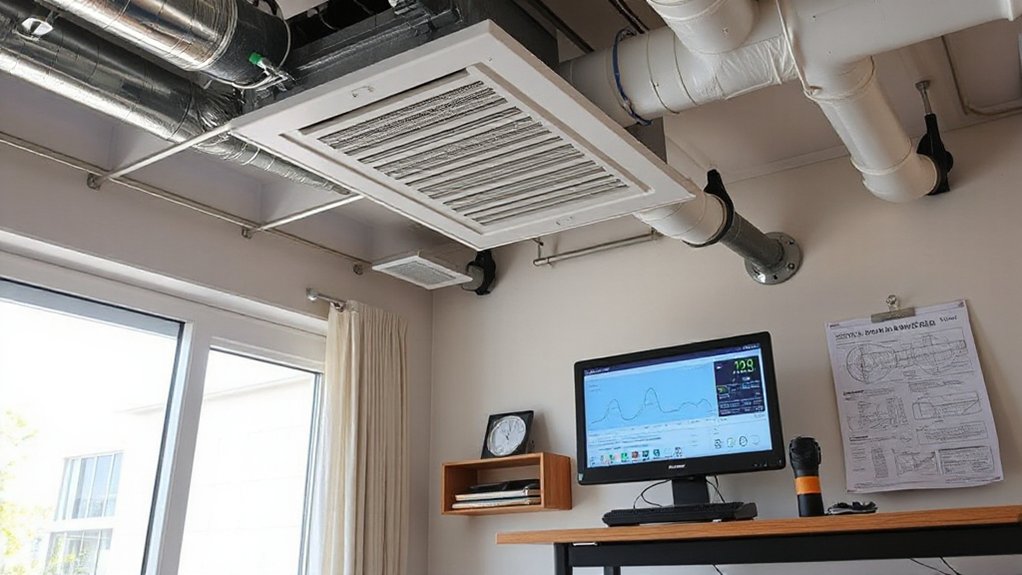
To plan filtration and IAQ upgrades, start with a clear assessment of your current system, occupancy, and pollutant sources. Map airflow paths, filter efficiencies, and maintenance routines to identify gaps.
Define target IAQ metrics based on occupants’ needs and sensitivities, then prioritize upgrades that deliver measurable gains with minimal disruption.
Choose a layered approach: install a high-efficiency filter compatible with your current unit, add an air purifier for targeted contaminants, and integrate controls that adjust ventilation based on occupancy.
Incorporate low-maintenance solutions like indoor plants to subtly improve aesthetics and perceived air quality.
Verify performance with before-and-after measurements and simple monthly checks.
Document responsibilities, schedules, and expected outcomes to foster ownership and confidence.
Control Moisture Year-Round for Dryness and Comfort
Humidity control isn’t optional—it’s essential for comfort and building health year-round. You’ll manage moisture to stabilize temperature, protect finishes, and maintain Indoor air quality while reducing mold risk and occupant discomfort.
Identify pollutant sources in your home and address them systematically.
1) Seal bulked joints and accumulate moisture-prone areas, then install vapor barriers and sills to regulate ingress.
2) Install dehumidification on high-humidity zones and ensure proper drainage, grading, and sloped surfaces to prevent condensation.
3) Monitor humidity daily with a reliable sensor system, calibrate HVAC cycles, and schedule seasonal adjustments to curb seasonal swings.
A practical mindset ensures consistent moisture balance, improving air quality and comfort for everyone in the space.
Harness Passive Ventilation Opportunities in Design
You can maximize passive airflow by prioritizing openings and internal layouts that favor natural movement. Design for cross ventilation with strategically placed windows and vents.
And exploit stack ventilation through vertical air paths and warm-air egress. Together, these passive strategies set a clear path for low-energy, breathable interiors.
Passive Airflow Potential
Could passive airflow opportunities be the key to reliable ventilation in renovated spaces? Yes—you’ll tap潜 passive potential by aligning building form, materials, and operation. Natural insulation reduces temperature gradients that drive leakage, while airflow sensors monitor real-time performance and flag when adjustments are needed.
Consider how existing openings, envelope tightness, and thermal mass interact to sustain comfort without mechanical strain.
- Map existing air paths and prioritize openings that support desired flow with minimal energy loss.
- Integrate natural insulation strategies and responsive seals to keep stabilized drafts at bay.
- Deploy airflow sensors to verify targets, trigger alarms, and guide operator awareness.
With clear data and intentional design, you foster belonging through dependable, low-maintenance ventilation that respects occupants and architecture alike.
Design For Cross Ventilation
Cross ventilation hinges on deliberate geometry, openings, and surface relationships that promote paired pressure differences. You design for cross flow by aligning high and low openings across rooms, ensuring unobstructed paths for air to move with outdoor wind directions.
Position doors and windows to create two-way movement, not short-circuits; avoid obstructing corridors with furniture or curtains. Use structural openings at opposing facades and consider floor-to-ceiling height differences to boost stack; but here we focus on cross flow, so keep volumes clear and predictable.
Integrate indoor plants and decorative vents as aesthetic cues that don’t impede airflow. Use operable louvered panels to modulate exchange without compromising security.
Document synergy between openings, surface finishes, and shade strategies to sustain comfort and efficient ventilation year round.
Stack Ventilation Opportunities
Stack ventilation leverages buoyancy-driven air movement by temperature differences to enhance cooling without mechanical systems. You’ll tap natural airflow by aligning interior spaces with exterior stack pathways, optimizing heat sources, and leveraging vertical shafts or stairwells as quiet conduits. This approach reduces dependency on fans and improves indoor air quality through continuous exchange.
1) Identify vertical routes: select stairwells or atriums that rise through quiet, conditioned zones to encourage updrafts and downflow.
2) Plan heat sources and vents: position warm rooms above cooler ones, installing operable transoms or clerestory openings to drive buoyant flow.
3) Seal selectively: maintain targeted openings while minimizing unwanted drafts, ensuring comfortable, controlled airflow.
Stack ventilation and natural airflow become integral to a breathable, connected home.
Align Renovation Budget With Expected Air-Quality Gains
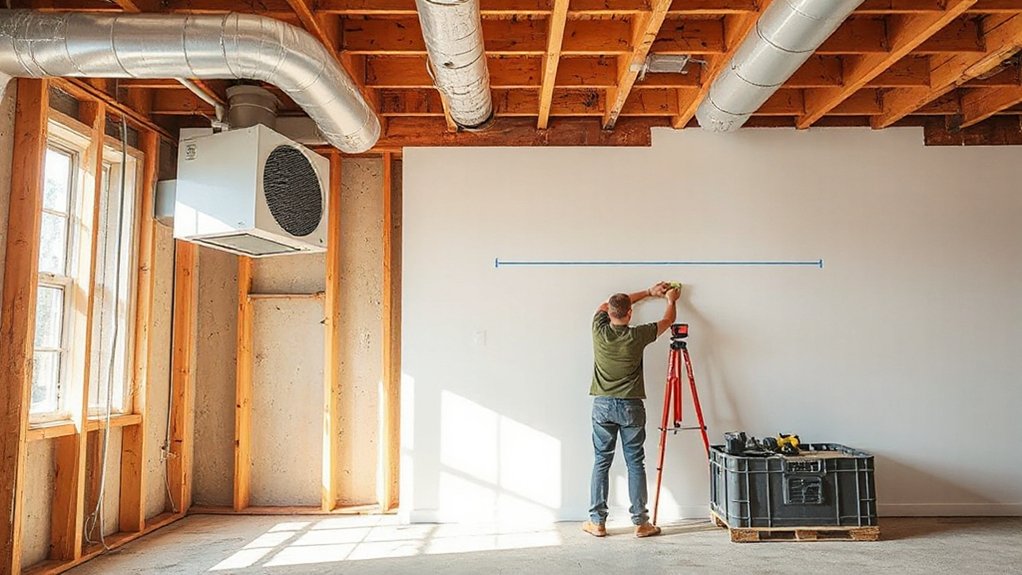
Aligning your renovation budget with expected air-quality gains starts with a clear linking of costs to measurable outcomes. You’ll monetize improvements—reduced particulate counts, lower VOCs, and steadier humidity—to justify equipment choices and labor hours.
Prioritize components with proven performance, then map each expense to a target metric and a credible time frame. Use baseline measurements and post-install data to validate benefits, not just intentions.
Communicate trade-offs transparently to stakeholders, showing how outdoor scenery and building envelope work together to reduce cycling losses and optimize ventilation effectiveness.
Debunk ventilation myths by citing field data and referenced standards, ensuring decisions aren’t driven by trends.
Maintain journaled costs, expected gains, and decision checkpoints for continuous alignment as conditions change.
Create a Phased Implementation Timeline
Creating a phased implementation timeline starts with defining a sequence of work that links each task to measurable air-quality outcomes. You’ll map dependencies, milestones, and responsible parties, ensuring you stay aligned with Historical building preservation and Aesthetic interior design goals.
This keeps your project coherent and respectful of context while delivering practical ventilation gains.
1) Establish milestones that connect structural upgrades, filtration, and workspace airflows to specific metrics.
2) Schedule tasks in logical order, allowing for inspections, approvals, and adjustments without compromising design intent.
3) Build in buffers for site conditions and procurement delays to protect quality and morale.
Maintain clear communication channels with trades, stakeholders, and occupants to foster belonging and trust throughout the phased rollout.
Test and Tune: Verify Improvements and Adjust
Now that you’ve laid out a phased plan, you’ll move into Test and Tune: Verify Improvements and Adjust. You’ll run controlled measurements to confirm airflow targets, pressure differentials, and filtration efficacy.
Use smart sensors to monitor CO2, humidity, temperature, and PM2.5 in representative zones, and log results over several days to establish baselines. Compare actual readings against your design criteria, identify deviations, and adjust fan speeds, damper positions, or filtration schedules accordingly.
Deploy a simple maintenance routine that revisits sensor calibration and data integrity weekly. Enhance interior significance by placing a limited number of indoor plants, which support microclimates without compromising measurements.
Document changes, share findings with the team, and verify that improvements persist under typical occupancy. Maintain clear, actionable records for ongoing optimization.
Address Space-Specific Needs: Kitchens, Baths, Living Areas
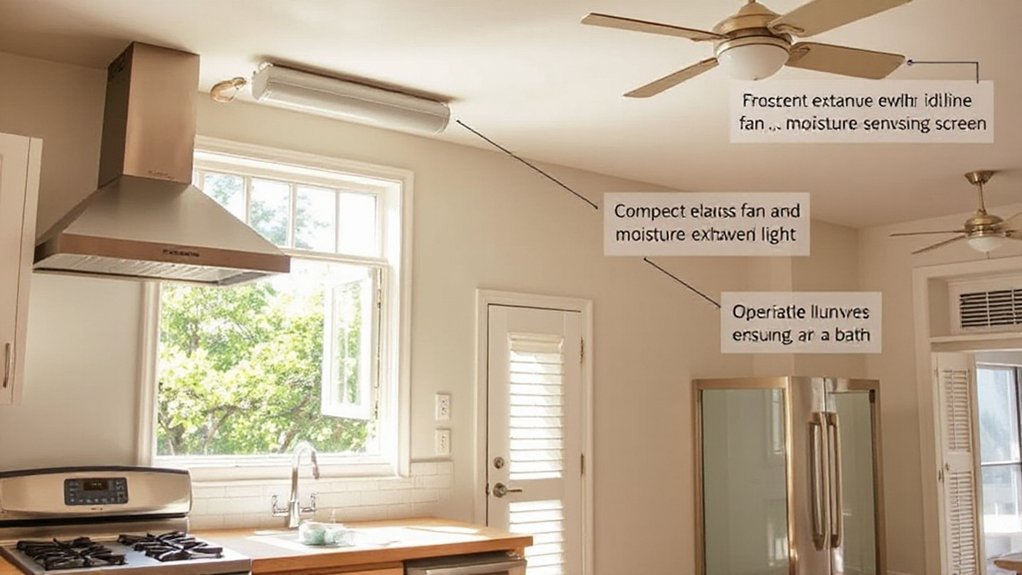
Kitchens, baths, and living areas require tailored ventilation strategies to address distinct moisture, odor, and pollutant loads. You optimize each space by aligning exhaust and supply with usage patterns, humidity peaks, and pollutant sources. Implement targeted controls, balance airflow, and monitor performance to sustain comfort and indoor air quality.
- Kitchens: install range hood with high capture efficiency, consider downdraft or backdraft mitigation, and pair with pantry or cabinet intakes to handle cooking byproducts.
- Baths: guarantee dedicated vent fans reach outdoors, with humidity sensors and timer controls to prevent mold growth.
- Living areas: use balanced ventilation, employ air purifiers, and integrate indoor plants to subtly improve air quality and support a welcoming atmosphere.
Indoor plants, Air purifiers help, but don’t replace proper exhaust strategy.
Create a Maintenance Plan to Sustain Better Ventilation
A practical maintenance plan keeps ventilation performing as designed and helps prevent indoor air quality issues. You’ll define a routine that targets the ventilation system, filtration, and moisture control, so everyone in the space feels confident in the environment.
Schedule quarterly inspections of fans, ducts, and seals, and annual filter changes aligned with manufacturer guidance. Document performance metrics and corrective actions, keeping a clear trail for future renovations.
Integrate indoor plants thoughtfully, ensuring they don’t obstruct airflow while contributing to ambient air quality.
Train residents or staff to spot signs of reduced airflow, odors, or humidity imbalances and to report them promptly.
Align maintenance with energy efficiency goals, avoiding retrofits that undermine air exchange rates, and foster a community mindset around air quality stewardship.
Frequently Asked Questions
How Long Does It Take to Notice Air Quality Improvements?
Air quality improvements become noticeable within hours to a few days, depending on system changes. You’ll rely on air quality testing to confirm, and modern ventilation technology accelerates results while you maintain consistent monitoring for ongoing comfort and compliance.
What Budget Range Is Typical for Complete Ventilation Upgrades?
You’ll typically spend a mid-range to high-tier budget, roughly $5,000–$40,000, depending on system scope. Cost estimation + Budget planning are essential, ensuring you’re not overpaying while upgrading ducts, fans, and controls for dependable, breathable comfort.
Which Signs Indicate Mechanical Ventilation Is Needed Urgently?
Urgent signs include persistent indoor pollutants, condensation on windows, mold growth, musty odors, and pilot-sick headaches, indicating ventilation efficiency is insufficient. You should act now to improve air exchange and safeguard health.
Can DIY Fixes Match Professional Ventilation Performance?
DIY challenges can’t fully match professional ventilation performance; you’ll see gaps in code compliance, airflow balance, and noise control. You’ll bust ventilation myths only with tested equipment, professional sizing, and validated testing—don’t rely on DIY fixes alone.
How Often Should IAQ Inspections Be Repeated After Renovation?
Inspect IAQ every 6–12 months after renovation; studies show indoor pollutants drop initially but rebound without maintenance. You’ll protect your family when you prioritize airtight seals, well-tuned ventilation systems, and routine filter changes.
Conclusion
You’ve got a clear target and a practical plan. By tightening the envelope, prioritizing ventilation needs, and phasing improvements, you’ll reduce drafts, control humidity, and improve indoor air quality. Test, tune, and maintain your system to keep results steady. The process isn’t glamorous, but it’s exacting, repeatable, and performance-driven. Like a well-calibrated engine, your home will breathe easier, safer, and more efficiently—steadily proving that good ventilation is a habit, not a one-off fix.