
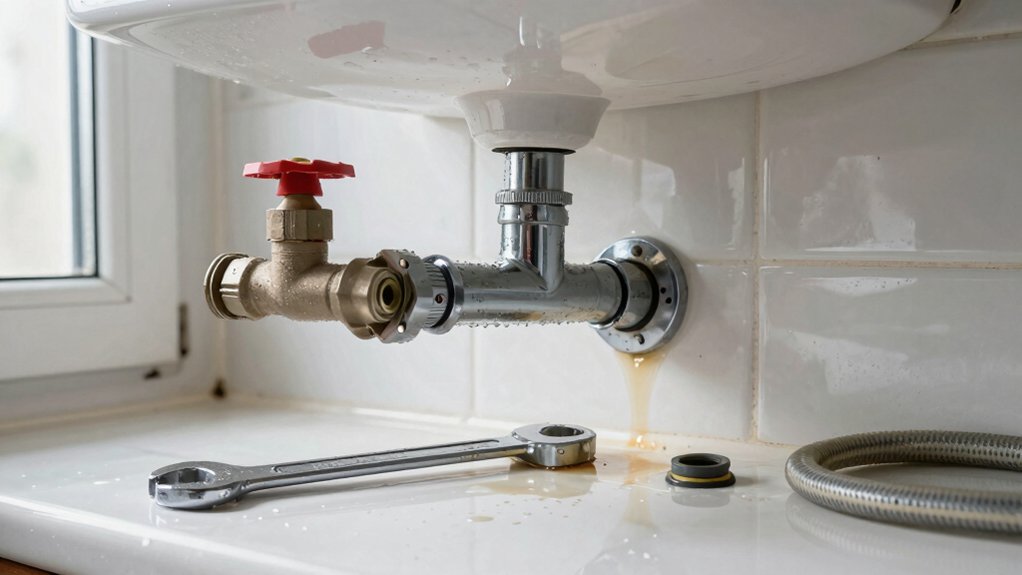
You can fix many common plumbing issues yourself, but know when to call a pro. Start with the basics: tighten fittings, replace worn washers or cartridges, and unclog drains with a plunger or safe methods. Check for leaks, test shutoff valves, and clean aerators to improve flow. If you face persistent leaks, mystery odors, or gas line concerns, don’t risk it—bring in a professional. For deeper diagnoses and reliable fixes, you’ll find clear, practical guidance ahead.
DIY Plumbing Basics: Tools, Safety, and When to Call a Pro
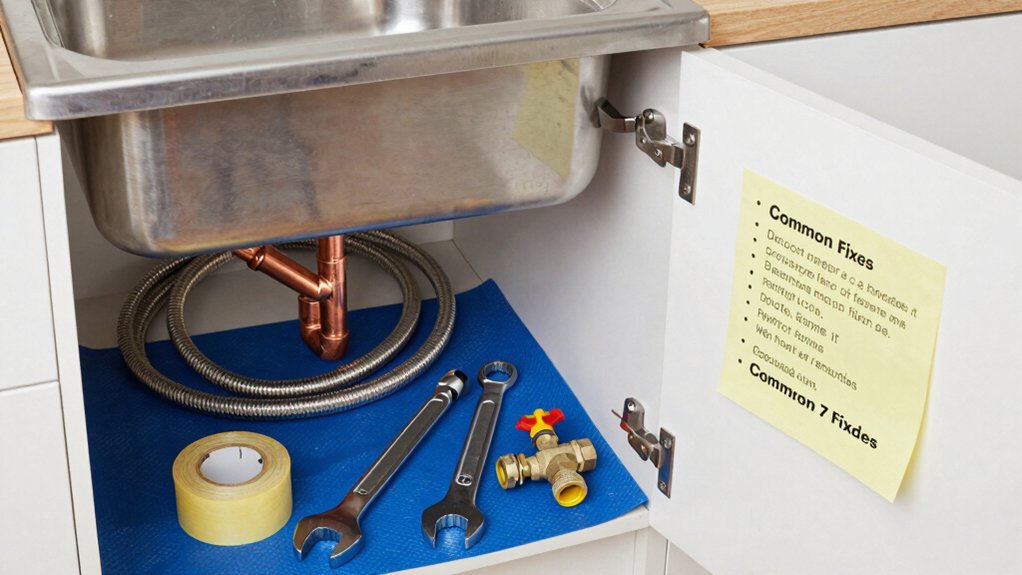
You don’t need a full arsenal to start, but having a focused set of essentials makes DIY fixes safer and more effective. In DIY Plumbing Basics, you’ll prioritize reliability over novelty.
Start with core tools: adjustable wrench, pliers, Teflon tape, flashlights, and a calibrated tape measure. Add a small pump or plunger for common quick fixes, plus a multimeter to check electrical basics near water.
Practice safe handling and shutoff procedures—know where the main valve sits and test it periodically. Plumbing maintenance hinges on routine checks and clean, dry workspaces.
When uncertainty rises, or pipes show corrosion, leaks worsen, or gas lines are involved, call a pro.
Embrace DIY safety as a cornerstone of belonging, competence, and confidence in home care.
How to Safely Unclog a Drain: Step-by-Step Methods
When facing a clog, start with a plan: identify the likely cause, gather the right tools, and proceed methodically to avoid damage. You’ll communicate confidence by choosing safe methods first, then escalating if needed. Use both chemical drain options and natural remedies as appropriate, never mixing without guidance, and always ventilate the area.
1) Assess the clog type and source, then pick the least aggressive method first.
2) Use a plunger with a proper seal, applying steady, controlled pressure.
3) Try a natural remedy like hot water with dish soap or baking soda and vinegar, followed by a rinse.
4) If unresolved, avoid forceful chemical drain jargon; call a pro for safe diagnosis and alternatives.
Fix a Running Toilet Quickly: Checks and Common Fixes
A running toilet is typically caused by a faulty flapper seal, an upstream fill valve issue, or a misadjusted float. To fix it quickly, start by removing the lid and watching the tank as it refills. Listen for continuous running and look for a leaking flapper or water level that’s too high.
Check the toilet flapper for a warped edge or mineral buildup; replace if needed. Inspect the fill valve and adjust the float to the correct operating level—avoid overfilling. A proper float adjustment stops the fill cycle just before the overflow tube.
If the issue persists, test the flapper chain clearance and ensure it isn’t too tight. These steps empower you to correct common causes efficiently.
Stop a Dripping Faucet: Cartridge and Washer Replacement Steps
If a faucet keeps dripping, replacing the cartridge or washer can stop the leak quickly. You’ll restore control, save water, and feel confident in your faucet repair skills. Follow precise steps, use proper tools, and test for leak prevention after each fix.
- Shut off supply, remove handle, and inspect the cartridge or stem for wear.
- Unscrew retaining nut, replace with identical cartridge/washer, and reseat firmly.
- Reassemble handle, turn on water, and observe for drips from the spout.
- If needed, adjust seating or replace seals to ensure a tight seal and reliable leak prevention.
Note: Replace only with compatible parts. If leaks persist, consult a pro. This keeps your fixtures efficient and your home feeling connected.
Troubleshoot Low Pressure at Fixtures: Quick Diagnostic Tips
Low water pressure at fixtures can stem from a few common culprits, so start with quick checks you can perform right away. First, inspect the faucet aerator or showerhead; remove scale and debris, then rinse.
Next, verify the supply valves are fully open and not partially closed, as a simple adjustment often restores flow.
Check for local supply issues by running other fixtures; if only one fixture is affected, focus on that pathway.
Clean or replace clogged cartridges or screens as part of fixture troubleshooting.
Confirm there’s no low-pressure condition from upstairs lines by listening for banging or irregular flow.
If pressure remains low across multiple fixtures, test the main shutoff or pressure regulator.
These steps deliver a clear, actionable diagnostic path.
Winterize Pipes and Patch Small Leaks: Essential Prevention
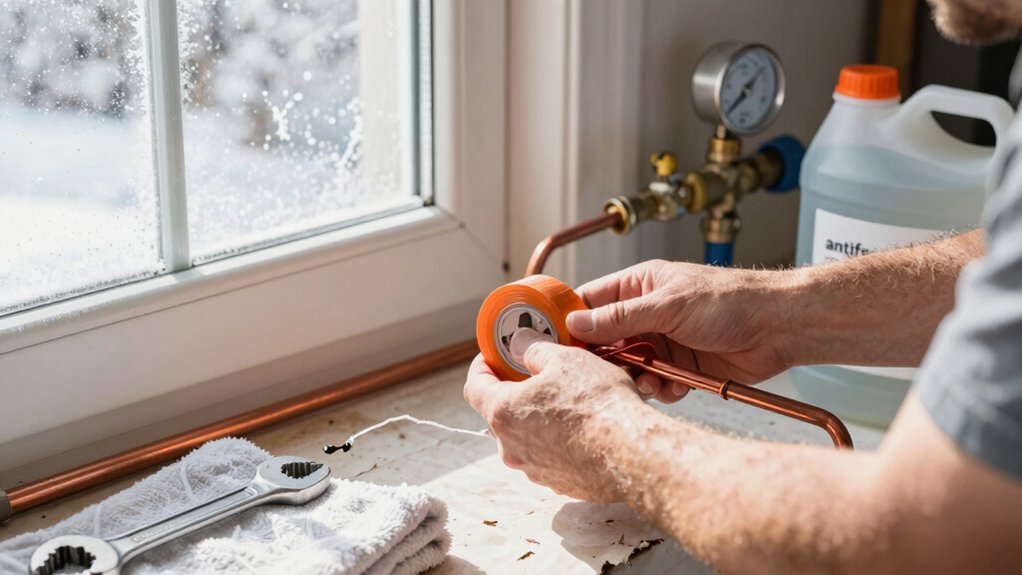
Prepare before freezing temps by winterizing from freezer zones. Patch tiny drips now to prevent bigger leaks later, and tackle seasonal pipe prep with a clear plan.
You’ll address exposed joints, insulate where needed, and keep lines protected from cold starts. This sets a proactive baseline for keeping your system leak-free all winter.
Winterize From Freezer
Winterizing from the freezer is essential to protect your pipes and prevent leaks during cold snaps. You’ll take deliberate steps to minimize exposure, maintain pressure, and sustain comfort in your home.
- Inspect lines for exposed runs and seal gaps with appropriate insulation techniques to deter drafts.
- Drain outdoor hoses and shut valves to prevent freezing across exterior plumbing.
- Boost heat around vulnerable areas with cabinet insulation and door seals, prioritizing winter maintenance zones.
- Monitor for moisture buildup and address it promptly to avoid future leaks and frost damage.
This approach reinforces freezer maintenance and practical insulation techniques, helping you stay confident and connected to your home’s reliability during winter.
Patch Tiny Drips
Patch tiny drips now to prevent bigger problems later. You’ll keep water bills lower and avoid sudden bursts by addressing small leaks at the source.
Start with a quick inspection: if you hear a steady drip, observe the pattern, and check nearby joints for moisture. Use a flashlight, clean the area, and wipe away condensate so you can spot fresh dampness fast.
For immediate fixes, tighten accessible fittings and apply pipe tape or a compatible sealant on minor leaks.
Explore longer-term protections like leak detection devices and adding pipe insulation to exposed lines in unheated spaces. These steps reduce risk, stabilize pressure, and create a safer, more efficient home environment for everyone.
Seasonal Pipe Prep
As temperatures drop, you’ll protect your home by winterizing pipes and patching small leaks before they become costly failures. Seasonal pipe prep matters because small issues grow when cold snaps hit. With deliberate steps, you’ll minimize risk and feel confident in your home’s resilience.
- Inspect exposed pipes for cracks or pinholes and note suspicious areas for quick repair.
- Add winter pipe insulation to vulnerable runs, focusing on attics, basements, and crawl spaces.
- Seal gaps around pipes to block drafts and reduce heat loss.
- Use consistent, small repairs for minor leaks, then monitor for changes after freezing nights.
Use Vent and Trap Cleanouts to Relieve Clogs
Using vent and trap cleanouts to relieve clogs is a practical, preventive step you can take before pulling traps or snaking drains. When you access vent cleanouts, you inspect for blockages and clear minor obstructions, reducing pressure on the drain system. This keeps airflow balanced and minimizes suction that can pull traps dry.
For traps, remove the cleanout plug, loosen debris, and rinse with water. Reassemble tightly to prevent leaks, and test for proper flow. Regular vent maintenance helps prevent recurring clogs and preserves overall drainage performance.
Practice caution: avoid forcing materials that could damage pipes. Keep records of maintenance so you know when to recheck. This approach reinforces belonging by showing you proactively manage your system with confidence, precision, and responsibility, emphasizing trap cleaning and vent maintenance as core practices.
Quiet, Calm Pipes: Fixes for Bangs and Noises
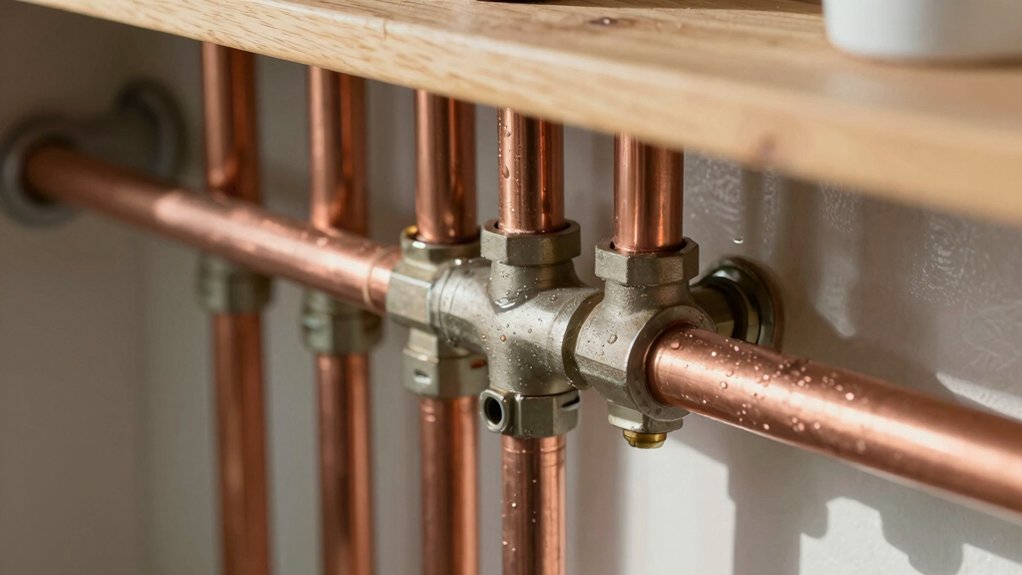
You’ll start by addressing water hammer with practical solutions that reduce pressure spikes. Then you’ll stabilize pipes and secure fasteners to dampen movement, preventing bangs from quick-water shifts.
Finally, you’ll apply sound-dampening methods and judicious mounting to keep noise levels low and pipes calm.
Water Hammer Solutions
Water hammer can turn a quiet home into a rattling nuisance, but the fix is usually straightforward. You’ll tackle the symptoms, not guesswork, and restore calm pipe noise quickly.
- Confirm the culprit: fast-closing valves and high water pressure.
- Reduce pressure: install a pressure reducer or adjust your existing setting.
- Cushion shock: add or replace water hammer arrestors at fixtures or near the mainline.
- Inspect connections: tighten loose fittings and secure piping to prevent vibration.
These steps prevent future occurrences by dampening pressure surges and stabilizing the system. You’ll gain confidence from a measured approach, knowing you can quiet the disturbances without unnecessary disruption.
If noises persist after these fixes, consider a professional assessment to ensure there’s no hidden compromise in your plumbing. water hammer, pipe noise
Pipe Stabilization Tips
To stabilize pipes and quiet disturbances, start by securing any loose runs and minimizing vibration at supports. You’ll reduce movement with proper pipe anchoring, ensuring sections don’t rattle against framing or walls. Check that hangers, straps, and clamps are snug but not over-tightened, and replace damaged fasteners promptly.
Use vibration control measures like rubber grommets, cushioned supports, or isolation pads at critical joints to absorb movement without restricting flow. Route pipes away from high-traffic areas and secure long straight runs at regular intervals to prevent sagging.
Consider installing anti-friction pads where metal surfaces contact wood or concrete. Maintain consistent wall thickness and avoid over-pressurizing systems, which exacerbates noise.
With these steps, you cultivate a calm plumbing environment and a sense of belonging in your home.
Sound Dampening Methods
From here, focus on methods that quiet your plumbing without sacrificing performance. You’ll reduce bangs and hums by applying targeted soundproofing techniques and smart installations that respect flow and pressure. Begin with simple materials that damp resonance, then add strategic barriers like acoustic panels where vibrational transfer is highest.
- Identify noisy joints and clamps, secure them, and add vibration isolation to stop metal-on-metal clatter.
- Use soundproofing techniques around wall cavities and mounted fixtures to absorb stray sound without hindering water delivery.
- Install acoustic panels on interior surfaces near noisy pipes for targeted absorption and a calmer environment.
- Seal gaps and use pressure-conscious valves to minimize water hammer while maintaining performance.
Exterior Leaks Explained and How to Address Them
Exterior leaks can quietly undermine your home’s shell, but you can spot and address them quickly. You’ll inspect exterior fixtures, seals, and grade away from the foundation to prevent water intrusion. Start with obvious sources: hoses, spigots, and windows where caulk has shrunk; reseal as needed.
Check gutters and downspouts for blockages that divert water toward siding or foundation. For outdoor plumbing, look at exposed pipes and frost-free hydrants, testing for drips or moisture at joints and fittings. Address small leaks with permanent fixes—tighten, replace worn washers, or apply appropriate sealant.
Maintain proper slope and drainage to keep runoff away from your house. Regular, deliberate checks help you secure your exterior reliably and protect your living spaces.
When a Pro Is the Safest Choice: Signposts and Next Steps
If you notice persistent leaks, unusual pressure, or sewage odors, it’s time to call a pro. These signs indicate you likely need expert help, and delaying can escalate damage or costs.
If you decide to bring in a pro, outline the issue, safety concerns, and any existing repairs so they can assess and plan next steps efficiently.
When to Call a Pro
When a plumbing problem could cause water damage, pose a safety risk, or require specialized tools, calling a professional is the safest choice. You’ll protect your home, your family, and your time by choosing experts who follow plumbing codes and assess environmental impacts. You deserve reliable results backed by accountability and proper disposal practices.
- Recognize high-risk scenarios (water intrusion, gas lines, suddenly strong pressure) and stop DIY progress.
- Schedule prompt evaluation when unfamiliar diagnostics or unfamiliar tools are needed.
- Verify licenses, insurance, and references to ensure accountability and safety.
- Discuss scope, costs, and environmental considerations before work begins.
Signs You Need Help
Signs you need help may be subtle at first, but they grow quickly into clear signals that a pro’s involvement is the safest choice. If you notice persistent damp spots, mold growth, or a spike in your utility bills, it’s time to pause and assess risk.
Leak detection shouldn’t be guesswork; hidden leaks behind walls can escalate water damage and waste. Similarly, if you hear rumbling in pipes, feel temperature inconsistencies, or see corrosion, professional evaluation is warranted.
Don’t overlook gaps in pipe insulation that worsen drafts or freezing risks in colder months. Your goal is lasting reliability, not DIY trial and error.
A licensed plumber can diagnose, quantify, and remediate efficiently, offering clear next steps and peace of mind.
Next Steps For Pros
Industrial-grade issues require clear, decisive action. When you spot risks beyond DIY scope, you should elevate to a pro—fast. A licensed plumber brings plumbing maintenance expertise, specialized tools, and safety discipline that protects your home and wallet.
Trust their assessment for complex leaks, gas lines, or structural damage, and follow clear, written estimates before work begins.
Before calling, document symptoms, shutoffs you’re comfortable with, and recent fixes to inform the tech.
After intervention, request a written warranty and a maintenance plan to prevent recurrence.
Prioritize safety, not bravado, and avoid DIY safety shortcuts that could worsen problems.
- Verify licensing and insured status
- Review scope, costs, and timeframes in writing
- Schedule preventive maintenance follow-up
- Establish a post-service checklist and measurements
Frequently Asked Questions
Can I Fix Pipe Corrosion Without Replacing Sections?
Like a careful dance, you can’t fix pipe corrosion without replacing sections. You should inspect, apply pipe insulation to prevent further damage, and pursue corrosion prevention by upgrading fittings. If integrity’s compromised, replace the affected segments promptly.
Are DIY Fixes Safe for Gas Lines?
Yes, DIY fixes for gas lines aren’t safe; you must avoid attempting them. You prioritize gas safety and recognize the DIY hazards, call a licensed pro, and stay diligent about codes and standards to belong to a responsible community.
How Long Should a Toilet Replacement Take?
Toilet installation typically takes 2–4 hours, depending on your setup. You’ll complete it confidently, ensuring a secure seal and proper alignment. Replacement timeline proves efficient when you prep tools, shutoffs, and supply lines beforehand, so you feel included.
What Tools Are Essential for Emergency Leaks?
You’ll need a wrench, pliers, flashlight, shut-off keys, leak sealant, and a bucket for emergencies. Prioritize plumbing safety and emergency preparedness, stay calm, and act decisively to prevent damage while you secure the area and call for help.
When Is a Licensed Plumber Required by Code?
When code requires a licensed plumber, you must hire one for plumbing permits and licensing requirements. You’re stepping into a regulated chorus, and you’ll feel secure knowing compliance guards your project, safety, and community confidence.