
To renovate for better layout flow, start by evaluating current bottlenecks and mapping movement through each room, noting awkward turns and backtracks. Define clear traffic goals and prioritize entryway improvements. Create a connected kitchen and living area with shared sightlines and accessible storage. Use budget-smart upgrades like cohesive color accents, hide clutter, and dimmable lighting. Test layouts in 2D/3D before work, then do a final walkthrough to verify improvements—you’ll see how small changes can transform everyday navigation and comfort. More tips ahead.
Assess Current Layout Flow and Bottlenecks
To assess your current layout, start by mapping how people move through each room and where they pause or backtrack. You’ll identify bottlenecks by tracing paths from entry to primary zones, noting awkward turns, narrow openings, and long sightlines that force backtracking.
Observe shifts between spaces and the distance to amenities like seating, storage, and natural light. Record dwell times to reveal underused areas and choke points that disrupt flow.
Prioritize changes that improve circulation without sacrificing function. Consider Outdoor landscaping and Furniture selection as strategic variables—adjusting terrain cues and focal points can guide movement while enhancing usability.
Use objective measurements, then test with a walkthrough or staged furniture plan to confirm new pathways feel natural and inclusive for every user.
Define Clear Traffic Goals for Renovation
Define clear traffic goals by pinpointing the exact movements you want to optimize and the outcomes you expect. You’ll align every decision to these targets, ensuring measurable improvements in flow, safety, and comfort.
Prioritize spaces that serve daily routines, while safeguarding character through thoughtful constraints like Historical preservation and tasteful Artistic decoration.
- Map primary routes you use for entry, work, and family gatherings
- Target unobstructed paths with minimal turning and wait times
- Allocate zones for Mondays errands, weekends gatherings, and quiet work
- Specify durability and finish requirements that honor histories
- Define success metrics: travel time, visibility, acoustics, and perceived harmony
With these goals, you create belonging—where movement feels natural, purposeful, and respectful of the home’s story.
Map Natural Movement Patterns in Your Home
Map your daily routes first, noting where you naturally move through space from room to room.
Next, identify the main traffic corridors that form the house’s flow, and mark any intersections that feel congested or awkward.
Use these patterns to guide your layout tweaks, ensuring clear paths and minimal interference with activity.
Map Daily Routes
When you map daily routes, you start by observing how you move through your space and noting recurring patterns. You’ll translate these moves into practical tweaks that enhance flow, safety, and comfort. Focus on how rooms connect, where paths feel tight, and where you naturally pause. Then apply targeted adjustments that respect your routines and foster belonging.
- Track entry points and typical stopping points to reinforce intuitive corridors
- Prioritize clear sightlines from high-traffic zones
- Align furniture to support smooth transitions between tasks
- Consider exterior lighting to extend usable hours and improve security
- Integrate garden landscaping cues that guide movement toward key spaces
These steps ensure everyday motion feels deliberate, comfortable, and cohesive, establishing a confident home rhythm.
Identify Traffic Corridors
Identify the main lanes that people naturally follow through your home by tracing everyday movement, noting where paths converge and where they feel cramped. You map traffic corridors by observing entryways, hallways, and open rooms, then test adjustments with temporary furniture to confirm flow.
Prioritize routes that support daily routines—from entry to kitchen, living area, and workspaces—without forcing detours. Consider sightlines and natural gathering spots to reinforce comfortable circulation.
Historical architecture often shapes these patterns, so respect existing corridors while smoothing bottlenecks with gradual progressions rather than abrupt shifts.
Guarantee materials support durability where feet travel most, choosing surfaces with material durability and slip resistance.
Document findings, then implement targeted tweaks that strengthen belonging through intuitive, lasting flow improvements.
Prioritize Entryway Improvements for First Impressions
A strong entryway sets the tone for the rest of the home, so start there to make a great first impression. You guide guests with a welcoming path, inviting door, and purposeful clutter-free space. Prioritize features that signal belonging and ease: tidy storage, clear sightlines, and durable finishes that resist wear.
- Clear path and welcoming doorway with solid hardware
- Strategic exterior lighting that highlights architecture
- Low-maintenance garden landscaping near the entry
- Weatherproof seating or a compact bench for arrivals
- Visible, organized mail and coat storage within reach
Focus on proportion, rhythm, and safety: good lighting, comfortable scale, and clean progressions to other rooms. Use materials that echo interior finishes to create harmony. This approach reinforces confidence and makes guests feel at home.
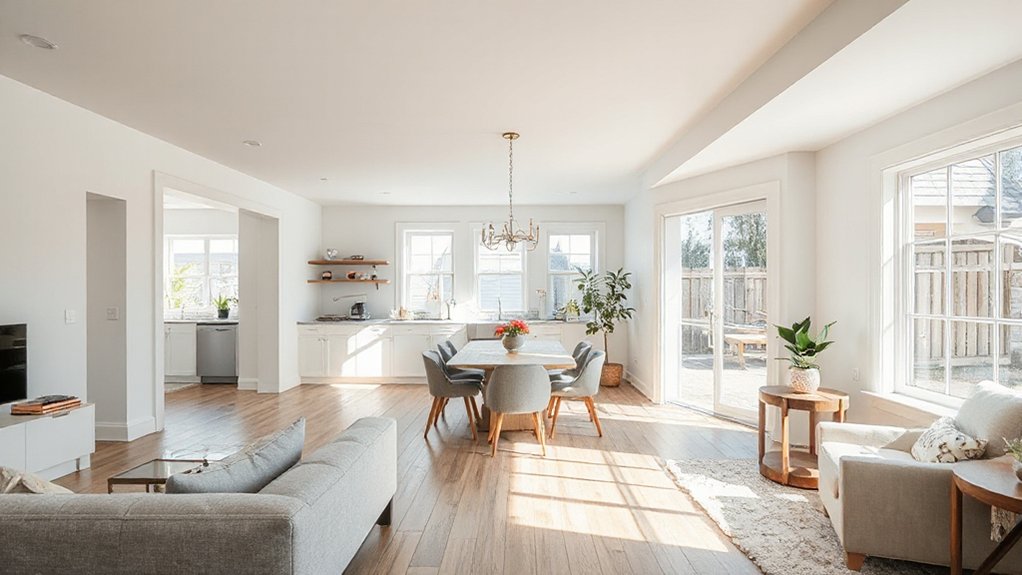
Create a Connected Kitchen and Living Area
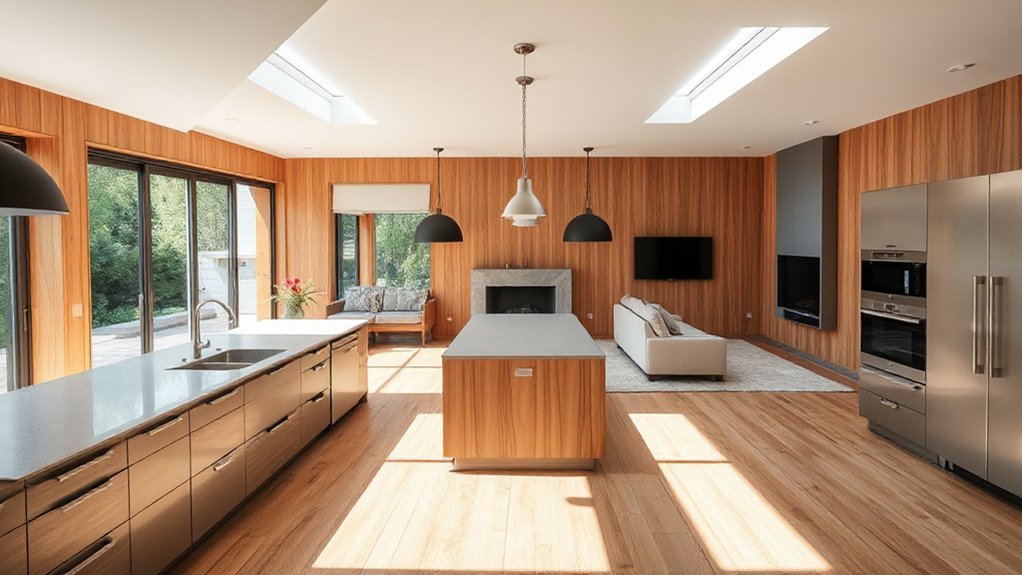
To fuse the kitchen and living area into a single, functional space, start with a clear layout that supports flow and daily use. Prioritize a seamless zone where prep, cooking, dining, and lounging share sightlines and accessible storage.
Choose a neutral base and add character with intentional accents, like vintage fixtures that nod to personality without clutter. Integrate multiuse surfaces—such as an island or peninsula—that provide workspace and seating while anchoring traffic patterns.
Wall treatments should unify spaces: consider a cohesive plinth, painted panels, or subtle texture that doesn’t interrupt line of sight. Use consistent lighting layers—ambient, task, and accent—to reinforce function and warmth.
Finally, ensure doorways and pathways stay clear, so movement remains fluid and inclusive for all residents.
Plan Sightlines and Views Across Spaces
When planning sightlines, prioritize unobstructed views between cooking, dining, and living zones to maintain visual connectivity and ease of supervision. You’ll align openings and sight paths with natural traffic flows, selecting low-profile furniture and frameless glass where possible to preserve openness.
Consider exterior landscaping beyond interiors; intentional greenery frames views without crowding them, extending the sense of space. Choose materials that reflect light and reduce glare, aiding consistency across zones.
Position architectural elements to guide movement while maintaining visual harmony. Materials should be durable, easy to clean, and complementary across areas to reinforce belonging.
Coordinate exterior landscaping with interior finishes to enhance cohesion. Integrated lighting accents ensure sightlines remain clear at dusk, boosting safety and comfort.
- Open sightlines with low-profile furniture
- Frameless glass to keep lines unbroken
- Coordinated exterior landscaping cues
- Reflective, glare-free materials
- Consistent lighting along paths
Reposition Dining for Everyday Use and Hosting
Reposition the dining zone to suit daily routines and hosting needs by centering it where traffic naturally converges from the kitchen, living, and outdoor access. You’ll gain instant clarity: meals flow, conversations stay connected, and cleanup stays efficient.
Place the table where sightlines remain open to core activities, avoiding bottlenecks between entryways and work zones. Consider a layout that accommodates both quick family breakfasts and longer dinner gatherings, with flexible seating that expands for guests.
Dining arrangements should invite ease of movement, ergonomics, and accessibility. Pair this with thoughtful traffic patterns, storage, and surface durability to support everyday use.
For hosting strategies, keep a dedicated service zone nearby and use adaptable furnishings to switch from casual daily meals to polished entertaining. This strengthens belonging and simplifies routine.
Reimagine the Living Room for Daily Flow
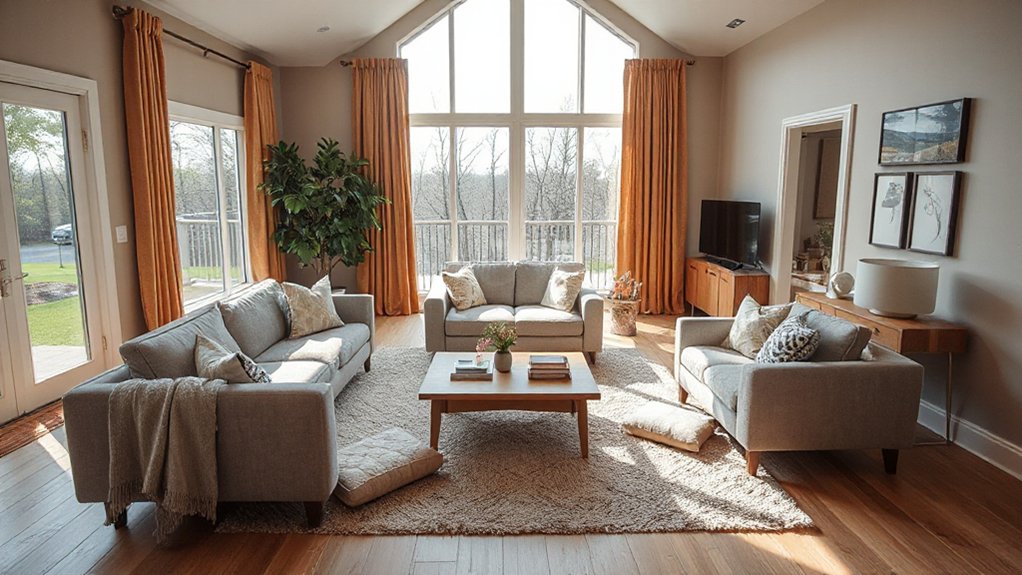
Start by prioritizing a natural flow between the living room and the rest of the home, ensuring the seating faces toward high-traffic zones like the kitchen, entryway, and outdoor access. You’ll optimize daily movement with purposeful furniture selection and thoughtful color schemes that unify spaces without clutter.
Prioritize sightlines, scale, and clear pathways so conversations stay anchored in the center of activity.
- An inviting sofa positioned to overlook the main access points
- Chairs and a console arranged for quick eye contact and ease of movement
- A cohesive color scheme that travels beyond walls into textiles and accents
- Low-profile tables that don’t block circulation
- Strategic lighting to highlight zones and reduce glare
Color schemes and furniture selection support belonging, adaptability, and calm daily flow.
Streamline Circulation to Bedrooms and Baths
In practice, place furniture to reinforce these routes without obstructing access; avoid bulky layouts that force detours. Color schemes play a role by visually guiding movement: use contrasting trims or warm accents near bedroom corridors to signal transitions, while cooler tones can calm approach to baths.
Verify that floor heights and thresholds are uniform, and entrances remain clearly defined. This focused approach boosts comfort, privacy, and a cohesive sense of belonging throughout the home.
Design Adaptable Hallways and Transitional Spaces
You balance corridor circulation with clear sightlines and unobstructed paths, applying corridor circulation principles to reduce bottlenecks and awkward turns.
Passing space principles guide you to create adaptable zones that can reconfigure for traffic flow, seating, or displays without sacrificing efficiency.
Keep the design practical and precise, ensuring that every element supports flexible use and easy wayfinding.
Corridor Circulation Principles
Corridor circulation should prioritize adaptable hallways and passageways that smoothly connect rooms while accommodating varied activities. You design routes that feel natural, minimize dead ends, and invite people to move with ease.
Prioritize clear sightlines, accessible widths, and thoughtful passage between spaces. Corridor lighting and decorative moldings become functional elements that elevate everyday use without clutter.
- Wide, glare-free lighting that guides movement
- Even surfaces with non-slip textures for safety
- Subtle decorative moldings that define edges without crowding
- Clear sightlines to doors and key rooms
- Flexible alcoves or nooks for tasks or resting moments
Transitional Space Principles
Transitional spaces, by design, bridge rooms and activities with adaptable scale, sightlines, and flexible function. You create calm corridors that read as intentional connectors, not afterthought paths. Start with clear sightlines from key rooms, and size hallways to accommodate traffic without crowding furnishings.
Use restrained furnishing styles that feel cohesive across zones, avoiding busy patterns that obscure flow. Integrate lighting and color schemes that guide movement: lighter tones near entries, deeper hues where activity concentrates.
Choose adaptable furniture, like low-profile consoles, benches, and movable screens, to adjust function quickly. Guarantee floor transitions are seamless with consistent materials and subtle rugs to mark zones without breaking rhythm.
This approach fosters belonging: you design spaces that welcome all senses and activities, now and over time.
Maximize Natural Light to Enhance Movement
Maximizing natural light transforms how you move through a space, because brighter rooms feel more open and guide your steps intuitively. You’ll structure spaces to invite daylight deepest into corners, aligning furniture with sightlines, so movement feels natural and decisive.
Use deliberate contrasts between bright surfaces and shadows to define zones without clutter. Keep windows clear of obstructions, and position seating to face light sources for effortless circulation.
Integrate indoor plants and strategically placed lighting fixtures to maintain brightness after sunset, ensuring continuity of flow. Balance glazing with appropriate privacy, so you feel connected yet unhurried as you transition through rooms.
Consistency in finishes reinforces a cohesive path from entry to living areas.
- Clear sightlines with furniture alignment
- Large windows or glazed doors to extend depth
- Reflective, light-colored surfaces to multiply brightness
- Indoor plants placed at key thresholds
- Lighting fixtures that mirror natural rhythms and scale
Choose Doors, Thresholds, and Openings Wisely
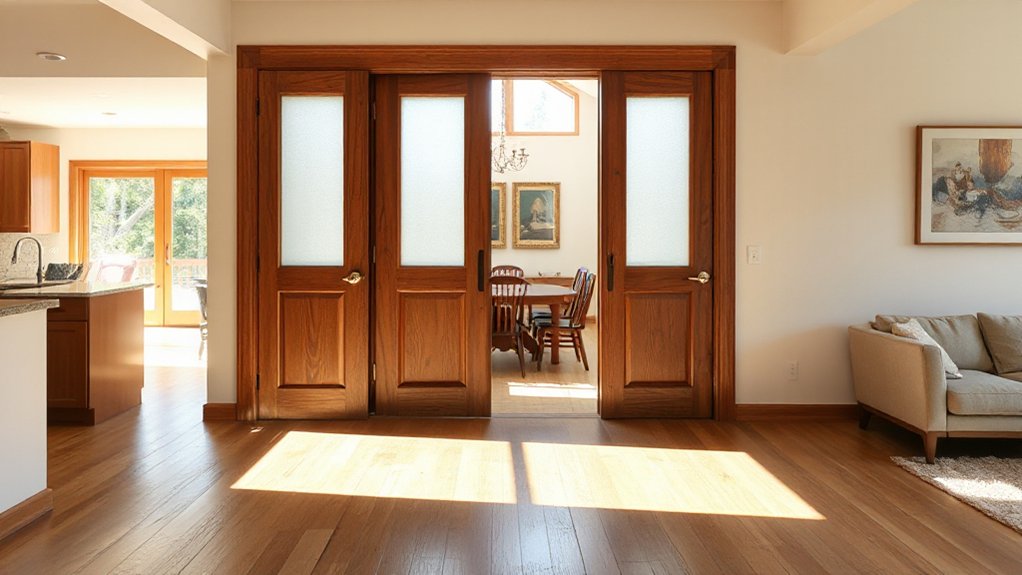
Choosing doors, thresholds, and openings wisely shapes how you move through a space. You’ll pair door types with room function, balancing privacy and flow without sacrificing light or acoustics.
Favor consistent swing directions and widths that suit everyday paths, ensuring accessibility and ease for everyone who visits.
Opt for doors whose frames and reveals align with material finishes, so passages feel seamless rather than jarring.
Decorative hardware matters: choose levers or knobs that feel durable and intuitive, with finishes that echo other fixtures for cohesion.
Threshold heights should minimize trip hazards while clearly signaling room boundaries.
Consider pocket or sliding options where space is tight, preserving openness.
In every choice, prioritize reliability, durability, and a calm, recognizable rhythm of movement.
Optimize Furniture Layouts for Traffic and Function
Efficient furniture layouts start with a clear sense of how you move through each space. You place furniture to prioritize traffic flow and functional zones, aligning sofas, tables, and storage with sightlines and doorways. Consider sightlines from entrances and avoid blocking natural pathways. Use furniture placement to define rooms without overcrowding, letting lighting design highlight focal areas.
- Clear pathways that don’t collide with seating
- Centered focal points aligned to natural light
- Proportional scale that fits, not fills
- Seating islands that encourage conversation
- Visual balance across adjacent spaces
This approach reinforces belonging by guiding movement and comfort. Keep routes open, adjust distances for elbows and feet, and test layouts during typical daily tasks. Revisit arrangement after lighting changes, ensuring both function and mood remain aligned with your needs.
Implement Zoning to Reduce Cross-Traffic
Zoning your space reduces cross-traffic by clearly assigning functions to distinct areas and guiding movement paths. You’ll delineate zones by purpose—living, dining, work, and relaxation—so traffic follows natural routes rather than weaving through activities. Begin with sight lines and doorways; place high-traffic functions near entry points, quiet zones away from kitchens or entrances.
Use furniture, rugs, and cabinets as subtle dividers, not barriers, to preserve openness while clarifying use. Outdoor landscaping contributes to delineation, creating buffer zones that separate public from private areas and encourage intentional transitions.
Align zones with energy efficiency goals: orient seating to maximize natural light, deploy shade where needed, and minimize heating or cooling losses. Maintain flexibility for evolving needs, ensuring a welcoming, inclusive ambiance for all residents.
Plan Acoustics and Privacy in Open Plans
How can you balance openness with quiet in an open-plan layout? You can design clear acoustical boundaries and designate privacy zones without breaking flow. Start with targeted soundproofing strategies at shared walls, ceiling interfaces, and appliance clusters. Use soft floor underlays and acoustic panels where chatter and cooking echo most.
Integrate vertical separations like low shelving, light screens, or undulating cabinetry that absorb sound while maintaining sightlines. Schedule zones by activity, not distance, so conversation stays contained.
Maintain a consistent material palette to reinforce belonging and calm.
- Targeted partitions that absorb, not block, sound
- Quiet corners with soft furnishings
- Layered ceilings for diffused acoustics
- Boundary cues through height differences
- Discreet storage to keep clutter low
Integrate Storage to Prevent Bottlenecks
To prevent bottlenecks, optimize access points so you can move efficiently between zones.
Consider invisible storage solutions that hide clutter while keeping essentials within arm’s reach.
Start by mapping high-traffic paths and integrating concealed storage that aligns with your workflow.
Optimize Access Points
When you optimize access points, you prevent bottlenecks by integrating storage into the workflow. You’ll design routes that flow from entry to work zones, placing essential items along primary paths. Think in practical terms: keep frequently used goods near doors, and reserve off-peak storage for surplus. This approach reduces backtracking, speeds tasks, and reinforces a sense of belonging in your space.
- Clear, unobstructed Outdoor pathways guiding traffic
- Timely placement of frequently used items near entry doors
- Window placements choreographed to maximize natural light and sightlines
- Compact, labeled storage tucked beside work zones
- Visually quiet zones that minimize signed clutter while preserving access
These choices create intuitive circulation, support collaboration, and align with a well-loved home’s rhythm.
Invisible Storage Solutions
Concealed drawers beneath stair treads or inside sofa bases turn underused zones into practical storage without commanding attention. Install lift-up lids in coffee tables or ottomans to keep essentials within reach yet out of sight.
Use wall nooks and shallow repositories that hold daily items, reducing surface clutter. Choose labeled, accessible access points to avoid searching.
Hidden compartments and concealed drawers streamline traffic patterns, prevent bottlenecks, and reinforce a cohesive, communal living rhythm.
Budget-Smart Upgrades That Boost Flow
If you’re aiming to improve flow on a budget, start with small, high-impact tweaks that remove friction and guide movement through the space. You’ll gain confidence with budget conscious, aesthetic upgrades that feel intentional without breaking the bank.
Prioritize accessibility and sightlines: reduce clutter, optimize doorway widths, and align furniture to natural paths. Color and lighting should unify zones, not shout transitions.
- Clear a main traffic corridor with purpose-built furnishings
- Use cohesive color accents to delineate areas
- Swap bulky hardware for streamlined, minimal options
- Convert underused nooks into purposeful storage
- Add dimmable layers of light for mood and clarity
Timeline-Friendly Renovation Strategies
Start with foundational work, then address structural needs before cosmetic details, so interruptions stay minimal. Build in buffer days for unexpected surprises, and choose suppliers who honor lead times to preserve cadence.
Outdoor landscaping and Color schemes are planned in tandem with interior shifts, aligning curb appeal with interior mood boards for cohesive flow. Coordinate trades to minimize downtime, using standardized finishes that streamline decisions.
Track progress with simple dashboards, celebrate milestones, and adjust schedules as needed. With disciplined sequencing, you sustain momentum and create a harmonious, belonging-driven renovation.
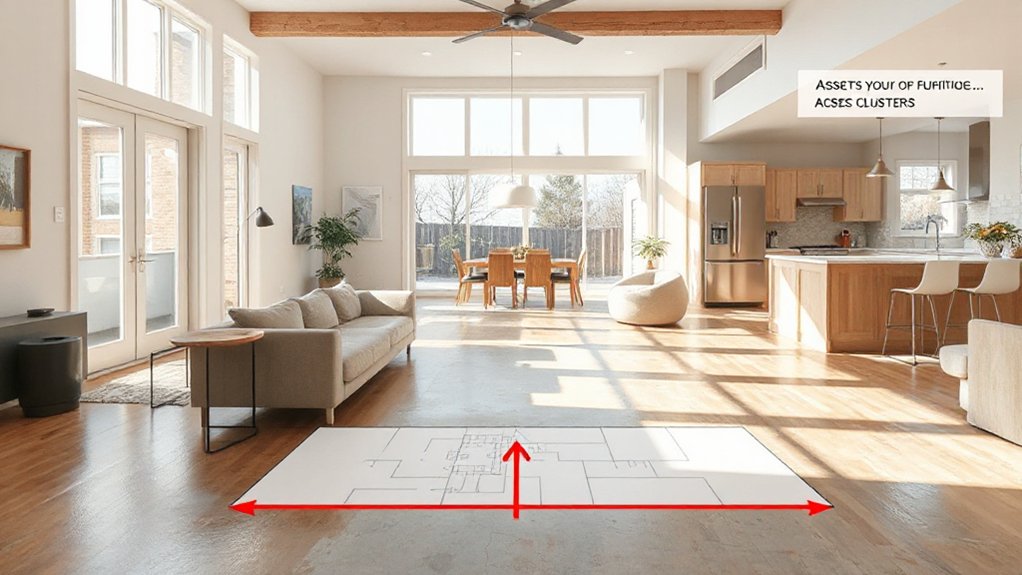
Test Layouts in 2D/3D Before Work Begins
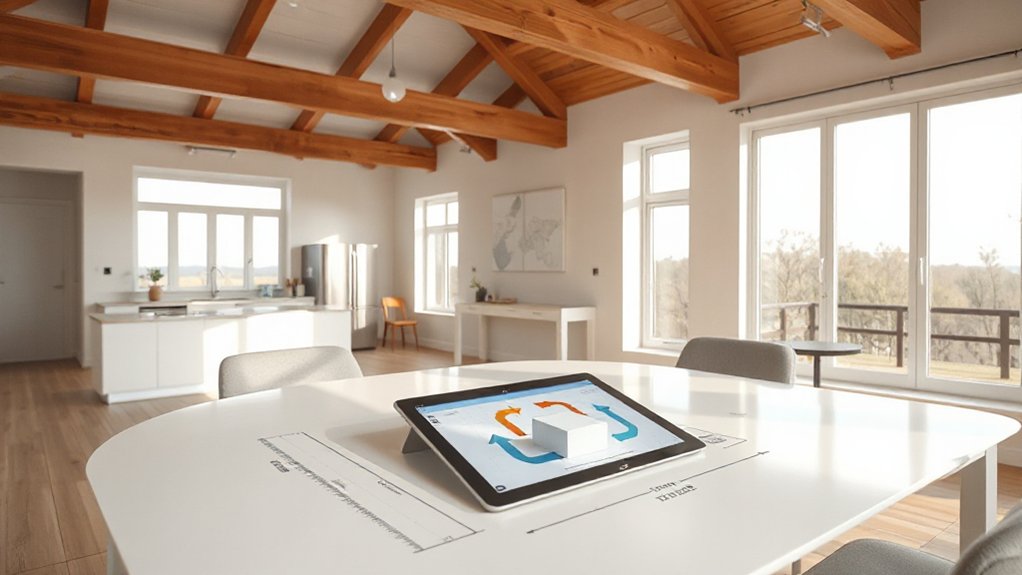
You should start with a 2D layout preview to test space planning before any walls go up.
Then simulate 3D space scenarios to validate sightlines, clearance, and furniture fit.
Finally, run a traffic flow analysis to guarantee efficient movement and identify bottlenecks early.
2D Layout Preview
A 2D/3D layout preview helps you validate flow before tearing into work, letting you test room sizes, circulation, and furniture placement early. This early check gives you confidence to pivot before any nail goes in, and it anchors your decisions in measurable space.
- Visualize furniture placement to guarantee clear pathways and functional zones
- Compare color schemes in context, balancing light, tone, and contrast
- Assess door swings and window sightlines to avoid clashes
- Map furniture footprints against traffic patterns for smooth movement
- Align visual cues with your belonging—cohesive, welcoming, and purposeful
Use the preview as a planning anchor, then refine details in real-world scales. Your layout should feel intuitive, grounded, and ready for collaboration with teammates and designers.
3D Space Scenarios
Move from broad planning to concrete testing by running space scenarios in 2D and 3D before any construction starts. You test layouts early, iterating quickly to confirm flow, sightlines, and usable zones.
In D Space Scenarios, you compare furniture placements, door swings, and traffic corridors as you switch between rooms, elevations, and scale. Use 2D floor plans to map distances precisely, then elevate ideas in 3D to reveal depth, shadows, and furniture relationships.
Consider outdoor landscaping to extend the indoor rhythm, ensuring progression feels natural and cohesive. Align color schemes with lighting and material choices, so mood remains consistent across spaces.
This proactive testing builds confidence, reduces change orders, and reinforces belonging—your home should welcome you, not surprise you.
Traffic Flow Analysis
Begin by testing traffic patterns in both 2D and 3D before any work starts, so you can spot bottlenecks and optimize flows early. This traffic flow analysis guides layout decisions, integrating garden landscaping and exterior lighting to shape paths, sightlines, and zones with intent.
You’ll compare movement in transit, work zones, and gathering areas, then refine routes for safety and efficiency. Use scalable mockups to predict conflicts and adjust doorways, clearances, and surface grades before construction begins. Document looped paths, turning radii, and access points to communicate clearly with the team.
When done, implement test routes on-site to confirm real-world performance and finalize design choices.
- Visualize routes over garden landscaping and lighting cues
- Check sightlines with exterior lighting
- Simulate furniture and equipment movement
- Verify accessibility and safety
- Iterate until flows feel natural and cohesive
Final Walkthrough: Measuring Success in Flow
The final walkthrough is your moment to confirm that the new layout flow actually works in practice and to verify that space, circulation, and usability meet your goals. You’ll test pathways for bottlenecks, guarantee doors swing unobstructed, and check furniture placement against real-life needs.
Assess lighting, acoustics, and accessibility, noting where adjustments improve flow. Document deviations from the plan and decide whether to adapt or accept them. Compare observed performance with your metrics—time to move between zones, ease of task completion, and comfort under typical use.
Mark decorative accents and color schemes that reinforce wayfinding without clutter. Finalize punch list items, confirm finishes, and schedule a follow-up check. This walkthrough confirms belonging through purposeful, observable improvements in daily routines.
Frequently Asked Questions
How Long Will These Layout Changes Take to Complete?
The timeline depends on scope, but expect 2–6 weeks for minor changes and 6–12 weeks for major reconfigurations. You’ll schedule interior lighting updates and structural beams installation carefully to minimize delays and guarantee safe, cohesive results.
Can I Renovate Without Moving Electrical Outlets?
Yes, you can, but you’ll need to reconfigure Electrical wiring and adjust outlet placement thoughtfully, coordinating with a licensed electrician to avoid code issues while preserving existing circuits and ensuring safe, practical access throughout your renovated space.
Which Contractor Qualifications Ensure Good Flow?
Yes—seek contractors with solid credentials and proven design considerations. You’ll want licenses, insurance, portfolio, and references, plus verified experience coordinating space flow, lighting, and utilities. Trust credentials that reflect thoughtful layout decisions and collaborative, practical problem-solving.
What Is the Typical Cost Impact on Resale Value?
The cost impact on resale value varies, but a solid cost analysis shows modest upgrades can boost appeal and sale price. You’ll likely gain resale benefits if project scope aligns with market demand while controlling overruns.
How Will Zoning Affect Natural Light and Privacy?
Yes, zoning can limit window placement choices, affecting natural light and privacy; you’ll want strategic window placement and privacy barriers, like fences or screens, to balance daylight with sightlines, ensuring you feel secure and included without glare or gaps.
Conclusion
You’ve prioritized flow, tested layouts, and lined up practical, budget-smart upgrades. By evaluating bottlenecks, clarifying traffic goals, and designing a connected kitchen and living area, you’ve set the stage for a smoother daily rhythm. A final walkthrough confirms your measurements, timing, and success criteria. Are you ready to live with a home that moves as you do—intuitive, efficient, and beautifully simple? Your renovation plan now translates into a genuinely better everyday experience.