
Pick the Safest Way to Mount Acoustic Foam
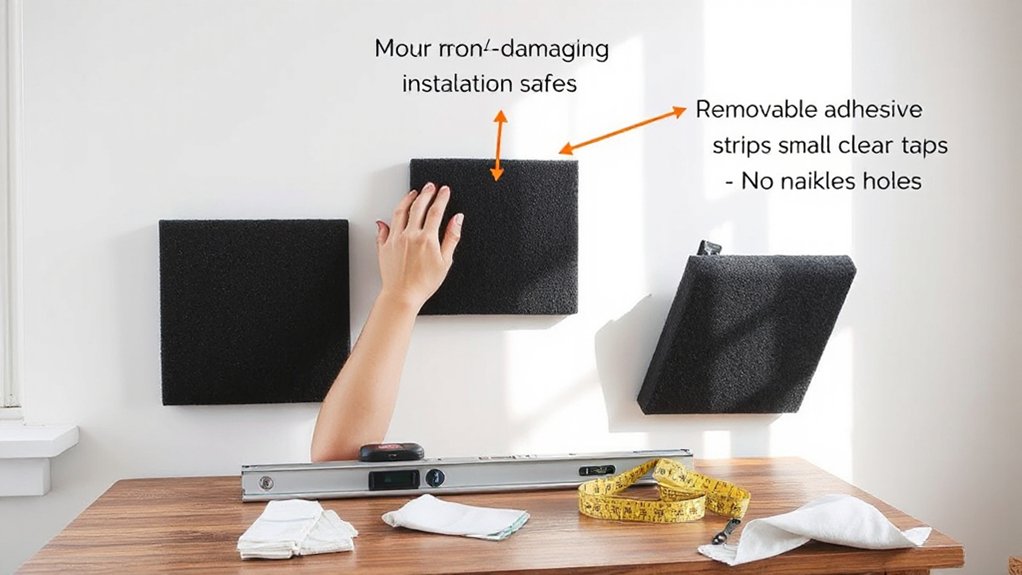
Before you stick anything to the wall, pick a mounting method that matches your surface type, foam weight, and any lease or building rules you’re subject to. For rentals, choose removable adhesive strips rated above the panel’s mass and designed for painted drywall; they minimize peel-force and residue. If you can’t use adhesives under fire or facilities policies, mount foam to lightweight backer boards (corrugated plastic or thin plywood) and hang those from existing picture hooks or a tension frame. In studios you own, low-VOC spray adhesive works, but it’s typically considered permanent and may violate lease terms. For Soundproofing techniques, avoid claiming foam “blocks” noise; it’s for reflections. Compare Acoustic treatment options by removal risk, load rating, and compliance.
Prep the Wall: Clean, Test Paint, and Plan Layout
Since even “removable” adhesives can lift weak paint or leave residue, you’ll get better results if you prep the surface and verify it can handle your chosen mount. Start by checking Wall texture: heavy orange-peel, knockdown, or dusty plaster reduces bond and increases peel risk. Clean with a mild detergent solution, rinse, and let it dry fully; avoid solvents that can soften latex or violate lease terms.
Next, test paint compatibility. In an inconspicuous area, apply low-tack painter’s tape for 24 hours, then remove at a 180° angle. If paint lifts or chalks, don’t mount directly on that finish. Finally, plan your layout with a level and painter’s pencil, maintain clearance from outlets, sprinklers, and HVAC returns per code, and mark panel boundaries precisely.
Mount Acoustic Foam With Removable Strips and Tape
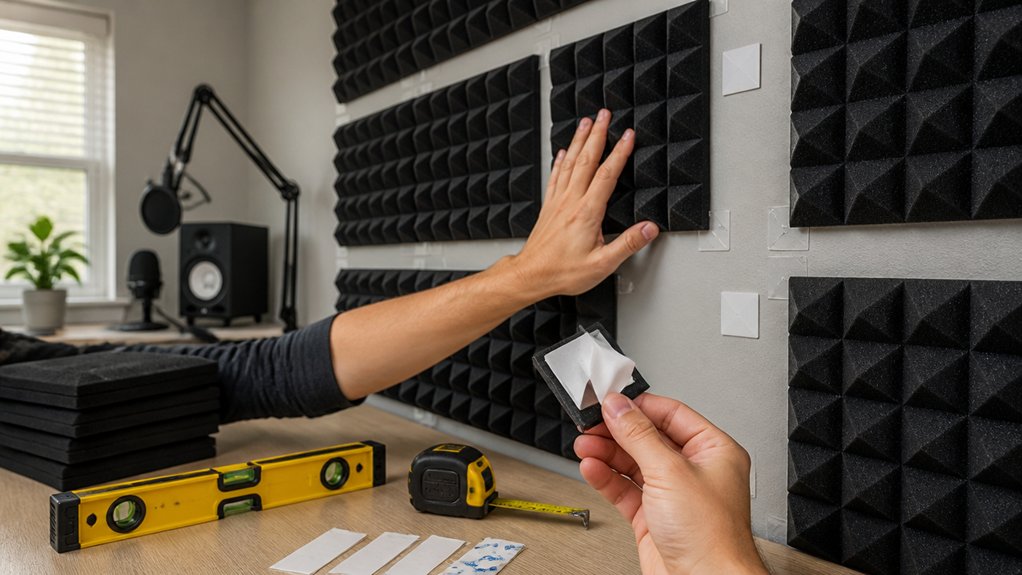
Although spray adhesive and staples can look tempting, you’ll get the cleanest, wall-safe install by using removable picture-hanging strips or high-bond removable mounting tape rated for the panel’s weight and your wall finish. For Acoustic foam installation, cut strips into equal lengths, then apply them to the foam’s corners and center to distribute load and reduce peel forces. Press the adhesive to the foam for 30–60 seconds, then mate it to the wall and apply firm, even pressure across the panel. Follow the manufacturer’s cure time and temperature range; many products require 1 hour before full load and won’t bond reliably below ~50°F. For Wall damage prevention, don’t span seams, joints, or flaking paint, and use pull-tab styles so you can remove them straight down later.
Hang Acoustic Foam Without Adhesive (Hooks, Rails, Stands)
If you can’t use tape or spray adhesive (or you’re working under a no-modification lease), you can hang acoustic foam with zero wall contact by using freestanding panel stands, tension-based rails between floor and ceiling, or ceiling-suspended grids that attach to existing hardware points. Choose stands with weighted bases and cross-bracing so panels won’t tip; keep the foam’s face unobstructed for absorption. For tension rails, use non-marking pads, verify ceiling type, and stay within the manufacturer’s load rating to meet safety requirements. Ceiling grids can clip to existing curtain tracks or lighting mounts; don’t drill, and maintain sprinkler and egress clearances per local code. Wrap panels in fabric for Decorative wall art and better Acoustic foam aesthetics without reducing performance.
Remove Acoustic Foam Cleanly and Avoid Wall Damage
Freestanding stands and tension rails solve the “no holes” problem, but you’ll still need a clean removal plan for any foam that’s already mounted to drywall, paint, or wallpaper. Start by warming the pad with a hair dryer on low to soften adhesive; don’t exceed safe surface temperatures per paint and manufacturer guidance. Peel slowly at a shallow angle, supporting the paper face to prevent Wall damage. If resistance spikes, stop and reheat.
For residue, follow Surface cleaning best practice: test solvent in an inconspicuous spot, then use citrus adhesive remover or isopropyl alcohol on a microfiber cloth. Avoid soaking gypsum. Scrape only with a plastic putty knife. Finish with mild detergent, rinse, dry, and spot-prime before repainting.
Frequently Asked Questions
Will Acoustic Foam Reduce Echoes Enough for Professional Podcast Recordings?
Yes, acoustic foam can reduce echoes enough for professional podcast recordings if you treat early reflections and cover sufficient surface area. You’ll improve Echo reduction and Sound clarity, but you can’t fix background noise or poor mic technique.
How Much Acoustic Foam Do I Need for My Room Size?
You’ll need about 15–30% wall/ceiling coverage; for 150 sq ft, that’s 60–120 sq ft foam. Because “more foam” isn’t code, plan Installation methods and Surface preparation, meet fire ratings, and verify placement.
Can Acoustic Foam Panels Be Cut Without Affecting Performance?
Yes, you can cut acoustic foam panels, but you’ll reduce absorption if you shrink thickness or cover less area. Use sharp blades for clean edges, support panel customization, and guarantee installation adhesives meet VOC and fire-code requirements.
Is Acoustic Foam Fire-Retardant and Safe for Bedrooms or Offices?
Acoustic foam can be fire-retardant, but you must verify fire safety ratings and material composition before using it in bedrooms or offices. Choose ASTM E84/UL 94 tested products, avoid untreated polyurethane, and follow local codes.
Does Acoustic Foam Help With Soundproofing Against Noisy Neighbors?
Acoustic foam won’t truly soundproof you from noisy neighbors; it mainly reduces echo inside your room. Use it as Decorative wall coverings among Acoustic treatment options, and add dense barriers meeting local building/fire codes.
Conclusion
You can get pro-level sound control without trading it for ruined drywall. Choose removable, rated strips or non-adhesive systems, and you’ll meet most lease and facility requirements while keeping repaint costs near zero. Clean and test first; a 5‑minute spot check can prevent a 5‑hour repair. Plan your layout, load limits, and fire-code clearances. When you’re done, remove slowly at the correct angle—quiet rooms, intact walls.