
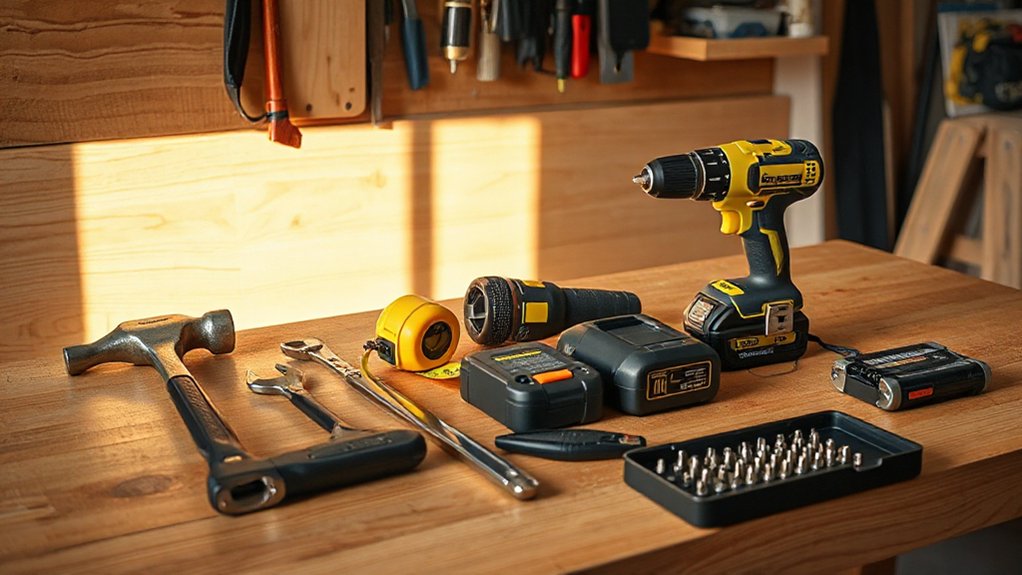
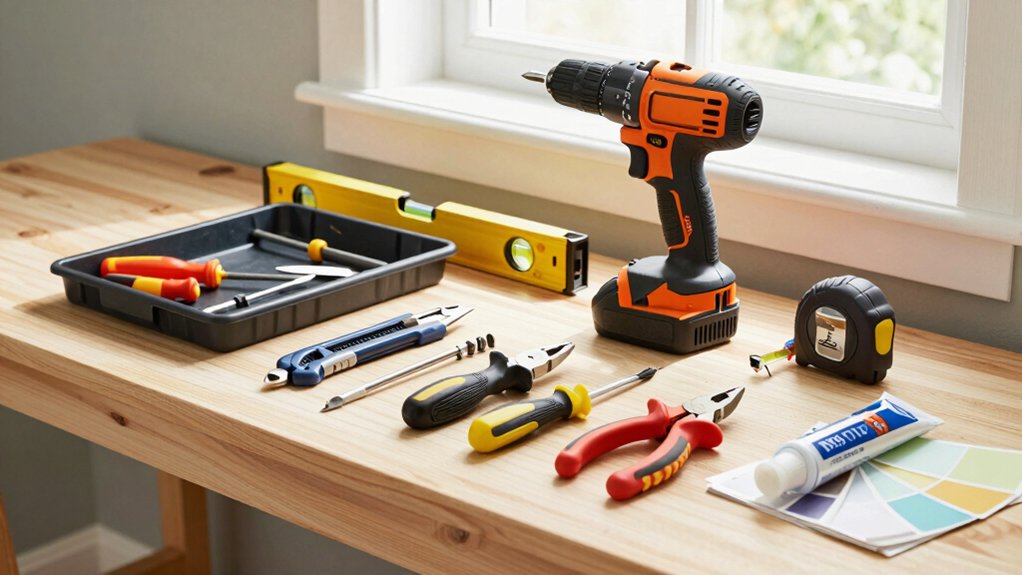
Start with a focused starter toolkit: claw hammer, magnetic screwdriver set, adjustable wrench, tape measure, utility knife, pliers, a small square, and a cordless drill with bits. Add a level and basic fasteners, plus a sturdy tote to keep everything organized. Prioritize durable, comfortable tools and safety gear. Learn basic layout, measurement, and fastening skills, then expand as projects demand. Stay disciplined with maintenance and safety; you’ll uncover more practical tools and smarter approaches as you go.
Starting Strong: How to Build Your Starter DIY Toolkit on Any Budget
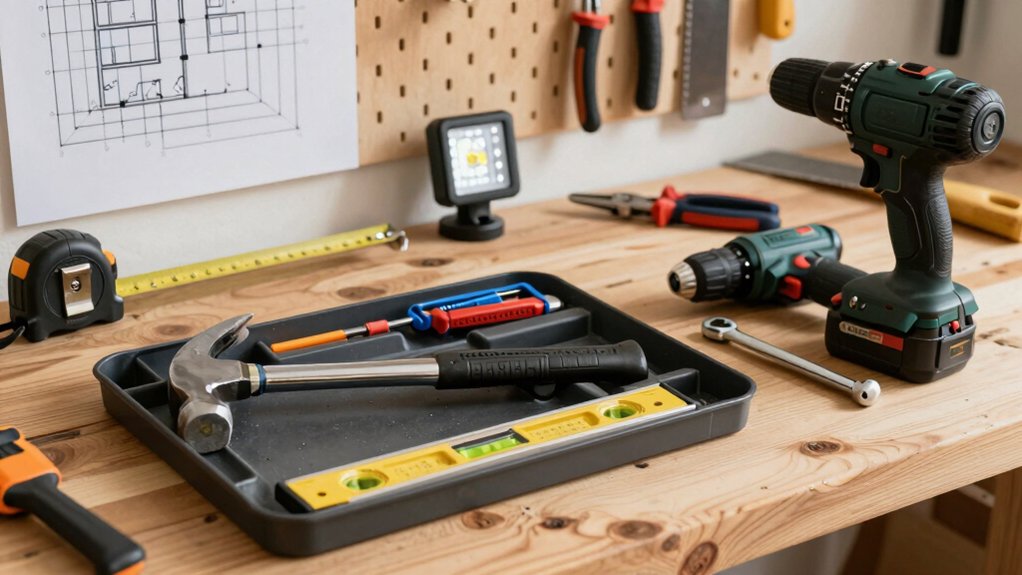
Starting strong with a starter toolkit doesn’t have to break the bank. You’ll maximize impact by choosing a core set that covers most tasks, then expand as needed.
Begin with basic tool selection that emphasizes versatility: a solid hammer, a reliable screwdriver set, a tape measure, pliers, an adjustable wrench, a utility knife, and a small square. Pick compact versions that fit your space and daily carry.
Prioritize budget friendly options that don’t sacrifice durability—look for steel construction, comfortable grips, and decent warranties.
Add a cordless drill with a couple of bit sets for power, plus a basic level.
Organize everything in a sturdy tote or bag, label compartments, and keep it accessible.
With this approach, you command projects, save time, and scale up confidently. basic tool selection, budget friendly options.
Must-Have Hand Tools for Everyday Home Projects
Everyday home projects hinge on a core set of must-have hand tools that you can rely on again and again. You’ll want sturdy basics: a magnetic level, a sharp claw hammer, a precision screwdriver set, a quick-change utility knife, and tape or combination squares for accuracy.
Add pliers, a tape measure, an adjustable wrench, and an assortment of hex keys for versatility. Prioritize hand tool ergonomics—ergonomically shaped handles reduce fatigue and boost precision, letting you work longer with less strain.
Practice tool safety tips: keep blades sharp, clamp work firmly, and wear eye protection when cutting or chiseling. Establish a clean, organized workstation to streamline flows, and regularly inspect tools for wear.
Ready resilience turns simple tasks into swift, confident results.
Core Power Tools and What They’Re Best for
What core power tools should you have in your kit, and what’re they best for? You need reliable power, not fluff. A power drill handles boring holes and driving fasteners with speed and control, from furniture builds to wall anchors. Pair it with variable speed and a durable chuck for versatility.
A circular saw delivers fast, clean ripping and crosscuts on plywood, lacquers, and framing—essential for project-ready panels. Add a jigsaw for curved cuts and tight shapes, and a compact reciprocating saw for demolition and pruning tasks.
Buy a cordless kit with a high-capacity battery and good runtime to maximize productivity. Maintain blades sharp, use clamps, and practice safe grip, stance, and PPE. Power tools *disengage* faster, stronger results.
Measuring and Layout: Essential Tools for Accuracy
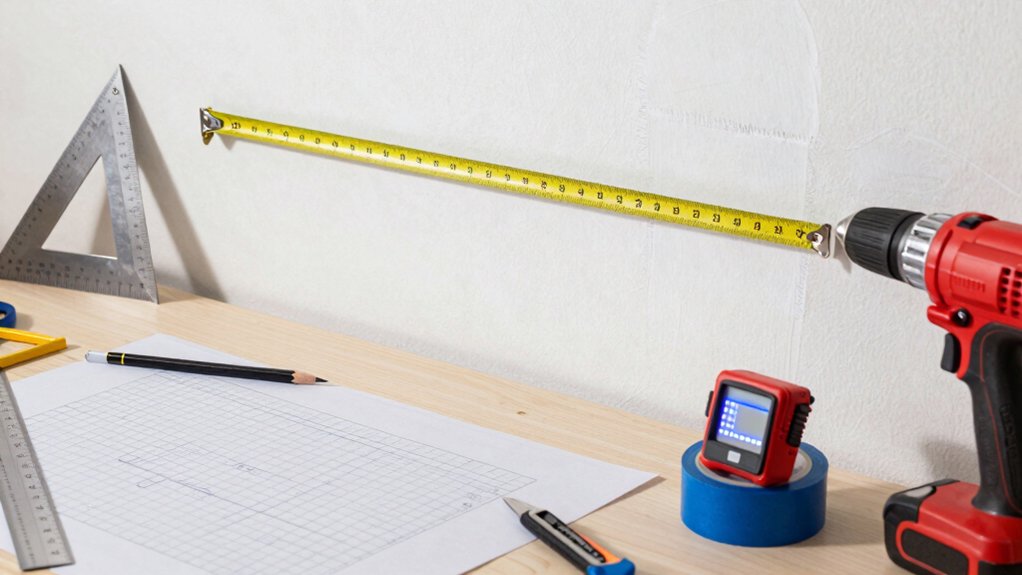
You’ll start with a precise tape measure to lock in lengths and cut lines, checking for consistency as you go.
Master layout marking techniques to transfer exact dimensions and reference points onto your workpiece.
Use aligning and squaring tools to verify right angles and true faces before you cut or assemble.
Tape Measure Precision
Tape measure precision is the bedrock of accurate layouts; a few misreads can throw off an entire project. You demand reliable results, so zero in on measuring accuracy with every pull and lock. Check edges for nicks and wear before you mark. Hold the tape flat to the surface, avoid bending, and read at eye level to prevent parallax errors.
Use your thumb to secure the blade, then recheck critical dimensions twice. Regular tape measure calibration keeps your tools honest—marking only after confirmed measurements. When you measure, plan for material thickness and tool travel; subtract or add as needed to hit exact tolerances.
In tough jobs, test-fit assemblies to verify dimensions before committing materials. Precision now saves rework, time, and costly mistakes later.
Layout Marking Techniques
Begin by choosing a layout method that matches your project: a sharp pencil and square for crisp lines, or a chalk line for long, straight runs. Layout Marking Techniques center on defining exact reference points, angles, and lines you’ll trust through the entire build.
Start with a clean, true surface and establish a baseline using a straightedge aligned to your plan. Use a pencil with a fine lead and label critical points clearly to prevent mixups. Confirm measurements with a reliable layout tool, then transfer lines with deliberate, steady strokes to maintain marking accuracy.
Keep lines light enough to erase and deep enough to show until you cut or fasten. Practice consistent pressure, verify diagonals for squareness, and document deviations to avoid future rework. Layout techniques empower precise execution.
Aligning and Squaring Tools
Have you ever needed perfect alignment on a project? You’ll rely on aligning and squaring tools to lock in precision from the first cut. Start with a reliable square and a tight measuring tape, then verify edges against a reference line.
Use a chalk line to establish true baseline marks, and double-check with a combination square before drilling. For alignment accuracy, set up a temporary straightedge and test multiple points along the workpiece to confirm consistency.
When squaring, apply a firm, steady approach: pressure at the high point of the blade, not the handle, and work slowly to avoid drift. Keep corners true by checking diagonals; if the measurements differ, adjust until they equal.
Master these squaring techniques to guarantee flawless joins and robust results.
Safety First: Electrical Basics for Beginners
You’ll start with electrical safety basics, learning what to check before any work and why basic PPE matters. Use proper tool handling technique to prevent shocks, cuts, or sparks, and keep your workspace dry and organized.
Electrical Safety Basics
Electrical safety basics matter every time you work with power. You stay sharp by confirming the circuit is de-energized before any work and testing outlets with a reliable tester.
Grounding practices aren’t optional; verify grounding paths are intact and metal boxes are bonded to the system. Inspect cords for wear, replace damaged plugs, and never run extension cords through walls or under rugs.
Understand circuit breaker basics: know which switch controls your space, label panels, and reset only after diagnosing the fault. Use GFCI outlets in damp areas and keep water away from panels.
Keep a dedicated, uncluttered workspace, and never bypass safety devices. When in doubt, pause, reassess, and consult a professional.
Proper Tool Handling
Handling tools safely starts with your workspace habits and the habits you bring from electrical basics. You’ll protect yourself by keeping the area clean, dry, and well lit, with cords organized and out of walkways.
Inspect tools before each use, checking for damage, loose parts, and missing accessories. Choose ergonomically designed tools with ergonomic grips to reduce fatigue and improve control.
When lifting or carrying, keep a firm grip and bend your knees, not your back, to minimize strain. Match tool weight to your strength; use lighter options for overhead tasks and stabilize the workpiece with clamps.
Maintain a neutral wrist position, cut with steady, controlled motions, and set a safe baseline distance from power sources.
Prioritize safety, efficiency, and precision in every move.
Basic Circuit Awareness
Basic circuit awareness starts with recognizing that even small projects can introduce real electrical hazards. You’ll prioritize prevention by planning ahead, identifying power sources, and labeling circuits before you touch a single wire.
Keep your environment dry, work with one hand behind your back when probing live components, and assume every outlet is energized until proven otherwise. Practice circuit safety by using insulated tools, turning off breakers, and testing for voltage with a reliable tester.
Remember electrical grounding: verify grounding paths, connect devices to properly grounded outlets, and never bypass ground contacts. Document panel locations and load priorities to avoid overloading circuits.
Stay curious, stay cautious, and respect the limits of your wiring—power isn’t a toy, it’s a system you must manage with discipline.
Fastening and Cutting Basics: Selecting and Using Fasteners
Choosing the right fasteners starts with understanding the material you’re joining and the load it will bear. You’ll select fastener types based on strength, corrosion resistance, and enclosures, then match with the correct length and diameter.
For wood, metal, or masonry, pick screws, nails, bolts, or anchors designed for that substrate. When joining dissimilar materials, use appropriate washers or spacers to prevent binding and stress concentrations.
Always prep with clean holes and proper pilot sizes to prevent splitting. Use cutting tools to trim fasteners only after driving or to prepare raw material for a precise fit.
Drive fasteners square and driven fasteners shouldn’t protrude beyond the target surface. Verify load paths and test joints under modest stress to ensure performance and safety.
Plumbing Essentials for Quick Fixes and Upgrades
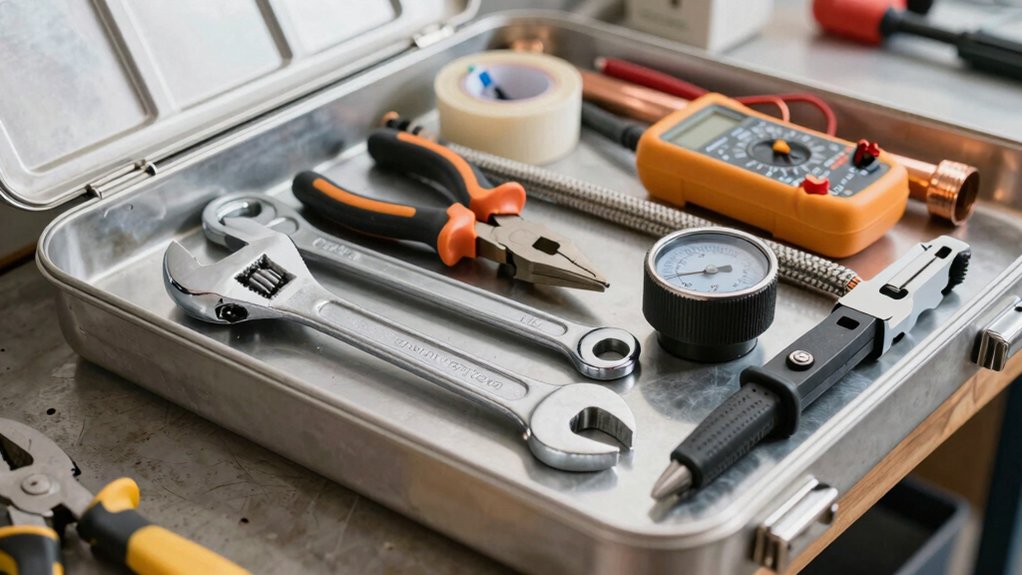
Could you fix a leak or upgrade your system without a full remodel? You can, with focused plumbing essentials. Start with reliable pipe fittings and shutoffs that match your home’s sizes and materials, so you’re ready for quick connections and secure seals.
Learn to read simple diagrams, measure accurately, and choose corrosion-resistant materials for long-term strength. For leaks, implement proactive leak detection: listen for ticking pipes, check meter readings, and use a handheld moisture meter on suspect walls.
Keep a compact toolkit: adjustable wrench, Teflon tape, pliers, flux, a handheld flashlight, and a small tube of silicone sealant. Practice safe disassembly and reassembly, verify flow, and test under pressure.
You’ll move fast, minimize damage, and execute clean upgrades with confidence.
Tool Organization: Storage Strategies That Save Time
When you organize your tools, you save time on every project. Tool organization isn’t optional—it drives efficiency. Start with a central, labeled system: wall racks for frequently used items, drawers for fasteners, and a portable tote for on-site jobs.
Use clear bins with only-slightly open tops so you can see contents at a glance. Implement a consistent placement rule: return each tool to its designated spot immediately after use. Employ storage strategies that prioritize access: color-coded organizers, magnetic strips for metal tools, and a pegboard layout that groups by function.
Maintain inventory with a quick quarterly audit, removing duplicates and worn items. This disciplined approach minimizes searching, reduces downtime, and keeps your workflow relentlessly focused. Tool organization empowers your next project.
Maintenance Routines to Extend Tool Life
Keep your tools performing at their best by establishing quick cleaning routines after every use, focusing on wiping away residues and drying metal surfaces.
Regular lubrication and precise calibration avoid wear, so set a simple schedule for oiling moving parts and checking accuracy as you go.
Pair these with quick storage checks and inspections to catch rust, loose fittings, or dull edges before they become problems.
Tool Cleaning Routines
To extend the life of your tools, establish a quick, daily cleaning routine after each use: wipe off dust and residue, dry metal surfaces, and inspect for nicks or rust.
Prioritize tool sterilization where appropriate, especially after outdoor or high-use projects. Immediately remove sticky residues with a solvent approved for the tool’s material, then dry thoroughly to prevent corrosion.
Maintain a consistent cleaning frequency; brief, disciplined sessions beat long, neglected scrubbing. Use a stiff brush to dislodge debris from teeth, blades, and crevices, and treat wooden handles with a conditioning wipe to prevent cracking.
Store tools dry and organized, ensuring blades are sheathed or covered. This routine sharpens performance, minimizes failure, and reinforces your decisive, results-driven workflow.
Lubrication And Calibration
Do you want peak tool performance? You tune every moving part with purpose, not guesswork. Lubrication and calibration aren’t chores; they’re power multipliers you control.
Start with lubrication techniques that match each tool’s design: light brush-ons for slender gears, splash-oil for open-bearing housings, and dry films where dust matters most. Wipe excess to prevent grit buildup, then recheck access points and seals.
Next, perform calibration procedures that align measurement and output to spec, using manufacturer references as your compass. Mark dial indicators, set torque values, and verify speed or travel limits after every major session.
Schedule routine intervals, document results, and adjust based on workload. With disciplined maintenance, your tools perform stronger, longer, and ready for the next project.
Storage And Inspection
After you’ve tuned lubrication and calibration for peak performance, set up a storage and inspection routine that protects those gains. You’ll lock in power by organizing gear, safeguarding edges, and minimizing corrosion.
Begin with deliberate tool storage: keep blades dry, handles clean, and metal parts coated if moisture risk exists. Use labeled bins and a pegboard to ensure fast access and uniform placement.
Next, implement an inspection checklist: check fasteners, test triggers, verify cords or batteries, and note any wear or heat signs. Schedule weekly quick scans and monthly deep checks, logging results for trends.
Replace worn components before failure and document replacements. Maintain a disciplined cadence to extend life, reduce downtime, and sustain peak performance across your entire toolkit.
Budget-Friendly Upgrades for Long-Term Value
Investing in a few budget-friendly upgrades now can pay off for years of lower maintenance and higher value. You’ll focus on solid fundamentals that deliver durable performance without breaking the bank. Prioritize energy-efficient fixtures, seal gaps around doors and windows, and upgrade lighting with long-lasting LEDs. These steps reduce monthly costs and curb wear on systems you rely on daily.
Choose smart thermostats, programmable controls, and programmable outlets to optimize efficiency with minimal ongoing effort. Reinforce hinges, weather-strip entrances, and replace worn seals on appliances to prevent leaks and noise, cutting long term savings.
Document upgrades and track energy bills to quantify impact, then reuse proven methods in future projects. Budget upgrades empower you to maximize return while keeping projects precise and fast.
How to Choose Tools and Avoid Common Beginner Mistakes
Choosing tools wisely starts with a clear project plan and a honest assessment of what you’ll actually use. You’ll boost efficiency by matching tools to tasks, not trends. Prioritize tool selection that delivers reliability, safety, and ergonomic control.
Before buying, identify core duties—drilling, screwing, measuring, cutting—and choose versatile, durable options with solid warranties. Avoid beginner mistakes like overbuying specialty gadgets or underestimating maintenance needs.
Invest in quality basics: a dependable drill, an accurate tape measure, sharp bits, a level, and protected storage. Learn proper technique first, then expand your kit as projects demand.
Read manuals, align safety gear, and practice with scrap material. Build a capability ladder: master the essentials, then add purpose-built tools only when you truly use them.
Aim for consistence, not excess.
Quick-Start Project: a Small Weekend Fix to Apply Your New Toolkit
You’ve spent time selecting reliable, safe tools, now put them to use with a quick weekend project that proves your kit’s worth. You’ll tackle a small repair: fix a squeaky cabinet hinge and tighten loose screws.
Begin with hand tool selection: grab a correctly sized screwdriver, a torque-friendly screwdriver bit, and a durable wrench. Remove the hinge plate, trim any misaligned wood, and reattach using fresh screws. Check alignment, then test the door’s swing.
Throughout, apply tool safety tips: wear eye protection, keep your workspace dry, and clamp work securely to avoid slips. Maintain control with deliberate, steady motions, and don’t rush.
When done, lubricate pivot points and wipe away residue. You’ll gain instant feedback and confidence for bigger projects.
Frequently Asked Questions
How Do I Prevent Rust on Hand Tools Long-Term?
Yes—keep tools dry, wipe after use, and apply light oil or rust inhibitor. Store in a climate-controlled spot, regularly inspect, and perform rust prevention routines. For long term maintenance, re-oil monthly and shield from humidity and salts.
Which Tool Brands Offer the Best Value Under $50?
Brand names under $50 giving you value include Ryobi, Craftsman, Black+Decker, and Genesis. You’ll find budget tool options that perform; these affordable brands let you tackle projects, power through tasks, and stay under control.
How Often Should I Replace Drill Bits and Blades?
You should replace drill bits and blades based on use; monitor heat and wear, and stop when performance drops. Drill bit lifespan varies, but expect sharpening or replacement after 10–20 holes, blade replacement frequency informed by dullness and chipping.
What Basic Safety Gear Is Essential for Beginners?
Shield yourself with personal protective equipment, and never neglect safety storage—your first line of defense. You equip wisely, you work confidently, and you stay powerful, because safety gear guards momentum, focus, and mastery on every project.
How Can I Sharpen Common Cutting Tools Effectively?
Sharpening techniques matter: you’ll establish a consistent angle, use honing tools regularly, and test edge efficiency. Start with a coarse stone, advance to finer grits, maintain even pressure, and wipe clean to prevent dulling.
Conclusion
You’ve got the essentials to start strong, stay safe, and keep improving. With the right starter toolkit, smart tool choices, and simple maintenance, you’ll tackle most home projects without drama. Keep your budget in check and upgrade only what you’ll actually use. Stay organized, follow safety steps, and measure twice to save time and avoid slips. Ready to roll? Jump into a quick weekend fix and see how far your skills can go—the ball’s in your court. You’ve got this.