
Decide DIY vs Pro Pool Tile Replacement (Cost & Risk)
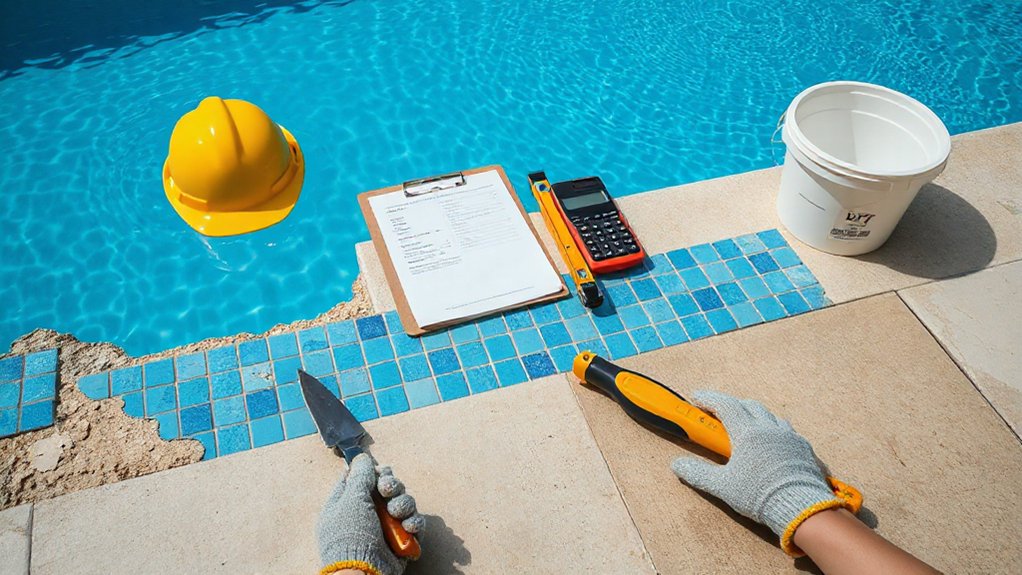
Although swapping out pool tiles can look like a straightforward cosmetic job, you should decide early whether you’ll DIY it or bring in a UK pool contractor, because the cost and risk profile changes fast once you’re working at the waterline. Your Cost analysis should include drain-down time, waste disposal, and hire fees for a wet diamond grinder, SDS chisel, and dust extraction. DIY often saves labour but you’ll lose margin if you crack the coping, damage the shell, or miss movement joints and create leaks. Safety precautions matter: isolate electrics to pumps and pool lighting, control silica dust, and use RPE, eye protection, and cut-resistant gloves. If your pool’s mosaic banding or waterproofing is suspect, pay a contractor for diagnostics and liability.
Pick Pool Tile, Thinset, and Grout (Shopping List)
You’ll get a longer-lasting repair if you choose frost- and chemical-resistant pool tile rated for full immersion, and you match it to your pool’s waterline movement and cleaning regime. You’ll also need a suitable thinset mortar—typically a polymer-modified, cement-based adhesive approved for submerged use and compatible with your substrate (render, concrete, or backer). Finish your shopping list with a water-resistant grout, favouring epoxy or a high-performance cement grout with low water absorption to handle UK weather swings and pool chemistry.
Choose Durable Pool Tile
Three material choices will decide whether your replacement pool tile lasts a season or a decade: the tile itself, a cementitious thinset rated for permanent water immersion, and a compatible grout that can cope with pool chemicals and movement. Choose frost-resistant porcelain or fully vitrified glass mosaics with low water absorption; avoid porous ceramics unless they’re specifically pool-rated to BS EN 14411. Match Pool tile patterns to the pool’s radius: small-format mosaics conform to curves and reduce lipping on copings. Specify tiles with consistent calibre and mesh backing suited to chlorinated water. For Eco friendly options, look for recycled-glass mosaics and UK suppliers with EPDs; they cut embodied carbon without compromising durability. Buy 10% extra for cuts, and check batch numbers for colour control.
Select Proper Thinset Mortar
How do you make replacement pool tile stay bonded when it’s under permanent water pressure and chemical attack? You choose a polymer-modified, cementitious thinset rated for full immersion and suitable for swimming pools (look for EN 12004 classification, ideally C2TE S1 or S2). Avoid standard indoor adhesive; it’ll soften, then shear. Match the thinset to your Pool tile design: glass mosaics usually need a bright white, fine-grain bed to prevent shadowing, while porcelain tolerates grey. For tile pattern choices, pick a non-sag (T) mortar if you’re setting on vertical pool walls, and an extended open-time (E) product for complex mosaics. In your shopping list, add primer if the substrate needs it, plus a notched trowel sized to tile format.
Pick Water-Resistant Grout
Where does most pool-tile failure actually start? In the grout line, where porosity and movement let water track behind the tile. Choose an epoxy grout for submerged zones: it’s non-porous, chemical-resistant, and handles frequent chlorination better than standard cementitious mixes. If you must use cement grout, specify a polymer-modified, rapid-setting, low-absorption product and add a UK-available liquid admix; seal it after cure.
Match joint width to your Tile pattern options: mosaics need tighter, consistent joints, while larger formats tolerate slightly wider beds for alignment. Keep colour stable by mixing by weight and controlling wash water. Combine grout choice with Waterproofing techniques: fully pack joints, tool to a concave profile, and respect cure times before refilling.
Drain the Pool (Or Not) and Protect Surfaces
Before you lift a single tile, decide whether you’ll drain the pool fully, partially, or not at all, because that choice dictates access, safety, and the risk of structural or finish damage. In the UK, check groundwater level and hydrostatic pressure; a fully drained shell can float or craze, especially after heavy rain. For small perimeter repairs, keep water below the tile line and manage pool water maintenance with reduced circulation and balanced chemistry to limit scaling. If you must drain, isolate electrics at the consumer unit, lock off valves, and pump to a foul drain only if your local authority permits. Protect the liner or render with geotextile and plywood walk boards. Use controlled surface cleaning techniques to remove biofilm and oils without etching finishes.
Remove Old Pool Tile Without Cracking the Shell
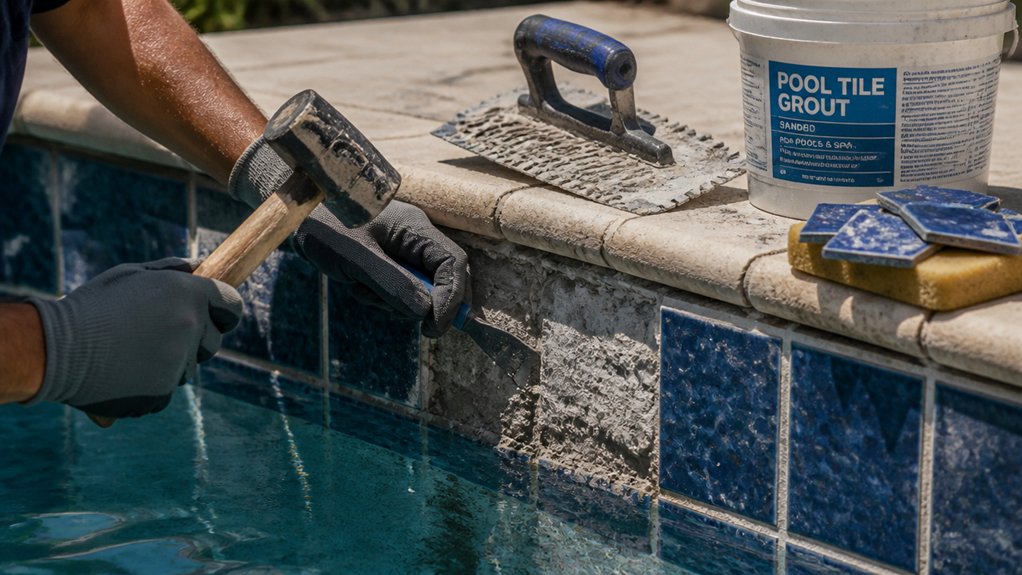
Before you start lifting tiles, you’ll protect the pool shell and coping by masking edges and setting up padding where your tools might strike. You’ll use the right removal kit—an SDS drill with a wide chisel bit, a thin cold chisel, and a club hammer—so you can shear the adhesive without prying against the concrete. Keep your chisel angle shallow and work in short runs to avoid spalling that can crack the render and compromise the shell.
Protect Shell And Coping
Although it’s tempting to go at the old tile with a bolster and club hammer, you’ll protect the pool shell and coping far better by controlling impact and isolating the work area first. Mask the waterline with heavy-duty tape, then hang polythene sheeting to stop chips ricocheting into the finish. Lay rubber matting or thick cardboard on the floor and over exposed returns, lights, and fittings. Work in short sections and keep the bond line wet to reduce shock and dust. Inspect for hollow-sounding areas and existing crazing so you don’t drive fractures deeper—good shell maintenance starts before demolition. Support loose or drummy coping units and mark any movement for later coping repair. Vacuum debris frequently so grit doesn’t abrade the surface during removal.
Use Proper Tile Removal Tools
With the shell, coping, and fittings protected, you can now remove the old waterline tile using tools that cut or shear the adhesive bed rather than shock-loading the structure. Use an SDS-Plus rotary hammer set to rotation-only with a 40–60 mm wide scaling chisel, keeping it near-parallel to the wall. Work from grout lines, peel tiles in short passes, and let the tool do the work—don’t pry. For stubborn beds, switch to an oscillating multi-tool with a carbide scraper to undercut adhesive.
Control dust with a Type H vacuum and wear FFP3 protection, per UK practice. Stop if you expose hollow spots or hairline cracks; reassess before choosing your new tile design and final colour coordination.
Repair the Bond Beam and Prep for Pool Tile Replacement
Once you’ve stripped off the old tile and set line, you’ll need to repair the bond beam so the new tile beds onto a flat, sound, watertight substrate. Start with Bond beam inspection: chase loose render, tap for hollow areas, and check for laitance, rust staining, or exposed rebar along the perimeter.
For Crack repair, widen hairlines to a V-groove with a grinder, vacuum dust, then inject low-viscosity epoxy for structural cracks or use a polymer-modified repair mortar for non-structural shrinkage. Treat any corroded steel with a UK-approved passivating primer.
Re-profile the beam with a cementitious fairing coat, keeping falls away from the pool edge. Finally, rinse, allow to dry, and wipe with acetone so adhesive bonds properly.
Set New Pool Tile Straight (Spacing, Level, Cure Time)
Before you spread any adhesive, set out a straight reference line around the pool and dry-lay a few tiles to lock in joint spacing and level. Use a laser or chalk line on the bond beam, then mark datum points every 500mm to control drift. Aim for consistent 2–3mm joints; use rigid spacers rather than wedges so the course doesn’t creep. Check level tile-to-tile and along the run with a 600mm spirit level, correcting immediately. Apply Tile adhesive with a 6–8mm notched trowel, keying it into the substrate, then back-butter glass mosaics. Keep Color coordination accurate by mixing tiles from multiple boxes. Protect from rain and frost; allow 24–48 hours cure, longer in cold UK weather.
Grout, Seal, Refill, and Start Up the Pool Safely
Although the adhesive may feel firm after a day, you need to grout, seal, refill, and restart the pool in a controlled sequence so you don’t trap moisture behind the new tile or destabilise the waterline. Wait the full cure time stated on the bag, then pack joints with a polymer‑modified, waterproof grout. Choose your Grout color to match existing bands; darker tones hide scale but show efflorescence less. Tool joints tight, wipe diagonally with a damp sponge, and keep rinsing water clean. After grout cures, apply the correct Sealant type: use a penetrating sealer for cementitious grout, or skip if you’ve used epoxy. Refill slowly, stopping below the tile line for 24 hours, then top up. Balance pH, alkalinity, and calcium before running filtration.
Frequently Asked Questions
What Pool Tile Is Best for Saltwater Pools?
For saltwater pools, you’ll get best results with vitreous glass mosaic or dense porcelain tiles, as they resist salt corrosion. You’ll simplify pool cleaning and tile maintenance by choosing low-porosity, frost-rated, UK-compliant adhesives.
How Do I Match New Tile to Existing Pool Tile Color?
Sunlight can shift perceived colour by up to 30%, so you’ll match best by sampling. For colour matching, take a wet tile to a UK supplier, compare under daylight, and confirm tile selection by batch, glaze, grout.
Can I Replace Pool Tile Without Removing the Waterline Calcium Buildup?
You can’t reliably replace pool tile without removing waterline calcium buildup; it prevents proper bonding. You should do tile cleaning first, then prep, set, and finish with compatible pool grout, meeting UK materials specifications for adhesion.
What Is the Ideal Water Chemistry After Tile Replacement to Prevent Staining?
You’ll prevent staining by maintaining pH 7.2–7.6, alkalinity 80–120 ppm, calcium hardness 200–400 ppm, and chlorine 1–3 ppm. Prioritise Chemical balancing, stable LSI near zero, and routine Pool cleaning; minimise metals.
How Long Should I Wait Before Turning on the Pool Heater After Retiling?
Wait at least 72 hours—rushing it’s begging for bond failure. For pool safety, keep circulation running, then ramp heater slowly. Confirm grout/thinset cure per datasheet, stabilise pH/alkalinity, and prioritise tile maintenance inspections.
Conclusion
Nearly 1 in 5 UK pool owners delays minor tile repairs until water loss or rust staining appears, and that’s when costs jump. If you’ve stripped, prepped, set, and grouted correctly, you’ve protected the bond beam and kept the waterline watertight. Let the adhesive and grout hit full cure before refilling, then balance pH, alkalinity, and calcium to stop efflorescence. Start circulation slowly, inspect the tile line, and you’ll avoid early debonding.