
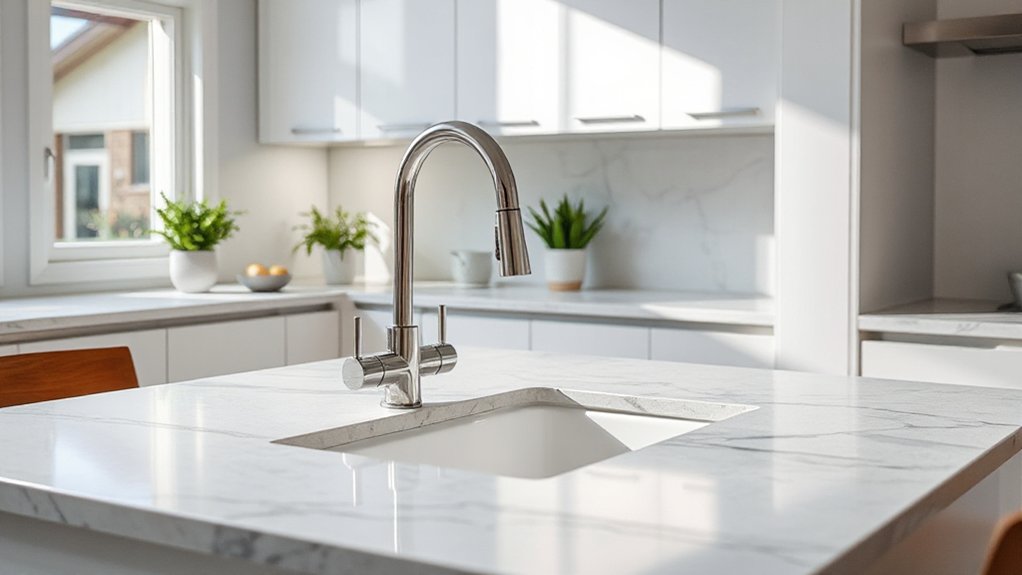
Upgrading your kitchen with new worktops starts with accurate measurements. Measure all surfaces twice, including walls, cabinets, overhangs, and appliances, then mark every dimension clearly. Choose materials suited to your use and budget—granite for durability, quartz for low maintenance, or solid surface for easy repair. Pick edge profiles that fit your workflow and plan seams for strength and aesthetics. Consider installation method, protect surfaces during work, and budget for hidden costs. You’ll soon uncover a cohesive, refreshed space—and more tips await.
Measure Accurately for Your New Countertops
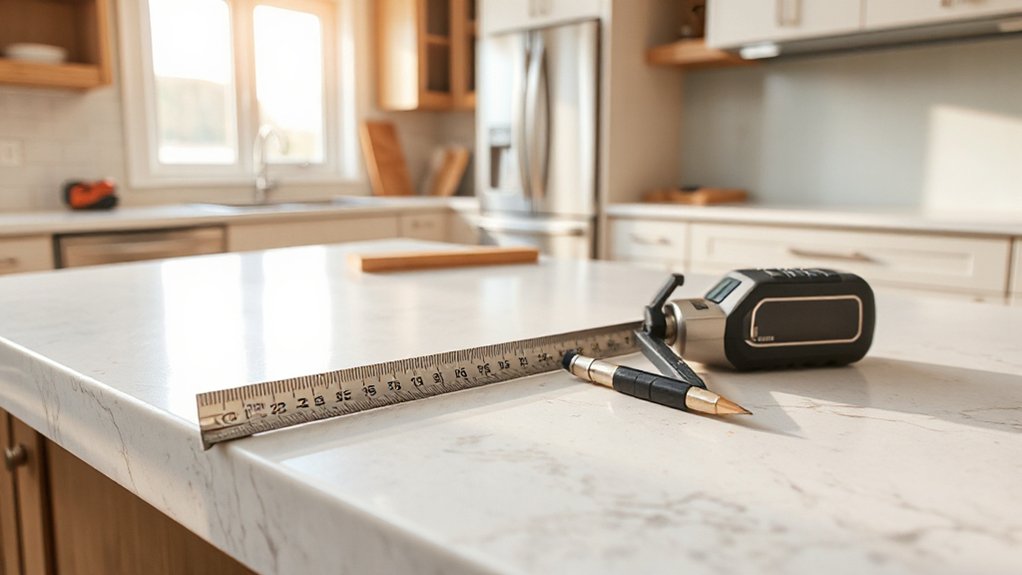
To make certain a perfect fit, measure twice and cut once. You start by outlining the entire workspace: note wall, base cabinet, and any overhangs. Use a rigid tape measure, not a flexible one, to record exact lengths along the front and sides, and measure in multiple spots at each point to catch any irregularities.
Mark all dimensions clearly on a simple plan, then double-check for consistency. Don’t forget to account for backsplash, faucet clearances, and corner returns so your new countertop sits properly.
Record depth, height, and any changeover to appliances. This careful prep supports countertop durability and reduces surprises during installation.
Maintain the plan, commit to precise measurements, and consider material maintenance implications as you choose edges and profiles.
Understand Countertop Materials: Pros, Cons, and Costs
When choosing countertops, weigh materials by durability, maintenance, and cost to match your kitchen’s use and your budget. You’ll consider granite for longevity and heat resistance, quartz for low maintenance, and solid surface for seamless repair options.
Pros and cons exist: laminate is affordable but less durable; concrete offers customization but can crack; butcher block brings warmth but needs oiling and care.
Costs vary widely by material, edge profiles, and installation complexity, so plan for long-term value rather than upfront savings.
Focus on countertop durability to guide your pick, and weigh material maintenance against your time and upkeep tolerance.
In kitchens you live in daily, choose a surface that supports workflow and invites sharing. This awareness helps you belong in a space you trust.
Choose a Countertop Color and Finish That Matches Your Cabinets
Pairing countertop color and finish with your cabinets sets the overall mood and flow of the space, so start by identifying the cabinet tone you already love—warm wood, cool gray, or bold painted—then pick a countertop that complements rather than clashes.
Color coordination matters because your countertop should echo or gently contrast tones found in cabinetry and hardware.
For finish options, choose a surface that suits daily use and maintenance: matte hides fingerprints, while honed textures disguise minor flaws.
If your cabinets are light, consider a medium or darker countertop to create depth; if they’re dark, a lighter surface brightens the room.
Balance patterns and solid colors, and confirm your choice under natural and artificial light for lasting harmony.
Pick Edge Profiles That Fit Your Kitchen Workflow
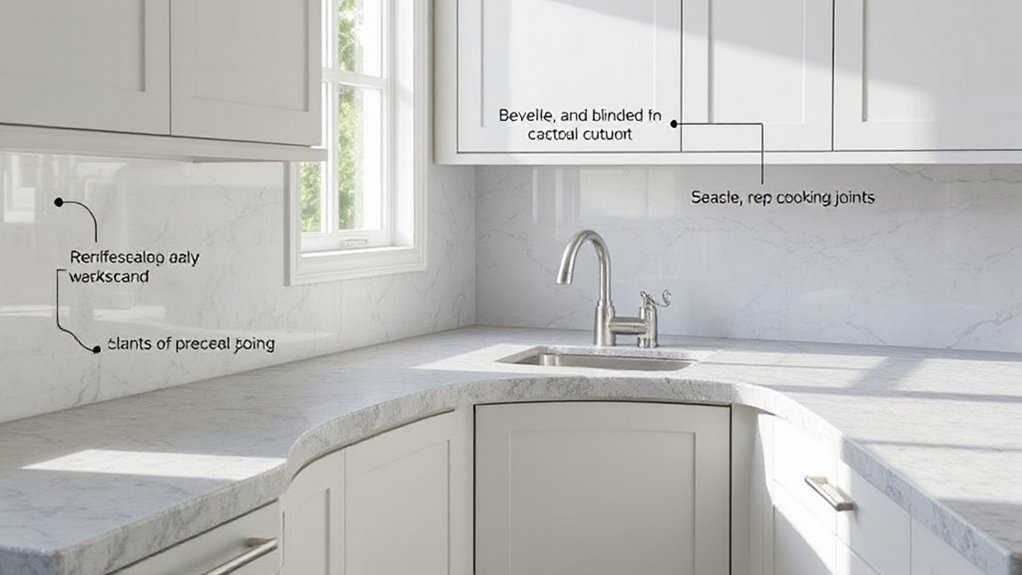
Edge profiles should align with how you work at the counter and who uses the space daily. Consider edge style compatibility with your prep flow, cleanup needs, and whether you’ll need to integrate with splash zones or seating areas.
Start by matching profiles to your workflow and the materials you’ve chosen, so shears, knives, and spills don’t slow you down.
Edge Style Compatibility
Choosing edge profiles that fit your kitchen workflow is essential for both functionality and maintenance. When you select edge style, prioritize how you actually use counters—prep, meals, and cleanup.
Check material compatibility with your chosen countertop, cabinet, and backsplash to avoid showy seams or gaps. Think about grip, ease of wiping, and whether you’ll encounter heavy impacts or moisture.
Narrow your options to profiles that complement your space rather than overwhelm it, and confirm smooth corners for safety. With the right edge style, you’ll reinforce a sense of belonging through cohesive design.
- Edge style that matches your workflow improves daily use
- Verify material compatibility to prevent mismatches
- Prioritize easy-clean profiles for busy kitchens
- Align edge choices with overall design and budget
Workflow Material Fit
To fit your workflow, pick edge profiles that align with how you actually use prep, cook, and clean up. Start by mapping tasks to edge profiles that minimize steps and miscuts, so progressions between prep zones feel seamless.
Consider edge shapes that reduce countertop resistance during heavy chopping or rolling dough, helping you stay efficient. Match profiles to your workflow’s rhythm: quick wipe-down corners for cleanup, and sturdy edges near the sink for splashes.
Think about kitchen lighting and appliance integration as you outline zones: bright work areas reduce errors, while seamless edges near built-in appliances simplify maintenance. Choose profiles that ease maintenance and minimize knife-nick risks.
Involve family members in decisions to foster belonging, ensuring everyone benefits from the enhanced, coordinated workflow.
Plan Seams: Where to Place Joints for Strength and Aesthetics
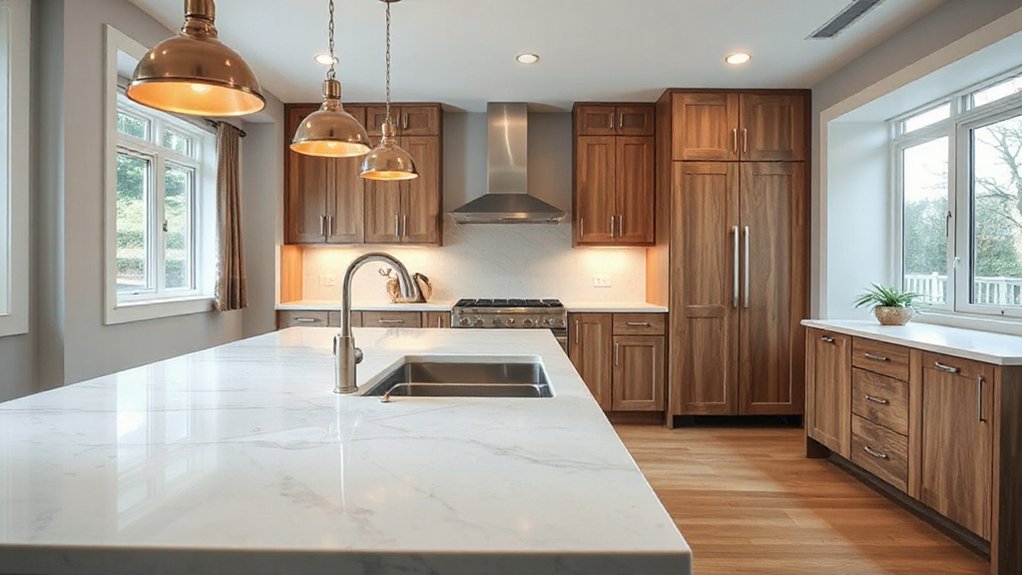
Plan seams thoughtfully to balance strength and look. You’ll optimize seam placement to maintain structural integrity while keeping the kitchen visually seamless. Think about how seam lines affect aesthetic flow and your daily use.
Favor straight, long runs where possible, and align joints with existing edges for a cohesive feel. Use tight tolerances and quality adhesive to reduce gaps and misalignment. Consider edge detail and finish so seams disappear under light and activity.
Plan for accessibility around corners and high-traffic zones, avoiding clutter at joints. Remember, a well-placed seam can enhance durability and perceived value without breaking the design.
- Seam placement guides eye flow toward focal points
- Align seams with cabinet or edge lines for cohesion
- Use consistent thickness and tolerances for tight joins
- Consider panel orientation to support aesthetic flow
Plan for Sinks and Cooktops: Integration and Cutouts
When planning sinks and cooktops, map out cutouts and placements to guarantee functionality and a clean look. Start by confirming cabinet widths, appliance sizes, and clearance for doors and drawers.
Prioritize sink integration with nearby utilities—water lines, drainage, and ventilation—so installation is seamless and serviceable. For cooktops, align cooktop cutouts with countertop seams and support, ensuring even edge exposure and wipeable margins.
Consider grout lines and edge profiles that reduce snagging and make cleaning easier. Leave robust reinforcement under heavy appliances and plan for future access panels.
Label each cutout, noting exact dimensions and mounting depths to avoid rework. Visualize daily use and accessibility, then refine positions to balance workflow, aesthetics, and safe clearance around hot surfaces.
Budget Ranges for Common Countertop Materials
Choosing countertop material comes next after you’ve mapped out sinks and cooktops, and your budget will shape those options. You’ll find solid numbers don’t lie, so plan around typical ranges and how they impact total costs.
Remember two key ideas: countertop durability and material sustainability. Lower-cost options can satisfy daily use, while mid-range materials offer better heat resistance and longevity. High-end finishes deliver top-tier durability and long-term value, but require careful budgeting.
If you’re prioritizing eco-conscious choices, look for certified sustainable sources and long-lasting surfaces that reduce replacement cycles. Your decision should balance upfront price with lifecycle performance, so you feel confident and connected to the kitchen you’ll enjoy daily.
- Cost tiers by material type and long-term value
- Durability expectations for daily use
- Sustainability credentials and certifications
- Installation, maintenance, and resale impact
Compare DIY vs. Pro Installation Options
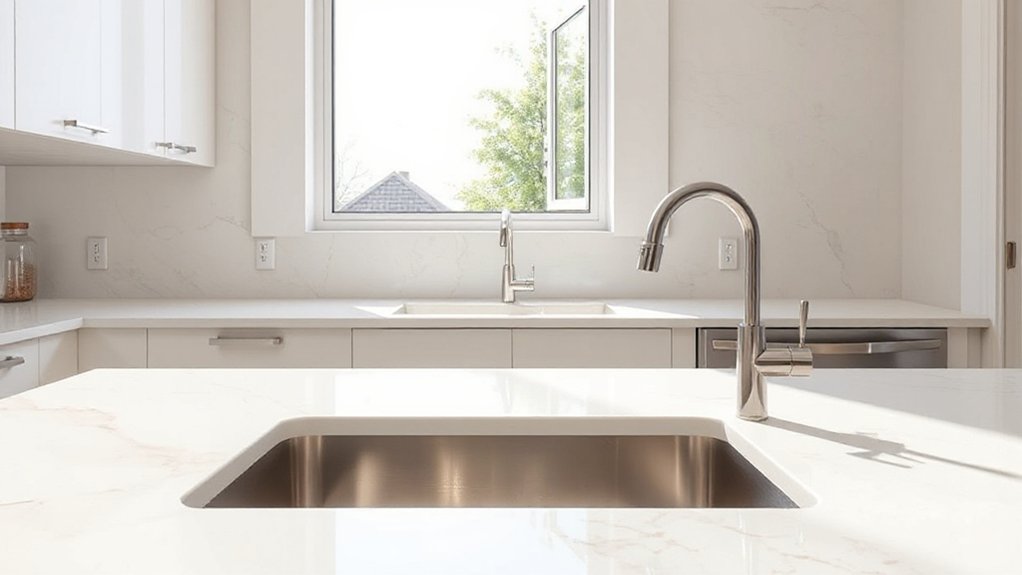
You’ll save time and reduce risk by choosing the right route for your project. DIY or pro installation each has merits, so pick the path that fits your timeline, budget, and expectations.
DIY gives you hands-on control, lower upfront costs, and the satisfaction of a personalized finish, but it demands accuracy, patience, and a steady hand for measuring and cutting.
Pro installation offers professional-grade precision, faster completion, and warranties that cover workmanship, which diminishes long-term risk.
When weighing options, consider color coordination and material durability as guiding criteria; pros can match subtle tones and edge profiles, while DIY shoppers can scrutinize samples more closely.
Balance cost with confidence to ensure a seamless, lasting kitchen refresh you’ll enjoy with ease.
Tools and Prep You’ll Need Before Installation
Before you start, gather the essential tools and prep materials in one place to keep the project flowing smoothly. You’ll set a solid foundation for install success by organizing basics, safety gear, and layout checks. Clear a work zone and confirm appliance placement and lighting plans so you won’t have surprises mid-install.
- Tape measure and straight edge
- Utility knife, non-slip gloves, and eye protection
- Level, square, and ruler for precise cuts
- Pencil, masking tape, and a small pry bar
Keep the focus on practical steps: verify that Kitchen lighting and key electrical clearances are accounted for, and review Appliance placement relative to water lines and outlets.
With the right prep, cuts stay accurate, seams align, and your new worktops look seamless.
Prep the Cabinet Supports and Overhangs for New Tops
With the cabinet supports and overhangs in mind, you’ll verify they’re sturdy and properly aligned to support the new tops. Start by inspecting each cabinet unit for wobble and misalignment, then tighten fasteners without overtightening.
Check that every support bracket sits flush against the frame and that the overhangs match your planned overhang depth for a clean line. If any bracket or stud behind the carcass shows wear, replace it to guarantee solid reinforcement.
Use cabinet reinforcement where needed to restore rigidity, especially under heavy or long spans. Mark any misaligned sections and adjust shims or leveling feet until the tops sit evenly.
Recheck after securing, then proceed to layout your new tops with confidence.
Align With Plumbing and Backsplash Considerations
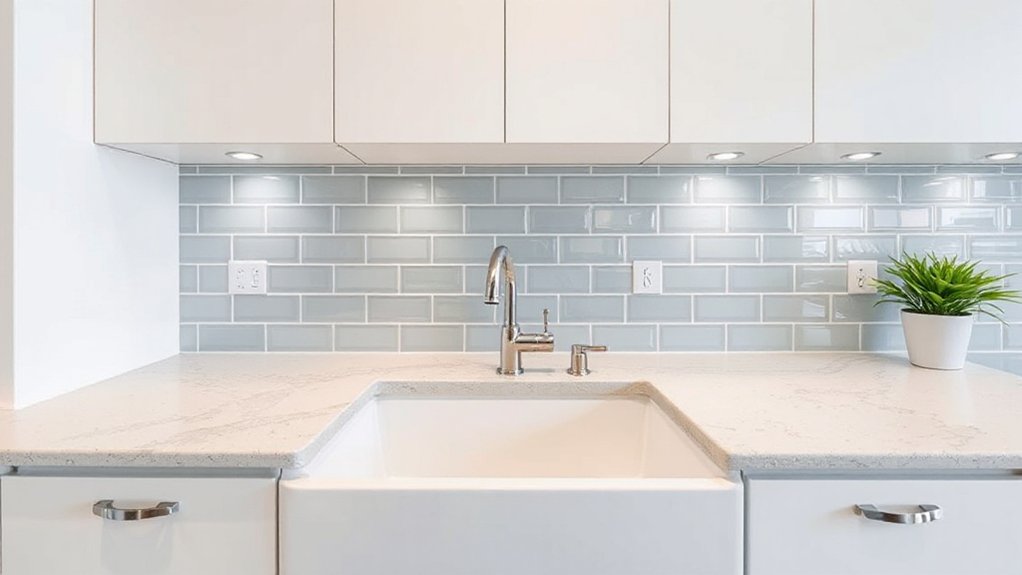
First, confirm the plumbing rough-in location matches your new top’s overhang and backsplash layout.
Next, check backsplash clearance and guarantee any outlets, switches, and tile edges won’t clash with the worktop edge.
Finally, verify drainage and seal alignment to prevent leaks and keep the seam clean and watertight.
Align Plumbing Rough-In
As you align the plumbing rough-in, you’ll verify that all supply lines, waste lines, and venting match the planned layout and the new countertop dimensions. You should also consider the backsplash height and any vertical clearances.
- Check nearest shutoff locations and ensure they’re accessible without interfering with your countertop clearance.
- Confirm pipe diameters align with fixtures and avoid sharp bends that could trap debris.
- Verify venting routes won’t conflict with cabinets and backsplash panels.
- Test for leaks before finalizing, then document changes for future plumbing alignment and maintenance.
This approach keeps plumbing alignment clear, precise, and part of a cohesive kitchen refresh.
Backsplash Clearance Check
To guarantee the backsplash sits cleanly against the countertop and any plumbing, measure for clearance between the backsplash panels and the plumbing rough-ins, including outlets or gas lines. You’ll confirm that the chosen backsplash design fits within the available space without hitting pipes, valves, or hardware.
Check clearance height from countertop to the bottom edge of the backsplash, and note any architectural constraints like soffits or cabinets. If you need to trim profiles or adjust spacers, do it before sealing or tiling.
Make certain accessible outlets stay operable and meet code requirements. Document any deviations and select a design that preserves clean lines.
This step keeps installation crisp, helps with future updates, and reinforces a cohesive, belonging-focused kitchen aesthetic.
Drainage and Seal Alignment
How can you guarantee drainage and the seal line up cleanly with both plumbing and the backsplash? You’ll align components before sealing, checking gaps, and adjusting height to maintain Drainage alignment and Seal consistency. Mark reference lines on the wall and countertop, then dry-fit drains and splash edges to confirm clearance.
Use continuous silicone and a flexible sealant that tolerates movement, not gaps. Apply gradual, even pressure while securing clamps, then clean excess promptly to prevent staining. Recheck after a light test run with water to verify no leaks.
Aim for a smooth transition where plumbing, worktop, and backsplash meet, ensuring a tidy, cohesive look.
- Align with plumbing references and measure twice
- Test drainage with water before final seal
- Use compatible sealant for movement
- Reconfirm after final installation and cleaning
Make Sense of Cabinet Overhangs and Support Requirements
Cabinet overhangs aren’t just a detail—they affect how you plan and support your new worktops. You’ll want the overhang to align with legroom, seating, and traffic flow, so measure precisely and note where drawers and doors sit.
Next, assess support requirements: confirm there are solid substrates, gradual shifts, and under-bed brackets or corbels where needed. If cabinets are wall-mounted, verify a continuous frame or integrated support to prevent sagging.
Use manufacturer specs for cantilever limits and consider a 1/2 to 1 inch overhang for clean lines without splash risk.
Plan for plumbing and appliances early, so you don’t compromise stability.
Finally, document all dimensions and share them with your installer to avoid delays.
How to Protect Surfaces During Transport and Handling
You’ll protect surfaces during transport by using padded coverings and secure strapping to prevent shifting. Keep handling precautions in place—lift with a partner, avoid dragging, and use proper lifting aids.
Clear the route first, and mark fragile edges to minimize impact and scuffs.
Transport Surface Protection
When transporting stone, wood, or laminate worktops, protect every surface from scratches and chips with purpose-made coverings and careful handling. You’ll preserve surface durability by using top-layer protectors, moving blankets, and edge guards, and you’ll reduce risk during lifts and pivots.
Plan routes and clear paths, so you avoid sudden bumps that could cause damage. Secure loads with non-slip padding and clamps that don’t mar edges, and inspect pieces for dust or grit before stacking.
Choose coverings that won’t trap moisture or leave residues, supporting material sustainability through reusable options. Communicate handling steps with your team, documenting any compromises to surfaces.
Ready-for-use protection translates to faster installation and lasting performance.
- Use purpose-made coverings and edge guards
- Plan routes and secure loads with non-slip padding
- Choose reusable coverings to support material sustainability
- Inspect and communicate handling steps with your team
Handling Precautions During Move
Protect surfaces during transport and handling by using purpose-made coverings, edge guards, and careful lifting techniques from the start. When moving new worktops, you’re responsible for maintaining the integrity of the Transport surface and preventing scratches or chips.
Plan your route, clear obstacles, and ask for an extra pair of hands if a piece feels awkward. Use strong, fitted pads or moving blankets, and secure pieces with straps so they can’t shift.
Keep corners protected with edge guards during every lift and carry. Maintain a steady pace, avoid twisting, and communicate clearly with your team to coordinate moves.
Handling precautions emphasize controlled movements, proper posture, and timely re-positioning for safe, flawless installation and long-lasting, confident results.
Clean, Seal, and Maintain Each Material Type
To keep each material performing well and looking its best, clean, seal, and maintain them according to their specific needs. You’ll protect countertop durability by following manufacturer guidelines for cleaning, sealing, and periodic reapplication. Choose trusted cleaners that won’t dull finishes, and re-seal porous surfaces on schedule.
When it comes to material sourcing, note that some options need caution with acidic spills and heat exposure, while others tolerate daily wear with minimal care. Regular inspections catch early wear, such as edge chipping or seal gaps, before they worsen.
Keep support cabinets solid and avoid standing water on any surface. With consistent care, you’ll enjoy a cohesive, durable kitchen that feels like it’s yours.
- Clean with purpose, not aggression
- Seal porous surfaces on schedule
- Monitor edges and joints regularly
- Store and care for tools to sustain durability
Design Touches to Refresh With Color and Texture
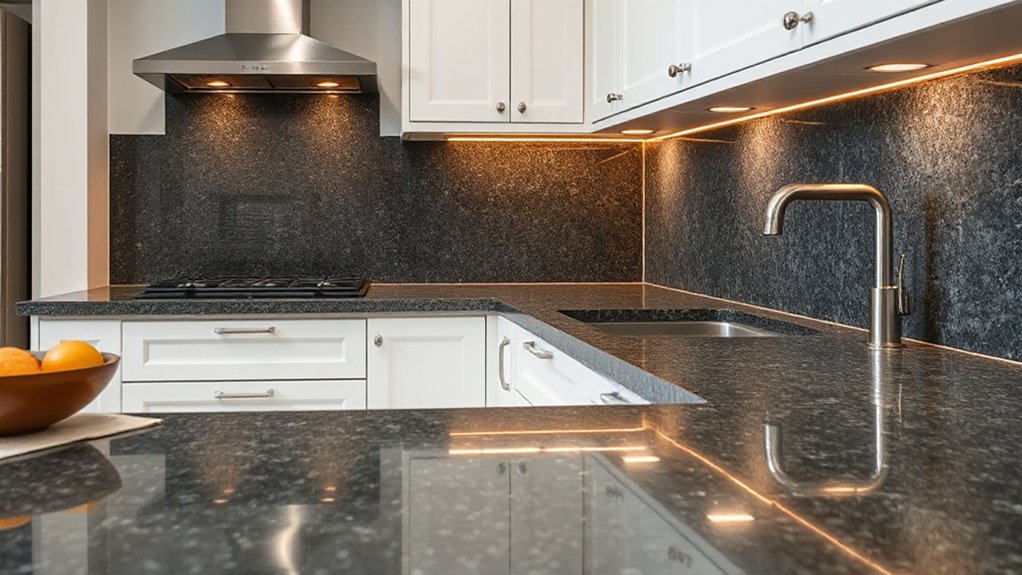
Color harmonies set the tone, so start by pairing your new worktops with complementary or bold accents.
Layer texture through contrasts—think matte, glossy, and tactile finishes—to add depth without clutter.
Use pattern accents sparingly to create focal points that tie color and texture together.
Color Harmonies
Colors pull the look together, so start by choosing a cohesive palette that ties your new worktops to cabinets, walls, and flooring. Your approach should center on color theory and palette coordination, guiding you to deliberate contrasts or harmonies that feel natural in your space.
Think about how light affects tone, and how small swatches translate across surfaces. Keep it practical: anchor your palette with a dominant color, then support with 2–3 accents for depth. Test in daylight, then refine if needed. Your goal is confident, livable harmony that invites you to relax and enjoy the results.
- Establish a dominant base and complementary accents
- Consider lighting impact on true tones
- Use texture as a color carrier
- Build a cohesive flow to neighboring rooms
Texture Layering
Texture layering adds depth quickly: combine surface variety with tactile interest to elevate the refreshed look. You’ll boost your kitchen’s personality by pairing materials with distinct textures—matte versus glossy, smooth timber with grainy stone, or a soft fabric cushion against a cool metal edge.
This approach creates surface contrast that reads as intentional rather than busy, helping your worktops anchor the space while guiding eye movement. Keep it practical: balance high-contrast details with quieter surfaces to avoid visual clash.
Introduce subtle variations in edge profiles, finishes, and warmth levels across zones like prep, dining, and storage. Texture layering is about cohesive contrast that feels natural, not forced, so choose elements you already enjoy.
The result: a confident, welcoming kitchen that belongs to you.
Pattern Accents
Pattern accents are the quick win you can implement without a full redo; they add visual interest by repeating a motif or color in small, deliberate doses. You can use this approach to tie new worktops to existing elements, creating cohesion and a sense of belonging in your kitchen.
Start with decorative motifs drawn from your existing palette—curve lines on a backsplash, speckled flecks on a countertop edge, or a tile pattern echoed in textiles. Keep the scale modest so the room feels intentional, not crowded.
Balance is key; repeat the motif across surfaces to avoid clutter. Pattern accents foster confidence, inviting family and guests to notice thoughtful design choices without overwhelm.
- Choose a unifying decorative motif
- Mirror color hints in hardware and textiles
- Use small-scale repeats for rhythm
- Maintain balance with negative space
Common Mistakes to Avoid When Replacing Countertops
Avoid common slipups that derail a countertop replacement by planning ahead and double-checking the details. You’ll save time and frustration if you measure twice, confirm cabinet clearances, and verify delivery dates before ordering.
Don’t choose a surface without evaluating your daily use—think about heat, cutting, and moisture to ensure Countertop durability. Prioritize materials that suit your lifestyle and climate, and review warranties to understand coverage.
Material sustainability matters too: prefer recyclable offcuts, responsibly sourced slabs, and low-emission processes to keep your project aligned with values of belonging and stewardship.
Budget realistically for edges, backsplashes, and adapters, then lock down color, thickness, and profile.
Clear communication with installers reduces misinterpretations and helps everyone stay aligned through finish, installation, and a clean, cohesive result.
Seam Placement and Alignment Basics (Practical Planning Tips)
When planning seam placement, you want seams where they’ll be strongest and least visible, not where they’re easiest to hide. You’ll prioritize alignment that supports long joint durability and minimizes potential gaps.
Start by marking a straight run that avoids high-traffic edges and heat sources. Consider the substrate and underneath support to prevent deflection that creates misalignment. Use precise measurements and a dry-fit before adhesive.
Keep seams staggered to reduce alignment hazards and improve seam visibility if they occur. Make certain you’ve got clean, matching edges and a consistent gap for caulk.
Plan a workflow that lets you check position from multiple angles, so the final look feels seamless and intentional.
- Plan for tight, straight runs with minimal edge exposure
- Dry-fit to verify seam visibility and alignment
- Stagger joints for strength and aesthetics
- Confirm substrate support to protect joint durability
How to Budget for Aftermarket Worktops and Hidden Costs
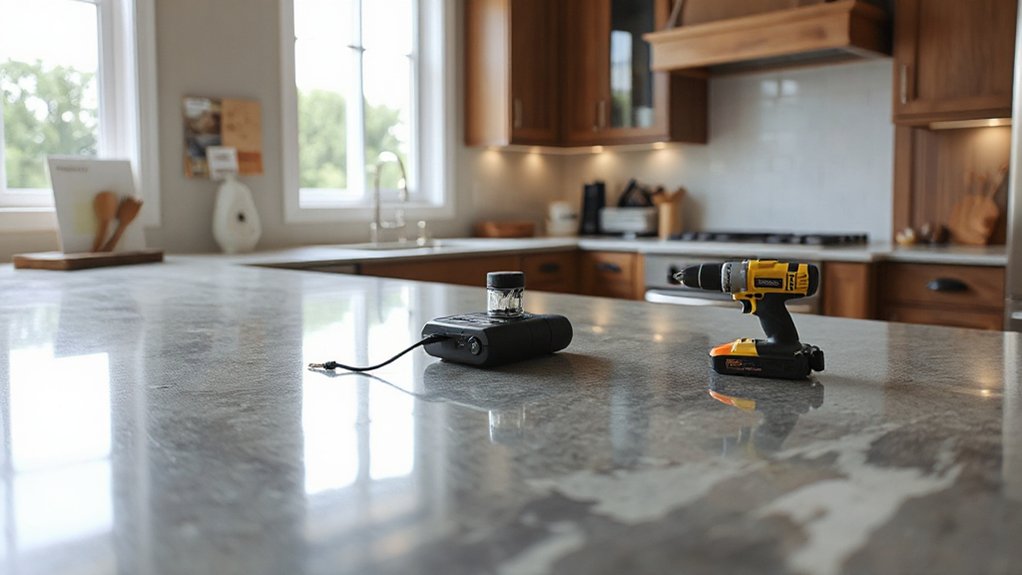
You’ll want a clear budget that covers aftermarket worktops and the hidden costs that pop up during installation. I’ll outline common add-ons, potential labor tweaks, and unexpected fees so you’re never surprised.
Let’s focus on practical cost-saving installation tips that keep quality intact.
Budgeting For Aftermarkets
To budget for aftermarket worktops and hidden costs, start with a clear scope and a realistic price range, then add a contingency for surprises. You’ll gain confidence knowing where you stand before shopping, and you’ll set realistic expectations with everyone at home.
Focus on countertop maintenance and material durability as non-negotiables in your criteria, so you don’t chase trends that underperform.
Plan for delivery, installation, and possible repairs, and document every assumption to avoid later disputes.
Keep a separate line for misc tools, fasteners, and sealants to prevent scope creep. Communication buys certainty—agree on milestones and leverage a simple tracking sheet.
- Define scope, budget bands, and contingency upfront
- Prioritize long-lasting materials and maintenance needs
- Itemize delivery, installation, and ancillary fees
- Maintain transparent updates with all stakeholders
Hidden Costs To Expect
Hidden costs can quietly derail a kitchen refresh, so start with a realistic bottom line and a clear plan for every add-on. You’ll avoid surprise fees by listing all components you’ll need, from edging strips to sealing products, and by double-checking delivery and removal costs.
Expect overhead for professional measuring, if you hire help, and for potential waste or return fees on mismatched materials. Prioritize measurement accuracy; a small error forces reorders or fabricator rework, which adds time and money.
Build a contingency of 10–15% for unexpected tweaks. Keep documentation organized so everyone sticks to the same scope.
With precise budgeting and transparent expectations, you’ll feel a stronger sense of belonging in the project, confident you’re steering costs, not chasing them.
Cost-Saving Installation Tips
Getting a handle on costs after choosing new worktops starts with smart budgeting and practical planning. You’ll save by knowing historical trends and weighing material durability against price, so you invest where it matters most.
Prioritize a clear install scope, request itemized quotes, and set aside a small contingency for hidden costs.
Opt for standard sizes to minimize fabricator waste, and consider DIY-friendly installation where feasible.
- Compare quotes across installers and ask about waste disposal fees
- Choose durable, cost-effective materials with proven longevity
- Plan for seamless passages with existing cabinets and sinks
- Budget a modest contingency tied to potential delays or revisions
Next Steps: Turning Your Countertop Refresh Into a Cohesive Kitchen Update
If you’ve refreshed your countertops, you’re ready to tie the look together with cohesive updates throughout the kitchen. To begin, map a simple color plan that repeats your countertop tones in cabinetry, hardware, and backsplashes. Choose finishes that echo the same metal or sheen for a unified feel, and keep patterns minimal to avoid visual clutter.
Prioritize functional zones: storage, prep, and cleansing areas should flow together, not compete. Consider eco-friendly options for textiles, lighting, and seals to reinforce sustainability without sacrificing style.
When you select accents, nod to historical styles in a restrained way—think proportion, symmetry, and timeless silhouettes. Finally, involve everyone in small decisions to foster belonging, ensuring the result feels like a collaborated, welcoming space rather than a staged makeover.
Frequently Asked Questions
How Long Does Countertop Installation Typically Take?
Installing typically takes 1–3 days, depending on scope and material, and you’ll want a precise schedule. You’ll weigh material durability and cost comparison, ensuring you feel confident, supported, and included in decisions about timing and quality.
Can I Retrofit New Tops Onto Existing Cabinets?
Yes, you can retrofit new tops onto existing cabinets if you check cabinet compatibility and guarantee measurement accuracy. You’ll align overhangs, confirm plinth clearance, and double-check for hidden fasteners, reinforcing joints as needed to feel confident and included.
Do Dark Countertops Show Scratches More Easily?
Yes, dark countertops can reveal scratches more easily, but you boost Countertop durability with proper sealing and maintenance. Choose colors with Color consistency, clean regularly, and round edges to minimize visible wear while you feel confident at home.
What Prep Work Earns the Best Installation Results?
Start with precise measurements and clean surfaces; install level, secure cabinet upgrades first, then fit countertops. Prep thoroughly, seal edges, and protect finishes. This approach supports cohesive Kitchen décor and cabinet upgrades, helping you feel confident, included, and accomplished.
Are Sink and Faucet Changes Included in Installation?
Did you know 60% of homeowners save time with bundled plumbing installs? Yes—sink replacement and faucet installation are typically included in a full kitchen install, but confirm scope and guarantees with your contractor before work begins.
Conclusion
A countertop refresh may look simple on a sunny afternoon, yet its precision hides behind clamped edges and dusty saws. You’re choosing colors that clash with last decade’s cabinets while aiming for seamless seams that whisper “new.” It’s practical, not glamorous: accurate measurements vs. costly mistakes, sturdy materials vs. fragile pride. When done right, you gain a kitchen that’s refreshed and reliable; when rushed, you squander time, money, and the quiet confidence a well-planned upgrade brings.