
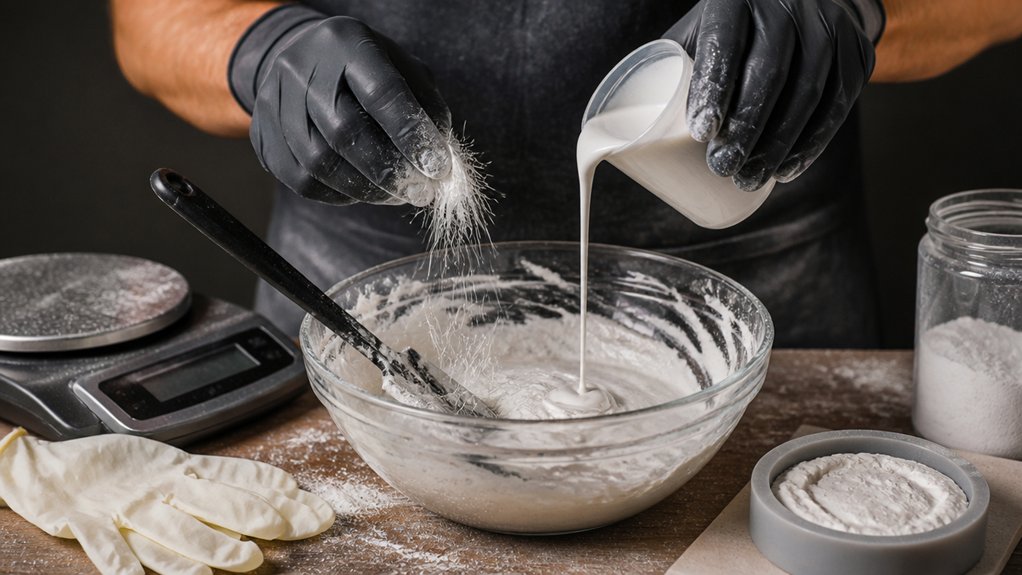
Why Plaster of Paris Cracks and Crumbles
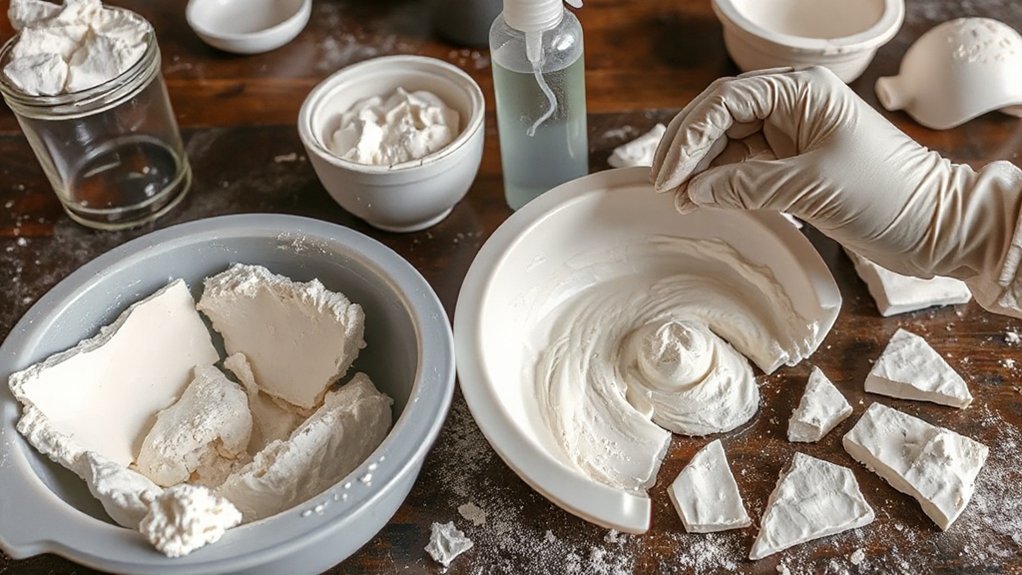
Why does Plaster of Paris so often crack or crumble after it sets? You’ll usually find the cause in rapid moisture loss, weak substrate bonding, or poor curing conditions. As it hydrates, gypsum crystals interlock; if you expose the work to draughts, high heat, or low humidity, surface water evaporates too fast and shrinkage stresses form microcracks. If you apply plaster onto dusty masonry, glossy paint, or damp, salt-contaminated walls common in older UK housing, adhesion drops and the set becomes friable. Thickness also matters: heavy, unsupported fills slump and craze. Historical applications used laths and multiple coats to manage movement. Consider Environmental impact: cracked work means re-mixing, waste, and avoidable transport.
Use the Best Water-to-Plaster Ratio
To strengthen Plaster of Paris, you’ve got to control the water-to-plaster ratio with precision, not guesswork. Measure your water accurately (use a graduated jug or digital scales) before adding powder, and keep the mix consistent batch to batch. Don’t overwater it, because excess water increases porosity and leaves you with a weaker, more crumbly set.
Measure Water Precisely
Accurate measuring starts with the water, because even small deviations in the water-to-plaster ratio can weaken set strength and increase porosity. You should measure water by volume or mass using consistent measuring tools, not guesswork. A graduated jug marked in millilitres or a digital scale works well on UK sites.
Control Water temperature before you measure: keep it stable, ideally around 20°C, so viscosity and dissolution behaviour remain predictable. Use the same bucket each time, fill to your target mark, then double-check at eye level to avoid parallax error. If you’re scaling batches, record the exact litres per kilogram you’re using and repeat it. Finally, allow the water to settle after filling so you’re measuring the true level, not a sloshed surface.
Avoid Overwatering Mix
Even if you’ve measured carefully, you’ll weaken Plaster of Paris if you add extra water “to make it easier to work”. That dilution increases capillary voids as it cures, so the set becomes chalkier, more porous, and easier to chip. You’ll also slow the set and risk segregation, where heavy solids sink and a watery layer rises.
To avoid overwatering pitfalls, keep to the manufacturer’s ratio (typically about 2 parts plaster to 1 part water by volume). Put clean, cool water in a bucket first, then sift plaster in until islands stop disappearing. Let it soak for 1–2 minutes, then mix gently to a smooth, lump-free mixing consistency. If it feels stiff, remix—don’t top up water.
Mix Plaster of Paris to Reduce Bubbles
To cut air entrapment and boost final strength, you’ll want to mix Plaster of Paris with cold water, as warmer water encourages faster set and traps bubbles. Add the powder to the water and stir gently with a clean paddle at a low speed so you don’t whip air into the mix. Let it stand briefly to wet out fully, then give it one last slow stir before you pour.
Use Cold Water Mixing
Although it’s tempting to speed things up with warm water, you’ll get a stronger, cleaner cast by mixing Plaster of Paris with cold water because it slows the set and helps trapped air escape before the paste stiffens. For cold water mixing, aim for 10–15°C; use chilled tap water in summer and let it stand in winter to avoid icy shock. Maintain temperature control by pre-cooling your mixing bowl and measuring jug, then keep the batch out of direct sun or near radiators. Add plaster to water, not water to plaster, so it wets evenly and reduces dry pockets that trap air. If you’re casting large sections, split into smaller batches so the temperature stays stable. Consistent cool mixing gives denser, tougher plaster.
Gentle Stirring Techniques
Once the plaster has soaked and started to wet out, stir it gently rather than whipping it. Use a slow figure‑of‑eight with a clean paddle to minimise air entrainment, keeping the blade submerged. Scrape the bucket wall and base to break up dry pockets without churning. Pause 10–15 seconds, then repeat; this lets bubbles rise before the mix thickens.
For tools selection, choose a flexible rubber spatula for small batches or a low‑rpm drill with a paddle for larger work; avoid high‑speed mixers. If you’re doing Color mixing, pre-disperse pigment in the gauging water, then fold it in during the final strokes so you don’t over-agitate. Finish by tapping the bucket on the bench to release remaining bubbles.
Choose Additives That Strengthen Plaster of Paris
Because neat Plaster of Paris cures to a relatively brittle matrix, you’ll get tougher, less crack-prone casts by selecting additives that either reinforce the set gypsum or control porosity and water demand. Start with Eco friendly additives such as fine limestone (whiting) or metakaolin; they pack voids, reduce capillary pores, and improve surface hardness without increasing water. Use a small dose of PVA or acrylic emulsion (typically 2–5% by mass of gauging water) to boost cohesion and abrasion resistance. For higher performance, choose Chemical strengthening agents like potassium sulphate to accelerate set and refine crystal growth, or citric acid to retard while maintaining workability at lower water ratios. Always pre-dissolve soluble additives, weigh accurately, and run a small trial batch before committing.
Add Fibers to Reinforce Plaster of Paris
To reinforce Plaster of Paris, you’ll add fibres that control cracking and increase impact resistance, so choose a type that suits the job (for example, glass, polypropylene, or natural fibres). You must match fibre length and dosage to your mix so you don’t compromise workability or create weak planes. Disperse fibres evenly by dry-blending them into the powder first, then mix with clean water to prevent clumping and maintain consistent strength.
Choosing Fiber Types
While Plaster of Paris sets quickly, it stays relatively brittle unless you reinforce it with fibres that match your job’s strength and finish requirements. Start by selecting fibre types suited to your application and compatible reinforcement materials. For thin casts, mouldings, and fine detail, choose alkali-resistant glass fibre or chopped strands; they add tensile strength with minimal print-through. For general patching and repairs on lath, hessian scrim or polypropylene fibres help control shrinkage cracking and improve impact resistance. For lightweight fills and insulation-backed forms, consider cellulose or paper fibres, but expect a softer edge and more sanding. Avoid steel fibres for decorative work; they can rust and stain. Always check UK datasheets for dosage limits and fire performance ratings.
Proper Fiber Mixing
Once you’ve chosen the right fibre, mix it in a controlled way so you get reinforcement without clumps, weak spots, or visible “print-through”. Pre-measure fibres by weight (typically 0.5–2% of plaster) and separate bundles by hand. Dry-blend the fibres into the powder first to distribute evenly, especially with chopped glass, polypropylene, or cellulose; this suits most Fiber types.
Add clean water to the bucket, then sift in the fibre-plaster blend. Let it soak (about 2 minutes), then mix with a paddle at low speed to avoid entraining air. Scrape the sides, then mix briefly again. If you’re using longer fibres (hemp/jute), reduce length or increase mixing time slightly. These Reinforcement techniques improve tensile strength and reduce cracking.
Use Mesh or Wire to Prevent Cracks
If you’re casting Plaster of Paris in anything other than a thin, non-loadbearing layer, embed a reinforcing mesh or galvanised wire to control shrinkage cracking and improve impact resistance. Choose alkali-resistant fibreglass mesh for flat panels, or 1–2 mm galvanised wire for moulded edges and corners. Cut to size first, then dry-fit so it sits centrally with at least 10 mm cover to every face to prevent print-through and rust staining. For mesh application, press the mesh into freshly placed plaster, then work plaster through the apertures so it fully keys around the strands. For wire reinforcement, tie intersections with soft tie wire and avoid sharp ends that can telegraph. Keep the reinforcement continuous across stress points and around openings.
Build Thickness With Thin Plaster Layers
Because Plaster of Paris heats up and shrinks as it sets, you’ll get a stronger, cleaner build by laminating it in several thin coats rather than pouring one thick mass. Mix to a creamy, pourable consistency and spread a 3–5 mm coat with a trowel or spatula, pushing it into corners and around any mesh.
Let the first coat firm up to a leather-hard feel, then key it with a comb or coarse paper so the next layer grips. Apply successive coats at right angles to the previous pass; these layering techniques reduce internal stress and help you control wall thickness accurately. Vary pressure to manage surface textures: feather edges for neat joins, or stipple lightly for a keyed finish before detailing.
Cure Plaster of Paris Longer for Hardness
Thin coats give you a sound build, but you’ll only get maximum hardness by extending the cure after the plaster has set. Keep the piece undisturbed and supported so the matrix can finish crystallising without micro-cracks. Allow at least 24 hours before handling lightly; for structural strength, aim for 3–7 days depending on thickness and ambient conditions in UK homes. Use consistent Curing techniques: maintain airflow, avoid draughts that chill the surface, and don’t force-dry with a heater. Apply temperature control by holding the room at roughly 18–22°C; colder slows hydration, while excessive heat drives off water too quickly and weakens the core. If you need to move it, lift evenly and minimise flex.
Seal Plaster of Paris to Resist Moisture
Once Plaster of Paris has fully cured, seal it to stop moisture wicking into the porous crystal network and softening the surface. Start by de-dusting and drying the piece; any residual damp will reduce adhesion. Apply a primer-sealer or acrylic masonry sealer with a brush for detail work, or a short-pile roller for flats. Use two thin coats rather than one heavy coat, allowing the manufacturer’s recoat time and maintaining good ventilation.
For higher exposure, choose Sealing techniques such as polyurethane varnish, epoxy resin, or a microcrystalline wax topcoat. These create moisture barriers that limit vapour ingress and improve abrasion resistance. Seal all faces and edges, including hidden backs, so moisture can’t track in from uncoated areas.
Mistakes That Make Plaster of Paris Weaker
A good sealer helps, but you can still undermine Plaster of Paris strength if you mix, pour, or cure it poorly. Don’t add extra water “to make it flow”; you’ll raise porosity and cut compressive strength. Don’t guess ratios—measure by mass, and sieve lumps so you don’t trap voids. Mix gently; over-whisking drags in air, weakening casts and moulds.
Don’t pour into dusty, damp, or unprimed formwork; contamination disrupts crystal growth. Avoid thick single pours in Common applications like coving repairs; exotherm and shrinkage can crack the core. Don’t demould early or force-dry on a radiator; rapid moisture loss causes friable surfaces. Respect Historical uses: let it cure cool, still, and ventilated for 24–48 hours.
Frequently Asked Questions
What’s the Difference Between Plaster of Paris and Gypsum Cement for Strength?
Gypsum cement’s stronger than plaster of Paris because you get a denser, lower-porosity set with higher compressive strength. For Material comparison and Strength enhancement, choose gypsum cement for structural moulds; use plaster for fine casting detail.
Can I Paint Plaster of Paris Directly Without Priming It First?
You can, but you shouldn’t; unprimed plaster absorbs binder, reducing paint adhesion and causing patchiness. Use priming techniques: mist coat with watered emulsion or acrylic sealer, then apply two finish coats once fully cured.
How Do I Safely Sand Plaster of Paris Without Creating Hazardous Dust?
Like taming a fog, you’ll minimise plaster dust by using wet dust control: mist lightly, sand gently with fine abrasive sanding techniques, and vacuum with a HEPA-rated extractor. Wear FFP3 mask, goggles, ventilate.
What’s the Best Way to Store Plaster of Paris to Prevent Clumping?
Store plaster of paris in an airtight container with a gasketed lid, off the floor, in a cool cupboard. You’ll maintain humidity control using silica gel and promptly reseal after scooping; don’t decant.
Is Plaster of Paris Safe for Food-Contact Molds or Casting Utensils?
Plaster of Paris isn’t food-safe for direct contact; you shouldn’t cast utensils or reusable moulds without sealing. Use a certified food-grade coating to improve food safety and mould durability, and avoid heat, acids.
Conclusion
If you’d like your plaster of Paris to crumble like a bargain biscuit, keep eyeballing the mix, whipping in air, pouring one heroic thick lump, and calling it “done” at 20 minutes. Otherwise, weigh your water-to-plaster ratio, mix gently to cut bubbles, and use sensible additives or fibres. Build strength in thin layers, then let it cure properly. Finally, seal it against British damp—because moisture always turns up, uninvited.