
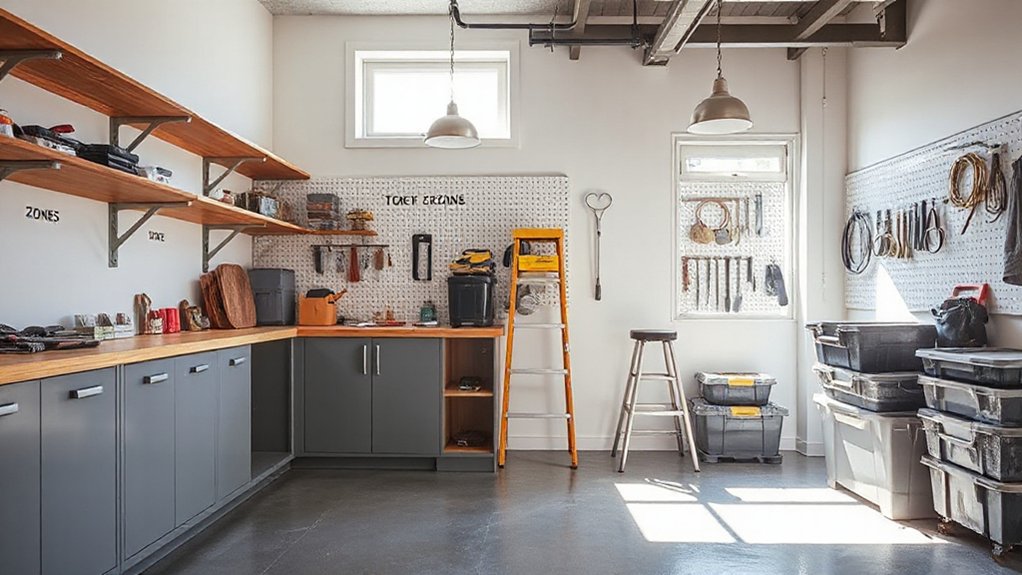
Start with a storage-first plan: define clear goals and success metrics, then map your space to spot chokepoints and high-traffic zones. Create space-by-space plans, prioritize vertical storage with wall systems, and select modular, durable cabinetry for flexibility. Tackle closets with tiered shelves and clearly defined zones, and retrofit unfinished spaces for targeted storage. Establish ongoing maintenance routines to stay tidy. If you keep going, you’ll uncover even more actionable, field-tested steps to optimize every room.
Define Storage Goals and Success Metrics
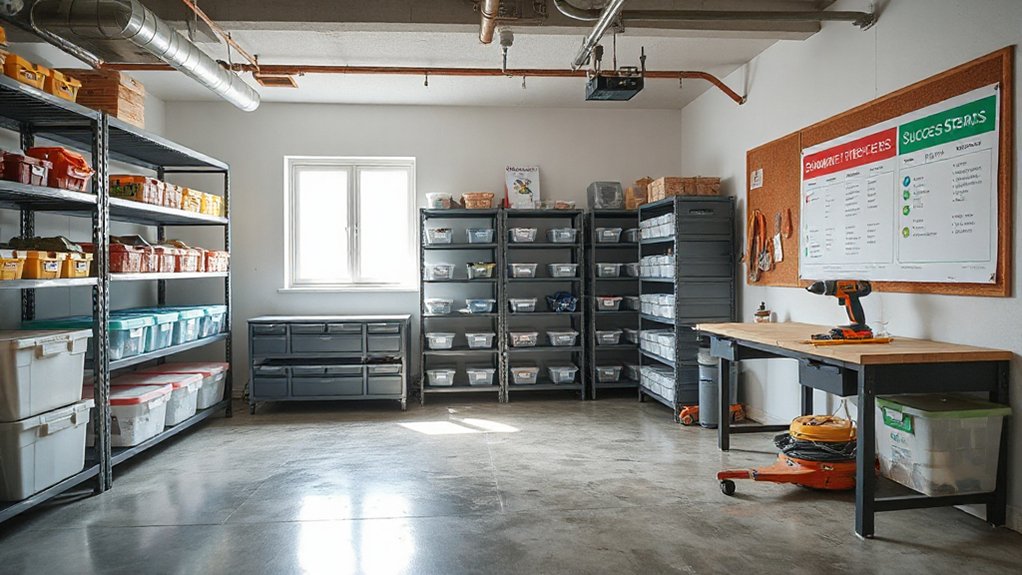
Setting clear storage goals upfront focuses your renovation on what truly matters and guides every design choice. You start by naming concrete outcomes, like twice the usable closet space, a drop zone near entry, and a labeled, scalable pantry.
Next, define measurable success: percent of items easily accessible, time saved per chore, and how often you can locate something without rummaging.
Prioritize Eco friendly materials and durable finishes that align with long-term use and low maintenance.
Establish criteria for aesthetic considerations so the space feels cohesive with the rest of your home, not an afterthought.
Assign owners for each goal, set a realistic timeline, and plan interim benchmarks.
With clear metrics, your project stays practical, precise, and truly satisfying.
Map Your Space and Analyze Traffic Flow
Begin by mapping your current layout: sketch the space, note doorways, windows, and fixed features, then mark current storage points. You’ll identify choke points, high-traffic zones, and underused corners to inform smarter placement.
Trace pathways from entry to primary storage hubs, evaluating whether routes feel natural or forced. Consider outdoor landscaping edges that influence accessibility and curb appeal, ensuring exterior access aligns with interior flow for seasonal gear.
Assess lighting across zones: prioritize energy efficient lighting that reduces clutter perception and improves safety along stairs and narrow corridors. Visualize load paths for heavy items, plan for clear floor space, and reserve buffers near doors.
This deliberate mapping builds belonging, guides future tweaks, and sets a calm, organized foundation for better storage.
Create a Space-by-Space Storage Plan
To craft a space-by-space storage plan, start by listing every room and outdoor area you’ll use for storage, then segment each into clear zones: daily-use, seasonal, overflow, and tools. You’ll map flows so access stays simple and predictable, preventing clutter buildup.
Assign each zone a precise function, then draft a room-by-room action list: what moves in, stays, or leaves, with timing. Use color coordination to categorize items by category and by frequency, reinforcing quick retrieval.
Implement creative decoration with light, functional shelving, labeled bins, and stain-resistant containers that feel welcoming, not clinical. Guarantee routines fit your daily rhythm and your family’s rhythms, fostering belonging.
Review quarterly, refining zones, colors, and storage cues until the plan stays lean and resilient.
Prioritize Vertical Storage Solutions and Wall Systems
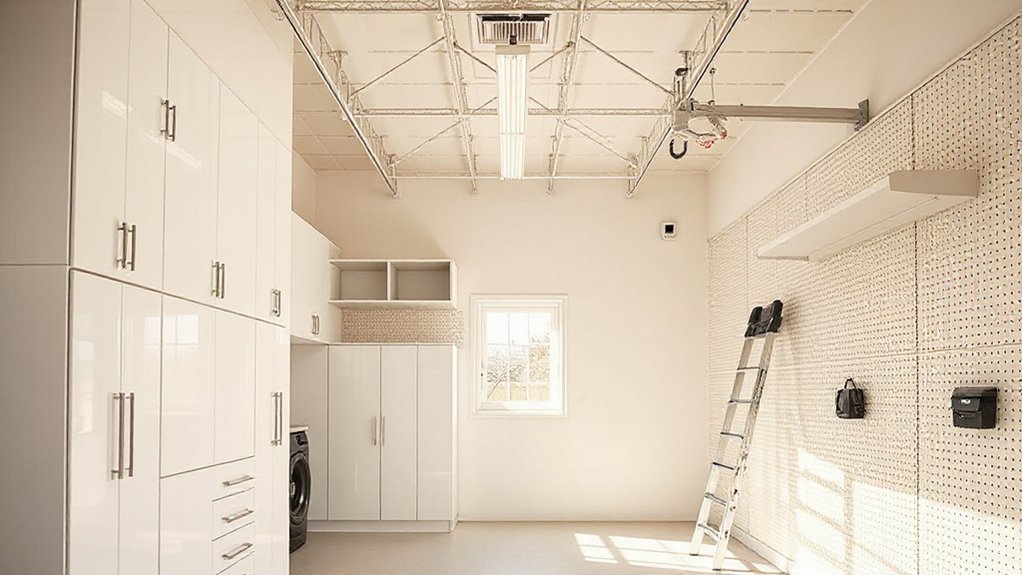
You’ll optimize every inch by prioritizing vertical storage and integrated wall systems.
Align shelving, hooks, and panels with your workflow to maximize capacity without expanding footprint.
This approach keeps clutter off floors while simplifying access and maintenance.
Vertical Storage Optimization
Vertical storage isn’t just about stacking boxes higher; it’s about turning wall space into a reliable, accessible system. You tailor shelves, racks, and hooks to your flow, not someone else’s. Prioritize vertical stacking where possible, using adjustable shelving that adapts to changing needs, so you aren’t reworking layouts often.
Optimize ceiling hooks for lightweight, seasonal items, freeing floor space without sacrificing safety. Consider wall-mounted pegboards and slim profile cabinets that don’t intrude on room size. Label zones clearly and keep frequently used items within arm’s reach.
Use consistent depths and standardized brackets to simplify restocking. Build a routine to inspect load limits and reconfigure as you add inventory. This approach creates belonging through predictability, efficiency, and control over your environment.
Wall System Integration
Plan around load requirements, ensuring studs and backing support heavier components. Coordination with drywall installation matters; seal penetrations and keep wiring clear to avoid agile rework later.
Use standardized brackets and fasteners to streamline adjustments as your storage needs evolve. Mount accessories at accessible heights, preserving floor space for mobility and easy maintenance.
Create a unified aesthetic with consistent finishes that feel intentional, not tacked on. This approach reinforces community and belonging by inviting everyone to customize and contribute to a growing, organized environment.
Choose Modular, Adaptable Cabinetry
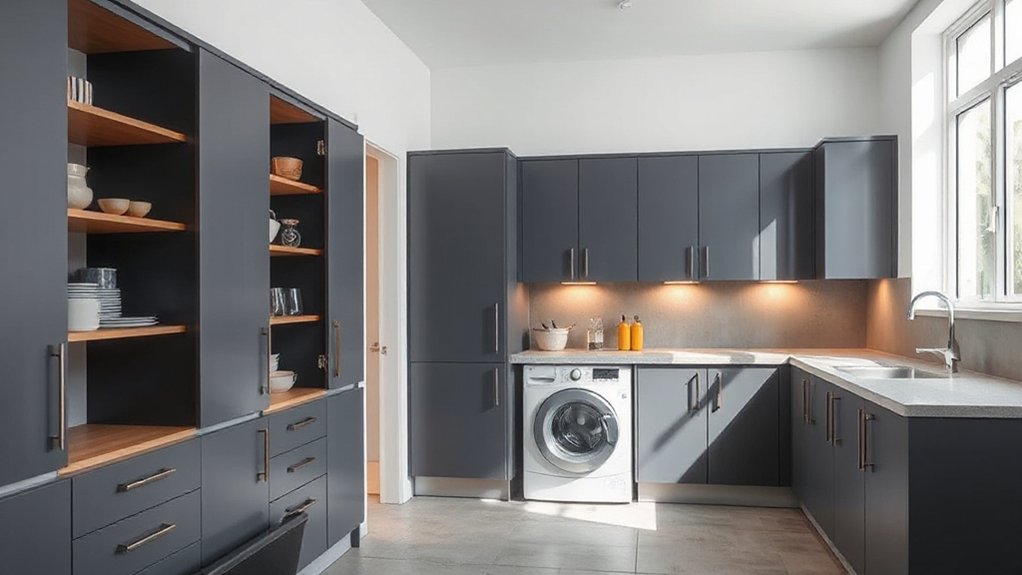
Modular, adaptable cabinetry lets you tailor storage to your space and changing needs. You’ll design components that fit existing dimensions, so you waste less space and spend smarter. Start with adjustable shelves, modular panels, and stackable units you can reconfigure as your collection grows.
Choose sturdy, easy-to-access interiors and leakproof joins that handle seasonal shifts. Prioritize a neutral backbone with adaptable finishes that blend into any decor, so your home feels cohesive rather than contrived.
Integrate vintage accents selectively, letting character punctuate clean lines without overpowering practicality. Prioritize eco-friendly materials that perform beyond appearance, ensuring low emissions and long life.
Finally, plan for ongoing expansion: add drawer fronts, pullouts, or pegboard inserts as needs evolve, maintaining belonging and control.
Optimize Small Rooms With Sliding or Pocket Doors
Sliding or pocket doors can transform tight spaces by reclaiming usable wall area and improving traffic flow. You’ll gain flexible room dimensions without sacrificing storage. Use them where door swings waste space, like bedrooms, closets, or that awkward alcove.
- Choose slim-profile sliding doors to maximize visible storage and maintain clean lines.
- Opt for pocket doors in high-traffic zones to eliminate door swing conflicts and open circulation.
- Match hardware to your décor for a cohesive, belonging-centric feel.
- Plan framing and thresholds to minimize gaps, reducing dust and maintenance.
Practical steps keep your project focused: measure openings precisely, select sturdy tracks, and guarantee smooth operation.
With sliding doors and pocket doors, you create organized, inviting spaces that reinforce a shared, purposeful home.
Label, Categorize, and Set Up Easy-to-Use Systems
Start by labeling every item clearly, so you can spot it at a glance.
Then categorize by use—tools, supplies, seasonal items—so you know where to return each thing.
Finally, set up quick systems, like consistent bins and a simple file or shelf layout, to keep the flow fast and predictable.
Label Objects Clearly
Labeling objects clearly is the foundation of a fast, efficient storage system. You build trust and belonging when you can find anything in seconds, not minutes. Start with durable labels, legible fonts, and consistent terminology to support organizing archives without frustration.
- Use clear, descriptive names for every bin and shelf.
- Pair labels with color codes to quick-check content at a glance.
- Catalog items by size, purpose, and frequency of use.
- Implement a master index that’s easy to update and share.
Keep labels visible at eye level and near openings. Update labels when items move, and audit quarterly for accuracy.
This approach reinforces a practical routine, helping you feel confident, prepared, and part of a well-run space. Labeling objects supports efficient retrieval and a calmer, more organized home.
Categorize By Use
To keep storage practical and fast, categorize by use from the start—label, group, and set up quick-access systems that align with how you actually reach for items. Begin with zones: daily needs, seasonal, and special-occasion items like vintage decor.
Label containers by purpose, not just contents, so you know where things belong at a glance. Group similar items together—tools with tools, textiles with textiles, outdoor storage gear with outdoor decor—so you can glide from task to task without hunting.
Designate a primary hub for frequently used categories, plus clearly marked backup shelves. Build habits around consistent placement, avoiding clutter creep.
When you respect use-based organization, your space feels inclusive, purposeful, and calm—even outdoors, where storage supports memories and function alike.
Set Up Quick Systems
1) Label each bin with purpose and contents
2) Group similar items together by frequency of use
3) Create a categories-by-use map
4) Maintain a quarterly review for consistency
Budget-Conscious Upgrades That Deliver Big Gains
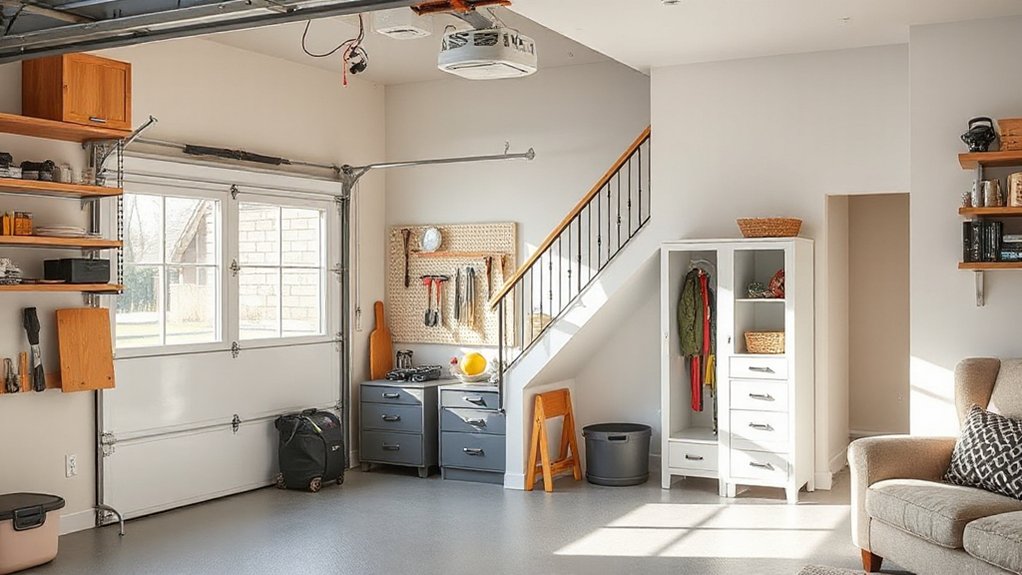
Smart, budget-friendly upgrades can transform storage without blowing your budget. You’ll focus on high-impact moves that feel substantial without costly overhauls. Start with versatile shelving, adjustable rails, and modular bins to reveal underused nooks and corners.
Reorganize vertically to free floor space and improve visibility, so every item has a home. Choose durable, low-cost finishes that resist wear and ink easy maintenance. Integrate vintage fixtures where appropriate to add character without a big price tag, and pair them with modern organization solutions for a cohesive look.
Consider eco-friendly paint for walls or shelves to brighten zones while keeping materials safe and footprint small. Plan with a realistic timeline and cost ceiling, then track savings as you implement.
End with a simple, repeatable maintenance routine.
Select Durable, Storage-Friendly Materials
Are you choosing materials that will endure daily use and maximum loads? You should select durable, storage-friendly options that perform under pressure and resist wear. Prioritize consistent quality, design versatility, and long-term value. Think modular, easy-to-maintain, and repairable to reduce future waste.
Eco friendly materials help you align with responsible storage goals, while vintage storage elements add character without compromising strength. Balance weight capacity with footprint and accessibility to maximize usable space.
- Heavy-duty plywood or steel shelving frames that handle repeated loading
- Powder-coated metal hooks and brackets for rust resistance and durability
- Eco friendly materials like sustainably sourced wood and recycled composites
- Vintage storage accents that reinforce sturdiness while staying practical
Design for Ergonomic Access and Reach
Use ergonomic placement to minimize awkward postures, repetitive strain, and unnecessary movements. Group tools, supplies, and valuables by function, keeping related items adjacent to reduce searching time.
Install adjustable shelves and pull-out drawers to customize sections as needs change, and label clearly so everyone in your home can navigate confidently.
Prioritize floor-to-ceiling planning with clear sightlines, avoiding clutter on pathways. Your goal is efficient access that supports daily routines, fosters confidence, and reinforces a shared sense of belonging in the space.
Plan for Future Changes and Flexible Layouts
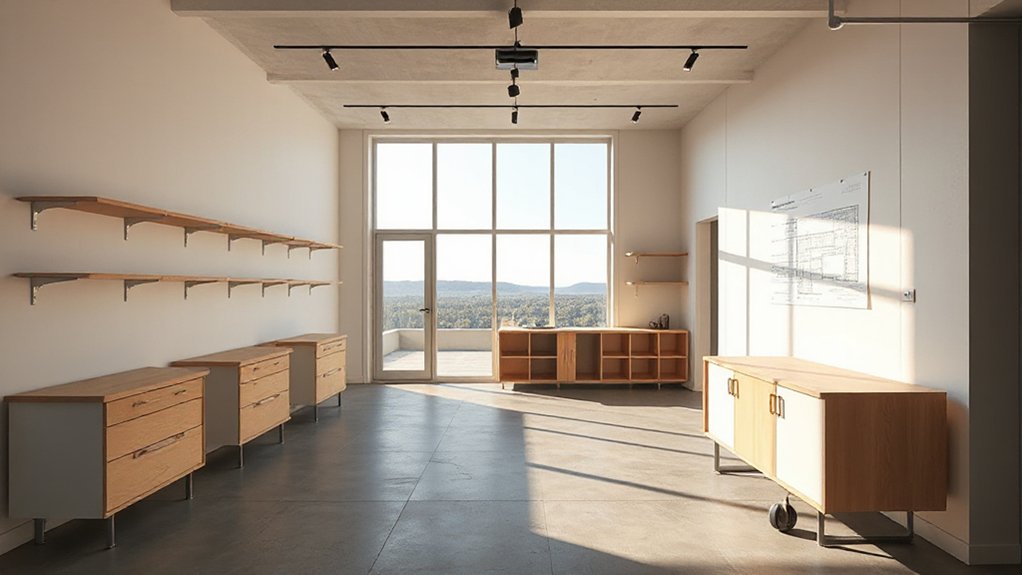
You should plan for future flexibility by choosing modular storage that can reconfigure as needs change.
Anticipate adaptable spaces with run-ready layouts and adjustable shelving that you can reassemble without a full remodel.
Prioritize modular storage solutions now so you can rework arrangements efficiently as uses evolve.
Plan For Future Flexibility
To future-proof a renovation, start with a flexible layout that adapts to evolving needs and devices. You’ll plan zones that can reconfigure without heavy work, integrating modular systems and clear sightlines. Prioritize durable, adaptable design choices that support growth, not stagnation, and weave storage accessibility into every decision.
Your aim is a space that feels welcoming, communal, and secure, where neighbors and family belong.
- Use Flexible furniture that folds, slides, or stacks to transform rooms without walls.
- Design future proof design elements with plug-and-play tech and modular storage cores.
- Allocate adjustable shelving and movable partitions to re-balance spaces.
- Choose durable materials and finishes that age well, minimizing future renovations.
Anticipate Adaptable Spaces
Anticipating adaptable spaces means designing layouts that flex as needs shift, not just now but down the line. You organize rooms with purpose, reserving clear paths and scalable zones that grow with you.
Start by detailing current tasks, then map where those tasks could migrate, expanding storage without clutter. Choose flexible furniture that can reconfigure—folding desks, modular shelving, and convertibles that preserve flow.
Plan wiring and outlets for future tech upgrades, avoiding chasing upgrades later. Integrate smart technology to monitor usage, adjust lighting, and optimize climate zones without costly rewiring.
Keep sightlines open to natural light, so spaces feel inclusive rather than cramped. Build in small, repeatable changes—adjust panels, swap components—so you feel a confident sense of belonging as plans evolve.
Modular Storage Solutions
A flexible, modular storage system keeps future changes simple: design with adjustable shelves, movable dividers, and stackable units that can reconfigure as tasks shift. You’ll gain long-term clarity by planning for growth, minimizing waste, and embracing reusable components.
Think modular furniture that fits current needs while anticipating new ones, and use innovative containerization to group tools and materials efficiently. This approach reduces clutter, speeds reorganization, and reinforces belonging through predictable layouts and shared terminology.
Your space becomes adaptable, collaborative, and intentional, inviting others to contribute ideas without friction.
- Use adjustable shelving and dividers to partition by project or season
- Choose stackable units for scalable storage depth and height
- Label containers with consistent identifiers for quick access
- Integrate modular furniture that can migrate between rooms
Light Up Storage: Planning, Layers, and Color Temperature
Effective storage lighting starts with a plan: map your spaces, list inventory, and decide when and where you’ll need visibility most. You’ll design layered lighting that matches tasks—from bright, even ceilings to focused task lights near workbenches.
Use daylight when possible, supplementing with adjustable LEDs to maintain consistent color temperature as the day shifts. Consider Lighting ambiance to shape mood and function: cool whites for precision areas, warmer tones for storage zones you want to feel welcoming.
Layered layers reduce glare and shadows, making it easier to locate items and gauge color. Pay attention to Color contrast: guarantee labels and bins pop against shelves, so you find what you need quickly and confidently.
This thoughtful approach builds belonging through clarity and reliability.
Tackle Closets With Tiered Shelves and Clearly Defined Zones
Think through tiered shelves to maximize vertical storage, placing frequently used items at reachable heights and tallgy storage up top.
Define zones clearly—top for seasonal items, middle for daily essentials, and bottom for shoes or bulky gear—so you waste less time searching.
Plan the flow of items to keep movement smooth, ensuring each zone supports quick restocking and easy access.
Tiered Shelves Strategy
To maximize closet storage, install tiered shelves that create distinct zones for types of items, from folded clothes to accessories. You’ll establish a clear storage hierarchy, guiding every item to its best place and reducing decision fatigue. Tiered shelves let you see everything at a glance, minimize wasteful rummaging, and free up floor space for movement.
1) Position the top tier for seasonal items and lightweight pieces to keep weight manageable.
2) Use middle levels for daily wear, ensuring easy access and quick outfit assembly.
3) Reserve lower shelves for bulkier items, shoes, and bins with labeled contents.
4) Maintain symmetry to reinforce the storage hierarchy and ease of maintenance. Readjust as seasons shift, keeping zones intuitive and your closet cohesive.
Zone Clearly Defined
With tiered shelves, you’ll create clearly defined zones that guide every item to its rightful place. You’ll designate zones by item type and frequency of use, then install shelves at varied heights to match. Keep seasonal gear up high, everyday essentials at reachable levels, and rarely used tools in a discreet bin. Labeling helps you move quickly, reinforcing belonging through routine.
Use color coordination to group items by category—think bins, lids, and textiles in matching tones—so you know where to look without searching. Integrate creative lighting on each tier to illuminate contents and deter clutter, even in dim closets.
Maintain a clean, simple palette to reduce visual noise, and review quarterly to confirm zones still serve your tasks and your community.
Storage Flow Optimization
Tiered shelves create a clear flow by placing items where they’re used most. You’ll design a closet with defined zones, so access feels natural and quick. Smart shelving adapts to your routines, reducing rummage and wasted steps.
Position frequently used items at eye level and near doors for effortless reach, while seasonal or rarely used pieces tuck away higher or lower. Map access points to minimize back-and-forth, creating a smooth, intentional path through the space.
This approach builds belonging by aligning storage with daily life, not just capacity.
1) Prioritize traffic patterns to guarantee quick retrieval
2) Use smart shelving to adjust heights with activity
3) Create distinct zones for categories
4) Align shelves with primary access points and doors
Retrofit Unfinished Spaces for Targeted Storage
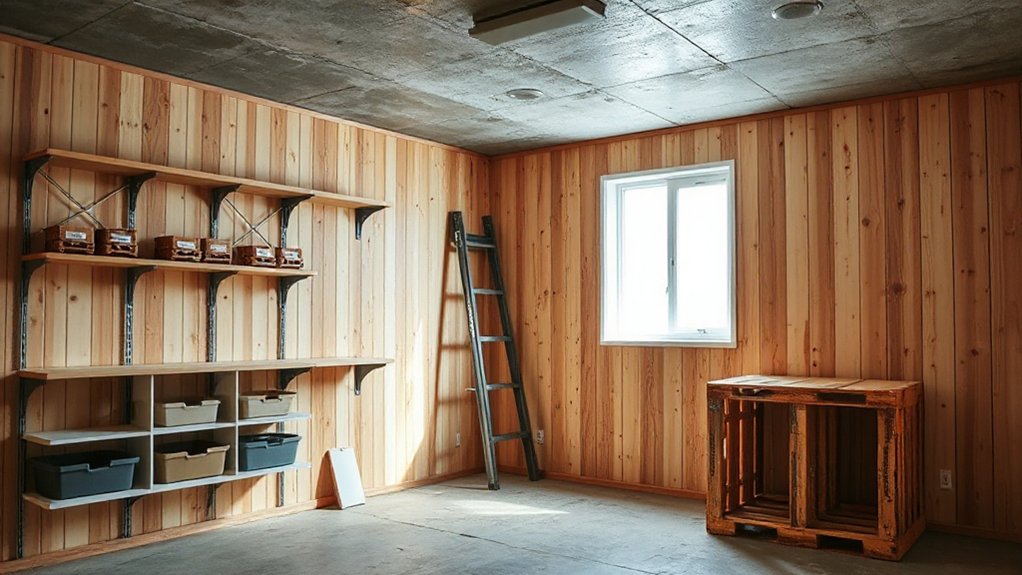
If you’ve got unfinished spaces, you can turn them into targeted storage by prioritizing what you actually need to store and how you’ll access it. Begin with a clear plan: map zones for items you use often, seasonal gear, and seldom-seen pieces.
Fit modular shelving that adapts to changing needs, and add low-profile cabinets to hide clutter. Build wall niches for vertical storage, leaving floor space free for movement and future expansion.
Use durable, eco-friendly materials, like plywood with formaldehyde-free finishes, to protect your belongings and the environment. Integrate vintage furniture pieces where their size and function align, keeping them accessible yet stylish.
This approach creates belonging by shaping spaces that reflect your lifestyle and responsibilities.
Establish Maintenance Routines to Stay Tidy
You’ve set up efficient storage; now keep it that way by establishing clear maintenance routines. You’ll preserve order, save time, and reinforce belonging by predictable checks and shared responsibilities. Build a cadence that fits your space and crew, not guesswork.
- Create Cleaning schedules that rotate duties and prevent backlog.
- Schedule Seasonal maintenance tasks to address shifts in light, humidity, and wear.
- Assign clear ownership for zones so everyone knows who cares for what.
- Review and adjust quarterly, leveraging quick audits to stay proactive.
With these routines, you stay tidy, reduce clutter creep, and invite ongoing collaboration.
Consistency is your ally, transforming storage care into a habit that everyone values and maintains together.
Quick Post-Project Checklist to Evaluate Success
After the project wraps, run a concise post-mortem to gauge what met expectations and where gaps appeared. You’ll document outcomes against objectives, noting milestones hit, budget variance, and schedule adherence.
Capture what memories you’ll reuse—policies, routines, and vendor interactions that improved flow. Assess impact on storage usability: did the layout changes reduce clutter, improve access, and boost capacity?
Identify quick wins you can propagate, such as adjusting Creative lighting to highlight key zones or tweaking Color coordination for consistent visibility.
Seek feedback from users about ease of use and safety, then translate insights into a compact action list.
Close with a brief risk review and a one-page transfer sheet to preserve knowledge, fostering belonging through shared ownership and continuous improvement.
Frequently Asked Questions
How Long Does a Storage Renovation Typically Take?
A storage renovation typically takes 2–6 weeks, depending on scope. You’ll plan strategically for Storage optimization and space maximization, coordinating trades efficiently. You’ll feel confident belonging in a streamlined, organized space that supports daily routines and long-term goals.
What Is the Typical Return on Investment for Storage Upgrades?
Boost your equity with a solid ROI—typically 60–100%—by upgrading garage organization and closet shelving. You’ll visualize organized efficiency, feel pride in the space, and attract buyers who value practical, strategic storage that fits their belonging.
Which Materials Resist Moisture and Humidity Best?
Moisture barriers and humidity resistant materials protect your space; choose vinyl, concrete, low-permeability drywall, and metal shelving. You’ll prevent mold, reduce warping, and feel confident belonging to a durable, well-planned storage upgrade that lasts.
Can Storage Changes Affect House Resale Value?
A surprising 30% resale bump comes when storage improves; yes, your changes affect value. You’ll see garage organization and closet optimization boosting appeal, encouraging belonging, practicality, and confidence for buyers evaluating space efficiency and future use.
What Maintenance Schedule Keeps Storage Systems Durable?
Yes, follow a routine: inspect and tighten hardware weekly, quarterly test shelf stability, wipe down surfaces monthly, and re-evaluate garage organization annually; this keeps durability high, so you feel secure and belong in a well-kept space.
Conclusion
You’ve mapped every inch, prioritized vertical storage, and chosen modular pieces that flex with your needs. With a targeted plan, your space becomes a clean, efficient workflow, not a clutter magnet. Here’s a quick stat to ground your effort: homes with dedicated storage improvements see up to a 20–25% bump in usable space and a 10–15% lift in perceived value. Stay disciplined with maintenance routines, and your storage gains will endure far beyond the renovation.